


 My Orders


3639604560 Kenmore Refrigerator - Overview
Diagrams for 3639604560
See every part. Know exactly what you need.

Enter a part description. DIY Heroes keep it simple, eg. "belt" or "pump".
Search filter:
Clear Filter
Your search term must have 3 or more characters.

$19.10
Special Order
Light Bulb - 40W
Part #40A15
This 40-Watt light bulb is sold individually.
It is specially designed to withstand extreme temperatures, so this bulb is compatible with a variety of appliance types including refrigerators, ranges, microwaves, and dryers. It features a frosted glass bulb with a standard metal socket base, which allows you to easily unscrew the burnt-out light and twist the new bulb into place.

$159.72
Special Order
Crisper Drawer Cover
Part #WR32X10398
This crisper drawer cover has the drawer slides built into it. This model measures 24 1/2 inches long x 19 inches wide x 2 5/8 inches deep.

$267.74
Special Order
Ice Maker
Part #WR30X10093
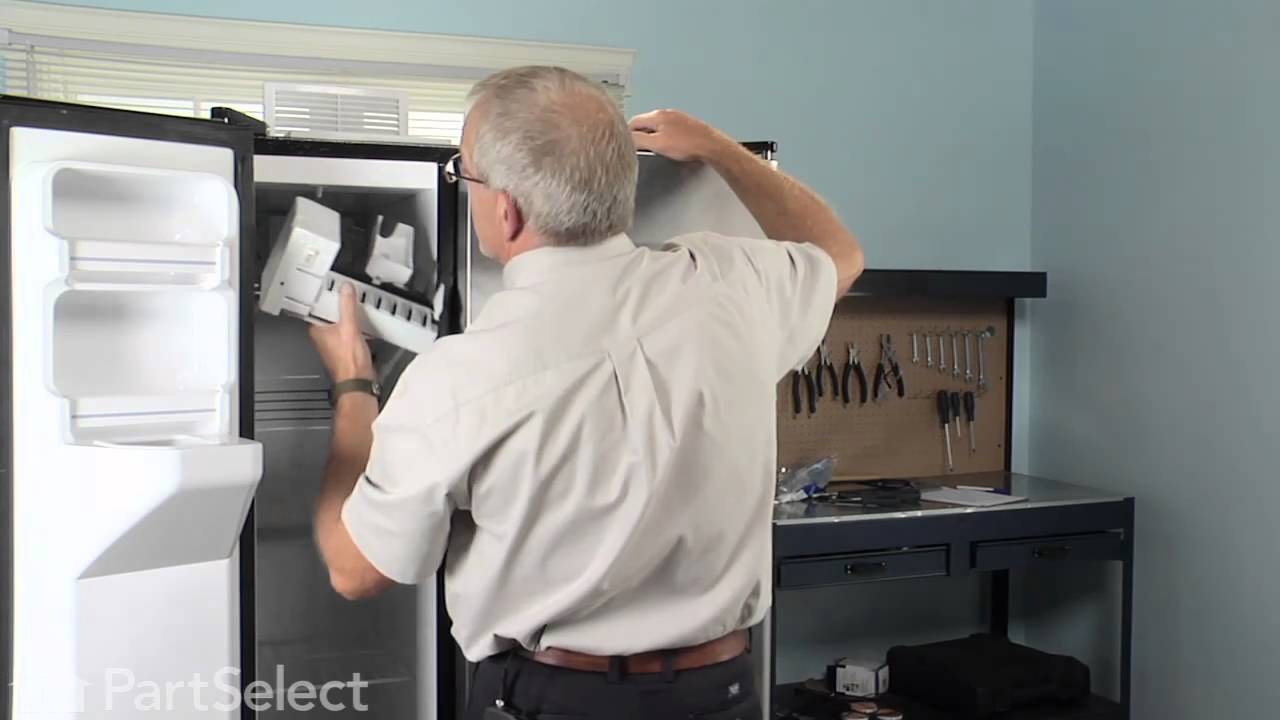
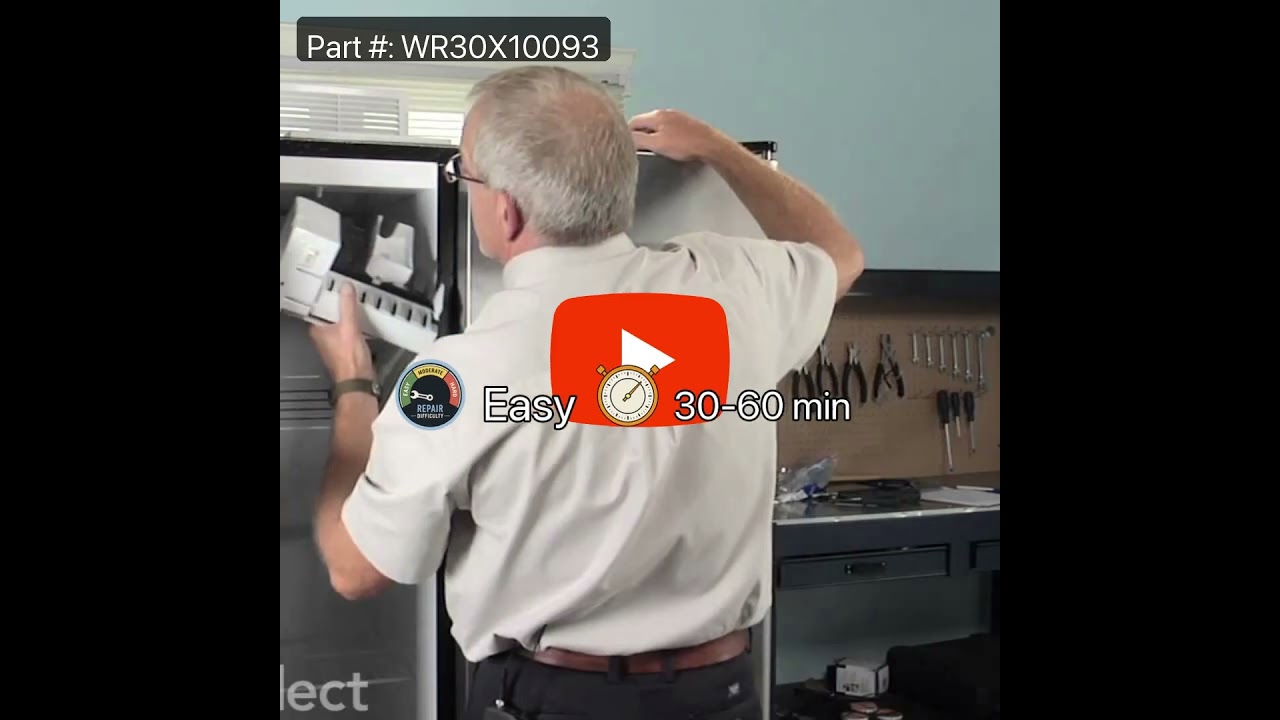
This ice maker assembly is used to make ice in your refrigerator. The ice maker receives water from the water inlet valve and will freeze until ice cubes are formed. Once the water has been frozen the cubes will be ejected from the mold into the ice bucket. The ice maker will continue the process until the ice bucket has reached the limit...Read more. If your ice maker is not making ice you may need to replace this part. This kit includes the fill cup, 4-pin wire harness adapter, and a tube. Disconnect the power and water supply before starting your repair. This ice maker is a genuine OEM part.
Read less

$393.22
Special Order
Stationary Wire Shelf
Part #WR71X10378
This part is the replacement stationary wire shelf for your refrigerator. It is white in color and is approximately 24 1/2 inches by 14 3/8 inches. The stationary wire shelf rests on grooves in the refrigerator side wall and allows you to store food. The reason you would want to change out this shelf, is if it is bent, broken, or missing....Read more This is an OEM part sourced directly from the manufacturer and is sold individually.
Read less

$15.73
Special Order
1/4 Tubing Nut
Part #WR57X57

$142.65
Special Order
Vegetable Pan
Part #WR32X1455
If your fridge drawer is cracked or your veggies aren’t staying fresh, this replacement crisper drawer could help. It’s made to hold fruits and vegetables at the right humidity so they last longer. It fits into the lower section of select GE, Hotpoint, and Haier refrigerators and slides in easily. Just make sure it matches your model before ordering.

$21.12
Special Order
Icemaker Motor Gear
Part #WR29X5153

No Longer Available

$13.95
Special Order
WZ04X0408
Part #WZ4X416

$32.95
Special Order

No Longer Available
Ice Bucket - White
Part #WR30X10154

No Longer Available
SHELF ICE TRAY
Part #WR71X1989
Common Symptoms of the 3639604560
How this model fails, and the parts that fix it.
Ice maker not making ice
Fixed by
these parts
these parts


Show All
Leaking
Fixed by
these parts
these parts


Show All
Ice maker won’t dispense ice
Fixed by
these parts
these parts
Show All
Ice maker dispenses too little ice
Fixed by
these parts
these parts
Show All
Door won’t open or close
Fixed by
these parts
these parts

Show All
Ice maker dispenses too much ice
Fixed by
these parts
these parts
Show All
Won’t start
Fixed by
these parts
these parts
Show All
Noisy
Fixed by
these parts
these parts
Show All
Watch our pros, then fix it yourself.

See how others fixed this model. Time, tools, difficulty, and steps that lead to victory!
View More