3639550612 Kenmore Refrigerator - Overview

Enter a part description. DIY Heroes keep it simple, eg. "belt" or "pump".

Search filter:
Clear Filter
Your search term must have 3 or more characters.
Door Closing Cam – Part Number: WR2X4901
$31.52
Special Order
Door Closing Cam
β˜…β˜…β˜…β˜…β˜…
β˜…β˜…β˜…β˜…β˜…
(3)
Part #WR2X4901
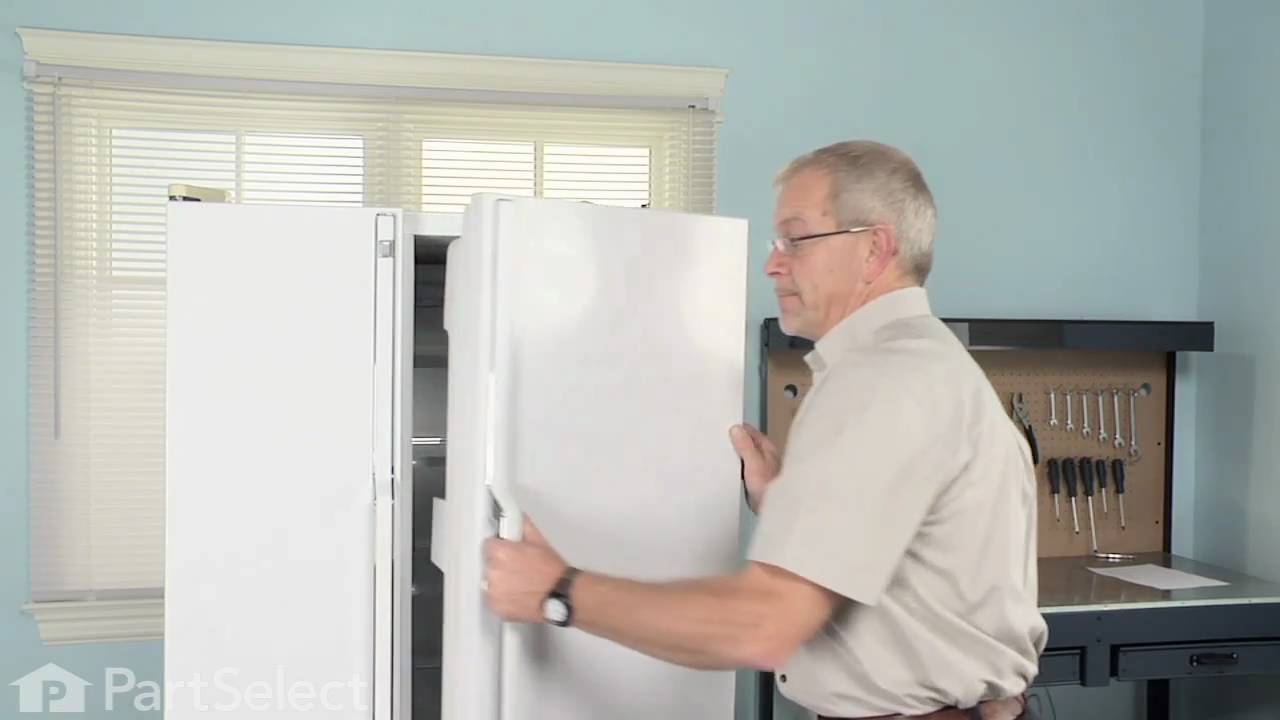
Ensure your refrigerator or freezer door opens and closes smoothly with this door hinge cam riser. Positioned on the door itself, this component helps align and pivot the door for proper sealing and quiet operation. Constructed from sturdy plastic, it’s a reliable replacement for worn or damaged cams and can help fix problems like poor door alignment, sealing issues, or creaking sounds.
Light Bulb - 40W – Part Number: 40A15
$19.10
Special Order
Light Bulb - 40W
β˜…β˜…β˜…β˜…β˜…
β˜…β˜…β˜…β˜…β˜…
(3)
Part #40A15
This 40-Watt light bulb is sold individually. It is specially designed to withstand extreme temperatures, so this bulb is compatible with a variety of appliance types including refrigerators, ranges, microwaves, and dryers. It features a frosted glass bulb with a standard metal socket base, which allows you to easily unscrew the burnt-out light and twist the new bulb into place.
Plastic Tubing - 5/16 Inch – Part Number: WR17X2891
$47.57
Special Order
Plastic Tubing - 5/16 Inch
Part #WR17X2891
This part is the replacement water line for your refrigerator. It is a long plastic tube, which is 5/16 of an inch in diameter. If your refrigerator is leaking, or will not dispense water or ice, you may have a damaged water line. When you replace the water line, you may want to pick up a new water tube union as well. You can use a utility knife to cut the old water line where it is damaged, and use the union to attach the new water line to the old one. This tubing is sold individually and is an OEM part.
Ice Maker – Part Number: WR30X10093
$267.74
Special Order
Ice Maker
β˜…β˜…β˜…β˜…β˜…
β˜…β˜…β˜…β˜…β˜…
(5)
Part #WR30X10093
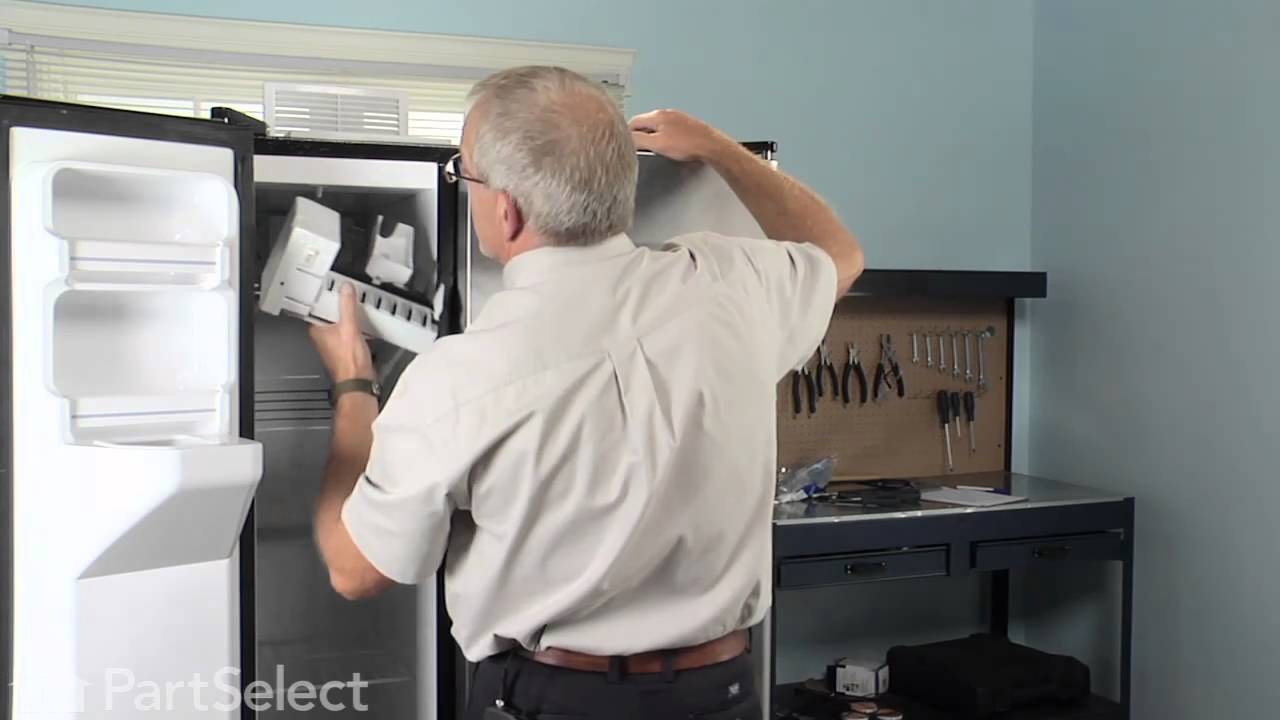
This ice maker assembly is used to make ice in your refrigerator. The ice maker receives water from the water inlet valve and will freeze until ice cubes are formed. Once the water has been frozen the cubes will be ejected from the mold into the ice bucket. The ice maker will continue the process until the ice bucket has reached the limit. If your ice maker is not making ice you may need to replace this part. This kit includes the fill cup, 4-pin wire harness adapter, and a tube. Disconnect the power and water supply before starting your repair. This ice maker is a genuine OEM part.
Dispenser Door Assembly or Flapper – Part Number: WR17X11653
$29.12
Special Order
Dispenser Door Assembly or Flapper
β˜…β˜…β˜…β˜…β˜…
β˜…β˜…β˜…β˜…β˜…
(2)
Part #WR17X11653
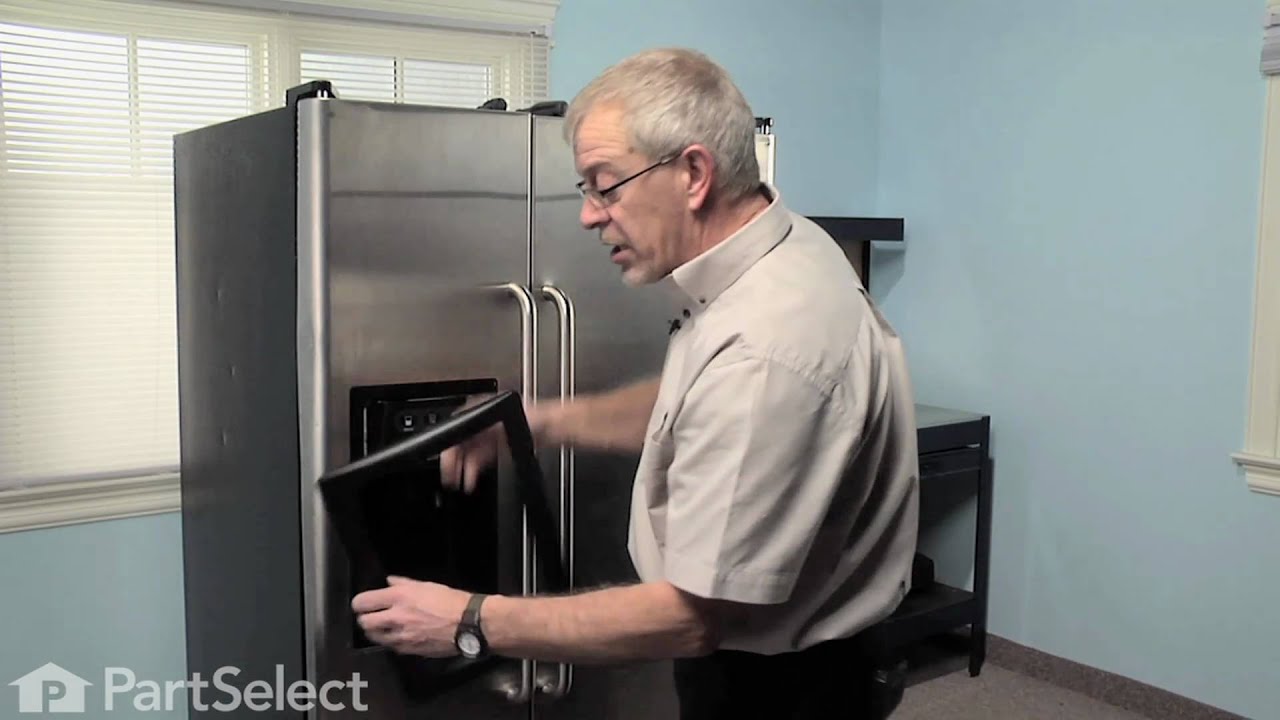
This ice dispenser door flap, also known as a damper door, is designed to seal the ice chute in compatible refrigerator models, preventing warm air from entering the freezer compartment. Constructed from durable plastic and rubber materials, it opens when the dispenser lever is pressed to release ice, then closes to maintain internal temperature and prevent frost buildup. A faulty flap can lead to condensation, frost accumulation, leaking, or ice dispensing issues. This genuine OEM replacement is compatible with select models from GE, Hotpoint, and Kenmore, and restores proper sealing and dispenser function. Installation typically involves accessing the dispenser housing and securing the flap in place.
1/4 Tubing Nut – Part Number: WR57X57
$15.73
Special Order
1/4 Tubing Nut
Part #WR57X57
Ice Bucket Auger – Part Number: WR17X4341
No Longer Available
Ice Bucket Auger
Part #WR17X4341
When activated, the auger rotates and pushes ice out of the bin through the chute to the user.
Freezer Light Shield – Part Number: WR17X3484
$36.95
Special Order
Freezer Light Shield
Part #WR17X3484
Icemaker Motor Gear – Part Number: WR29X5153
$21.12
Special Order
Icemaker Motor Gear
Part #WR29X5153
Plastic Tube - 1/4 Inch – Part Number: WR17X11349
$15.73
Special Order
Plastic Tube - 1/4 Inch
Part #WR17X11349
Ice Bucket and Auger Assembly – Part Number: WR17X4310
$410.91
Special Order

Manuals & Care Guides for 3639550612

Click to download

Questions And Answers for 3639550612

Ask our experts a question about this model and we'll get back to you as soon as possible!

Sort by:
  • 1
Sorry, we couldn't find any existing answers that matched.Try using some different or simpler keywords, or submit your new question by using the "Ask a Question" button above!
Sherri - For model number 3639550612
February 4, 2023
What icemaker kit is compatible with this model 363.9550614
Chris Boyle Profile
Hi Sherri, Thank you for your question. The part number listed under your model number for the ice maker is PS1993870. If you would like to place an order for it, please call our customer service line and anyone will be happy to assist you. We look forward to hearing from you!
$267.74
Special Order
Ice Maker
Was this helpful?
Thank you for voting!
  • 1

Common Symptoms of the 3639550612

How this model fails, and the parts that fix it.

Watch our pros, then fix it yourself.

See how others fixed this model. Time, tools, difficulty, and steps that lead to victory! View More

Search repair tips from other customers using simple keywords like "replace", "fit", "remove", "inspect". DIY doesn't mean you have to do it alone!

Search filter:
Clear Filter
Your search term must have 3 or more characters.
Door would not automatically close.
180 of 194 people found this instruction helpful.
  • Gary from North eastham, AL
  • Really Easy
  • 15 - 30 mins
  • Screw drivers, Socket set
Symptom: Door did not close automatically. Also had found small chunks of black plastic on the floor. Refrigerator door was slightly lower than the freezer door.

One false start because I did not realize both of the door-closing cams had disintegrated and I had only ordered the cam without the hinge.

Purchased part 290199 Hinge Assembly. It came with matching door-closing cam. (Had not known so I also purchased the cam 297995 separately). Next time I will know to only purchase the Hinge Assembly.

Replacement procedure took about 20 minutes including removing and replacing door shelves and their contents. Two people involved.

1. Remove all door shelves with contents and other contents on door.

2. Remove the top Phillips head screw holding the decorative plastic on the top.

3. Remove the two top hinge screws on top of refrigerator using metric #8 socket wrench. Second person made sure door did not fall off.

4. Lift the door off the bottom hinge pin. Second person holds door on it’s side.

5. Take off the bottom refrigerator cover

6. Remove the bottom hinge assembly screws using metric #8 socket wrench.

7. Mount the replacement bottom hinge assembly and tighten the two screws.

8. On the door bottom, remove the outer screw and loosen the inner screw using metric #8 socket wrench.

9. Replace the door-closing cam (or what is left of it) with the cam in line with the door and cam bumps away from the door.

10. Place the door back on the hinge pin (one person holds while the other person maneuvers the door bottom).

11. Replace the top hinge and reinsert the screws on top of the refrigerator. Dress the door so that it does not press hard on the rubber door gaskets (or the door will fail to shut automatically). Tighten the screws.

12. Replace the decorative plastic over the top hinge.

13. Open the door and replace the bottom refrigerator cover.

14. Replace the door shelves and all contents.

15 Close the door.
Was this helpful?
Thank you for voting!
ice stalactites were drooling out of the icemaker and gumming up the cubes in the receiving tray.
91 of 132 people found this instruction helpful.
  • Gerald from Benicia, CA
  • Easy
  • 15 - 30 mins
  • Nutdriver, Screw drivers
I first shut off water flow to the fridge. Examination of the package (which was not exact in appearance to the original) demonstrated that the electrical connectors were well-insulated so I arrogantly and successfully proceded without disconnecting the power. My fridge is old enough that the model doesn't appear exactly on anyone's list so I wasn't alarmed that it took an extra 10 minutes or so to noodle out how to adapt the slightly different inlet cowling and electrical cord with extension, but the device is pretty simple.
Soon I loosened the two mounting screws with a nut driver, used a screwdriver to pry away the plastic snap-in housing over the electrical socket on the fridge inner wall and pulled away the electrical plug. The original water fill tube remained in its cavity, ready for re-use.
The new unit's mounting points matched the original screw locations perfectly, as did the fill cowling - which on the replacement icemaker has two possible attachment points. The new unit's electrical connector required an extension pigtail to adapt to my socket, but it was included in the package. The extra cable posed a minor cosmetic issue because it hangs in the collection basket a bit, but that will soon be remedied with a tie wrap.
After the water was restored and an anxious wait of a few hours, we had well-formed ice cubes that weren't all stuck together and the stalactites haven't reappeared.
Was this helpful?
Thank you for voting!
Ice maker stopped working
84 of 117 people found this instruction helpful.
  • Dan from West Bloomfield, MI
  • Really Easy
  • Less than 15 mins
  • Nutdriver
I unplugged the electrical connection. Then I removed the 2 screws holding the icemaker in place. I lifted out the old icemaker unit and put the new one in place. Then put the 2 screws back in and plugged in the new unit.

The icemaker started making ice very soon after turning the unit on.
Was this helpful?
Thank you for voting!