


 My Orders


36378285893 Kenmore Refrigerator - Overview
Diagrams for 36378285893
See every part. Know exactly what you need.

Enter a part description. DIY Heroes keep it simple, eg. "belt" or "pump".
Search filter:
Clear Filter
Your search term must have 3 or more characters.

$19.10
Special Order
Light Bulb - 40W
Part #40A15
This 40-Watt light bulb is sold individually.
It is specially designed to withstand extreme temperatures, so this bulb is compatible with a variety of appliance types including refrigerators, ranges, microwaves, and dryers. It features a frosted glass bulb with a standard metal socket base, which allows you to easily unscrew the burnt-out light and twist the new bulb into place.

$267.74
Special Order
Ice Maker
Part #WR30X10093
This ice maker assembly is used to make ice in your refrigerator. The ice maker receives water from the water inlet valve and will freeze until ice cubes are formed. Once the water has been frozen the cubes will be ejected from the mold into the ice bucket. The ice maker will continue the process until the ice bucket has reached the limit...Read more. If your ice maker is not making ice you may need to replace this part. This kit includes the fill cup, 4-pin wire harness adapter, and a tube. Disconnect the power and water supply before starting your repair. This ice maker is a genuine OEM part.
Read less

No Longer Available
Vegetable Drawer Slide Rail - Right Side
Part #WR17X2769

No Longer Available
Vegetable Drawer Slide Rail - Left Side
Part #WR17X2770
This is the replacement vegetable drawer side rail for the left side of your refrigerator. It is made of white plastic and is approximately 18 inches long, and 6 inches wide. The slide rail supports the crisper drawer as it slides in and out. If the slide rail is broken, you may have difficulty sliding the drawer in and out. This rail is ...Read morefor the left side of the drawer, and the slide for the right side is sold separately. This part is sold individually and is and OEM part.
Read less

$85.82
Special Order
Refrigerator Outlet Valve Kit
Part #WR57X10033
This single outlet valve has 1/4 inch compression fittings, and is intended for use with refrigerators that have ice makers that make crescent shaped ice cubes.
NOTE: As per the manufacturer this valve has new quick connection. You must cut retaining nut off of the current plastic water line and gently push it into new valve. To remove, depress ring that the tube slides into.

No Longer Available
Center Cover Slide
Part #WR17X2768
This slide cover or slide rail is a genuine OEM replacement part for your refrigerator. This part is made of white plastic. To install it, simply remove the glass shelf, remove the current slide rail and put the new one in place.

$24.05
Special Order

$15.73
Special Order
1/4 Tubing Nut
Part #WR57X57

$21.12
Special Order
Icemaker Motor Gear
Part #WR29X5153

No Longer Available

$24.10
Special Order
AXLE WHEEL
Part #WR01X10604

$13.95
Special Order
WZ04X0408
Part #WZ4X416
Common Symptoms of the 36378285893
How this model fails, and the parts that fix it.
Ice maker not making ice
Fixed by
these parts
these parts


Show All
Leaking
Fixed by
these parts
these parts

Show All
Ice maker won’t dispense ice
Fixed by
these parts
these parts
Show All
Ice maker dispenses too little ice
Fixed by
these parts
these parts
Show All
Ice maker dispenses too much ice
Fixed by
these parts
these parts
Show All
Not dispensing water
Fixed by
these parts
these parts
Show All
Won’t start
Fixed by
these parts
these parts
Show All
Noisy
Fixed by
these parts
these parts
Show All
Watch our pros, then fix it yourself.
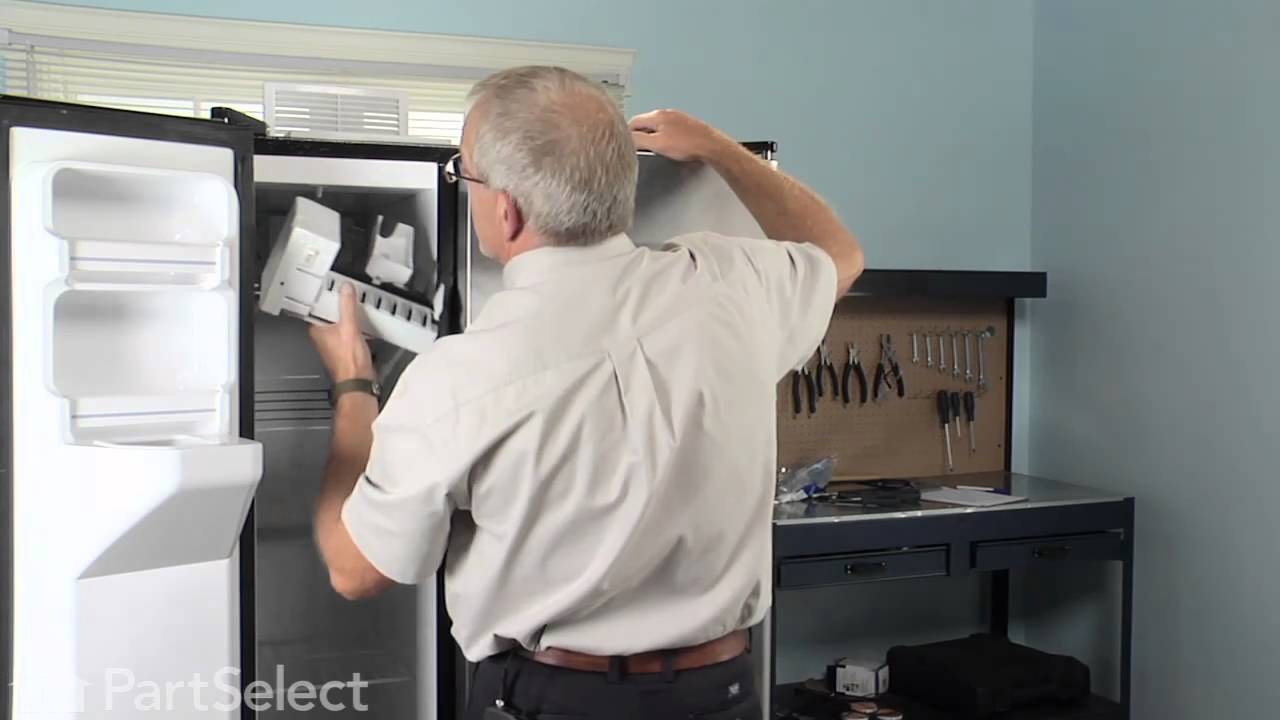
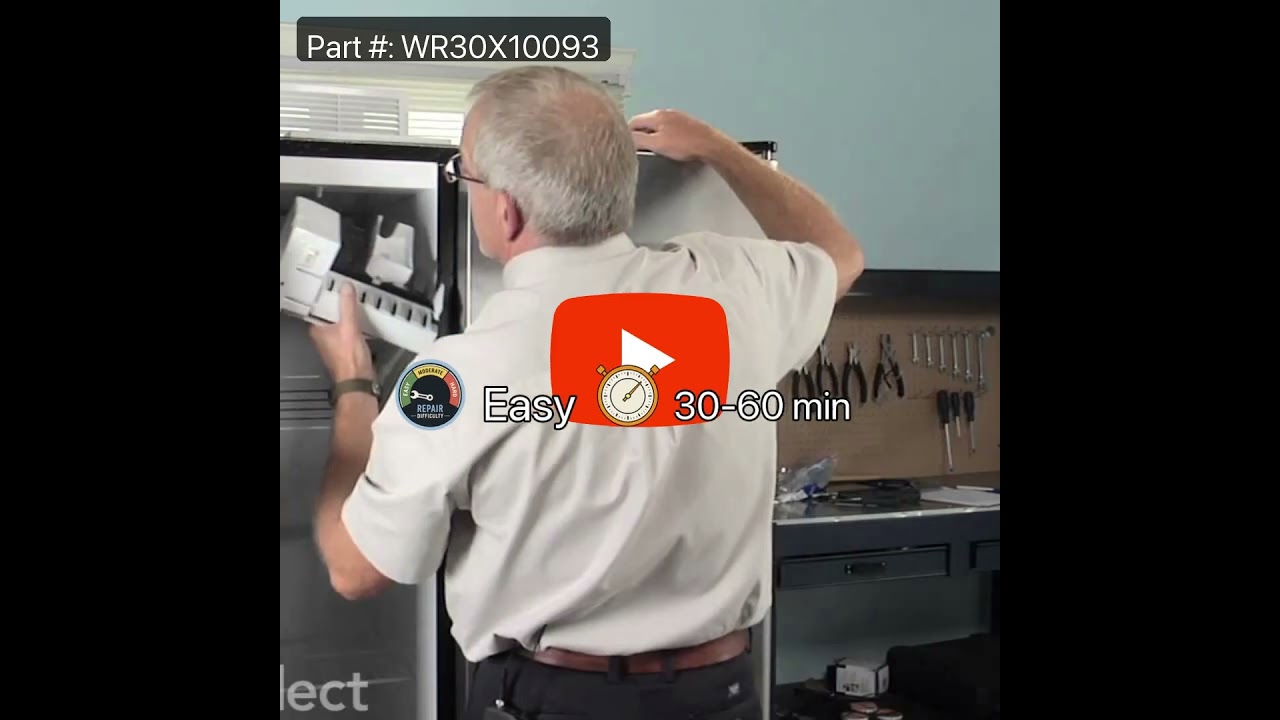
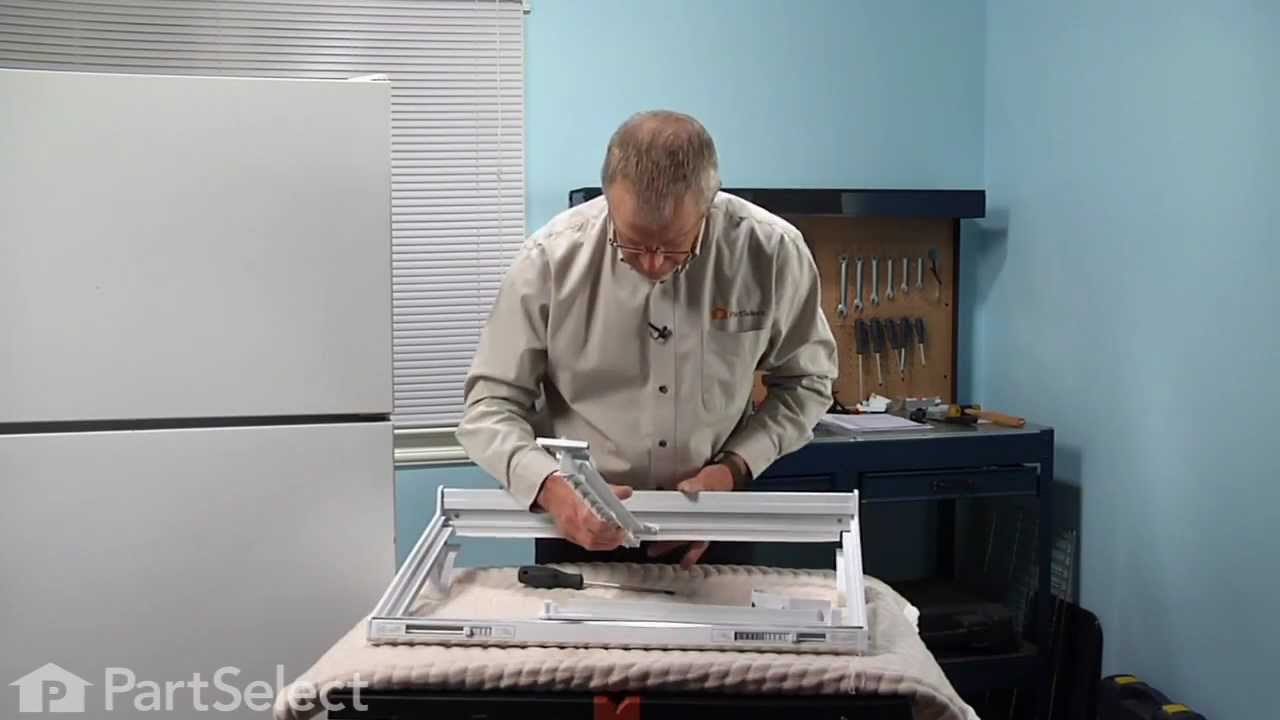
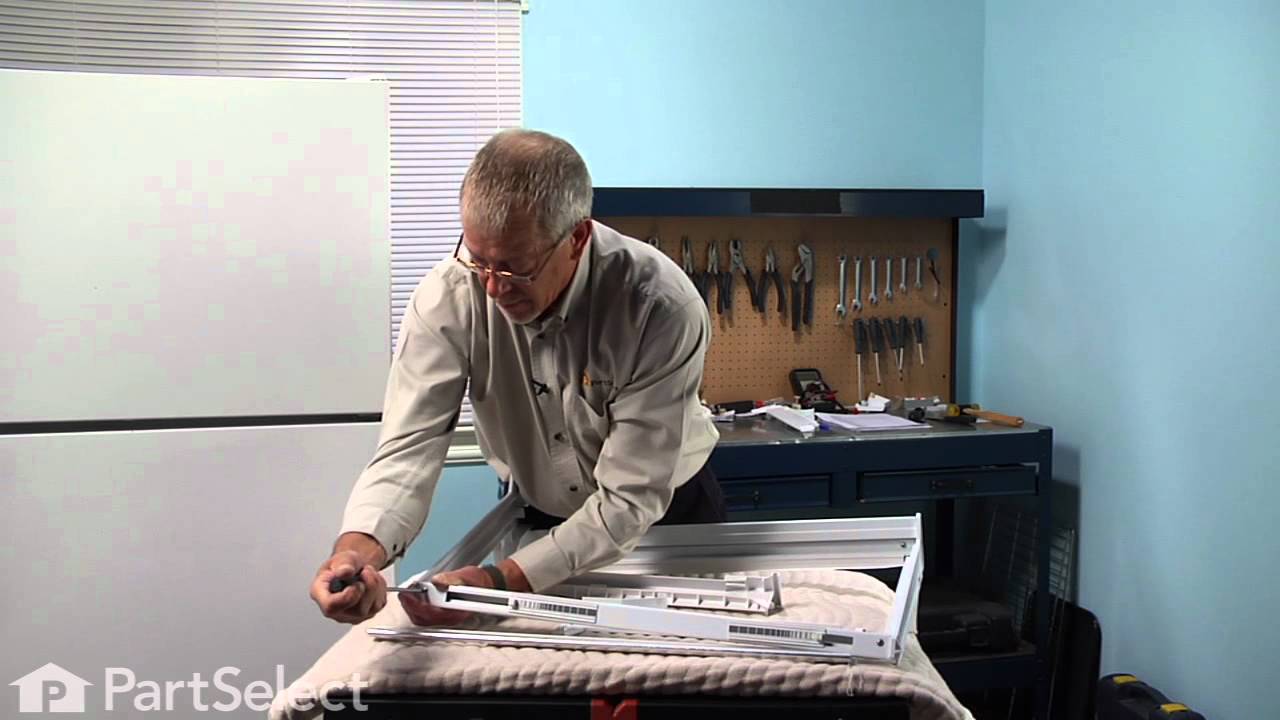
See how others fixed this model. Time, tools, difficulty, and steps that lead to victory!
View More