


 My Orders


3636244190 Kenmore Range - Overview
Diagrams for 3636244190
See every part. Know exactly what you need.

Enter a part description. DIY Heroes keep it simple, eg. "belt" or "pump".
Search filter:
Clear Filter
Your search term must have 3 or more characters.

$135.56
Special Order
Bake Element
Part #WB44K5012
This partially open-style bake element comes with ¼-inch push-on terminals and is located on the bottom of the oven. This bake element provides heat for baking. If your oven is too hot, not heating evenly, the element is not heating, or has little to no heat when baking, you may need to replace your bake element. You can use a multi meter...Read more to test the bake element for electrical continuity to see if you need to replace it. This is a genuine OEM part. Please remember to disconnect the power to the range before starting your repair.
Read less

$68.19
Special Order

$21.95
Special Order
Drip Bowl - 6"
Part #WB31K5024
This is a drip bowl for your range or cooktop. The drip bowl sits beneath the burner of an electric range and collects any spills that occur while cooking. The bowl is 6 inches in diameter and represents the smaller burner for your range. This product is sold individually and is an authentic OEM part sourced directly from the manufacturer.

$91.36
Special Order
Surface Burner Terminal Block Kit
Part #WB17X210
This kit comes with the terminal block, mounting clip and wires.

$20.95
Special Order
Drip Bowl - 8 Inch
Part #WB31K5025

$114.26
Special Order
Large Surface Burner Switch - 2350W 240V
Part #WB23K5027
This control switch helps you adjust the heat on your stove’s 8-inch burner with ease. It turns the burner on and off and lets you set the temperature just right for cooking. If your burner isn’t heating properly or stays stuck on one setting, this part could be the fix. It’s made for many GE ranges and related brands, and it’s built to handle everyday use.

No Longer Available
HARNESS WIRE MAINTOP
Part #WB18K5469

No Longer Available
Exterior Door Glass - Black
Part #WB57K5213

No Longer Available
CONTROL PANEL, WHITE-6244190
Part #WB36K5197

No Longer Available
USE GEH WB36K5311
Part #WB36K5198

No Longer Available
CONTROL PANEL, ALMOND-9114190
Part #WB36K5311

No Longer Available
LEFT
Part #WB36K5357
Common Symptoms of the 3636244190
How this model fails, and the parts that fix it.
Little to no heat when baking
Fixed by
these parts
these parts

Show All
Element will not heat
Fixed by
these parts
these parts


Show All
Oven not heating evenly
Fixed by
these parts
these parts
Show All
Oven is too hot
Fixed by
these parts
these parts
Show All
Will Not Start
Fixed by
these parts
these parts
Show All
Little to no heat when broiling
Fixed by
these parts
these parts
Show All
Watch our pros, then fix it yourself.
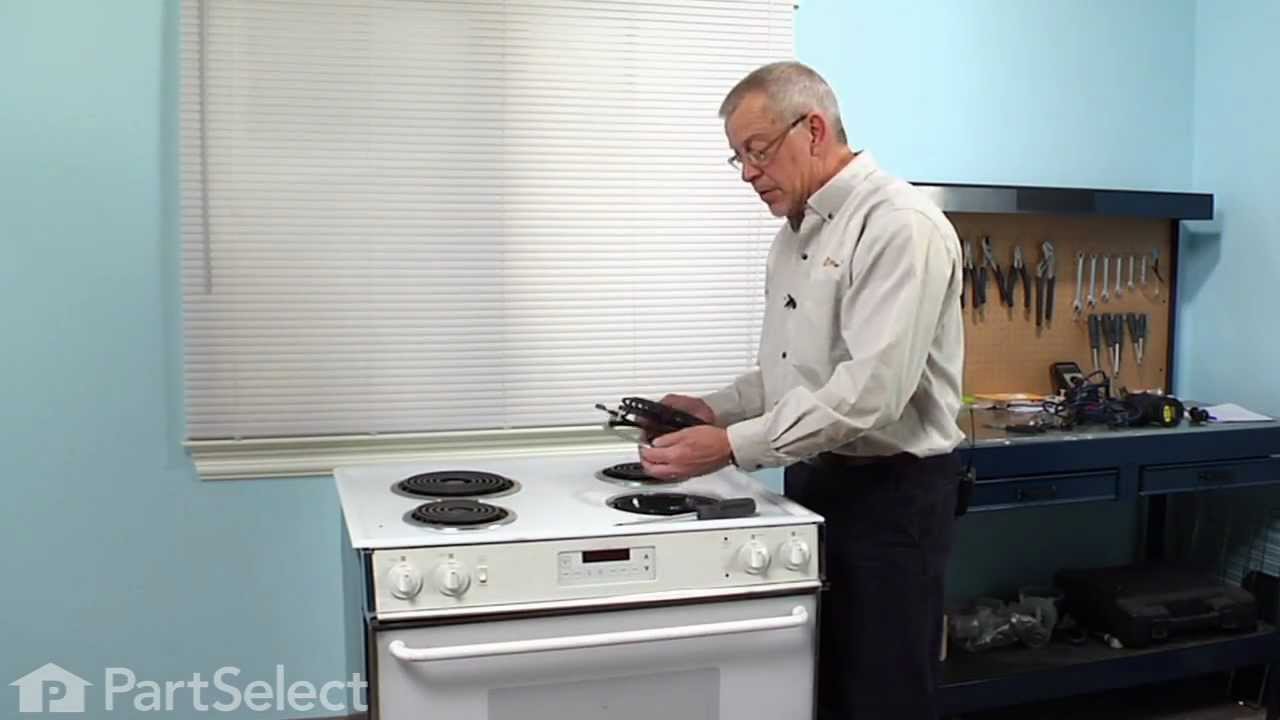
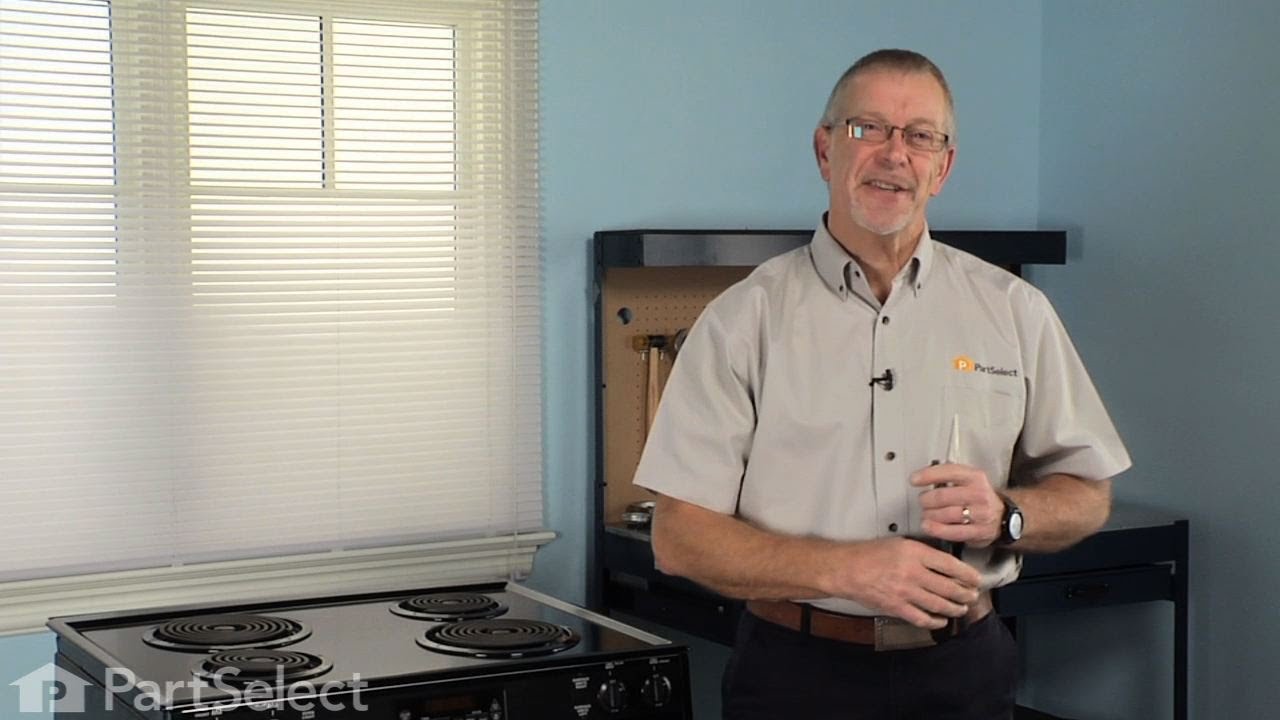
See how others fixed this model. Time, tools, difficulty, and steps that lead to victory!
View More