


 My Orders


36358072894 Kenmore Refrigerator - Overview
Diagrams for 36358072894
See every part. Know exactly what you need.

Enter a part description. DIY Heroes keep it simple, eg. "belt" or "pump".
Search filter:
Clear Filter
Your search term must have 3 or more characters.

$23.79
Special Order
Union Connector - 5/16 Inch to 5/16 Inch
Part #WR02X11330
Quick connector for plastic water line - 5/16" to 5/16"

$17.70
Special Order
Evaporator/Condensor Fan Grommet
Part #WR02X10098
This evaporator fan motor grommet, or condenser fan grommet is built for refrigerators. It provides a cushion between the fan motor and the motor mounting bracket. It is made or round, black plastic and is approximately one inch in diameter. If your grommet is torn or damaged and you are getting noise from the fan motor, you may need to replace it. This is an OEM part sourced directly from the manufacturer.

$47.57
Special Order
Plastic Tubing - 5/16 Inch
Part #WR17X2891
This part is the replacement water line for your refrigerator. It is a long plastic tube, which is 5/16 of an inch in diameter. If your refrigerator is leaking, or will not dispense water or ice, you may have a damaged water line. When you replace the water line, you may want to pick up a new water tube union as well. You can use a utilit...Read morey knife to cut the old water line where it is damaged, and use the union to attach the new water line to the old one. This tubing is sold individually and is an OEM part.
Read less

$267.74
Special Order
Ice Maker
Part #WR30X10093
This ice maker assembly is used to make ice in your refrigerator. The ice maker receives water from the water inlet valve and will freeze until ice cubes are formed. Once the water has been frozen the cubes will be ejected from the mold into the ice bucket. The ice maker will continue the process until the ice bucket has reached the limit...Read more. If your ice maker is not making ice you may need to replace this part. This kit includes the fill cup, 4-pin wire harness adapter, and a tube. Disconnect the power and water supply before starting your repair. This ice maker is a genuine OEM part.
Read less

$104.10
Special Order
Drawer Slide Rail - Right Side
Part #WR72X240
This replacement drawer slide rail is for the right-hand side of your refrigerator. You will need a Phillips screwdriver to complete this repair.

$29.12
Special Order
Dispenser Door Assembly or Flapper
Part #WR17X11653
This ice dispenser door flap, also known as a damper door, is designed to seal the ice chute in compatible refrigerator models, preventing warm air from entering the freezer compartment. Constructed from durable plastic and rubber materials, it opens when the dispenser lever is pressed to release ice, then closes to maintain internal temp...Read moreerature and prevent frost buildup. A faulty flap can lead to condensation, frost accumulation, leaking, or ice dispensing issues. This genuine OEM replacement is compatible with select models from GE, Hotpoint, and Kenmore, and restores proper sealing and dispenser function. Installation typically involves accessing the dispenser housing and securing the flap in place.
Read less

$122.90
Special Order
Drawer Slide Rail - Left Side
Part #WR72X239
When looking inside the fridge, this white drawer slide rail is located on the left side of the refrigerator. This part includes the rail only.

$135.00
Special Order
Defrost Heater and Bracket Assembly
Part #WR51X10055
The defrost heater keeps the cooling coils from frosting over. The heater will get hot and melt any ice or frost build up around the coils.

$85.95
Special Order
Defrost Timer
Part #WR9X489
This device acts like a clock. It continually advances and alternates between activating the cooling cycle and the defrost heater.

$94.12
Special Order
Drawer Slide Rail - Right Side
Part #WR72X242
If your fridge drawer isn’t sliding like it used to, this right-side slide rail could be the fix. It helps the drawer glide smoothly and stay steady when you open or close it. Easy to install, just remove the drawer, swap out the old rail, and slide the new one into place. It’s a simple way to get your fridge working like new again.

$23.24
Special Order
Light Socket
Part #WR2X9391
This part is a replacement light socket for your refrigerator. It connects to the power source, and holds the light bulb. If the light in your refrigerator is not working, you could have a faulty socket. It is important to determine if the light bulb is simply burned out, or if the socket is causing the issue. Be sure to disconnect your r...Read moreefrigerator from the power source before you begin this repair. This socket is black in color and is sold individually. This is an OEM part sourced directly from the manufacturer.
Read less

No Longer Available
Dispenser Control Board - 2 Slide Switches
Part #WR55X129
It is used with those refrigerators that have an ice and water dispenser in the door.
Common Symptoms of the 36358072894
How this model fails, and the parts that fix it.
Leaking
Fixed by
these parts
these parts


Show All
Fridge too warm
Fixed by
these parts
these parts


Show All
Ice maker not making ice
Fixed by
these parts
these parts


Show All
Freezer not defrosting
Fixed by
these parts
these parts
Show All
Freezer section too warm
Fixed by
these parts
these parts

Show All
Not dispensing water
Fixed by
these parts
these parts
Show All
Ice maker won’t dispense ice
Fixed by
these parts
these parts
Show All
Noisy
Fixed by
these parts
these parts


Show All
Frost buildup
Fixed by
these parts
these parts
Show All
Light not working
Fixed by
these parts
these parts


Show All
Door won’t open or close
Fixed by
these parts
these parts


Show All
Door Sweating
Fixed by
these parts
these parts
Show All
Fridge and Freezer are too warm
Fixed by
these parts
these parts
Show All
Freezer too cold
Fixed by
these parts
these parts
Show All
Fridge runs too long
Fixed by
these parts
these parts
Show All
Ice maker dispenses too little ice
Fixed by
these parts
these parts
Show All
Will Not Start
Fixed by
these parts
these parts

Show All
Too warm
Fixed by
these parts
these parts
Show All
Ice maker dispenses too much ice
Fixed by
these parts
these parts
Show All
Fridge too cold
Fixed by
these parts
these parts
Show All
Won’t start
Fixed by
these parts
these parts
Show All
Clicking sound
Fixed by
these parts
these parts
Show All
Watch our pros, then fix it yourself.
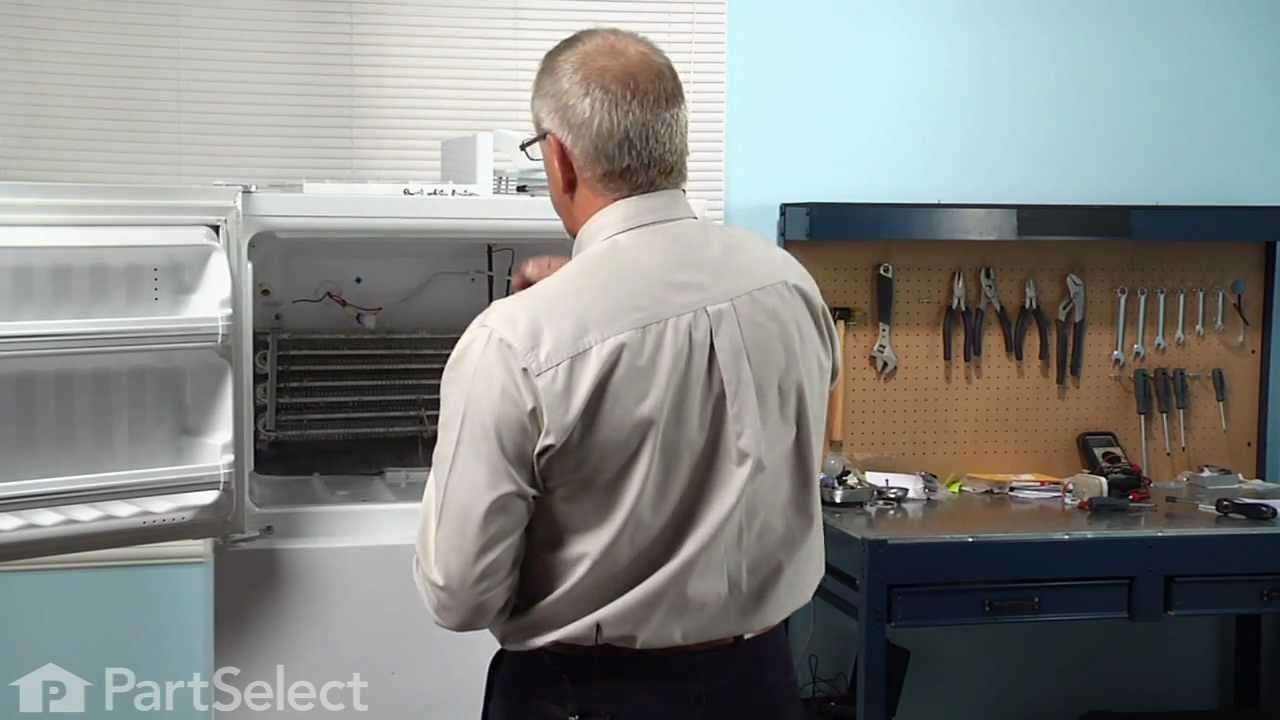
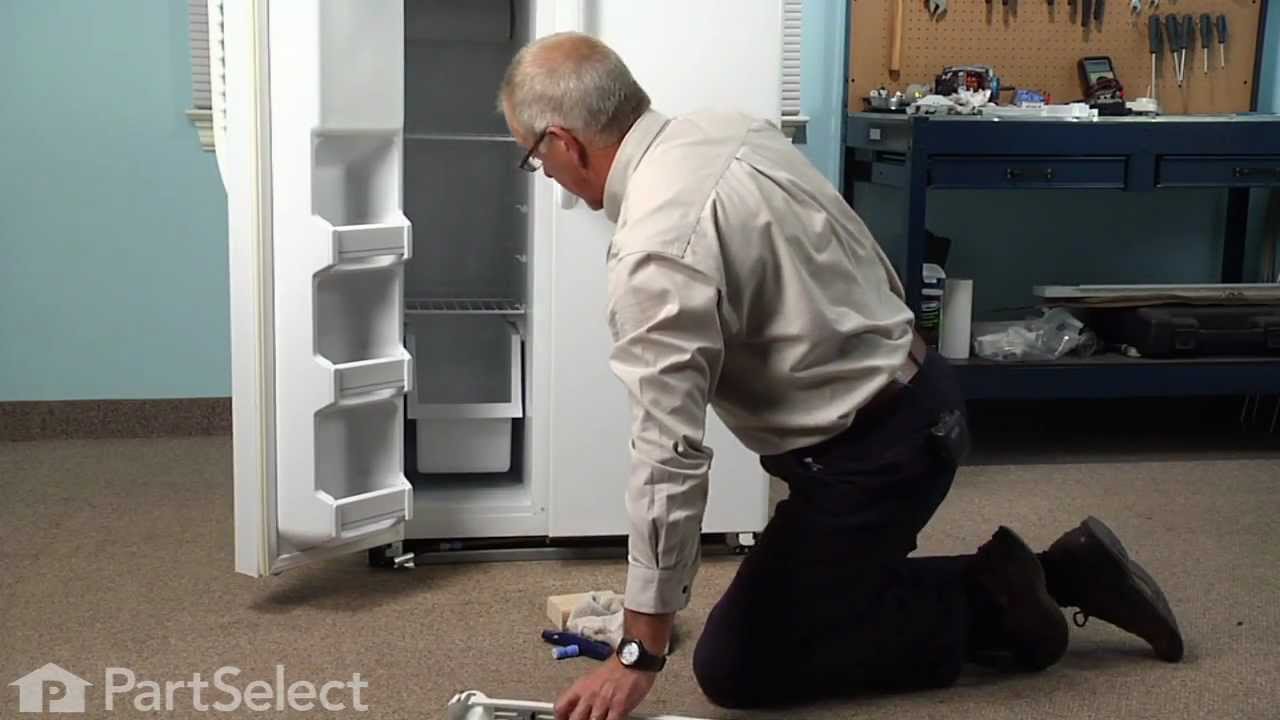
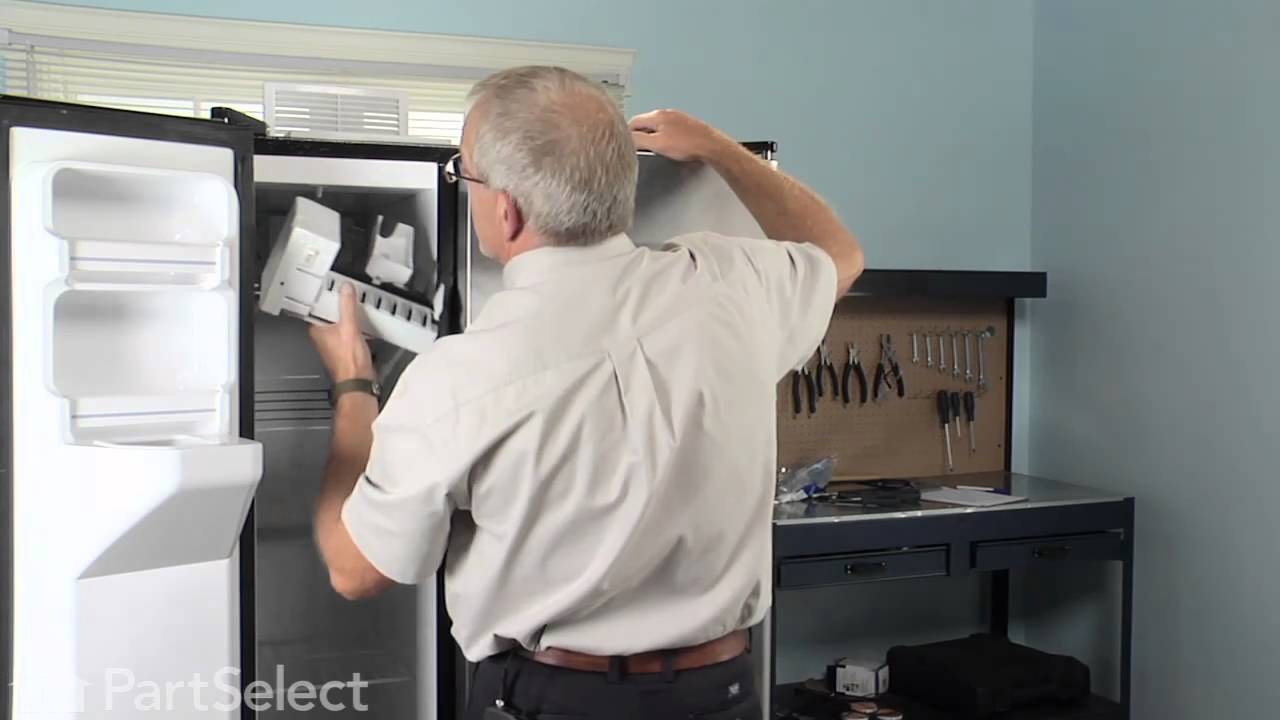
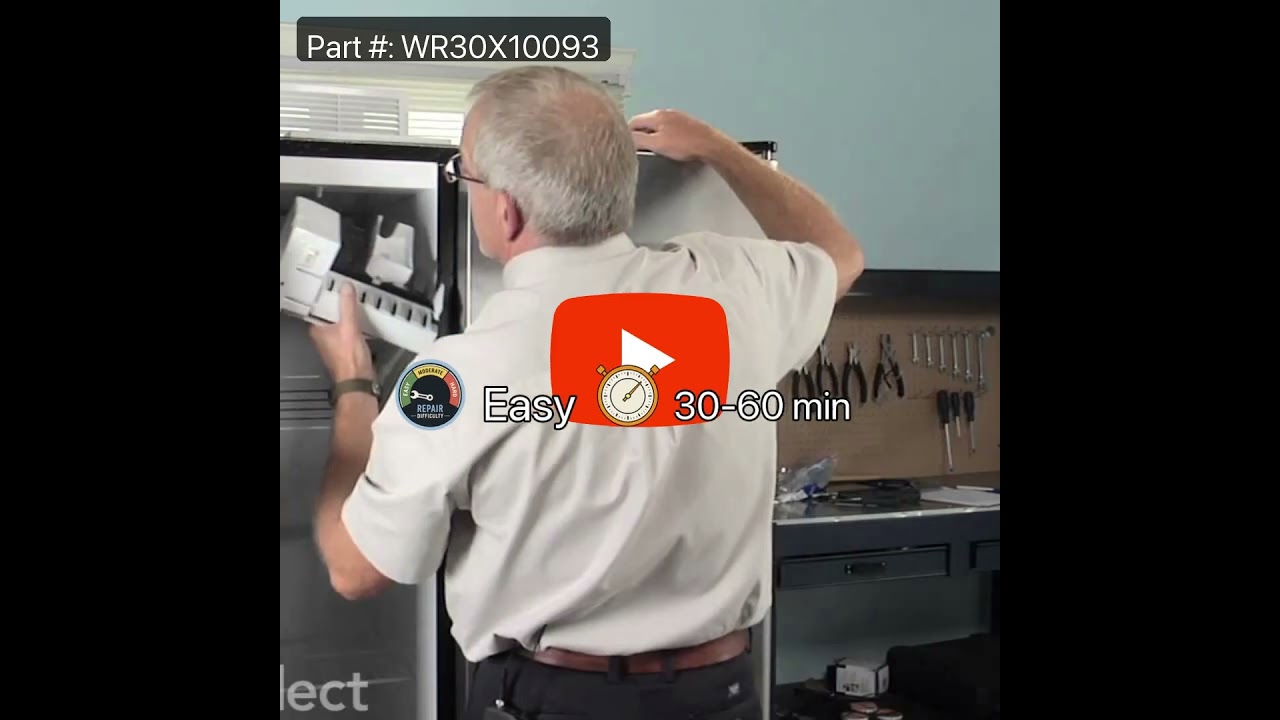
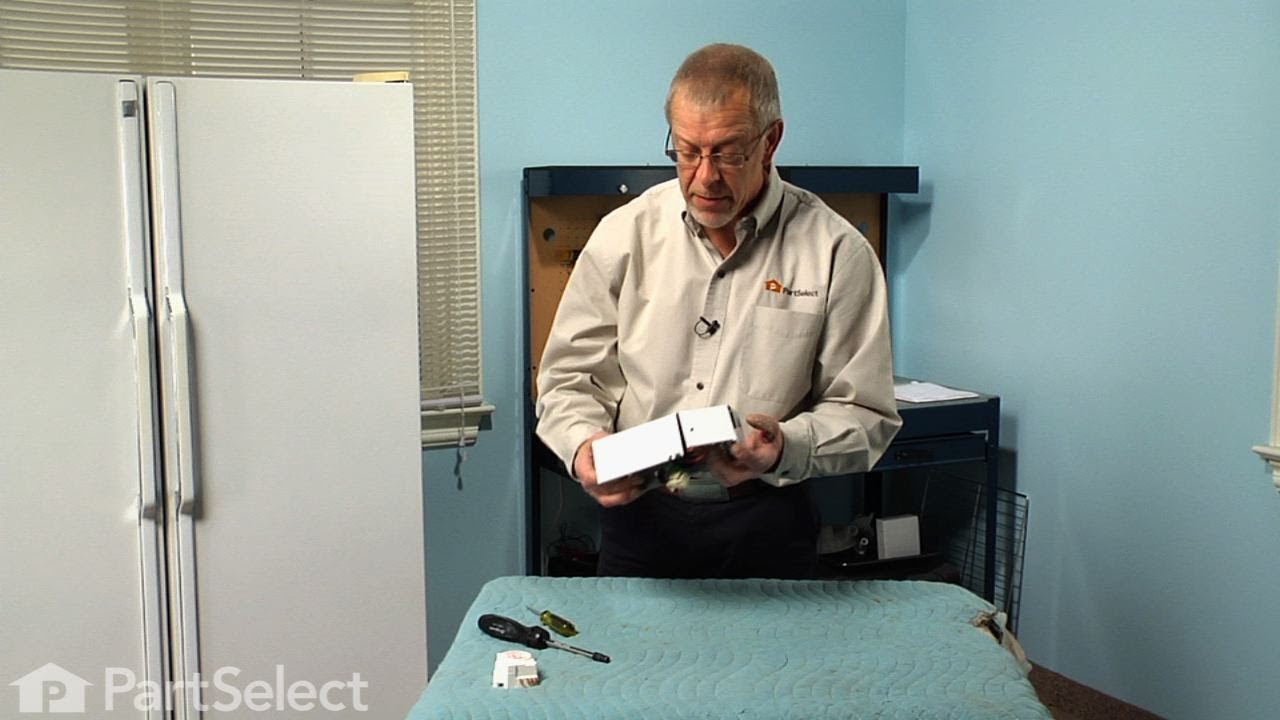
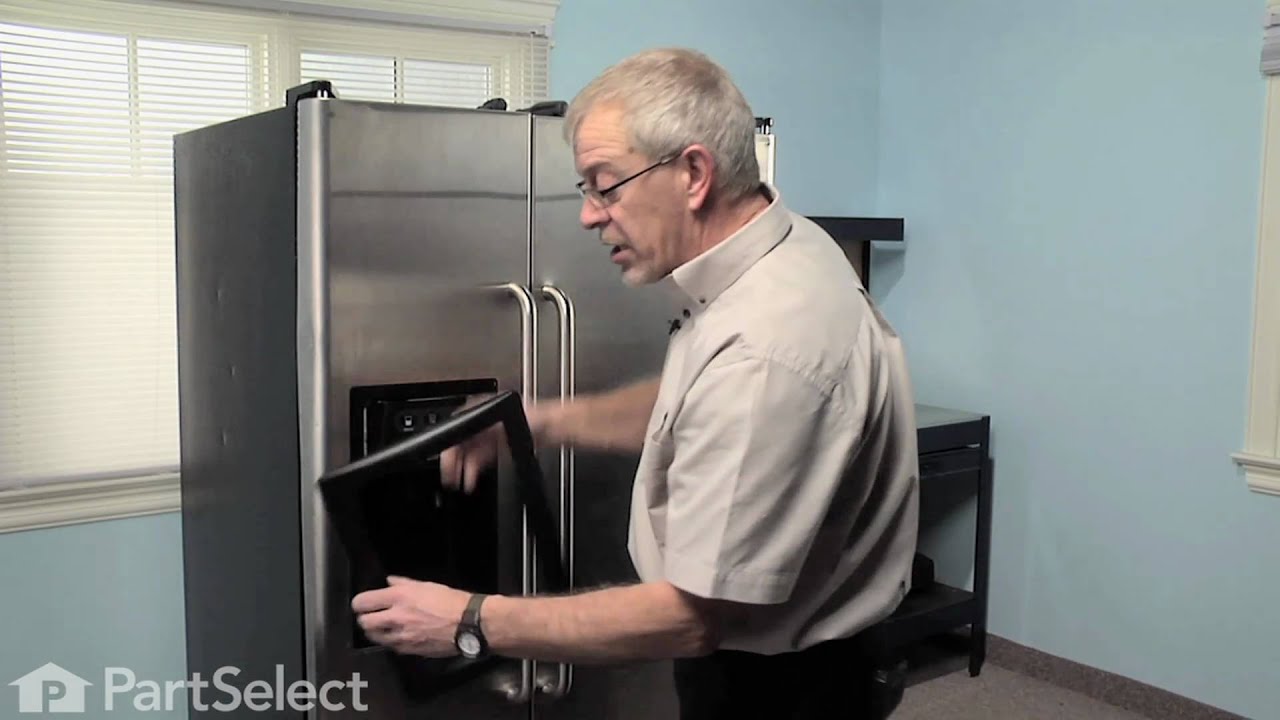
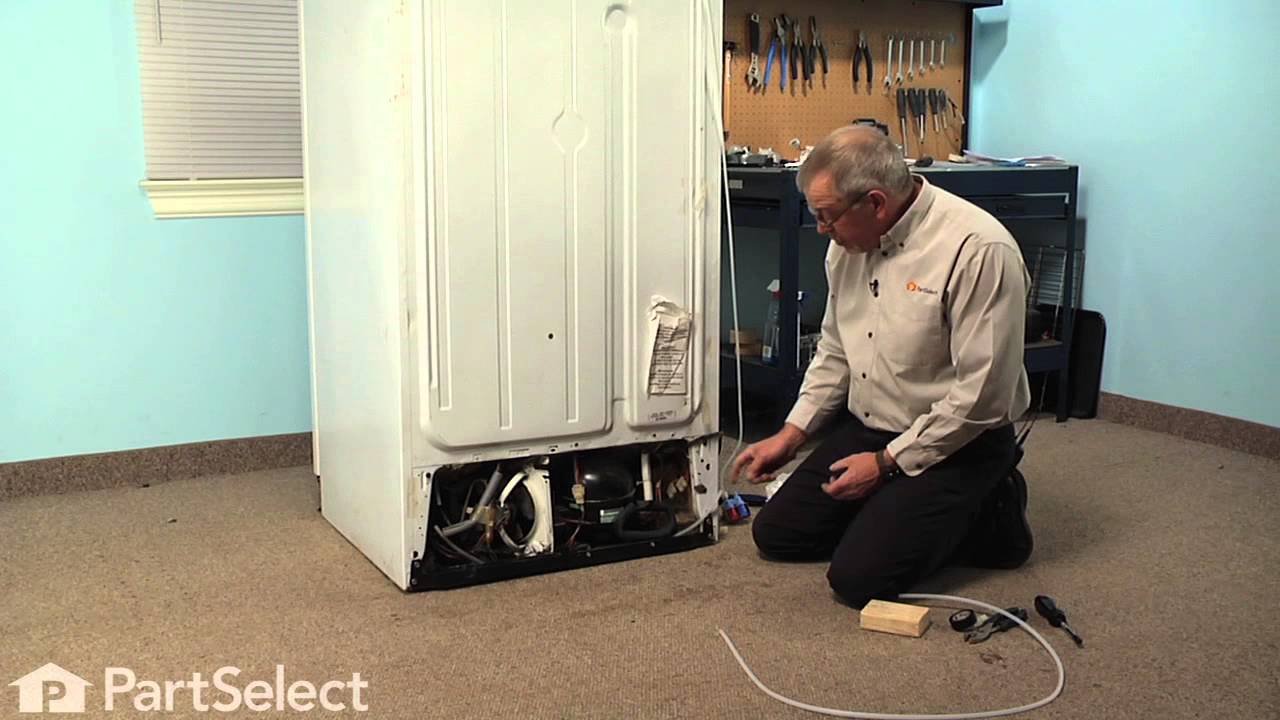

See how others fixed this model. Time, tools, difficulty, and steps that lead to victory!
View More
Search repair tips from other customers using simple keywords like "replace", "fit", "remove", "inspect". DIY doesn't mean you have to do it alone!
Search filter:
Clear Filter
Your search term must have 3 or more characters.
Freezer was still simi-cold but refrigerator was not.
448 of 491 people
found this instruction helpful.
Called a friend that lead me down the right path so i did a search for the part's and found this site. The trouble shooting that outher's had done was the same as mine, I descovered that the coil's in the freezer had frozen up complety. They are located behind a plasic cover in the freezer area, it had frozen up due to the Defrost heater
... Read more
element being defective, when i took it out it was black and burnt looking,It is located at the bottom edge of the coils,2 bolt's and a plug in on each side. That is probally the only part i needed but i went ahead and replaced the sensor and timer also.The sensor wires in the freezer( located on the very top of the coils) had to be cut and the new ones spliced in, only 2 wires and easy access. I also put shrink wrap on the splices to protect them from mosisture. The timer was located in the fridge area by the temp. control knobs. 2 small bolts and a plug in was all on it. It's been 5 day's and so far so good. The worst part was defrosting the frozen coils. This was done with the wife's hair dryer and a couple towel's to soak up the water. Don't just let the water go down the drain hole because the tray that catches it will not hold all the water from the frozen coil's. Just a reminder, don't forget to unplug the unit when working on it. Hope this help's and was very easy install, Cost about $125 in part's and a couple hours of labor(did a good cleaning while it was eampty for the repair) Good luck.
Read less
Other Parts Used:


Was this helpful?
Thank you for voting!
Internal water lines brittle, cracked, leaking
119 of 139 people
found this instruction helpful.
First of all, the larger white plastic tubes in this thing are 5/16" OD, which no plumbing store seems to stock. At the lower left rear end there are 2 tubes, one for water and one for ice, that are doomed to fail being in proximity of a heat source - they essentially get cooked to the point of becoming brittle and cracking. The smaller
... Read more
tube and union can be easily found, but do yourself a favor if the larger one cracks and order the plastic tube and water tube union here, and just cut off the brittle part and amend the old tube using the union.
Read less
Other Parts Used:


Was this helpful?
Thank you for voting!