36315461790 Kenmore Dishwasher - Overview

Diagrams for 36315461790

See every part. Know exactly what you need.

Enter a part description. DIY Heroes keep it simple, eg. "belt" or "pump".

Search filter:
Clear Filter
Your search term must have 3 or more characters.
Impeller and Seal Kit – Part Number: WD19X10032
No Longer Available
Impeller and Seal Kit
★★★★★
★★★★★
(2)
Part #WD19X10032
This part helps stop your dishwasher from leaking. This kit includes the impeller, seal, blade, filter, skidder and skidder holder.
Motor and Pump Kit – Part Number: WD26X10013
$275.11
Special Order
Motor and Pump Kit
★★★★★
★★★★★
(4)
Part #WD26X10013
This pump and motor kit replaces many old style pump and motor kits that were manufactured since 1970. The instructions are included with this kit to help you to make it adaptable to your dishwasher. NOTE: This is a completely redesigned kit by the manufacturer and now includes the drain solenoid.
Door Latch Kit – Part Number: WD13X10003
$62.07
Special Order
Door Latch Kit
★★★★★
★★★★★
(2)
Part #WD13X10003
This door latch kit is used for dishwashers.
Lower Spray Arm and Support Assembly – Part Number: WD22X10008
No Longer Available
Lower Spray Arm and Support Assembly
Part #WD22X10008
This part comes with the telescopic tower.
Drain Hose – Part Number: WD24X10014
$74.40
Special Order
Drain Hose
★★★★★
★★★★★
(1)
Part #WD24X10014
This drain hose is an OEM, manufacturer-approved replacement part for your dishwasher. The drain hose filters out the wastewater from the dishwasher. If there is a hole in it, water will leak out of your dishwasher. Shut off the water and power to the unit before beginning this repair. Accessing the drain hose involves unscrewing the dishwasher and pulling it out. Remove the clamp holding the hose in place to its connection under the sink, using a 5/16ths socket. Disconnect the fill line. Use a 1/4 inch nut driver to loosen the clamp at the other end of the drain hose. Keep a towel handy for any water still inside. Keep the clamps for use on your new drain hose. Reinstall all hoses and lines in reverse order.
Detergent Cup Door Spring – Part Number: WD3X764
$46.95
Special Order
Finished Access Panel – Part Number: WD27X10225
$69.41
Special Order
Door Gasket - White – Part Number: WD08X10016
$47.57
Special Order
Door Gasket - White
Part #WD08X10016
This genuine OEM dishwasher door seal gasket prevents water from leaking out of the dishwasher. If your washer is leaking from the door, check for wear on the gasket, and to ensure it is properly fitted. A hardened gasket can also make the door difficult to close. If the gasket is faulty, the part should be replaced right away.
Dishwasher Hose Clamp Kit – Part Number: WH1X2036
$22.95
Special Order
Dishwasher Hose Clamp Kit
Part #WH1X2036
This hose clamp kit contains two clamps. The smaller of the two is an inch in diameter while the larger of the two is two inches in diameter.
Dishwasher Clamp Sump – Part Number: WD1X1392
$19.99
Special Order
Dishwasher Clamp Sump
Part #WD1X1392
Inner Door Panel – Part Number: WD31X10004
$268.87
Special Order
Inner Door Panel
Part #WD31X10004
Long Front Panel - White – Part Number: WD31X10025
$97.07
Special Order
Long Front Panel - White
Part #WD31X10025

Manuals & Care Guides for 36315461790

Click to download

Common Symptoms of the 36315461790

How this model fails, and the parts that fix it.

Watch our pros, then fix it yourself.
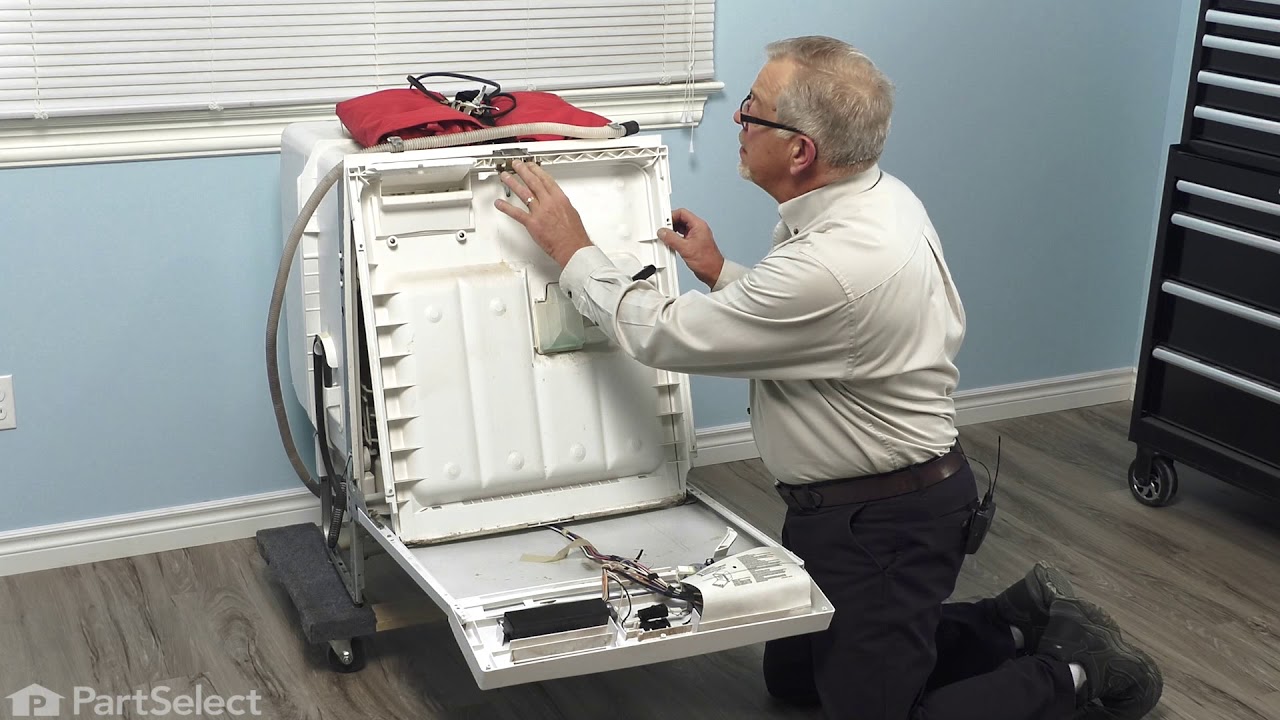
See how others fixed this model. Time, tools, difficulty, and steps that lead to victory! View More

Search repair tips from other customers using simple keywords like "replace", "fit", "remove", "inspect". DIY doesn't mean you have to do it alone!

Search filter:
Clear Filter
Your search term must have 3 or more characters.
Motor was getting noisier every time we used the dishwasher. We knew it was just a matter of time before it totally quit.
48 of 53 people found this instruction helpful.
  • Glenn from Clemmons, NC
  • Easy
  • 30 - 60 mins
  • Nutdriver, Pliers, Screw drivers
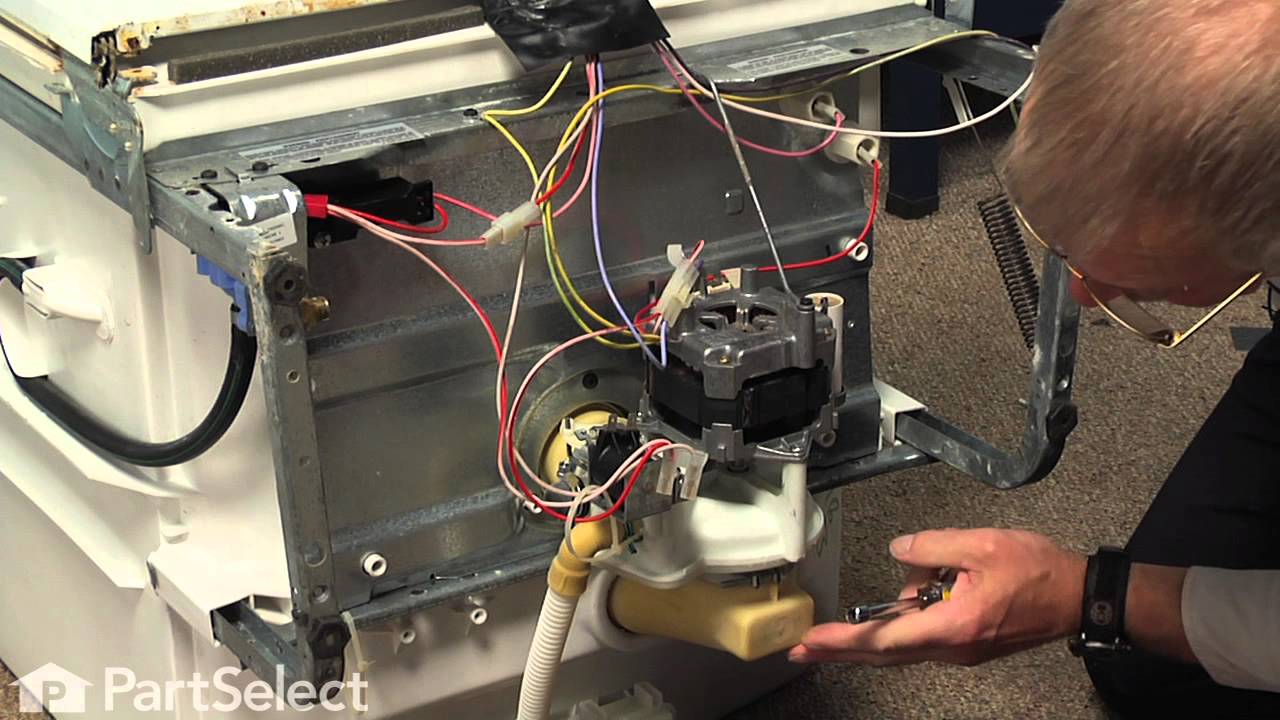
The most difficult part was removing the dishwasher from below the counter. Once that was complete, I simply turned the washer onto it's front surface to access the pump easier. Simply disconnected the electrical connectors, loosened the three hose clamps holding the hoses to the pump. Lastly removed a stiff arm bracket holding the pum p. Reversed the order to install the new one using a longer bracket provided with the new unit. Hooked up the electrical connections last and slid the washer back in place. The washer runs like new now and is not making noise. The replacement part was a perfect match.
Was this helpful?
Thank you for voting!
dishwasher pump valve leaking at shaft
40 of 47 people found this instruction helpful.
  • richard from las vegas, NV
  • Easy
  • 1- 2 hours
  • Screw drivers, Socket set, Wrench (Adjustable)
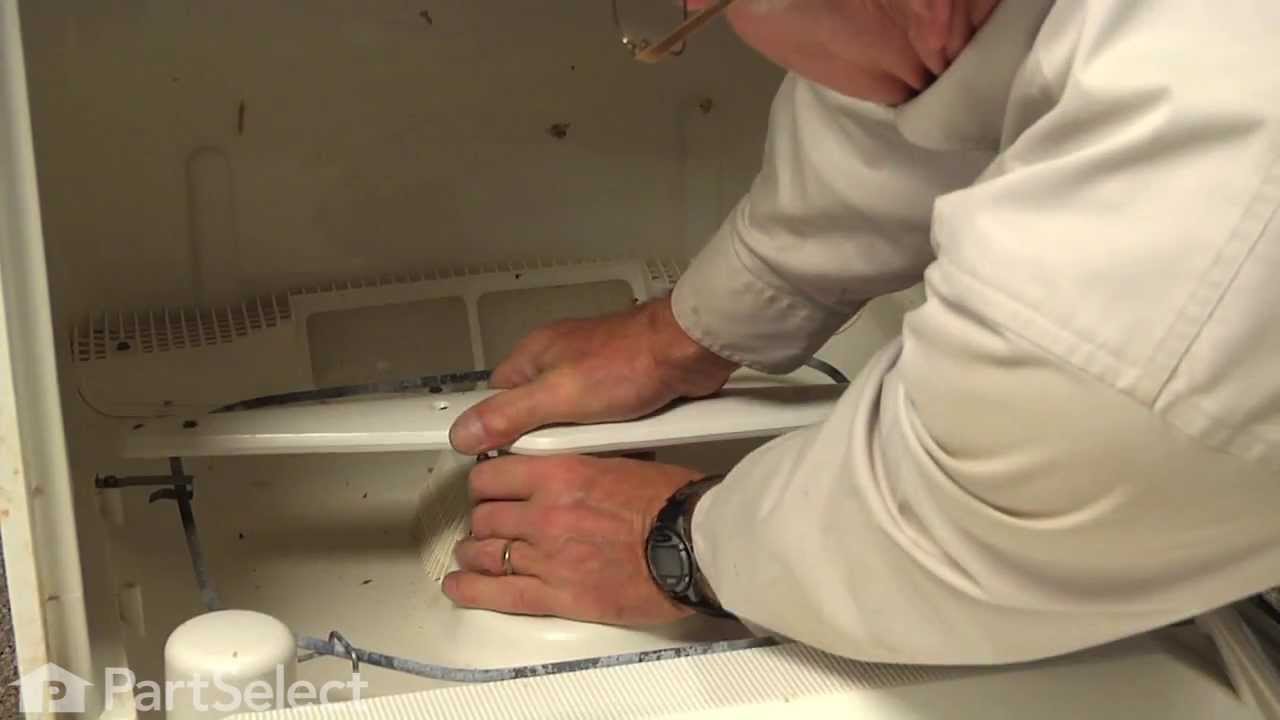
took dishwasher out- put on table to work on-removed wire brace- disconected drain outlet- disconnected top drive seal- removed wire clip connector- removed motor unit----------------
installed new motor/drain unit--used new longer wire brac used adapter to connect electical leads-
tightened clamps and bingo it worked and didnt' leak. good job on the supplying of all the necessary adapers.
Was this helpful?
Thank you for voting!
Blown Motor
33 of 35 people found this instruction helpful.
  • Sean from Winter Garden, FL
  • Really Easy
  • 30 - 60 mins
  • Screw drivers, Socket set
Did the install a few days ago 4.25.11 and all went smoothly. The instructions that came with the kit were very straightforward and the diagrams were extremely helpful in locating brackets/hoses/connections. My dad thought he would just get down there and do it, but wasn't sure what to do. Using the directions with the kit, I had the moto r and pump off in under 5 minutes. FOLLOW THE DIRECTIONS WITH THE KIT!

Some things to note:
- Get some towels/cups/bowls, we had some water leaking from the dishwasher and hoses.
- Be careful removing the dishwasher from the counters, go slow.


1. Shut off electricity
2. Shut off water. I just shut closed the line that went directly to the dishwasher.
3. Removed screws from bottom panel to expose motor and pump assembly.
4. Removed screws securing the dishwasher to the counters.
5. Slowly slid dishwasher from counter and rotated so door was facing the ground carefully to ensure wires/hoses were not pulled or crushed.
6. Removed screw from bottom of motor that was secured to the hanger.
7. Removed ground screw from bottom of motor.
8. Removed all wired connections from the motor and pump.
9. Loosened hose clamp securing the drain line and removed from motor.
10. Loosened 2x hose clamps securing the motor and pump assembly to dishwasher.
11. Ensured everything was clear and disconnected, and slowly removed motor and pump assembly from dishwasher.
12. Test fit new motor and pump assembly.
13. Reconnected 2x connections to the motor and pump.
14. Secured the ground wire to the motor and pump.
15. Slid motor and pump onto dishwasher and secured the 2x hose clamps.
16. Secured screw from the hanger cable to the motor and pump.
17. Reconnected water line to motor and pump, and tightened hose clamp.
18. Ensured all connections were made, hose clamps were tightened, and there were no extra connections.
19. Rotated dishwasher back onto feet.
20. Slowly slid dishwasher back into counters ensuring no cables or hoses were kinked or crushed.
21. Restored electricity and water to dishwasher, and then performed a quick test of one cycle to check for leeks.
22. Secured bottom panel and dishwasher to counters.
23. Enjoyed having a working dishwasher again!
Was this helpful?
Thank you for voting!