


 My Orders


36275212102 Kenmore Range - Overview
Diagrams for 36275212102
See every part. Know exactly what you need.

Enter a part description. DIY Heroes keep it simple, eg. "belt" or "pump".
Search filter:
Clear Filter
Your search term must have 3 or more characters.

$74.43
Special Order
Burner Head - Large - 12K
Part #WB16T10046
If your gas burner isn’t heating evenly or looks worn out, this replacement burner head might be just what you need. It’s about 3.5 inches wide, made of sturdy metal with a silver finish, and rated at 12,000 BTUs for solid cooking power. It spreads gas evenly for a steady flame and fits under the burner cap. Just be sure to turn off the gas and unplug your stove before installing.

$102.99
Special Order

$57.02
Special Order
Small Burner - 5K
Part #WB16K10070
This genuine small burner is an original replacement part from GE, designed for use with a wide range of gas ranges. Positioned between the rangetop and bracket assembly and the burner cap, it plays a key role in generating the flame needed for cooking. No tools are required for installation, making it a quick and convenient replacement. ...Read moreThe burner is sold individually, and users should consult their appliance manual for proper installation and safety guidelines.
Read less

$59.57
Special Order
Burner Cap - Small
Part #WB29K10002

No Longer Available

$13.95
Special Order
Cooktop Mounting Screw
Part #WB01K10008
This is a replacement cooktop mounting screw, used to secure the burner. If you are missing that screw on your range, this is the part to replace it. This screw is about a half an inch in length and is sold individually. It is an OEM part sourced directly from the manufacturer.

$35.46
Special Order

$65.63
Special Order
Burner Tube - Left Front
Part #WB28K10025

$67.27
Special Order
End Cap - Right Side
Part #WB07K10005

$86.55
Special Order

No Longer Available
Burner Tube - Right Front
Part #WB28K10024

No Longer Available
Surface Burner Ignition Switch
Part #WB24K10002
Manuals & Care Guides for 36275212102
Click to downloadCommon Symptoms of the 36275212102
How this model fails, and the parts that fix it.
Gas igniter glows, but will not light
Fixed by
these parts
these parts


Show All
Will Not Start
Fixed by
these parts
these parts


Show All
Gas smell
Fixed by
these parts
these parts
Show All
Element will not heat
Fixed by
these parts
these parts
Show All
Watch our pros, then fix it yourself.
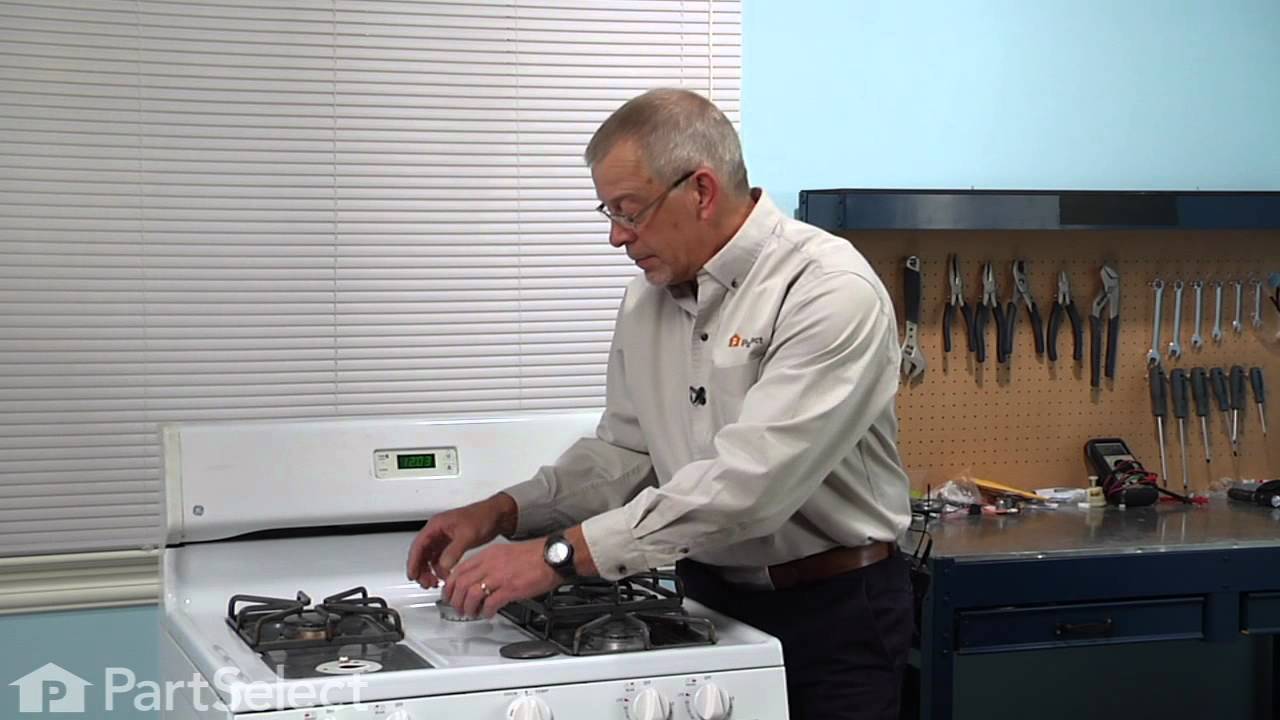
See how others fixed this model. Time, tools, difficulty, and steps that lead to victory!
View More
Search repair tips from other customers using simple keywords like "replace", "fit", "remove", "inspect". DIY doesn't mean you have to do it alone!
Search filter:
Clear Filter
Your search term must have 3 or more characters.
Damaged both front burner tubes.
15 of 15 people
found this instruction helpful.
While i was inserting the new lp,gas orriface to the right rear burner tube I dropped the oriface.Without looking i popped the top of the burner unit, like most older type stoves, and thats when i ran into my problem. I realized the burner tube assemblies are attached by 3 screws to the top cover.Not attached to the cabinet as the older m
... Read more
odels, Basically cracked both front aluminum tubes trying to retrieve the dropped oriface. so i had to replace the burner tube units, which involved removing 3 screws, and loosing up and removal of the nut to the main gas tube. extremely easy repair, next time i`ll try to remember look before i leap,total time to (r+r)burner tubes about 20 minutes.Parts select pulled me out of the fire on this one, great staff and service, with quick delivery.
Read less
Other Parts Used:


Was this helpful?
Thank you for voting!
end caps on range were cracked
9 of 10 people
found this instruction helpful.
I was surprised to find that the 2 screws holding on the plastic end caps were not philips. it looked like an allen wrench deal but that didn't work. Turned out that I had to buy a hex tool. Looked kinda like a swiss army knife but had allen wrench like hex tools in various sizes. By then I was determined to finish the job even if it mean
... Read more
t buying a tool I'd never use again. The job took about five minutes once I had the right tool. The stove looks normal now. The stove looks brand new but for some reason there were cracks in the end caps where the screw hole were.
Read less
Other Parts Used:


Was this helpful?
Thank you for voting!