


 My Orders


36274224300 Kenmore Range - Overview
Diagrams for 36274224300
See every part. Know exactly what you need.

Enter a part description. DIY Heroes keep it simple, eg. "belt" or "pump".
Search filter:
Clear Filter
Your search term must have 3 or more characters.

$19.10
Special Order
Light Bulb - 40W
Part #40A15
This 40-Watt light bulb is sold individually.
It is specially designed to withstand extreme temperatures, so this bulb is compatible with a variety of appliance types including refrigerators, ranges, microwaves, and dryers. It features a frosted glass bulb with a standard metal socket base, which allows you to easily unscrew the burnt-out light and twist the new bulb into place.

$29.72
Special Order

$90.54
Special Order
Oven Rack
Part #WB48T10095
This single chrome oven rack provides a reliable flat cooking surface for your cookware inside of the oven cavity. The oven rack is made of metal and measures approximately 24” wide by 17 1/2” deep. This is a genuine OEM part and is sold individually. Please order quantity needed.

$74.43
Special Order
Burner Head - Large - 12K
Part #WB16T10046
If your gas burner isn’t heating evenly or looks worn out, this replacement burner head might be just what you need. It’s about 3.5 inches wide, made of sturdy metal with a silver finish, and rated at 12,000 BTUs for solid cooking power. It spreads gas evenly for a steady flame and fits under the burner cap. Just be sure to turn off the gas and unplug your stove before installing.

$102.99
Special Order

$15.95
Special Order
RECEPTACLE PUSH-IN
Part #WB08T10026
This part is the replacement light socket for your oven. The oven light socket provides power to the light, and at the same time holds the light bulb in place.

$57.02
Special Order
Small Burner - 5K
Part #WB16K10070
This genuine small burner is an original replacement part from GE, designed for use with a wide range of gas ranges. Positioned between the rangetop and bracket assembly and the burner cap, it plays a key role in generating the flame needed for cooking. No tools are required for installation, making it a quick and convenient replacement. ...Read moreThe burner is sold individually, and users should consult their appliance manual for proper installation and safety guidelines.
Read less

$25.31
Special Order
Liquid Propane Orifice Spud
Part #WB28K10023
This orifice spud changes the burner from natural gas to liquid propane. This orifice is sold individually. Size: .89MM

$18.04
Special Order
Top Electrode Mounting Clip
Part #WB01K10112
This Genuine OEM GE Electrode Clip is a precision-engineered component designed for use across a wide range of gas ranges. Constructed from durable metal, the clip plays a critical role in securing the electrode top within the rangetop and bracket assembly, ensuring stable and reliable ignition performance. Sold individually, this replace...Read morement part is ideal for routine maintenance or repair. For ease of installation, a pair of pliers is often recommended to assist with proper placement. Trust in genuine GE parts to maintain the safety and efficiency of your appliance.
Read less

$289.50
Special Order
Oven Thermostat
Part #WB20K8
This part establishes and maintains the internal temperature of the oven cavity.

$45.61
Special Order
Orifice Spud - LP - Right Rear
Part #WB28K10031
This orifice spud helps convert the right rear burner of compatible GE stoves from natural gas to liquid propane. It ensures proper gas flow and efficient burner performance. Installation should be done with the appliance powered off and gas supply disconnected. Confirm your model number before purchase.

No Longer Available
Common Symptoms of the 36274224300
How this model fails, and the parts that fix it.
Will Not Start
Fixed by
these parts
these parts


Show All
Gas igniter glows, but will not light
Fixed by
these parts
these parts


Show All
Oven is too hot
Fixed by
these parts
these parts
Show All
Gas smell
Fixed by
these parts
these parts


Show All
Little to no heat when baking
Fixed by
these parts
these parts
Show All
Element will not heat
Fixed by
these parts
these parts
Show All
Touchpad does not respond
Fixed by
these parts
these parts

Show All
Timer will not advance
Fixed by
these parts
these parts
Show All
Oven not heating evenly
Fixed by
these parts
these parts
Show All
Watch our pros, then fix it yourself.
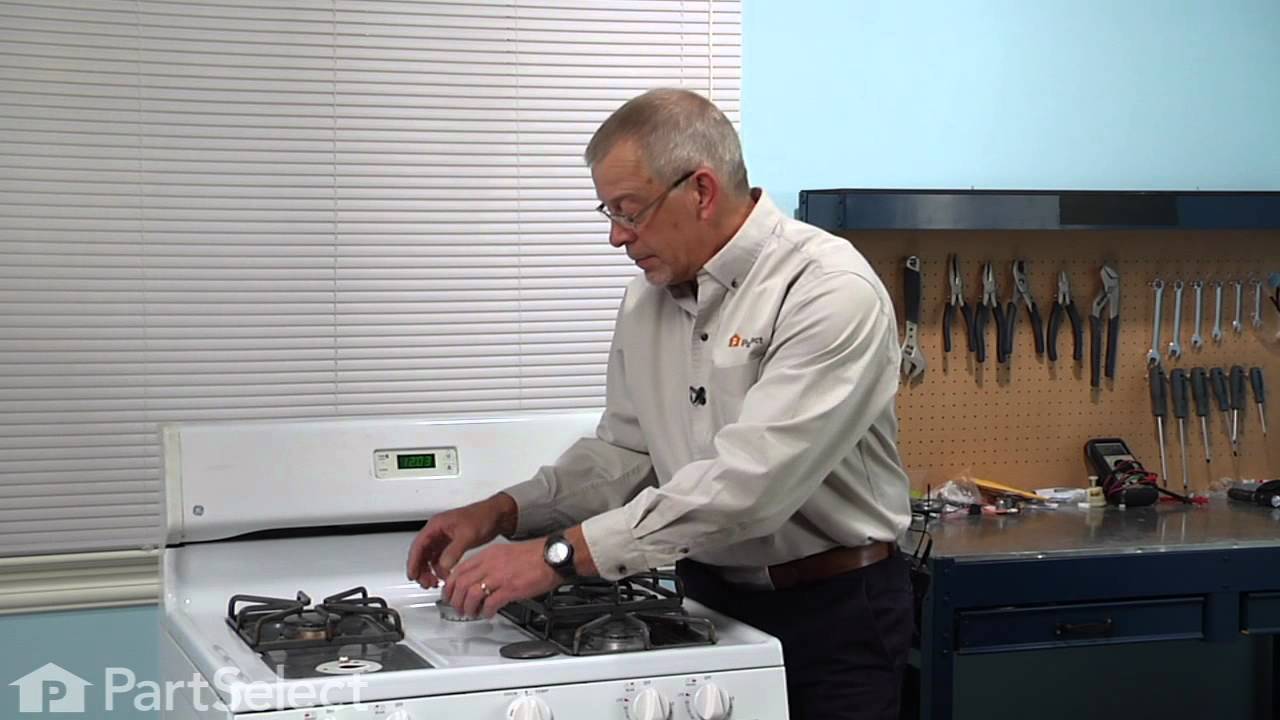
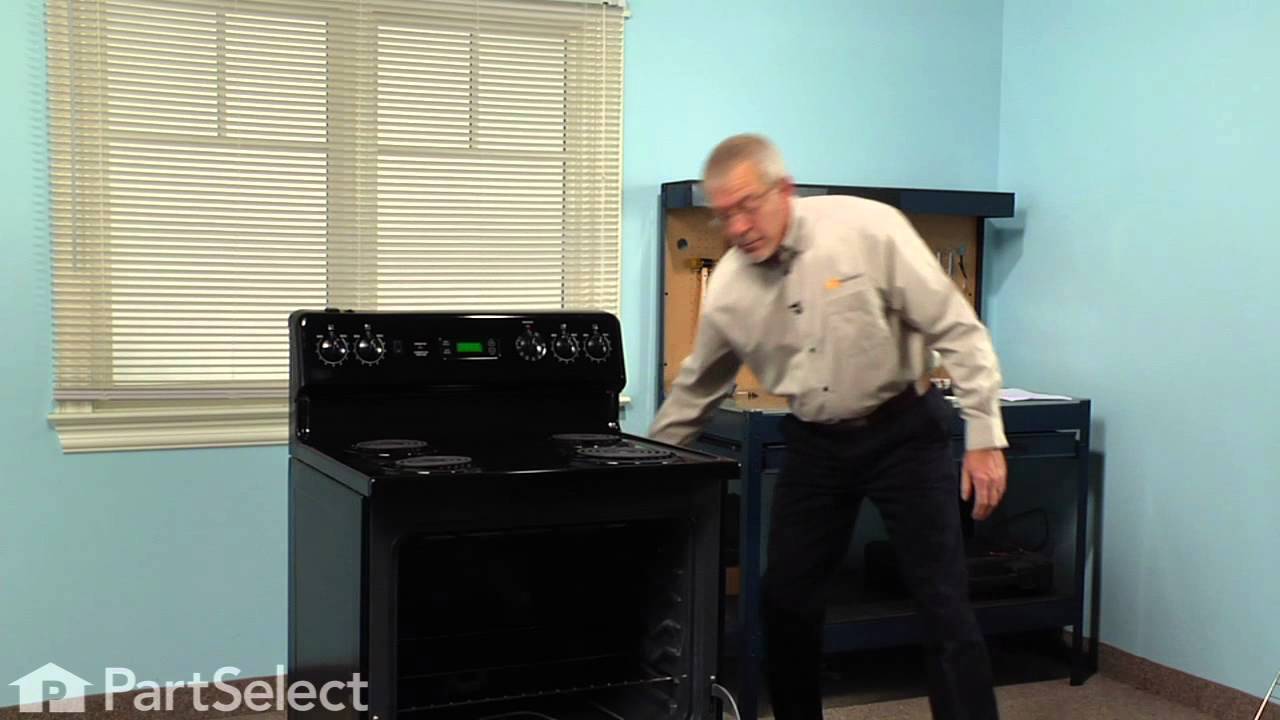
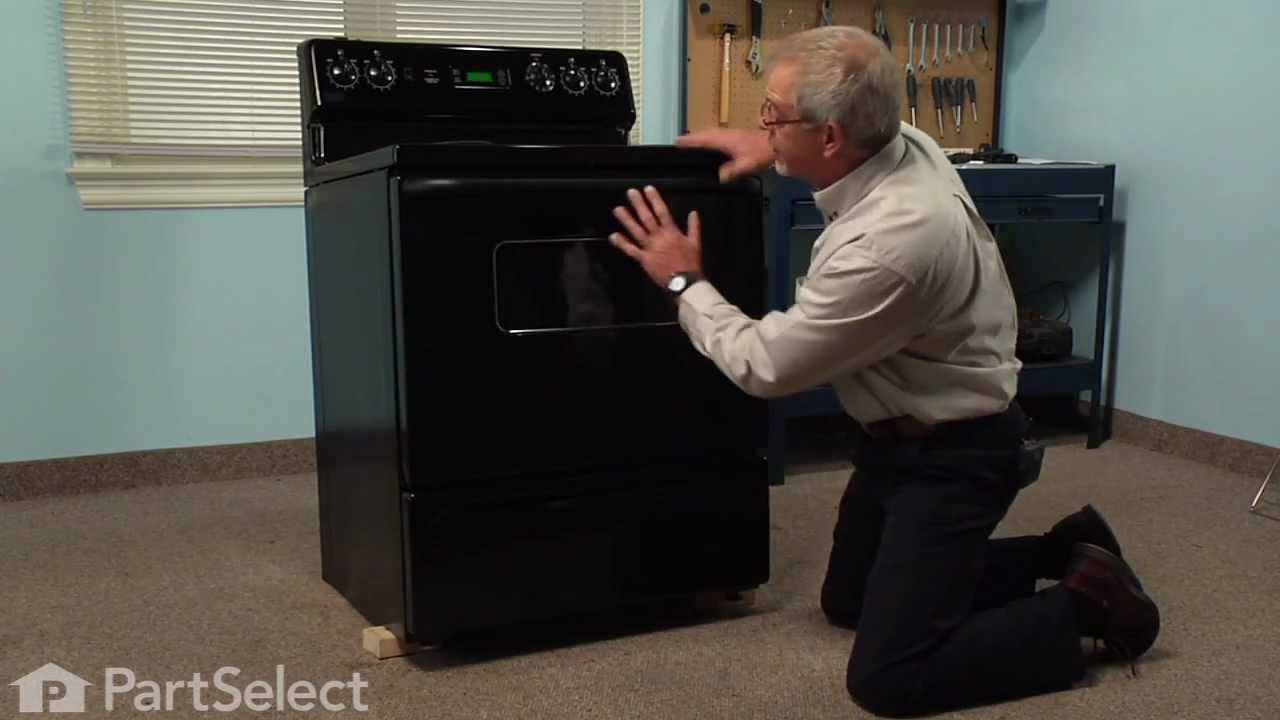

See how others fixed this model. Time, tools, difficulty, and steps that lead to victory!
View More