


 My Orders


36273424202 Kenmore Range - Overview
Diagrams for 36273424202
See every part. Know exactly what you need.

Enter a part description. DIY Heroes keep it simple, eg. "belt" or "pump".
Search filter:
Clear Filter
Your search term must have 3 or more characters.

$19.10
Special Order
Light Bulb - 40W
Part #40A15
This 40-Watt light bulb is sold individually.
It is specially designed to withstand extreme temperatures, so this bulb is compatible with a variety of appliance types including refrigerators, ranges, microwaves, and dryers. It features a frosted glass bulb with a standard metal socket base, which allows you to easily unscrew the burnt-out light and twist the new bulb into place.

No Longer Available

$29.72
Special Order

$102.99
Special Order

$15.95
Special Order
RECEPTACLE PUSH-IN
Part #WB08T10026
This part is the replacement light socket for your oven. The oven light socket provides power to the light, and at the same time holds the light bulb in place.

$18.04
Special Order
Top Electrode Mounting Clip
Part #WB01K10112
This Genuine OEM GE Electrode Clip is a precision-engineered component designed for use across a wide range of gas ranges. Constructed from durable metal, the clip plays a critical role in securing the electrode top within the rangetop and bracket assembly, ensuring stable and reliable ignition performance. Sold individually, this replace...Read morement part is ideal for routine maintenance or repair. For ease of installation, a pair of pliers is often recommended to assist with proper placement. Trust in genuine GE parts to maintain the safety and efficiency of your appliance.
Read less

$63.31
Special Order

$289.50
Special Order
Oven Thermostat
Part #WB20K8
This part establishes and maintains the internal temperature of the oven cavity.

No Longer Available

$98.02
Special Order
Spark Module
Part #WB13X26360
Get your range working again with this spark module. It creates the spark that lights the burners so you can cook safely and efficiently. If your burners aren’t igniting, replacing this part is an easy fix. Works with many GE models—check yours before ordering.

$13.95
Special Order
Cooktop Mounting Screw
Part #WB01K10008
This is a replacement cooktop mounting screw, used to secure the burner. If you are missing that screw on your range, this is the part to replace it. This screw is about a half an inch in length and is sold individually. It is an OEM part sourced directly from the manufacturer.

No Longer Available
BOTTOM OVEN AND DEFLECTOR ASM
Part #WB35X37973
This bottom oven and deflector assembly is a durable metal panel designed to fit beneath the oven floor, protecting the bake element from spills while promoting even heat distribution for consistent cooking results. By directing airflow and preventing hot spots, it helps maintain oven efficiency and performance. Installation is straightfo...Read morerward and can typically be completed with basic tools, making it an essential replacement for restoring your range’s functionality.
Read less
Manuals & Care Guides for 36273424202
Click to downloadCommon Symptoms of the 36273424202
How this model fails, and the parts that fix it.
Will Not Start
Fixed by
these parts
these parts


Show All
Gas igniter glows, but will not light
Fixed by
these parts
these parts

Show All
Oven is too hot
Fixed by
these parts
these parts
Show All
Little to no heat when baking
Fixed by
these parts
these parts
Show All
Touchpad does not respond
Fixed by
these parts
these parts

Show All
Timer will not advance
Fixed by
these parts
these parts
Show All
Oven not heating evenly
Fixed by
these parts
these parts
Show All
Watch our pros, then fix it yourself.
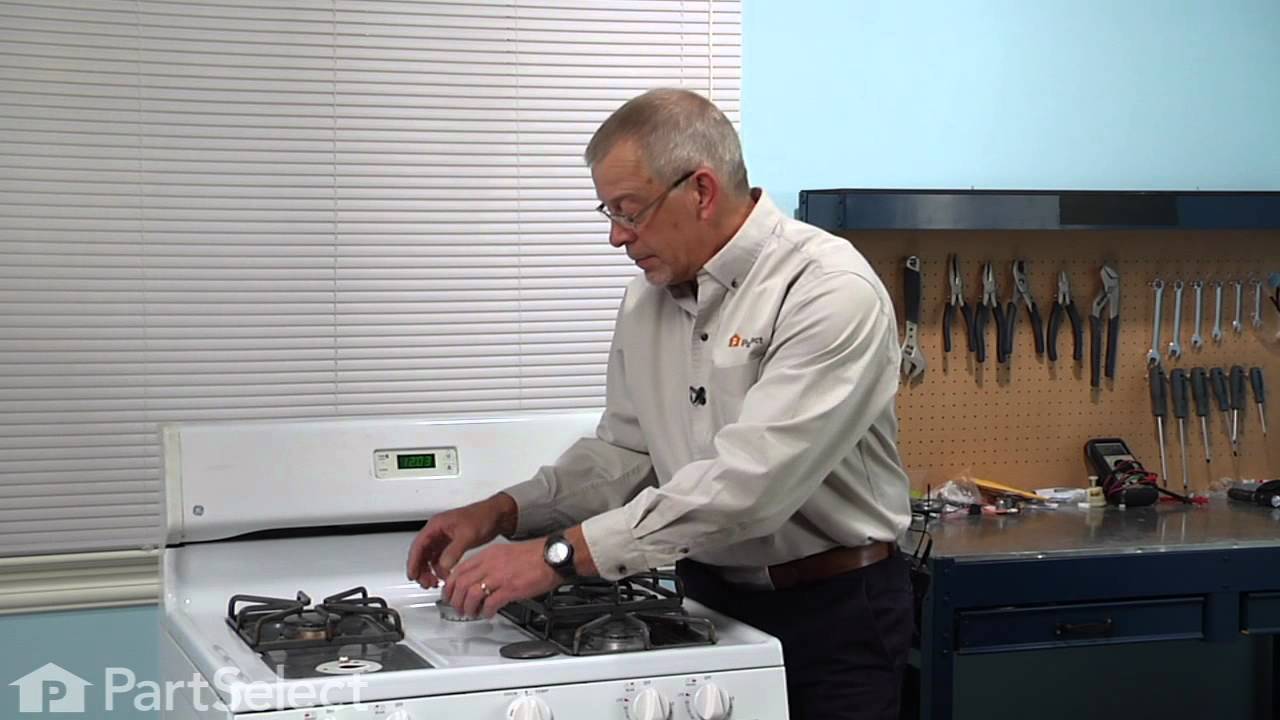
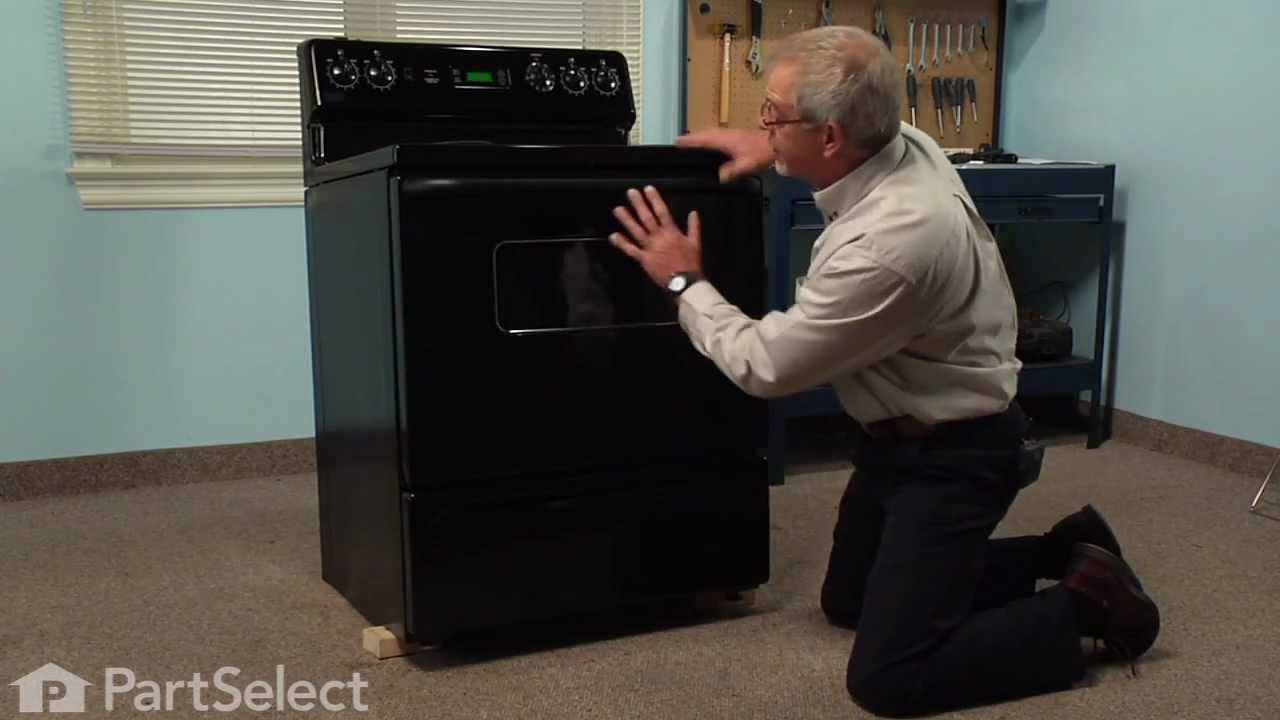

See how others fixed this model. Time, tools, difficulty, and steps that lead to victory!
View More