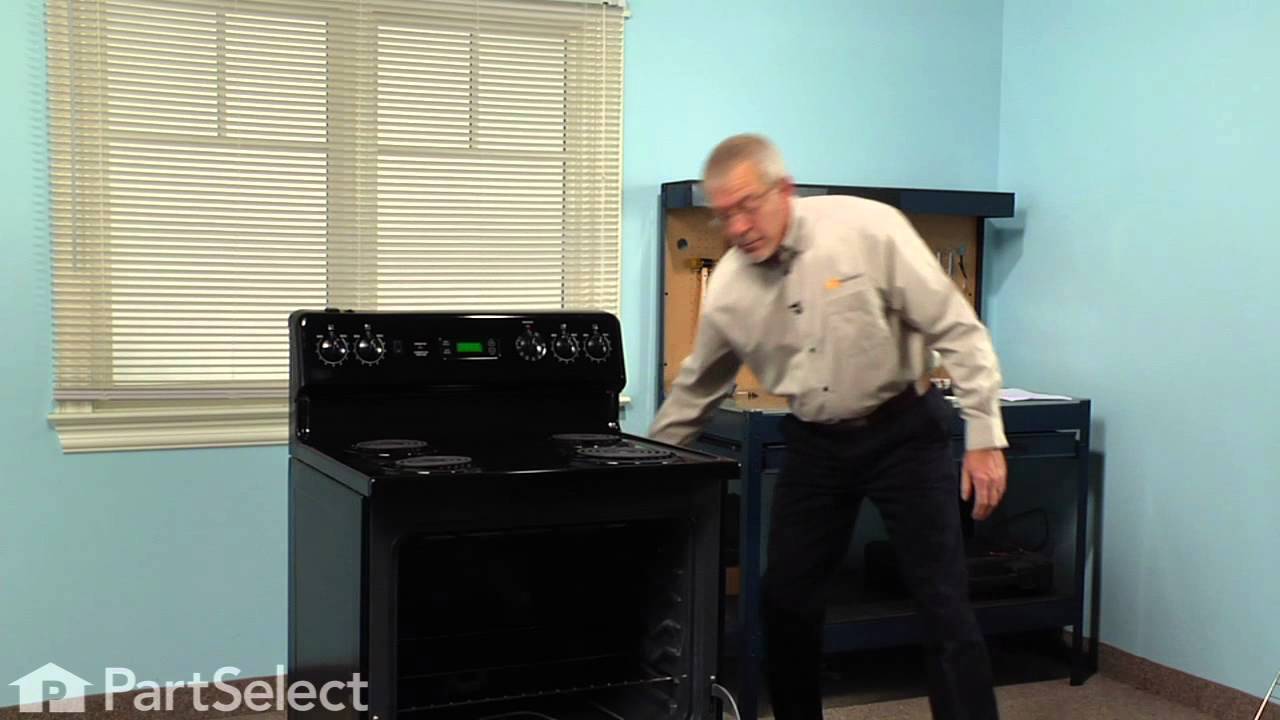
36262020301 Kenmore Range - Overview

Diagrams for 36262020301

See every part. Know exactly what you need.

Enter a part description. DIY Heroes keep it simple, eg. "belt" or "pump".

Search filter:
Clear Filter
Your search term must have 3 or more characters.
Foot - Leveller – Part Number: WB02X10521
$29.72
Special Order
Foot - Leveller
Part #WB02X10521
Sold individually.
Oven Rack – Part Number: WB48T10095
$90.54
Special Order
Oven Rack
★★★★★
★★★★★
(6)
Part #WB48T10095
This single chrome oven rack provides a reliable flat cooking surface for your cookware inside of the oven cavity. The oven rack is made of metal and measures approximately 24” wide by 17 1/2” deep. This is a genuine OEM part and is sold individually. Please order quantity needed.
Double Burner Assembly – Part Number: WB16K10026
No Longer Available
Double Burner Assembly
Part #WB16K10026
Both burners are mounted on the same bracket.
BOTTOM OVEN  AND DEFLECTOR ASM – Part Number: WB35X37973
No Longer Available
BOTTOM OVEN AND DEFLECTOR ASM
★★★★★
★★★★★
(2)
Part #WB35X37973
This bottom oven and deflector assembly is a durable metal panel designed to fit beneath the oven floor, protecting the bake element from spills while promoting even heat distribution for consistent cooking results. By directing airflow and preventing hot spots, it helps maintain oven efficiency and performance. Installation is straightforward and can typically be completed with basic tools, making it an essential replacement for restoring your range’s functionality.
BRACKET ANTI-TIP Assembly – Part Number: WB02K10254
$35.46
Special Order
Screw – Part Number: WB01K10002
$100.92
Special Order
Screw
Part #WB01K10002
Size: 8-32 inch Sold individually.
Screw - Package of 12 – Part Number: WZ4X345D
$93.28
Special Order
Screw - Package of 12
Part #WZ4X345D
Range Surface Burner Valve – Part Number: WB21K10081
No Longer Available
Range Surface Burner Valve
Part #WB21K10081
Oven Burner and Pilot Assembly – Part Number: WB16K10061
$136.25
Special Order
Oven Burner and Pilot Assembly
Part #WB16K10061
This part includes the Thermal Coupler.
KNOB-TOP BURNER (BLACK) – Part Number: WB03K10007
No Longer Available
KNOB-TOP BURNER (BLACK)
Part #WB03K10007
Burner Grate – Part Number: WB31K10012
No Longer Available
Burner Grate
Part #WB31K10012
This black grate is sold individually.
Natural Gas Orifice – Part Number: WB28K10033
No Longer Available
Natural Gas Orifice
Part #WB28K10033
Sold individually.

Manuals & Care Guides for 36262020301

Click to download

Common Symptoms of the 36262020301

How this model fails, and the parts that fix it.

Watch our pros, then fix it yourself.
See how others fixed this model. Time, tools, difficulty, and steps that lead to victory! View More

Search repair tips from other customers using simple keywords like "replace", "fit", "remove", "inspect". DIY doesn't mean you have to do it alone!

Search filter:
Clear Filter
Your search term must have 3 or more characters.
Oven pilot light glowed but would not light.
28 of 34 people found this instruction helpful.
  • Terry from Indianola, WA
  • Easy
  • 30 - 60 mins
  • Screw drivers, Wrench (Adjustable)
Sadly, we had order the whole burner assembly , when it was just the thermocouple that was burn up. Pull oven away from wall, access burner assembly, take panel off behind control knobs (4 screws)to expose thermocouple. Install new copper line (thermocouple is attached) in same place where old line comes out. This was kind of tricky , yo u have to fish it through the insulation. One half goes down to oven burner and one goes to top of oven for stove top burner. Once in place, screw nut down on both ends to hold in place. Put it all back together. No need to replace burner unit if that was not the problem. Now you have a spare.
Was this helpful?
Thank you for voting!
My old burners were beyond the point of coming clean and made my stove top look bad.
23 of 30 people found this instruction helpful.
  • Helen from Flemington, NJ
  • Easy
  • Less than 15 mins
My husband and I simply took the burner units out of the packing, took the old ones off, put the new ones in. The new units needed to be leveled, but the leveling nuts included fit perfectly, and the entire repair took less than 15 minutes.
Was this helpful?
Thank you for voting!
Pies Boiled Over And Baked On Oven Bottom
20 of 25 people found this instruction helpful.
  • Marjorie from Yucca Valley, CA
  • Really Easy
  • Less than 15 mins
  • Screw drivers
Removed the two screws put the heat shield off the old one onto the new one put new bottom in and tightened two screws. Done #38. 69 Cost of part with shipping cost included.
Was this helpful?
Thank you for voting!