


 My Orders


362610 Kenmore Range - Overview
Models starting with 362610
Click on the best match to narrow your results.
- 3626101190 Kenmore Range
- 3626101191 Kenmore Range
- 3626101192 Kenmore Range
- 3626101194 Kenmore Range
- 3626101195 Kenmore Range
- 3626101196 Kenmore Range
- 3626101197 Kenmore Range
- 3626101890 Kenmore Range
- 3626101891 Kenmore Range
- 3626101892 Kenmore Range
- 3626101894 Kenmore Range
- 3626101895 Kenmore Range
- 3626101896 Kenmore Range
- 3626101897 Kenmore Range
- 36261020101 Kenmore Range
- 36261020102 Kenmore Range
- 36261020103 Kenmore Range
- 36261021890 Kenmore Range
- 36261021891 Kenmore Range
- 36261021892 Kenmore Range
- 36261021893 Kenmore Range
- 36261021894 Kenmore Range
- 36261028890 Kenmore Range
- 36261028891 Kenmore Range
- 36261028892 Kenmore Range
- 36261028893 Kenmore Range
- 36261028894 Kenmore Range
- 36261061690 Kenmore Range
Enter a part description. DIY Heroes keep it simple, eg. "belt" or "pump".
Search filter:
Clear Filter
Your search term must have 3 or more characters.

$29.72
Special Order

$17.70
Special Order
Liquid Propane Orifice Spud
Part #WB28K10376
This is the replacement propane orifice for your gas range. You will find the orifice under the cooktop, beneath the burner. This part supplies liquid propane from the gas line to the stove top. Be sure to disconnect your range from its power source and turn off the gas line before you begin this repair. The orifices should simply screw o...Read moreut, and the new one will screw in. This part is about ¼ of a inch in diameter and is gold in color. It is sold individually and is a genuine OEM part.
Read less

$68.19
Special Order

No Longer Available

No Longer Available
BOTTOM OVEN AND DEFLECTOR ASM
Part #WB35X37973
This bottom oven and deflector assembly is a durable metal panel designed to fit beneath the oven floor, protecting the bake element from spills while promoting even heat distribution for consistent cooking results. By directing airflow and preventing hot spots, it helps maintain oven efficiency and performance. Installation is straightfo...Read morerward and can typically be completed with basic tools, making it an essential replacement for restoring your range’s functionality.
Read less

$35.46
Special Order

$100.92
Special Order

$93.28
Special Order
Screw - Package of 12
Part #WZ4X345D

No Longer Available
KNOB-THERMOSTAT (BLACK)
Part #WB03K10006

No Longer Available
KNOB-TOP BURNER (BLACK)
Part #WB03K10007

No Longer Available
HANDLE
Part #WB15K3

$14.91
Special Order
Range Screwmtg Valve Burner 1
Part #WB1K83
Common Symptoms of models starting with 362610
How this model fails, and the parts that fix it.
Gas igniter glows, but will not light
Fixed by
these parts
these parts

Show All
Will Not Start
Fixed by
these parts
these parts
Show All
Element will not heat
Fixed by
these parts
these parts
Show All
Gas smell
Fixed by
these parts
these parts
Show All
Watch our pros, then fix it yourself.
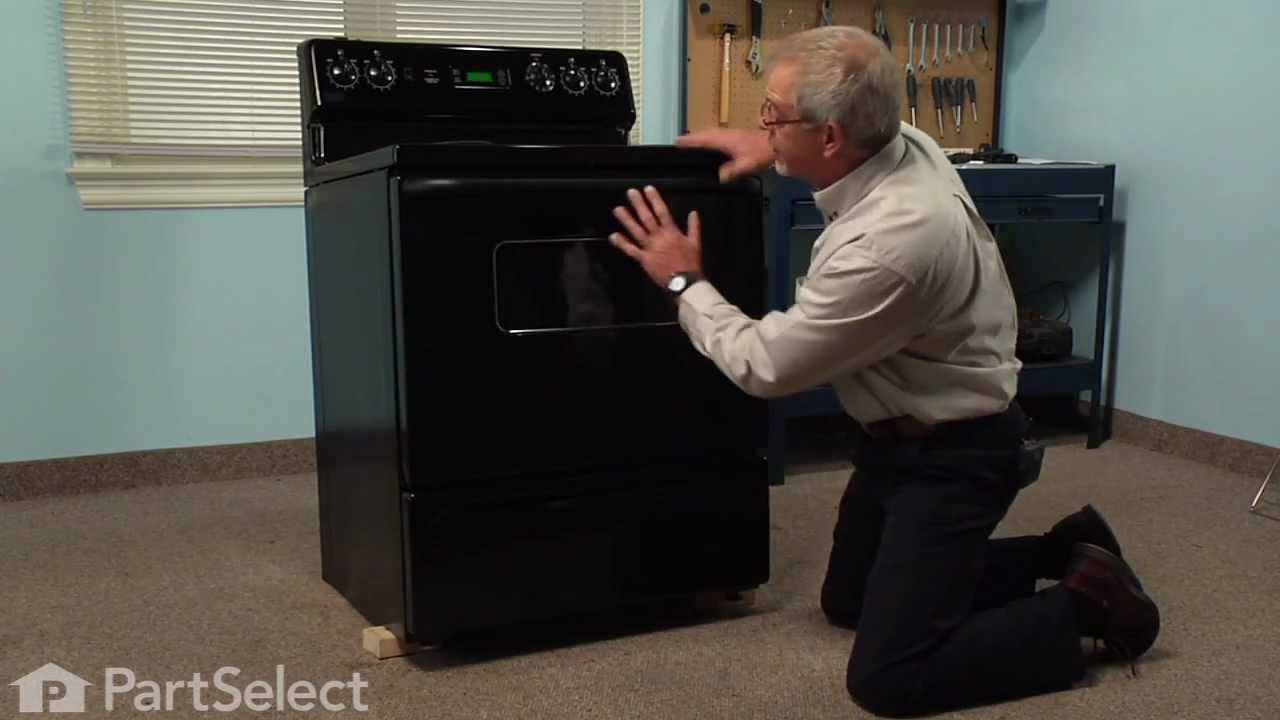
See how others fixed this model. Time, tools, difficulty, and steps that lead to victory!
View More
Search repair tips from other customers using simple keywords like "replace", "fit", "remove", "inspect". DIY doesn't mean you have to do it alone!
Search filter:
Clear Filter
Your search term must have 3 or more characters.
two of the burners were not working at all, the other two were blackening pots and pans
20 of 29 people
found this instruction helpful.
I turned off the gas flow to the appliance, removed the old oriface spuds with the adjustable wrench, inserted the new oriface spuds and tightened them with the adjustable wrench. The double burner assembly just dropped on. They fit perfectly. I did not have to use the leveling nuts that were included with the burners. The old levelers we
... Read more
re still in place and set perfectly for the new burners. Very easy repair, and the range works like a new one.
Read less
Other Parts Used:


Was this helpful?
Thank you for voting!