


 My Orders


3624 Magic Chef Range - Overview
Models starting with 3624
Click on the best match to narrow your results.
Enter a part description. DIY Heroes keep it simple, eg. "belt" or "pump".
Search filter:
Clear Filter
Your search term must have 3 or more characters.

$26.41
In Stock
Light Bulb - 40W
Part #8009
This an authentic OEM 40-Watt replacement light bulb, used in a number of household appliances. It is specially designed to withstand extreme temperatures, which is why these replacement bulbs are most often used to light the inside of refrigerators and ranges. It features a standard socket base, which means you simply unscrew the burnt-o...Read moreut bulb and screw in the replacement. Depending on the appliance you may require a screwdriver or nut driver to access the light bulb. We recommend you wear work gloves while handling this replacement part. It is constructed of glass and metal and is sold individually. Depending on the appliance and location of the bulb within it, you may want to consider disconnecting power and using a flashlight for easier access to unscrewing and re-screwing in your bulb during this repair.
Read less

$64.85
In Stock
Oven Bake Element
Part #WP74003019
This oven bake element with push-on terminals has a terminal depth of three inches, making a total element length of nineteen inches.

$30.40
In Stock
Screw
Part #W11233072
This is a multi-use and multi-appliance screw. It can be used on a microwave, refrigerator, range/oven, air conditioner, dehumidifier, washer, or dryer. The measurements of this screw are 8 x 1/2 inch. It has 6 threads. Refer to the manual provided by the manufacturer for further information on repair and accurate guidance. Remember to wear work gloves as a safety precaution.

$41.51
In Stock
Range Terminal Block
Part #WPW10245259
It provides a way of connecting individual electrical wires and offers protection of the device from electrical surges (voltages and/or currents).

$64.85
In Stock
Door Seal
Part #WP7212P043-60
This door seal is fifty-three inches long. It is all black in color and is made of rubber. There are metallic clips sticking out of this seal at various points. These clips help to secure the seal to range doors.

$15.34
In Stock

No Longer Available

$12.95
In Stock

$75.39
In Stock
Range Light Assembly
Part #WP7407P182-60
Restore light inside a compatible oven with this replacement light socket assembly. It powers the oven bulb so you can view food without opening the door. Replace the socket if it is burned, broken, or no longer sends power to the bulb. Disconnect power before installation. Use the exact model number to confirm fit.

$219.69
Special Order

$81.52
In Stock

$130.69
In Stock
Selector Switch
Part #WP7403P255-60
This selector switch allows users to choose operating modes or cycles by directing electrical power to the appropriate components. Designed for smooth rotation and dependable contact, it is commonly replaced when selections fail to engage or operate correctly.
Exact Part matches for your search term

No Longer Available
No Longer Available
Common Symptoms of models starting with 3624
How this model fails, and the parts that fix it.
Little to no heat when baking
Fixed by
these parts
these parts


Show All
Element will not heat
Fixed by
these parts
these parts

Show All
Oven not heating evenly
Fixed by
these parts
these parts
Show All
Will Not Start
Fixed by
these parts
these parts
Show All
Oven is too hot
Fixed by
these parts
these parts
Show All
Touchpad does not respond
Fixed by
these parts
these parts
Show All
Door won’t close
Fixed by
these parts
these parts
Show All
Watch our pros, then fix it yourself.
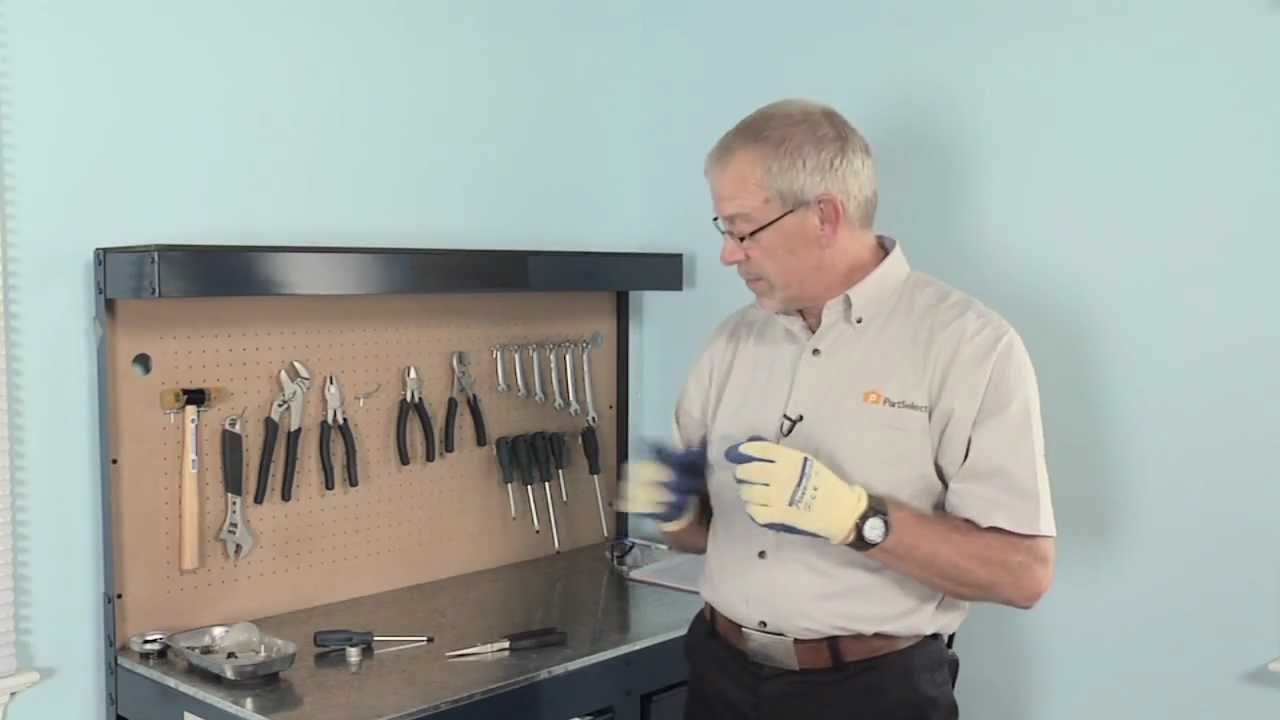
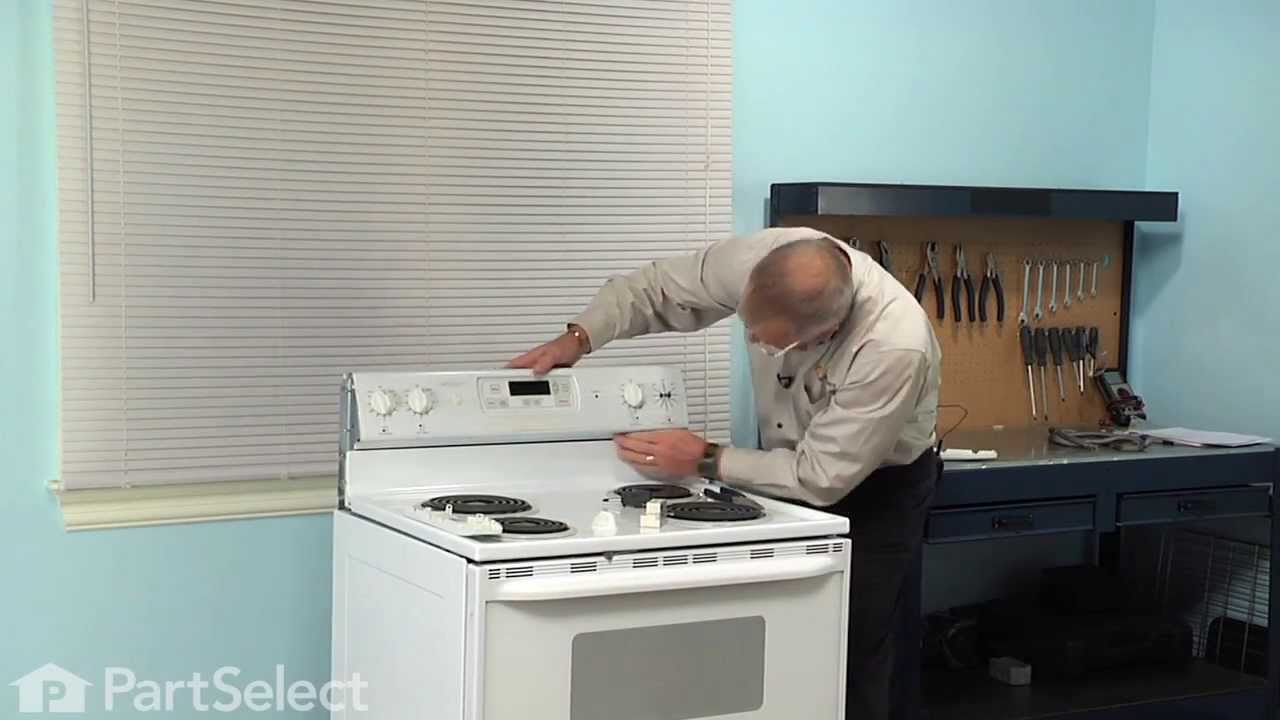
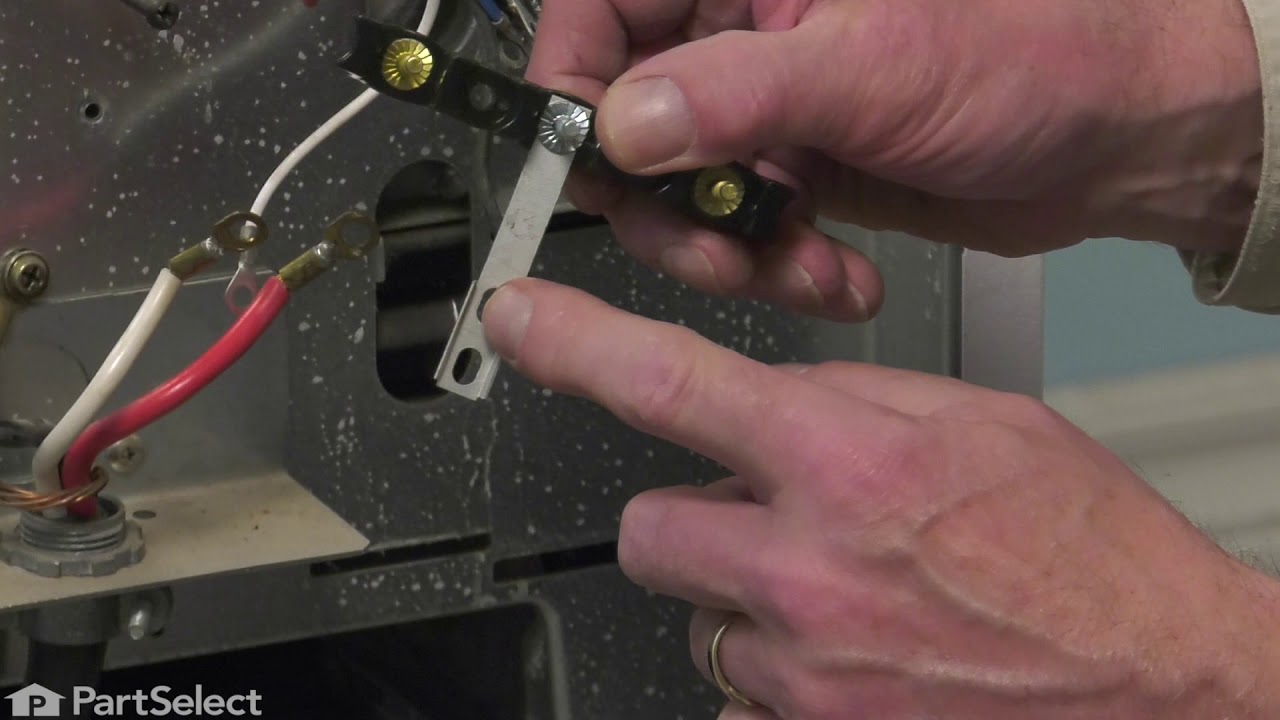

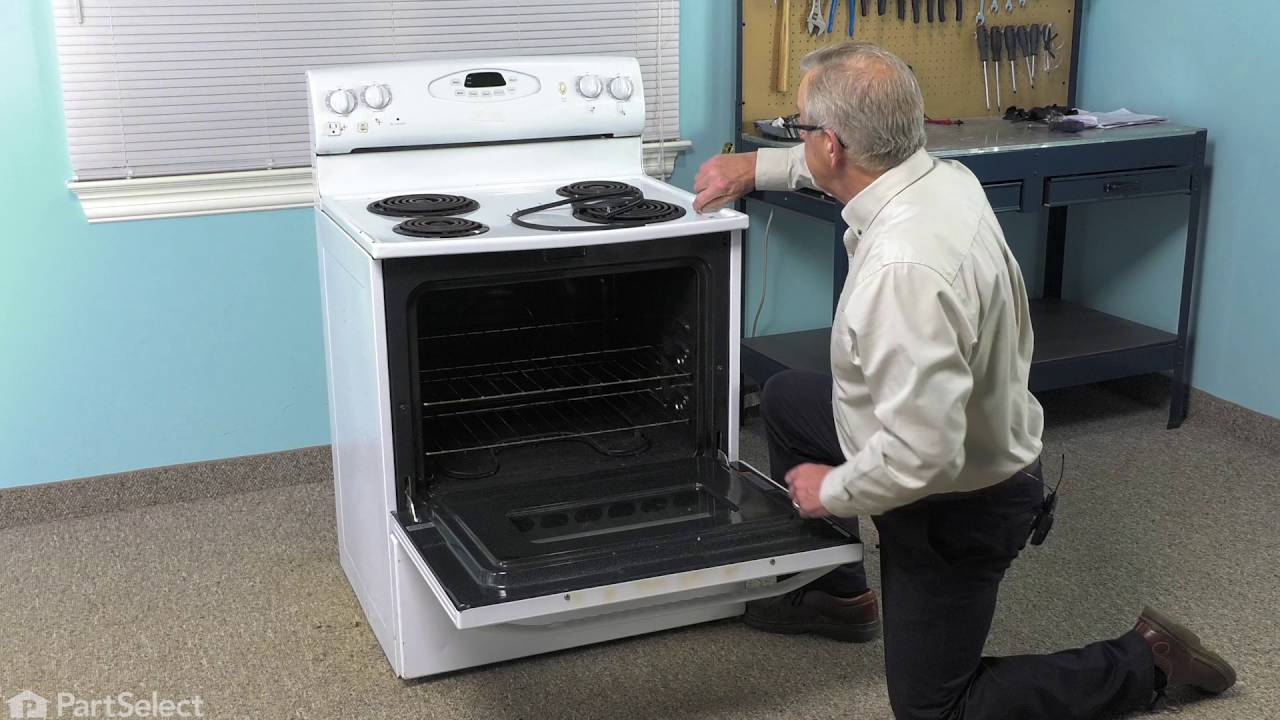
See how others fixed this model. Time, tools, difficulty, and steps that lead to victory!
View More