35044262 (ABWEEUS) LG Washer Dryer Combo - Overview

Enter a part description. DIY Heroes keep it simple, eg. "belt" or "pump".

Search filter:
Clear Filter
Your search term must have 3 or more characters.
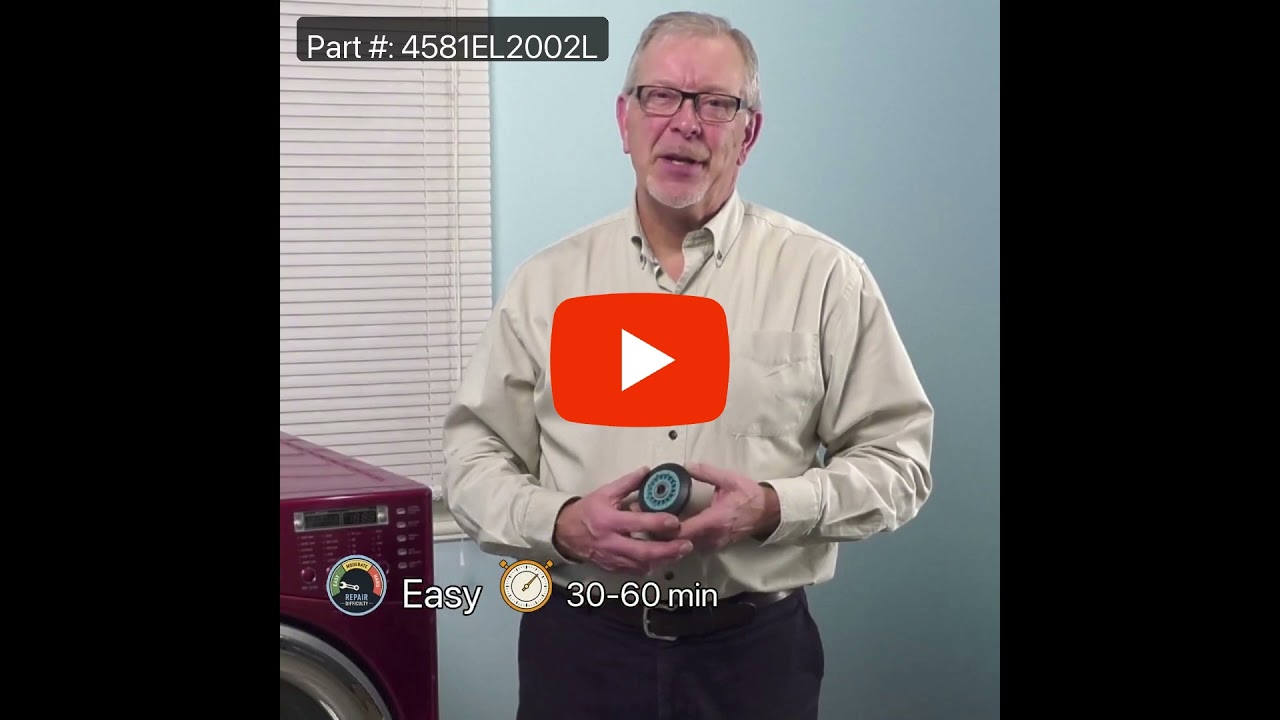
4 PACK ROLLER ASSEMBLY – Part Number: 4581EL2002L
$141.66
In Stock
4 PACK ROLLER ASSEMBLY
★★★★★
★★★★★
(14)
Part #4581EL2002L
The drum support roller for your dryer holds the drum in place while the drum turns on the support wheels. The drum roller is round with a bearing in the middle and measures approximately 3 inches in diameter. If the dryer is noisy, won’t tumble, or takes too long to dry, you might need to replace the support roller. It is recommended that you replace both rollers at once. The bearing inside this roller is self-lubricating, so no grease will be required. Please remember to disconnect the power to your appliance before starting your repair. This is a genuine OEM part.
Dryer Lint Filter – Part Number: 5231EL1003B
$71.45
In Stock
Dryer Lint Filter
★★★★★
★★★★★
(22)
Part #5231EL1003B
This part has the felt strip and is used to collect lint as it passes through the dryer vent. The lint filter in your dryer is used to collect lint as it passes through the dryer vent. If you notice that your dryer is not providing enough heat, or if it takes too long to dry, you may need to replace the lint filter. You should also replace the lint filter if you notice it is damaged during regular maintenance. Many of our customers have rated this repair as easy. To complete the repair, simply remove the old lint filter and replace it with the new one. You may want to use a flat head screwdriver to remove any residual lint before you install the new filter.
Moisture Sensor – Part Number: 6500EL3001A
$20.85
In Stock
Moisture Sensor
★★★★★
★★★★★
(3)
Part #6500EL3001A
The moisture sensor, also known as a humidity sensor, works in conjunction with your dryer by helping determine the amount of moisture in the drum to reduce overdrying. If the timer doesn’t advance correctly, it is suggested to check the moisture sensor bar for damage. A damaged sensor can cause the automatic drying cycle to not work properly and will need to be replaced. This is a genuine OEM part. Please remember to disconnect the power to the dryer before starting this repair.
Dryer Drum Belt – Part Number: 4400EL2001F
$72.55
In Stock
Dryer Drum Belt
★★★★★
★★★★★
(3)
Part #4400EL2001F
The drive belt is made to wrap around the drum, working with the tension pulley to rotate the drum. If your dryer drum will not turn, then you may need to replace your belt. This drive belt is 1/4-inch wide with 4 ribs and 3 grooves. It is recommended to disconnect the power to your dryer before you start your repair. This drive belt is a genuine OEM part.
Felt Seal – Part Number: 4036EL3001A
$52.75
In Stock
Blower Thermostat – Part Number: 6931EL3002M
$46.15
In Stock
Pulley Idle – Part Number: 4560EL3001A
$42.99
In Stock
Pulley Idle
Part #4560EL3001A
Dryer Leg – Part Number: 4778EL3001B
$13.15
In Stock
Dryer Leg
Part #4778EL3001B
This plastic adjustable dryer leg is used to support the weight and adjust the height of your dryer to keep it level. To install the leg, tip the dryer back and screw it into the bottom of your dryer unit. Please note that this dryer leg is sold individually.
High Limit Thermostat and Thermistor Kit – Part Number: AGM30045804
$89.05
In Stock
High Limit Thermostat and Thermistor Kit
★★★★★
★★★★★
(1)
Part #AGM30045804
This thermistor is used in dryer
Side Venting Kit – Part Number: 3911EZ9131X
$107.90
In Stock
Safety Switch Assembly – Part Number: EBF61496102
$46.15
In Stock
Drive Motor – Part Number: 4681EL1008A
$354.21
On Order
Drive Motor
★★★★★
★★★★★
(4)
Part #4681EL1008A
This motor works with the belt to drive your dryer's drum.

Common Symptoms of the 35044262

How this model fails, and the parts that fix it.

Watch our pros, then fix it yourself.
See how others fixed this model. Time, tools, difficulty, and steps that lead to victory! View More

Search repair tips from other customers using simple keywords like "replace", "fit", "remove", "inspect". DIY doesn't mean you have to do it alone!

Search filter:
Clear Filter
Your search term must have 3 or more characters.
Dryer making a thumping and squealing noise when running
132 of 171 people found this instruction helpful.
  • Mark from WAVERLY, OH
  • Easy
  • 30 - 60 mins
  • Screw drivers, Wrench (Adjustable), Wrench set
Had to replace front drum support rollers. Removed screws underneath top in back that held bracket that keeps top in place. Slid top towards rear and lifted up. Removed 4 screws that hold plastic front panel in place (inside..2 on each corner) Unplugged front panel electric plugs to remove panel. Opened door..removed 2 screws at bottom of door opening. Removed screws on top of front panel. Unplugged door switch plug. Removed front panel. Removed right front roller with 9/16th wrench for nut. Adjustable for back of stud. Lifted up on drum to get roller out. Reversed to install. Left roller a bit harder to get to stud. Removed and installed same as right side. Did not attempt to replace rear rollers. Have them if needed but very much more involved to replace.
Was this helpful?
Thank you for voting!
Screeching during operation
66 of 101 people found this instruction helpful.
  • CAROL from NAMPA, ID
  • Really Easy
  • More than 2 hours
  • Pliers, Screw drivers
Found disassembly video and watched several times. Suspected that one of the drum wheels had seized up. Found extreme volume of lint and hair inside unit as well as a dryer sheet melted on top of heating unit. Front left drum wheel was worn down from lint and hair jamming its movement. Video made it easy, not a really complicated piec e of machinery. Replaced all 4 wheels due to normal wear on other three. Wanted to be sure drum evenly balanced on all 4. Parts came quickly and were easy to install. My sister and I did this together. Would not recommend doing it alone. Took time to vac and wipe down entire unit. Now it runs so quiet we have to look to see if it is operating. Got a brand new machine out of it, saved a couple of hundred dollars in repair bills, and found 11 cents inside the machine. For your own piece of mind, if you have had your dryer for several years, you need to open it up and clean it out. Its not hard... added note, we are both in our 60's... so if we can do it so can you.... Such a feeling of accomplishment, can't buy that in a store....
Was this helpful?
Thank you for voting!
No heat; flow-sense error diagnosed but no blockage in exhaust.
17 of 17 people found this instruction helpful.
  • Daniel from MANALAPAN, NJ
  • A Bit Difficult
  • 1- 2 hours
  • Screw drivers
The first thing I did was locate a copy of the Service Manual (not the User / Owner Manual). After looking at that and looking online I learned that there is no sensor for the Flow Sense feature itself. The Flow Sense doesn't detect a blockage. It detects excessive heat and the manufacturer has simply concluded that too much heat is most likely caused by a blocked duct and then it activates the Flow Sense safety feature: cutting off the heat source. Since I knew it was a heat problem I figured I'd get inside and check the two thermostats and the igniter. Igniter was fine, one thermostat was fine, the other one - the High Limit Thermostat - was giving inconsistent readings. I replaced it. Here's how: First I took the dryer apart. This is a little time consuming. There are a lot of parts that need to come out. I recommend that you put the screws in small baggies with a note as to where you took them out of so that you know where they go when you put it back together. You need to remove part of the back, the top and the front. I removed the electrical box because that is what is shown in the manual but I'm not convinced that I needed to. See if you can get the rest of the dryer apart without removing it but if you have to remove it it's not that big of a deal. It's a little tricky to detach the wire harnesses is all. And extra steps, of course. I did not remove the drum. Instead I just reached inside with the front off and pulled the wires off the thermostats to test them for resistance with a multimeter. It was kind of a pain and a little awkward but I did not want to mess with the drum tensioner. Once I figured out that the High Limit Thermostat was the likely culprit I removed it - which required a very short Phillips head screw driver and some patience since I could not actually see one of the screws. But all good. Just remember which wire goes on which terminal. Make a note for yourself: gray back / red front - something like that. Then I ordered the part and installed the new one and rebuilt the dryer in reverse from what I did.

Now, here's the thing: I actually did two things: aside from changing the thermostat I also thoroughly cleaned out the dryer. Somehow a lot of lint built up in there - no idea how since it all appeared to leave the dryer through the vent. but there must be some small gap somewhere. I cleaned everything including the flame detector. When I put it all back together it worked but I'm not 100% sure that the thermostat was bad. It's at least possible that all the lint and dirt was messing with the way the thermostats behaved. So what I would recommend, if you have this problem, is to clean it out first and then put it back together enough to run it and see of the heat comes on. It will take maybe 30-60 seconds for the heat to come on while the igniter lights. If not, go ahead and replace whichever thermostats or other parts you think are broken.
Was this helpful?
Thank you for voting!