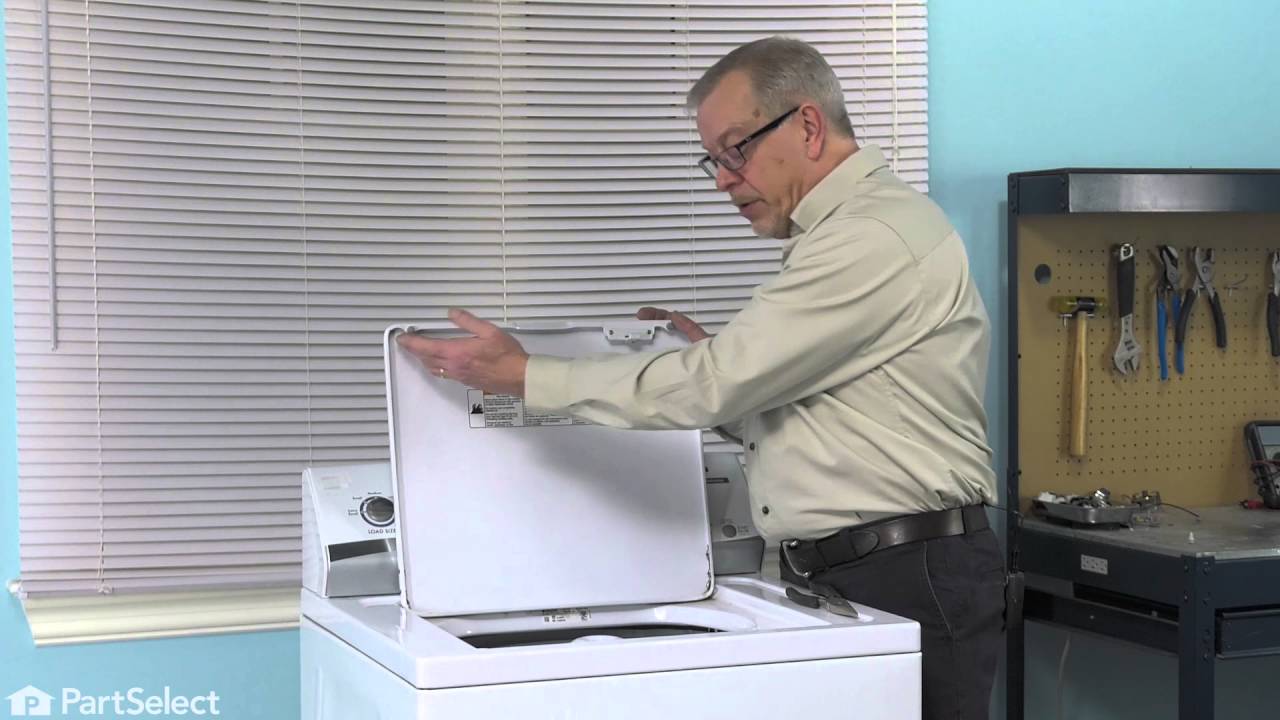
2LA5700XMW0 Whirlpool Washer - Overview

Enter a part description. DIY Heroes keep it simple, eg. "belt" or "pump".

Search filter:
Clear Filter
Your search term must have 3 or more characters.
Touch-Up Paint - White – Part Number: 72017
No Longer Available
Touch-Up Paint - White
★★★★★
★★★★★
(23)
Part #72017
This 18 ml bottle of white appliance touch-up paint is used to cover scratches or marks on your appliance. The white touch-up paint can be used on refrigerators, microwaves, ranges, clothes dryers, and freezers. This is a genuine OEM part and includes a brush applicator. Please remember to wear gloves to protect your hands when applying this paint.
Centerpost Gasket – Part Number: W10814296
$12.01
In Stock
Centerpost Gasket
★★★★★
★★★★★
(6)
Part #W10814296
This main outer tub seal is a critical component that prevents water from leaking at the bottom of the tub during operation. Measuring approximately 2 inches in diameter, it is constructed from durable black plastic for long-lasting performance. Proper installation requires disconnecting power, drain hose, and inlet hose, followed by removing the outer cabinet and the entire tub assembly. Inspect the seal for cracks or wear during maintenance to avoid leaks and ensure optimal washer performance.
Lid Switch – Part Number: W10820036
$33.28
In Stock
Lid Switch
★★★★★
★★★★★
(7)
Part #W10820036
Keep your washer or dryer running safely with this easy-to-install lid or door switch kit. It stops the machine from working when the door is open, helping prevent spills and accidents. Compatible with many models, this small but important part fits neatly inside your appliance and comes with everything you need for installation. Just unplug your machine, swap out the old switch, and you're good to go. It’s about 2.5 inches long and blends in with most interiors.
Washer Hose Clamp – Part Number: WP596669
$11.52
In Stock
Washer Hose Clamp
Part #WP596669
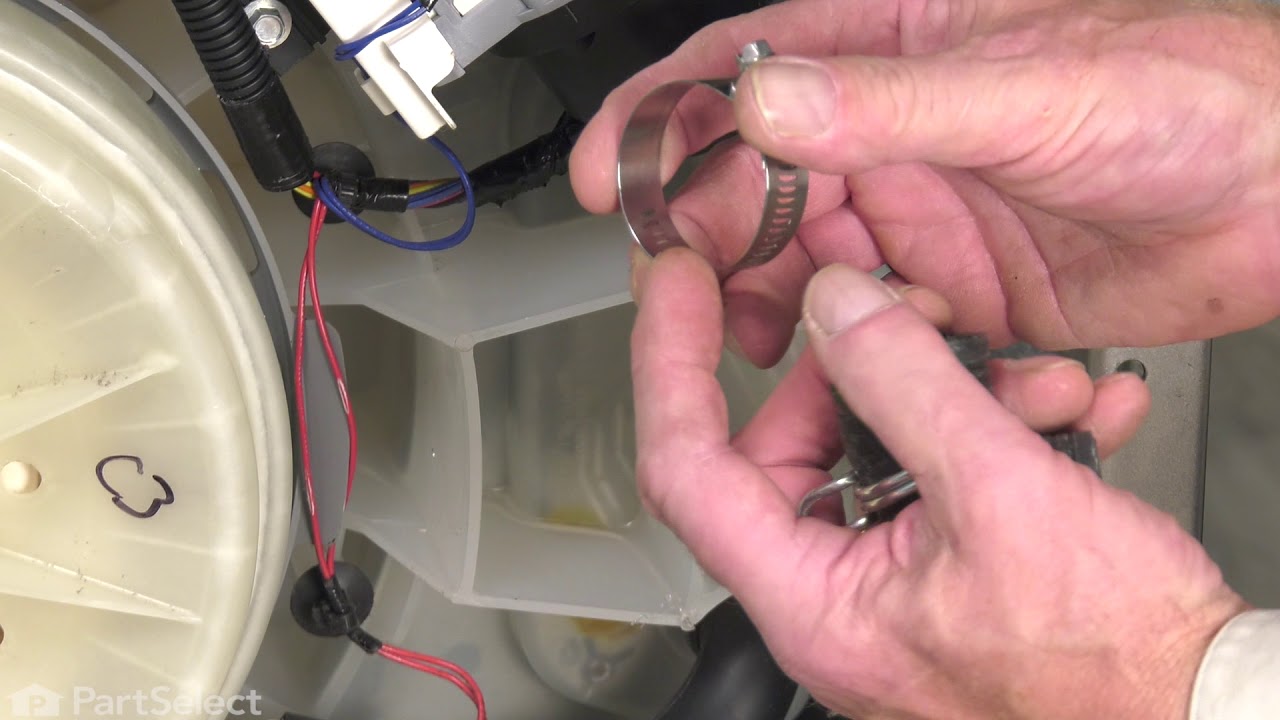
This hose clamp extends from half an inch to an inch in diameter. It is made entirely of metal and is intended for use with Maytag brand washing machines.
Hose Clamp – Part Number: WP285655
$15.68
In Stock
Hose Clamp
Part #WP285655
This hose clamp is sold individually.
Washer Transmission Stem Seal – Part Number: WP8577376
$14.25
In Stock
Washer Transmission Stem Seal
Part #WP8577376
Sold individually.
Dryer Screw – Part Number: WP90767
$10.40
In Stock
Dryer Screw
Part #WP90767
This screw is sold individually.
Spin Pinion Seal – Part Number: WP356427
$14.25
In Stock
Spin Pinion Seal
★★★★★
★★★★★
(1)
Part #WP356427
This seal is for the top of basket drive tube shaft.
Washer Shaft Seal – Part Number: WP91939
$14.25
In Stock
Washer Shaft Seal
★★★★★
★★★★★
(1)
Part #WP91939
Transmission shaft seal.
Inlet Hose - 5 FT – Part Number: WP89503
$27.55
In Stock
Inlet Hose - 5 FT
★★★★★
★★★★★
(3)
Part #WP89503
This hose can handle hot or cold water and is five feet long.
Lid Hinge Mounting Screw – Part Number: WPW10119828
$9.85
In Stock
Lid Hinge Mounting Screw
Part #WPW10119828
Sold individually. NOTE: The color on the screw may not be the same as the image, but will still function the same.
Washer Knob Springclip – Part Number: WP688805
$14.66
In Stock
Washer Knob Springclip
★★★★★
★★★★★
(1)
Part #WP688805
Also known as the inside sleeve for the knob to be able to properly fit over the shaft of the switch. Sold individually.

Common Symptoms of the 2LA5700XMW0

How this model fails, and the parts that fix it.

Watch our pros, then fix it yourself.
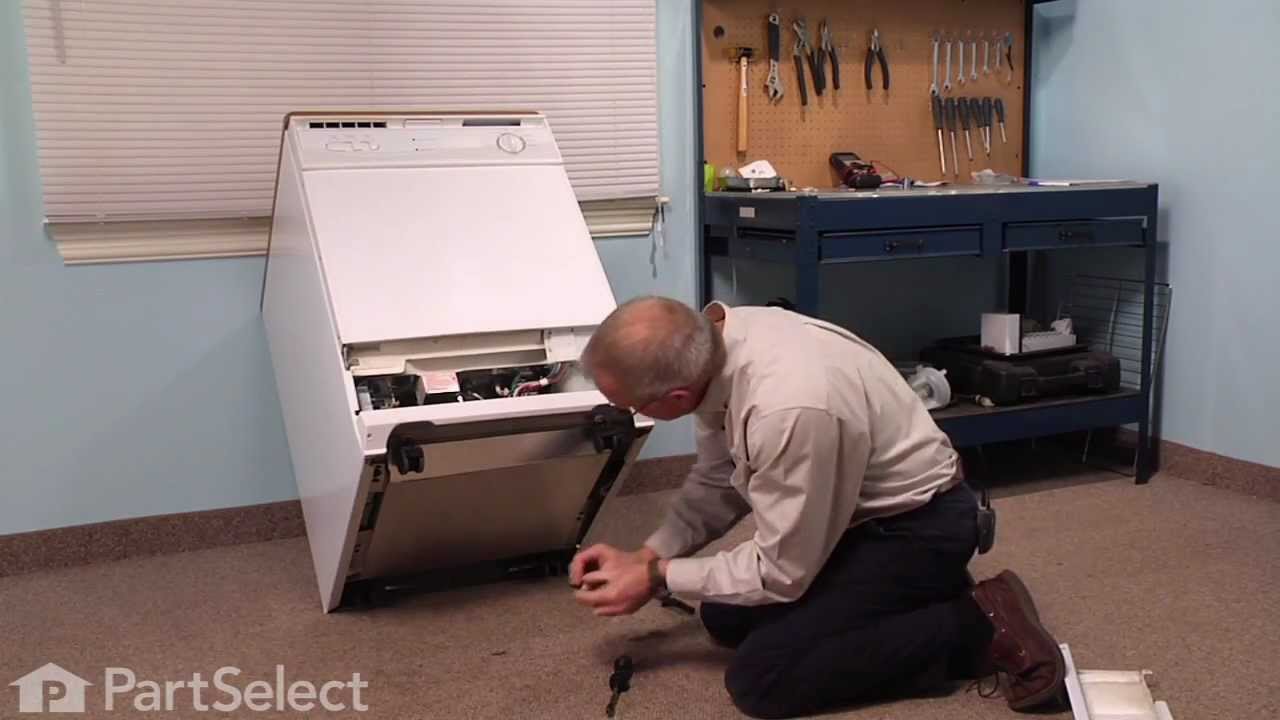
See how others fixed this model. Time, tools, difficulty, and steps that lead to victory! View More

Search repair tips from other customers using simple keywords like "replace", "fit", "remove", "inspect". DIY doesn't mean you have to do it alone!

Search filter:
Clear Filter
Your search term must have 3 or more characters.
leaking from tub
41 of 49 people found this instruction helpful.
  • Debra from Milton - Freewater, OR
  • A Bit Difficult
  • More than 2 hours
  • Pliers, Screw drivers, Socket set
First I turned off the water and unplugged the washer from the outlet. I took the two screws off the console and turned it up to undo the clips that hold the cabinet to the back. I took out the 2 phillips screws at the top corners of the back. I was then able to pull cabinet off and not have to remove the console, but carefully slid it t o the side, as ther wires were still attached.
Pried off agitator cap & reached into agitator to pry out another cap to access 7/16 bolt. Checked over the agitator parts for wear (dogs) Took agitator, top outer (white) and inner (brown) tub rings off.
Sprayed lots of liqid wrench around spanner nut and drive block and gave it time to work. Used spanner tool to get spanner nut off. Hard work. Pounded and pounded and pounded and pounded with hammer. It gave a tiny bit. Then I got an idea: I pounded it back the other way, as you would to tighten. This helped. I then pounded back the other way and did this again. It worked amazingly well.
Got to drive block and it was rusted out along the bottom and also hard to get off. The diagram showed a "lock" (horseshoe shaped thing) on top of it, but mine was all in one piece but I couldn't tell that. I sprayed and pryed and pounded from the bottom and it split in half. It needed to be replaced anyway.
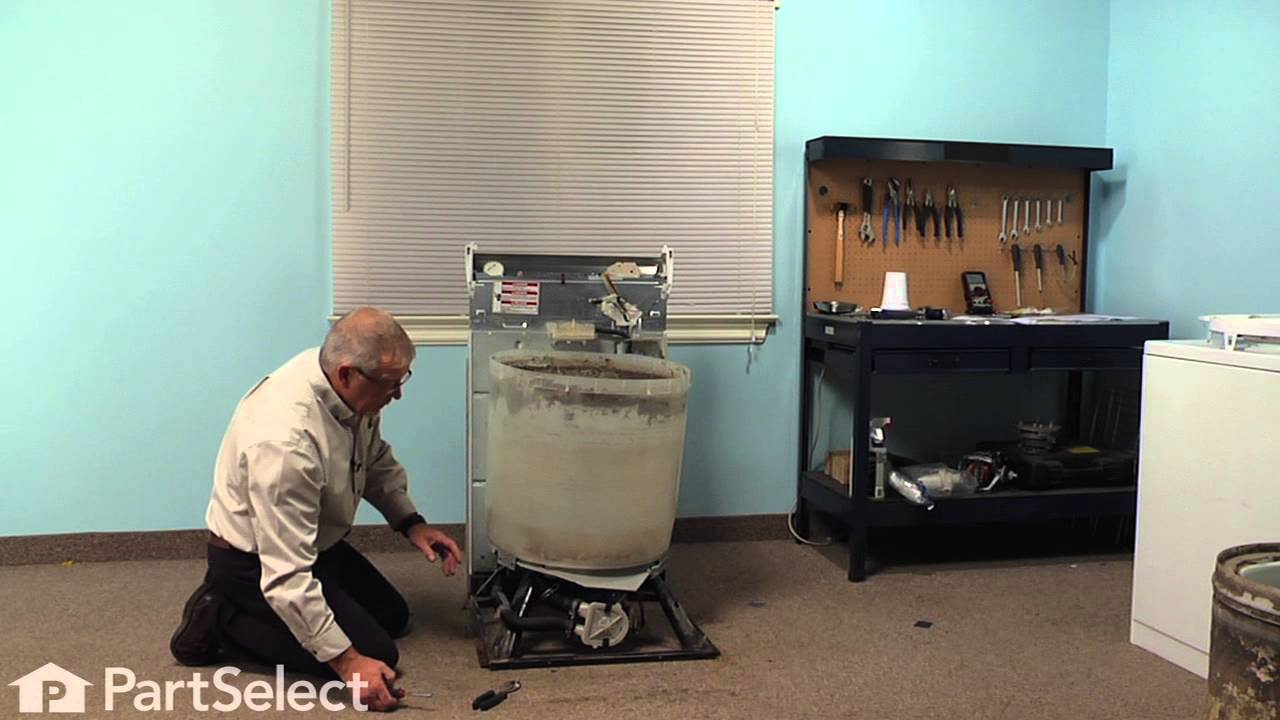
The inner tub was also hard to get out and I used some dish liquid. I pushed down, (using the rags here, the edges can cut you). I twisted, I pulled. I pushed, I pulled, I cussed, and begged. I then went to bed and then next day I pushed backwards and forwards and side to side & finally it came off. Then I undid the brackets on the bottom of the outer tub along the bottom and disconnected the clear hose in back. When loosening the black hose clamp in front to the pump, water started to come out of the hose so I grabbed a cool whip container to catch it. It smelled yucky. Once I had the outer tub off I put the new seal in, using some plumber's grease to help get ithe tub over the shaft..Then I hooked up the hoses & brackets on the bottom of the outer tub. I cleaned out the outer tub, as there was crud in the bottom. Then I poured about 5 gallons of water in it to see if the seal was set in right. Make sure the drain hose hasn't fallen out! (You can leave this water in the tub, you'll find out why) I cleaned up the rust on tube of the inner tub with steel wool and inspected everything else. Something didn't look quite right about the outer shaft that goes around the spin tube. It looked like something should go there. I discovered there SHOULD have been a seal there but one was never put in. So I put one in. I used a little grease to help put the new drive block on, and tightened the spanner nut with the spanner wrench. I put everything else back on EXCEPT for the cabinet-with the console attached. Ha Ha All the other directions I read wrote to take the console off first. If I had done that I wouldn't have been able to do the most important part of the job: testing the result. I finished filling the tub to the lowest water level to watch it go thru it's cycles and checked for leaks. If the console was "flopped over" the back how can you check? (I don't play with wiring)
I turned off the water & unplugged the washer and slid the cabinet on.. I tipped the console back to access the large gold squiggly brackets that hold the cabinet to the back and reattached them to the back, by removing them, hooking them onto the back, and snapping them into place. I double-DOUBLE checked to see if anything had come loose, then slid the console first on top of the back and put the two screws back in. The screws on my machine are not covered up by the end caps, but they are at a wierd angle, so I held the console up slighly and started the screws first. As they tightened down the console slid into the holes on the cabinet.
There is a small sppliance shop in my town & the guy loaned me the spanner wrench. It was very nice of him.I guess I will have to give his & his famil
Was this helpful?
Thank you for voting!
Washer would not spin on any cycle. The pump still work so it was not the belt.
34 of 45 people found this instruction helpful.
  • Richard from Newark, DE
  • Really Easy
  • 15 - 30 mins
  • Nutdriver, Screw drivers
The wig wag selenoid was not shifting the transmission to the spin mode. Using a 5/16 nut driver remove the two screws holding the back access panel. Using the same driver remove the set screw holding the wig wag onto the shaft. Lift the part off the shaft. If it is hard, using a small pry bar. Install new part and reverse the process .
Was this helpful?
Thank you for voting!
Lid closes, switch wouldn't turn on machine.
31 of 47 people found this instruction helpful.
  • Kenneth from Wilmington, IL
  • Easy
  • 1- 2 hours
  • Nutdriver, Screw drivers, Socket set
Used toothpick for a year to push switch acctuator far enough to engage switch. Broke my foot and found time to order part thru PartSelect. Went from cast to boot and received part 2 days after ordered. Had difficulty with foot and getting to switch. Went back into PartSelect and figured out how to dis-assemmble panels thru the diagrams. Time on my job doesn't, just that their service and expertise that is available to everyone is there to use. Broken bones or not, I will always get my parts and advice from PartSelect. Thanks to PartSelect.
Was this helpful?
Thank you for voting!