


 My Orders


2599CIWEW-P1170601WW Amana Refrigerator - Overview
Diagrams for 2599CIWEW-P1170601WW
See every part. Know exactly what you need.
-
8 Cube Compact Ice Maker

-
Cabinet Back

-
Drain And Rollers

-
Evap And Air Handling

-
Fz Door

-
Fz Door Hinge And Trim Parts

-
Fz Shelving And Ref Light

-
Ice And Water Cavity

-
Ice And Water Cavity

-
Ice Maker

-
Machine Compartment

-
Ref Door

-
Ref Door Hinge And Trim Parts

-
Ref Shelving And Drawers

-
Ref Shelving And Drawers

-
Ref/fz Controls And Cabinet Parts

Enter a part description. DIY Heroes keep it simple, eg. "belt" or "pump".
Search filter:
Clear Filter
Your search term must have 3 or more characters.

$26.41
In Stock
Light Bulb - 40W
Part #8009
This an authentic OEM 40-Watt replacement light bulb, used in a number of household appliances. It is specially designed to withstand extreme temperatures, which is why these replacement bulbs are most often used to light the inside of refrigerators and ranges. It features a standard socket base, which means you simply unscrew the burnt-o...Read moreut bulb and screw in the replacement. Depending on the appliance you may require a screwdriver or nut driver to access the light bulb. We recommend you wear work gloves while handling this replacement part. It is constructed of glass and metal and is sold individually. Depending on the appliance and location of the bulb within it, you may want to consider disconnecting power and using a flashlight for easier access to unscrewing and re-screwing in your bulb during this repair.
Read less

$147.86
In Stock
Replacement Ice Maker
Part #D7824706Q
This modular ice maker assembly replaces worn-out units to restore ice production in refrigerators. It includes the ice mold and control device but excludes the cover, ice level arm, wire harness, and mounting hardware, which must be reused or ordered separately. Unplug the refrigerator before installation and use work gloves for safety. Check compatibility with your model number before purchase.

$58.29
In Stock
Refrigerator Capacitor
Part #WPW10662129
This part helps the compressor kick on and off while maintaining a constant temperature to keep things frozen in your freezer.

$43.83
In Stock

$96.02
In Stock
Icemaker Control Assembly
Part #W10190935
This part is used to help tell the icemaker what to do - it turns the timing cams and the ejector blades. Motor is not sold separately.

$115.19
In Stock
Refrigerator Condenser Fan Motor Kit
Part #833697
This condenser fan motor operates in a clockwise fashion and carries carries 2W and 115V. It comes with screws, a mounting nut for the blade and a cushion. This part provides forced-air cooling for the condenser coil.

$14.25
In Stock
Door Closure Cam Kit
Part #R0181181
This part helps with the closing of the door and helps keep them in position.

$46.15
In Stock
Refrigerator Water Fill Cup & Bearing
Part #WP628356
This icemaker water inlet cup is three inches long. It is all white in color and is made of plastic.

$84.24
In Stock
Cycling thermostat
Part #WP627985
This part is also known as the cycling thermostat and this bi-metal device controls the activation of the icemaker ejection cycle.

$10.40
In Stock

$10.95
In Stock

$10.95
In Stock
Refrigerator Screw
Part #WP98165
This screw is a little under an inch long and is made of metal. It is used with a refrigerator's ice maker assembly. Sold individually.
Common Symptoms of the 2599CIWEW-P1170601WW
How this model fails, and the parts that fix it.
Ice maker not making ice
Fixed by
these parts
these parts


Show All
Light not working
Fixed by
these parts
these parts

Show All
Leaking
Fixed by
these parts
these parts


Show All
Fridge too warm
Fixed by
these parts
these parts


Show All
Ice maker won’t dispense ice
Fixed by
these parts
these parts

Show All
Freezer section too warm
Fixed by
these parts
these parts

Show All
Will Not Start
Fixed by
these parts
these parts
Show All
Fridge and Freezer are too warm
Fixed by
these parts
these parts
Show All
Noisy
Fixed by
these parts
these parts

Show All
Door won’t open or close
Fixed by
these parts
these parts

Show All
Clicking sound
Fixed by
these parts
these parts
Show All
Not dispensing water
Fixed by
these parts
these parts


Show All
Fridge runs too long
Fixed by
these parts
these parts
Show All
Too warm
Fixed by
these parts
these parts
Show All
Ice maker dispenses too much ice
Fixed by
these parts
these parts

Show All
Door Sweating
Fixed by
these parts
these parts

Show All
Won’t start
Fixed by
these parts
these parts
Show All
Ice maker dispenses too little ice
Fixed by
these parts
these parts
Show All
Freezer not defrosting
Fixed by
these parts
these parts
Show All
Watch our pros, then fix it yourself.
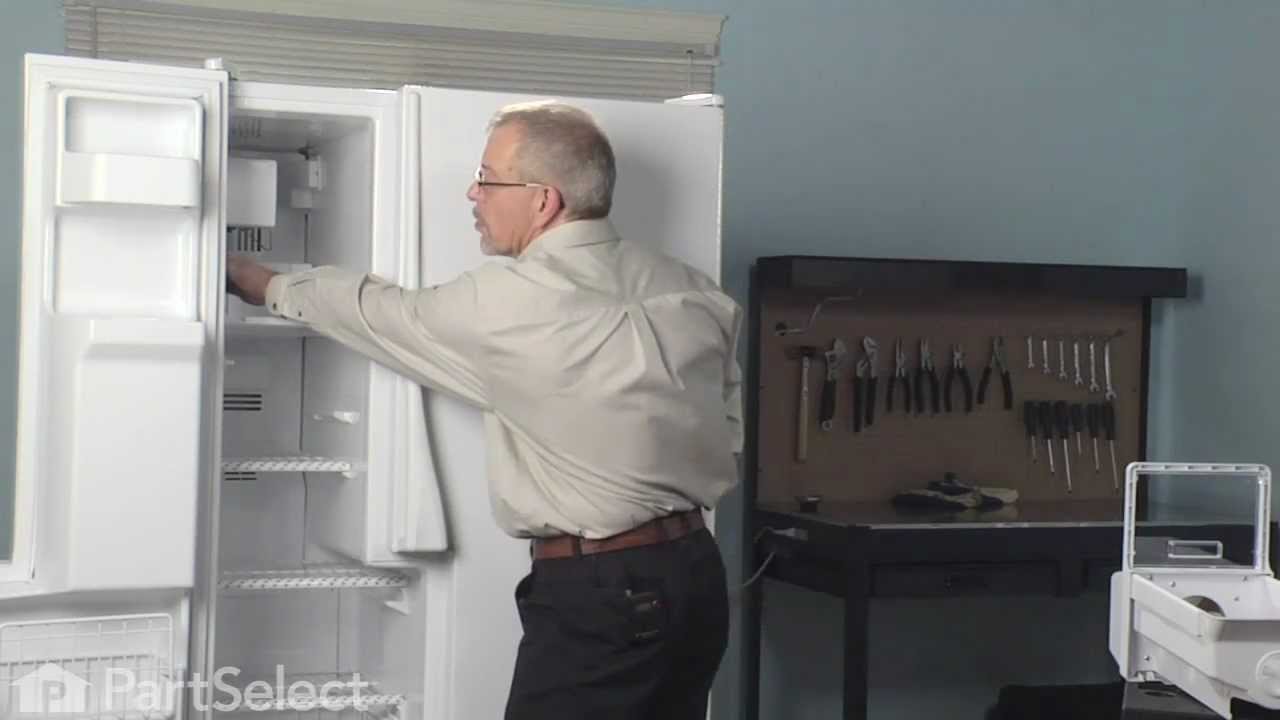
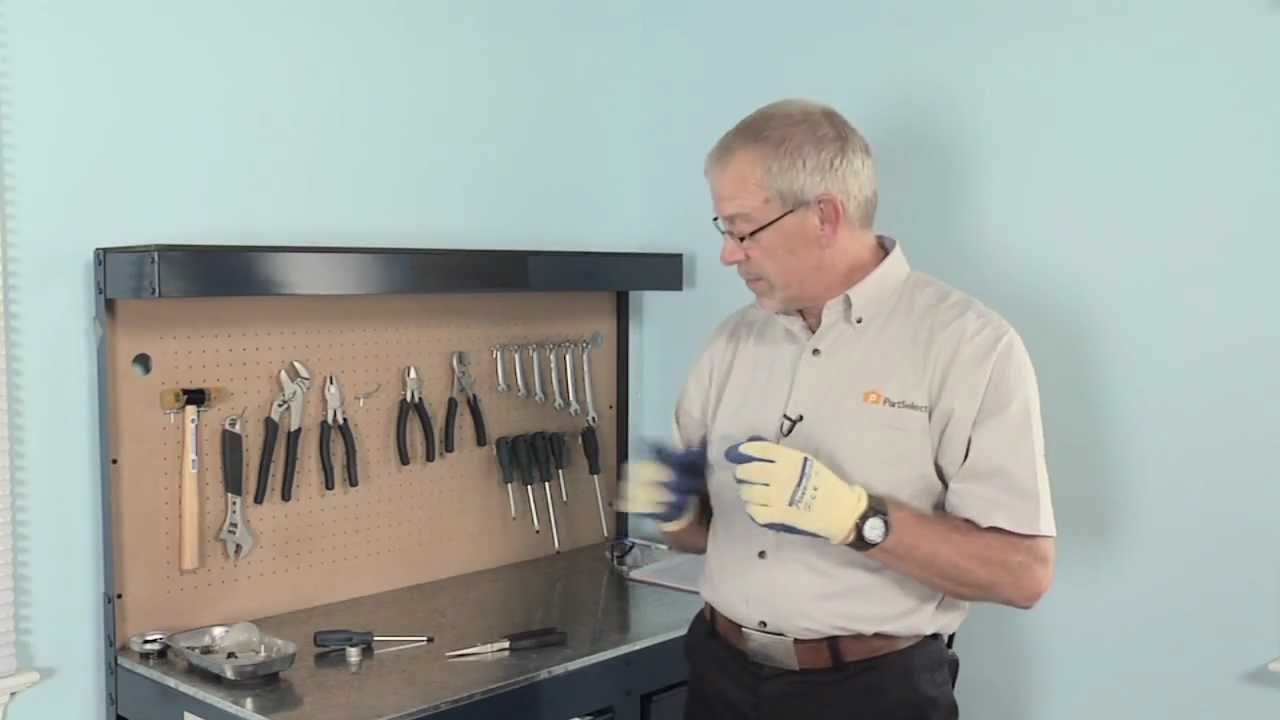
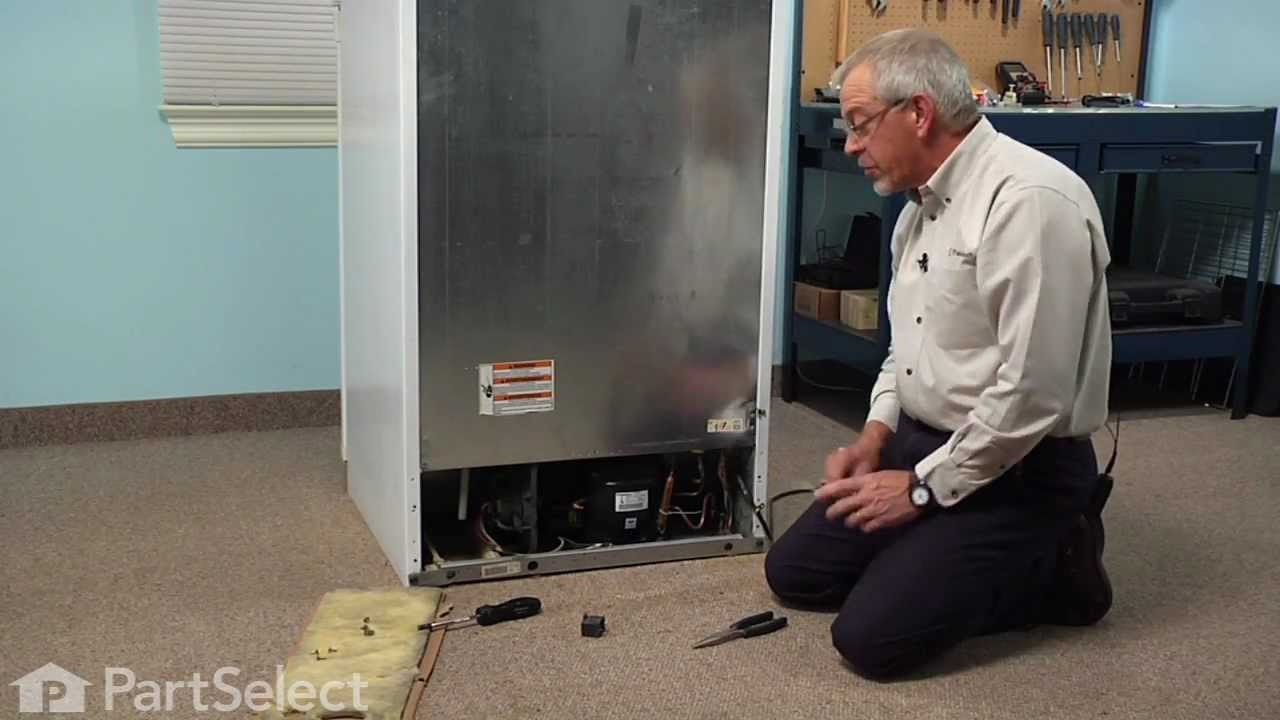
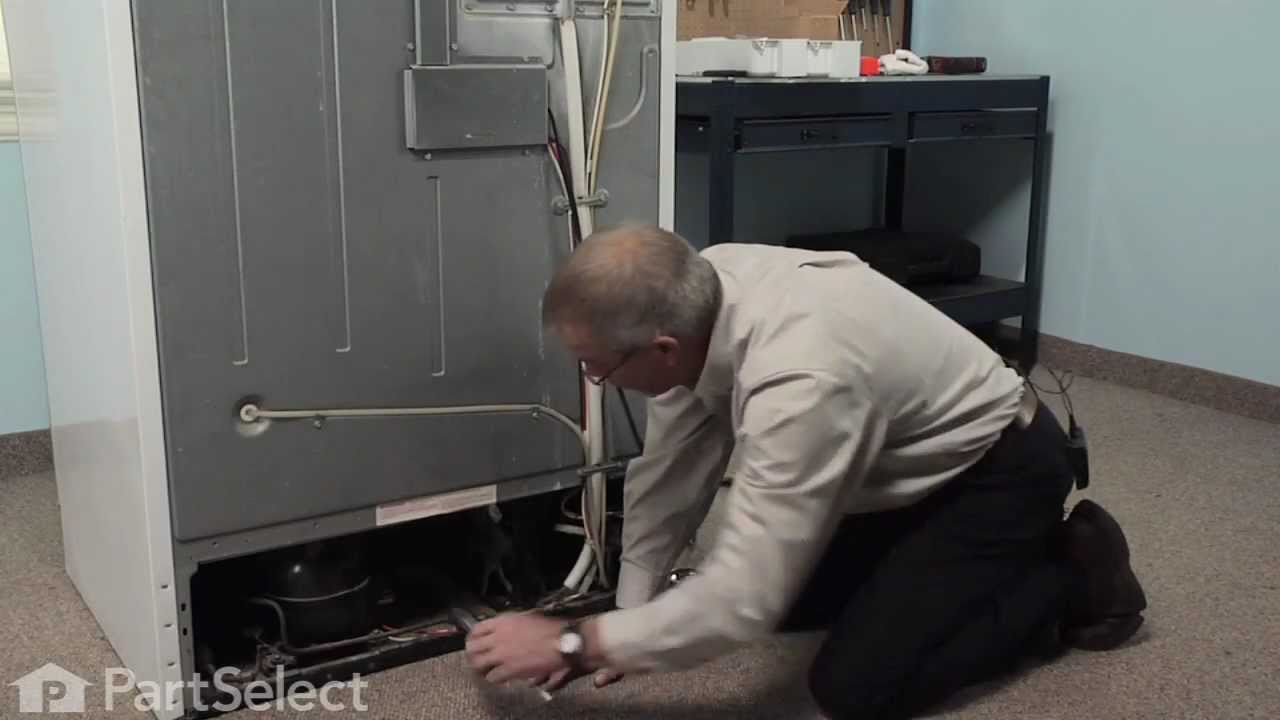
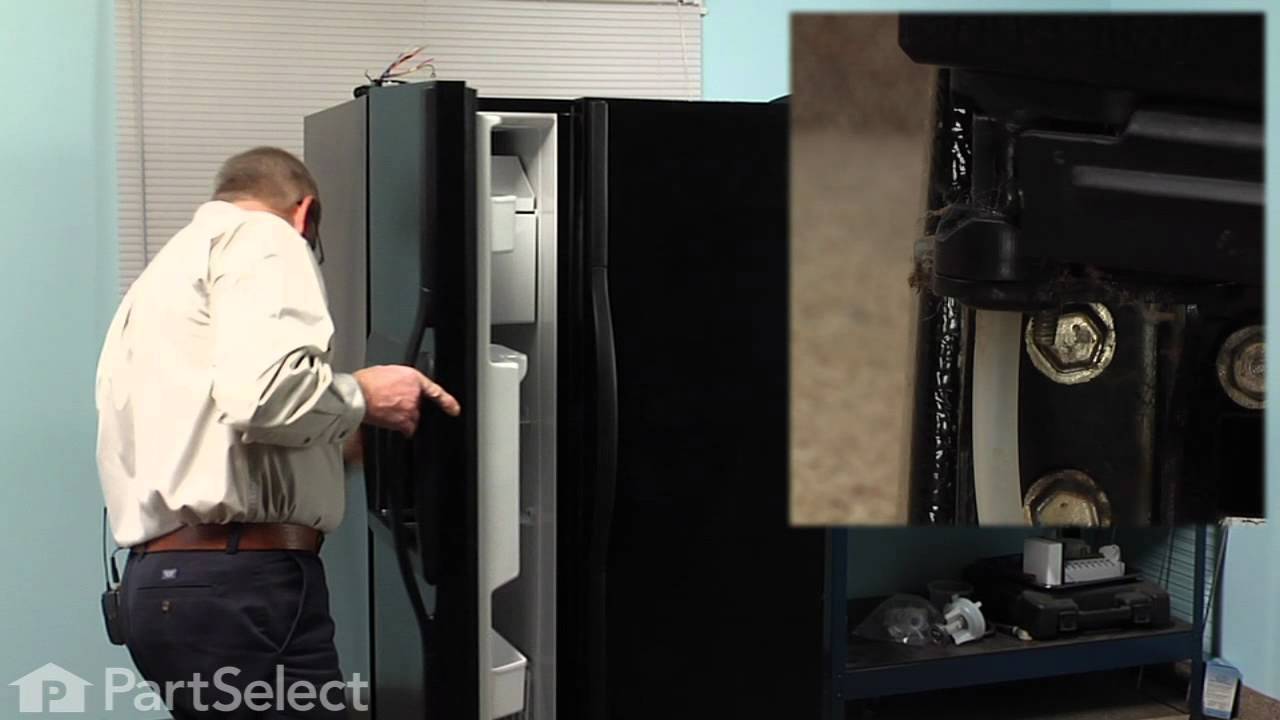
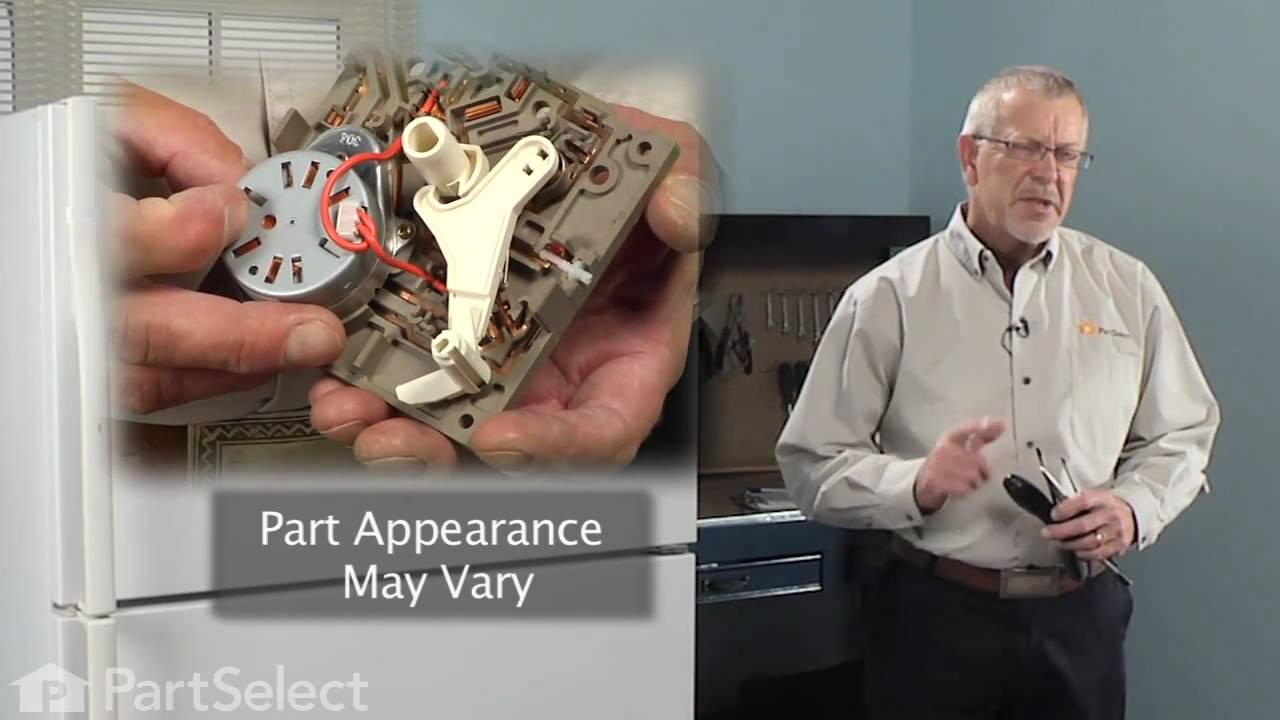
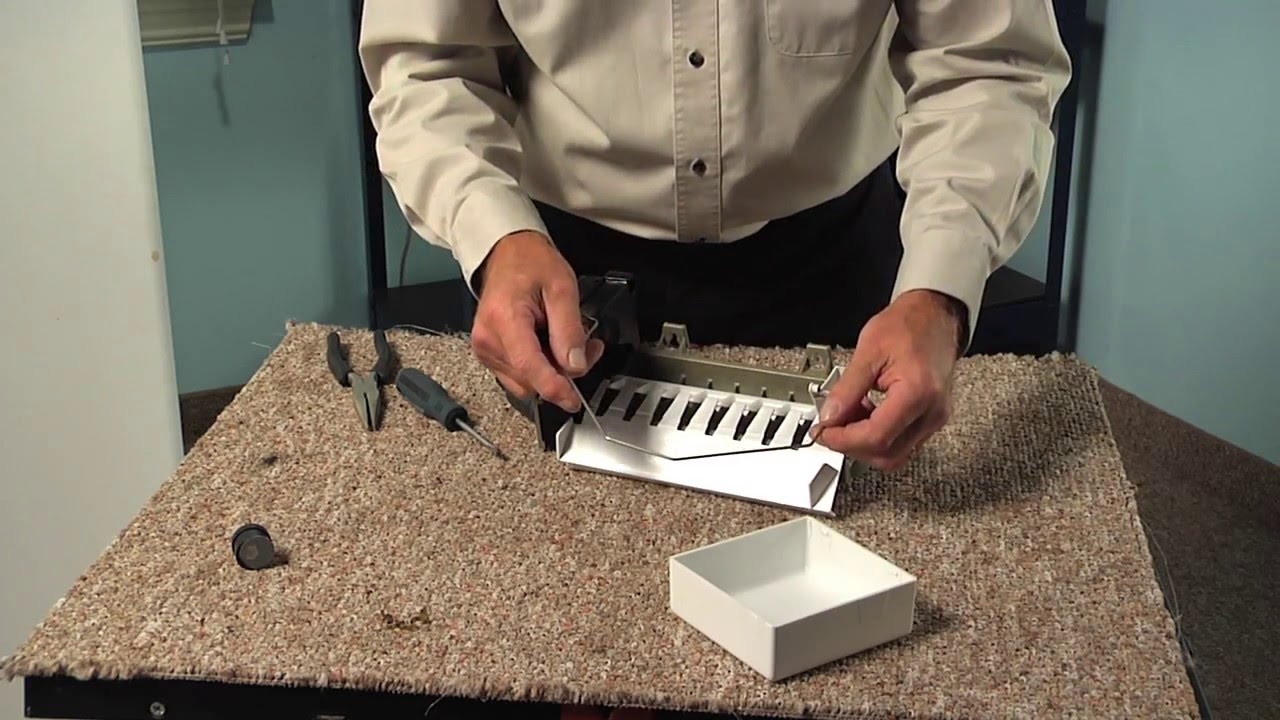
See how others fixed this model. Time, tools, difficulty, and steps that lead to victory!
View More