25344733102 Kenmore Freezer - Overview

Diagrams for 25344733102

See every part. Know exactly what you need.

Enter a part description. DIY Heroes keep it simple, eg. "belt" or "pump".

Search filter:
Clear Filter
Your search term must have 3 or more characters.
Defrost Thermostat – Part Number: 297216600
$38.75
In Stock
Defrost Thermostat
★★★★★
★★★★★
(16)
Part #297216600
This authentic defrost thermostat is sourced directly from the original equipment manufacturer and is designed for use with Frigidaire freezers. It regulates the internal temperature to ensure the freezer operates within the proper range. Over time, the thermostat may develop electrical issues that lead to inconsistent performance, making replacement necessary to maintain optimal functionality. To install the new thermostat, you’ll need a screwdriver to remove the old component and secure the replacement. Be sure to consult your owner’s manual and model-specific diagrams to ensure correct installation. This high-quality part is sold individually.
Refrigerator Light Bulb – Part Number: 5304517886
$88.98
In Stock
Refrigerator Light Bulb
★★★★★
★★★★★
(6)
Part #5304517886
This 3.8-watt LED light bulb is designed to illuminate the interior of select refrigerator models, providing bright and efficient lighting when the door is opened. If your current bulb is dim, flickering, or no longer functioning, replacing it will restore visibility and convenience. Installation is simple—unplug the refrigerator, unthread the old bulb, and screw in the new one. This bulb is sold individually and does not include additional components.
Fan Blade – Part Number: 240524102
$44.34
In Stock
Fan Blade
★★★★★
★★★★★
(6)
Part #240524102
This part blows air over the condenser.
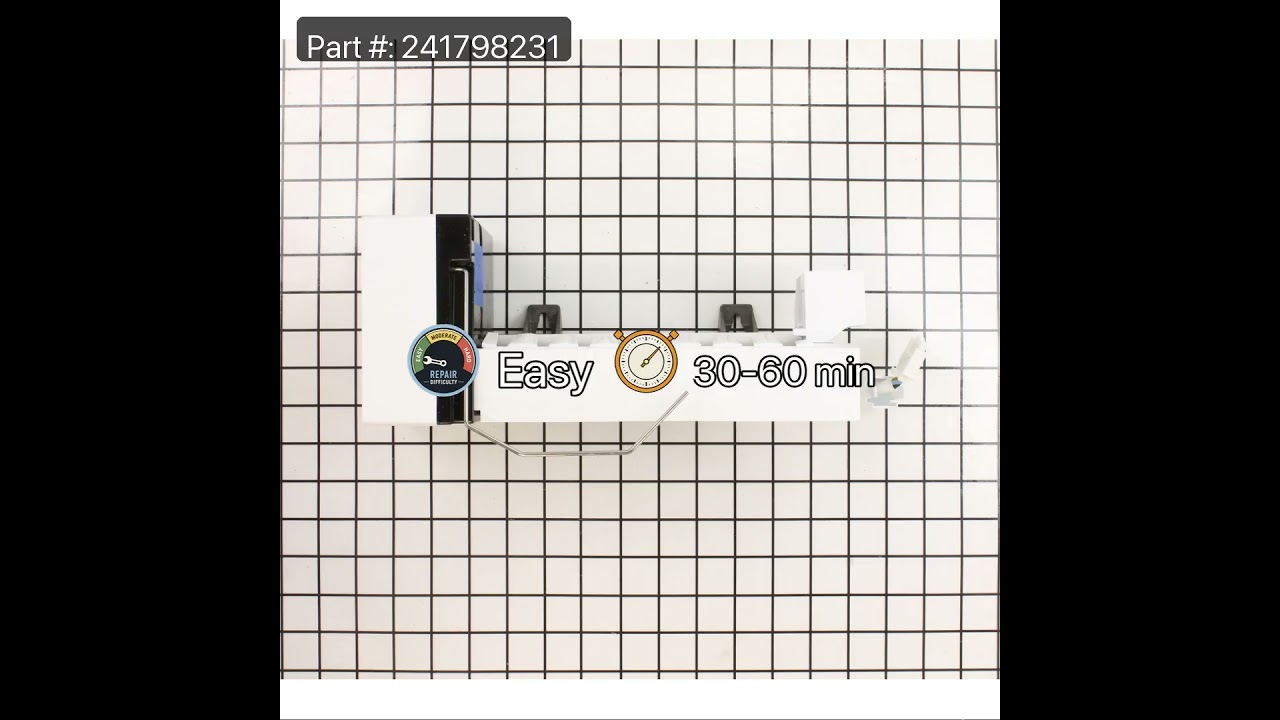
Refrigerator Ice Maker Assembly – Part Number: 241798231
$229.16
In Stock
Refrigerator Ice Maker Assembly
★★★★★
★★★★★
(19)
Part #241798231
This 8-cube ice maker is used to create ice for your refrigerator. The ice maker receives water from the water inlet valve and will freeze until ice cubes are formed. Once the water has been frozen the cubes will be ejected from the mold in to the ice bucket. The ice maker will continue the process until the ice bucket has reached the limit. If your ice maker is not making ice you may need to replace this part. Please remember to disconnect the power and water supply before starting your repair. This ice maker is a genuine OEM part.
Door Gasket – Part Number: 5304507206
$224.82
In Stock
Door Gasket
★★★★★
★★★★★
(8)
Part #5304507206
If your fridge isn’t staying cold or seems noisier than usual, the door gasket might be the problem. This black rubber seal runs around the edge of the door and keeps the cold air in. If it’s torn or worn out, replacing it is easy—just pull off the old one and press the new one into place. It’s a genuine part made to fit your fridge, and it’ll help keep your food fresh and your energy bills low.
SWITCH – Part Number: 216822900
$83.50
In Stock
SWITCH
★★★★★
★★★★★
(18)
Part #216822900
This part turns the light on/off as the door opens and closes.
Water Inlet Valve – Part Number: 242252603
$92.00
In Stock
Water Inlet Valve
★★★★★
★★★★★
(11)
Part #242252603
When energized, the water inlet valve will release water from the supply line into the ice mold and the water dispenser in the refrigerator. If the ice maker is not making or dispensing ice, not dispensing water, or leaking, you may need to replace the water inlet valve. The water inlet valve is in the back section of your refrigerator and will need to be pulled out from the wall. Make sure to disconnect both the water and power supply before starting your repair.
Replacement Ice Maker – Part Number: 5303918277
$136.61
In Stock
Replacement Ice Maker
★★★★★
★★★★★
(8)
Part #5303918277
This part is the replacement heat-release ice maker unit only. This kit comes with four round female connectors at the end of the wire harness. It also comes with the adaptor that converts the harness to three round female and one round male connectors.
Adjustable Leveling Foot - Black – Part Number: 216396900
$41.81
In Stock
Evaporator Fan Motor (115v) – Part Number: 297309000
$85.93
In Stock
Evaporator Fan Motor (115v)
★★★★★
★★★★★
(7)
Part #297309000
This evaporator fan motor is located in the back of the freezer, and circulates air over the refrigerator coils. These coils will convert the heat into cool air, which is then circulated.
Refrigerator Condenser Fan Motor Kit – Part Number: 5303918774
$224.25
In Stock
Refrigerator Condenser Fan Motor Kit
★★★★★
★★★★★
(14)
Part #5303918774
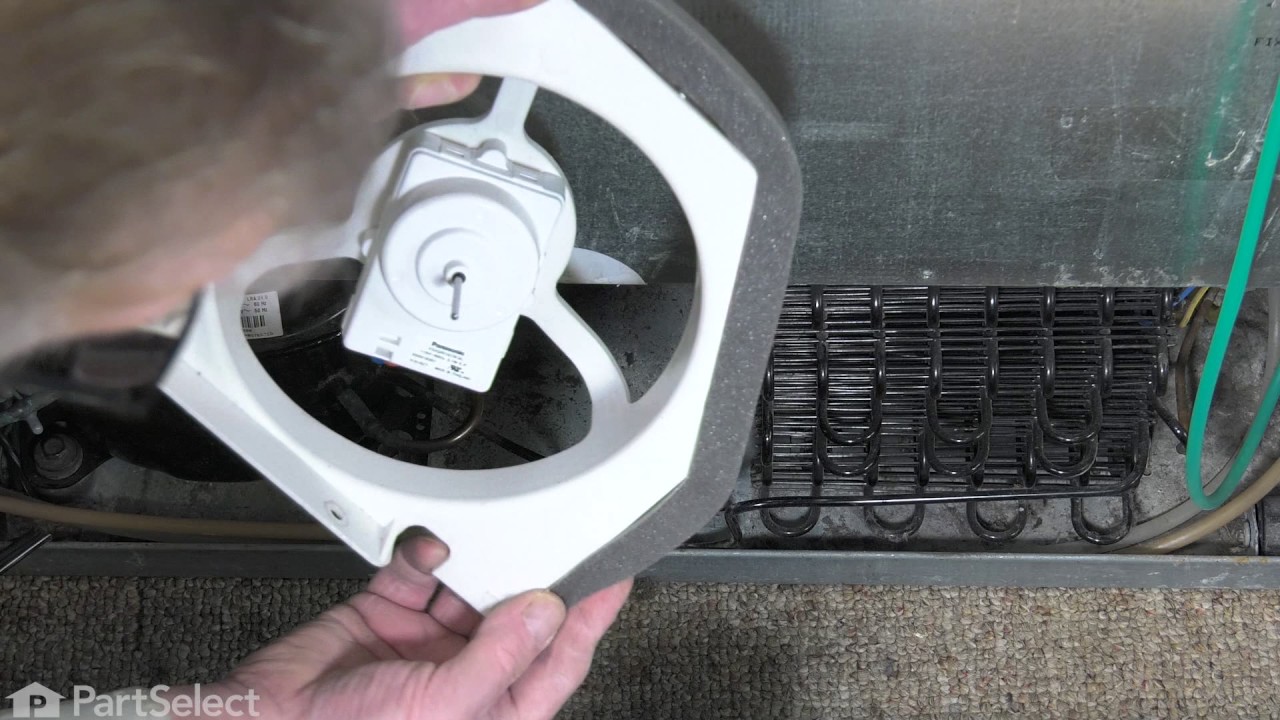
This is a replacement condenser fan motor kit for your refrigerator. This six-piece kit contains foam tape, 2 screws, the fan blade, the new motor mounting bracket, and the condenser fan motor. The condenser fan motor is found in the back of the refrigerator, and it moves air across the compressor and the condenser to keep them cool. If the motor has failed, the condenser and the compressor will run hot, and this can cause the refrigerator not to cool. This is an OEM part from the manufacturer.
Screw – Part Number: 218755504
$32.04
In Stock
Screw
Part #218755504
Sold individually. This is a genuine part. The handle mounting shoulder screw (no.10 ab) is made for use with many refrigerators. The metal screw helps to fasten the handle assembly to the outer door panel. The handle mounting shoulder screw is sold individually. For the repair, you will need a pair of pliers.

Manuals & Care Guides for 25344733102

Click to download

Questions And Answers for 25344733102

Ask our experts a question about this model and we'll get back to you as soon as possible!

Sort by:
  • 1
Sorry, we couldn't find any existing answers that matched.Try using some different or simpler keywords, or submit your new question by using the "Ask a Question" button above!
David - For model number 25344733102
November 8, 2025
I need a condersor motor
Chris Boyle Profile
Hi David, thank you for contacting us. The condenser fan motor for your model is part number PS11766772. We hope that helps!
$224.25
In Stock
Refrigerator Condenser Fan Motor Kit
Was this helpful?
Thank you for voting!
  • 1

Common Symptoms of the 25344733102

How this model fails, and the parts that fix it.

Watch our pros, then fix it yourself.

See how others fixed this model. Time, tools, difficulty, and steps that lead to victory! View More

Search repair tips from other customers using simple keywords like "replace", "fit", "remove", "inspect". DIY doesn't mean you have to do it alone!

Search filter:
Clear Filter
Your search term must have 3 or more characters.
Broken ice maker
255 of 345 people found this instruction helpful.
  • Juan from Miami, FL
  • Really Easy
  • 15 - 30 mins
  • Socket set
Unplugged faulty ice maker, removed two screws holding it to the refrigerator and took it out. Reversed the operation with the new ice maker and after a few minutes presto, we have ice.
Was this helpful?
Thank you for voting!
Ice Maker Stopped Working
164 of 183 people found this instruction helpful.
  • JACK from MESA, AZ
  • A Bit Difficult
  • 1- 2 hours
  • Screw drivers
It was pretty straight forward. Remove the two screws that hold the unit to the wall of the freezer. In my case, I had to use a different ice maker than what came with the frig. In order to install the replacement unit they sent a wire adaptor so it would attach to the existing wiring. That too was all fine and dandy. The only p roblem was that the end of the wire adaptor did not fit through the existing hole in the rear of the frig. I used a utility knife to cut through the thin metal lining. That worked just fine. However, I could not cut through the insulation because I could not reach it through the small hole. The excess wire was supposed to be pulled through the hole and out through the back of the unit. So now the excess is between the wall of the freezer and the insulation. The unit is working wonderfully. In fact, it is making more ice than I can use. I am very pleased with the replacement unit. This is the 3rd ice maker that has been in this frig. All the others had a design flaw that had a leak in the rear of the unit. This caused all the ice to form into a big block. The replacement unit has not had this problem so far. Thank you for allowing me to explain my situation so that maybe others may benifit from my experience. Thank you. Jack
Was this helpful?
Thank you for voting!
Broke a blade off of the fan
79 of 88 people found this instruction helpful.
  • Milton from Camp Hill, PA
  • Really Easy
  • 15 - 30 mins
  • Wrench (Adjustable)
When cleaning the coils on your refrigerator always remember rule number 1, unplug it first. I was cleaning the coils and hit the fan blade while it was moving with a brush, thus breaking off one of the fan blades. I ordered a new fan and installed it in about 15 minutes. Very easy repair.
Was this helpful?
Thank you for voting!