


 My Orders


25331434105 Kenmore Refrigerator - Overview
Diagrams for 25331434105
See every part. Know exactly what you need.

Enter a part description. DIY Heroes keep it simple, eg. "belt" or "pump".
Search filter:
Clear Filter
Your search term must have 3 or more characters.

$48.35
In Stock
Door Rack
Part #240535101
The Door Rack (also known as a retainer bar) is a 23" white plastic part used to hold small items inside the fridge door. If broken, it should be replaced. Refer to your user manual and model number to determine if this part is correct for you. This is a simple part to repair and should not require any tools. Most customers found it to be...Read more very easy to simply snap the old rack out of place and snap the new one back in, making sure the locking tabs are secure. This part is sold individually and not as a part of a kit. It is certified by the original manufacturer.
Read less

$49.94
In Stock
Defrost Timer - 60Hz 120V
Part #215846602
This defrost timer will cycle for thirty minutes after every eight hours of run time.

$50.55
In Stock
Door Rack - White
Part #240535201
Tired of bottles falling out every time you open the fridge door? This 24-inch white shelf bar is a quick fix. It snaps right into place and helps keep condiments, jars, and bottles secure and organized. Made to fit a variety of models from Frigidaire and other brands, it’s a great replacement if your current bar is cracked or loose. Just check your fridge’s model number before ordering to make sure it fits.

$35.95
In Stock
Light Bulb
Part #316538904
This 40-watt appliance light bulb is a reliable replacement for use in select ranges, refrigerators, freezers, and microwaves. It provides bright, consistent lighting to help you see clearly inside your appliance. Installation is simple—just unscrew the old bulb and replace it with the new one. If the existing bulb is broken, disconnect p...Read moreower and use needle-nose pliers to safely remove the remaining base. Sold individually, this bulb is a commonly replaced part—consider keeping a spare on hand.
Read less

$39.55
In Stock
Defrost Thermostat
Part #5303918202
This defrost thermostat is a critical component in the refrigerator’s defrost system, designed to prevent overheating during the defrost cycle by regulating the temperature around the evaporator coils. Positioned within the freezer compartment, it monitors coil temperature and interrupts power to the defrost heater when safe limits are re...Read moreached. A malfunctioning thermostat may result in uneven cooling, excessive frost buildup, or a warm refrigerator compartment despite a cold freezer. Replacing this part restores proper defrost function and helps maintain consistent internal temperatures and energy efficiency.
Read less

$70.20
In Stock
Evaporator Fan Motor Kit - 120V 60Hz
Part #5303918549
This kit includes the motor, clips and terminal connectors. This part has been updated by the manufacture.
This evaporator fan motor is located in the back of the freezer, and circulates air over the refrigerator coils. These coils will convert the heat into cool air, which is then circulated.

$44.34
In Stock

$19.95
In Stock
Hinge Bearing
Part #5304507146
This is a replacement hinge bearing for your refrigerator. The hinge bearing is found on the door hinge, and reduces friction when the door opens and closes. If the bearing is damaged, you may not be able to open or close the door properly, and in this case, it will need to be replaced. It is made of white plastic and is approximately 2 i...Read morenches long and 1 inch in diameter. This part is sold individually and is a genuine OEM part.
Read less

$25.95
In Stock
Single Washer
Part #240311303
Improve door function and alignment with this hinge nylon washer, designed to support the door as it pivots on the hinge pin. Made from durable nylon, it helps reduce friction and noise while ensuring smooth opening and closing. By maintaining proper door positioning, it supports a secure seal and contributes to efficient operation and consistent cooling performance.

$115.73
In Stock
Cold Control Thermostat
Part #241537103
This thermostat helps your fridge stay at the right temperature by turning the compressor on and off as needed. If your fridge is too warm or too cold, this part might be the fix. It’s made to fit certain models and helps keep your food fresh by keeping the cooling consistent. Easy to install—just unplug your fridge first and follow your manual for guidance.

$32.89
In Stock
Screw
Part #240521303
This small, Phillips-head screw works with your refrigerator/freezer. It screws in to the freezer door and connects to the door handle. This part is made of stainless steel and is sold individually. This is an OEM part sourced directly from the manufacturer.

$224.25
In Stock
Refrigerator Condenser Fan Motor Kit
Part #5303918774
This is a replacement condenser fan motor kit for your refrigerator. This six-piece kit contains foam tape, 2 screws, the fan blade, the new motor mounting bracket, and the condenser fan motor. The condenser fan motor is found in the back of the refrigerator, and it moves air across the compressor and the condenser to keep them cool. If t...Read morehe motor has failed, the condenser and the compressor will run hot, and this can cause the refrigerator not to cool. This is an OEM part from the manufacturer.
Read less
Manuals & Care Guides for 25331434105
Click to downloadCommon Symptoms of the 25331434105
How this model fails, and the parts that fix it.
Fridge too warm
Fixed by
these parts
these parts


Show All
Noisy
Fixed by
these parts
these parts


Show All
Freezer section too warm
Fixed by
these parts
these parts
Show All
Freezer not defrosting
Fixed by
these parts
these parts
Show All
Will Not Start
Fixed by
these parts
these parts


Show All
Fridge and Freezer are too warm
Fixed by
these parts
these parts
Show All
Door won’t open or close
Fixed by
these parts
these parts


Show All
Light not working
Fixed by
these parts
these parts


Show All
Leaking
Fixed by
these parts
these parts

Show All
Fridge runs too long
Fixed by
these parts
these parts
Show All
Too warm
Fixed by
these parts
these parts
Show All
Fridge too cold
Fixed by
these parts
these parts
Show All
Freezer too cold
Fixed by
these parts
these parts
Show All
Frost buildup
Fixed by
these parts
these parts
Show All
Won’t start
Fixed by
these parts
these parts

Show All
Clicking sound
Fixed by
these parts
these parts
Show All
Door Sweating
Fixed by
these parts
these parts
Show All
Watch our pros, then fix it yourself.


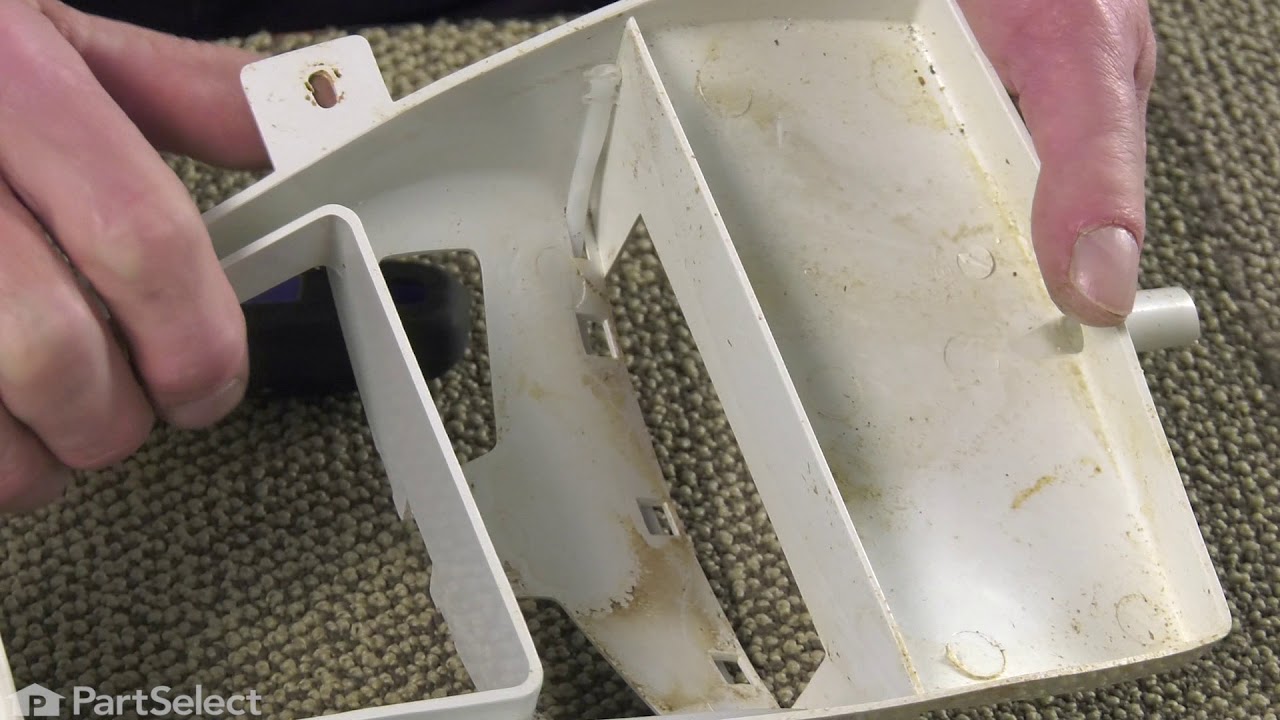
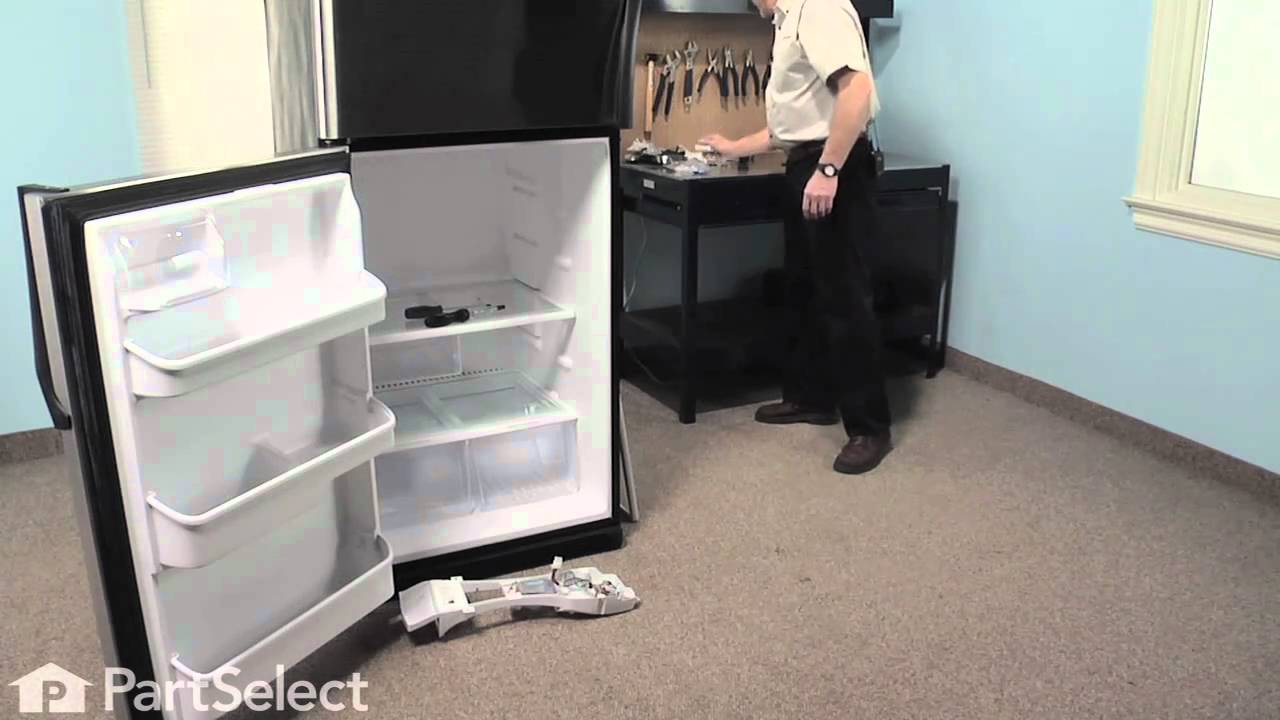
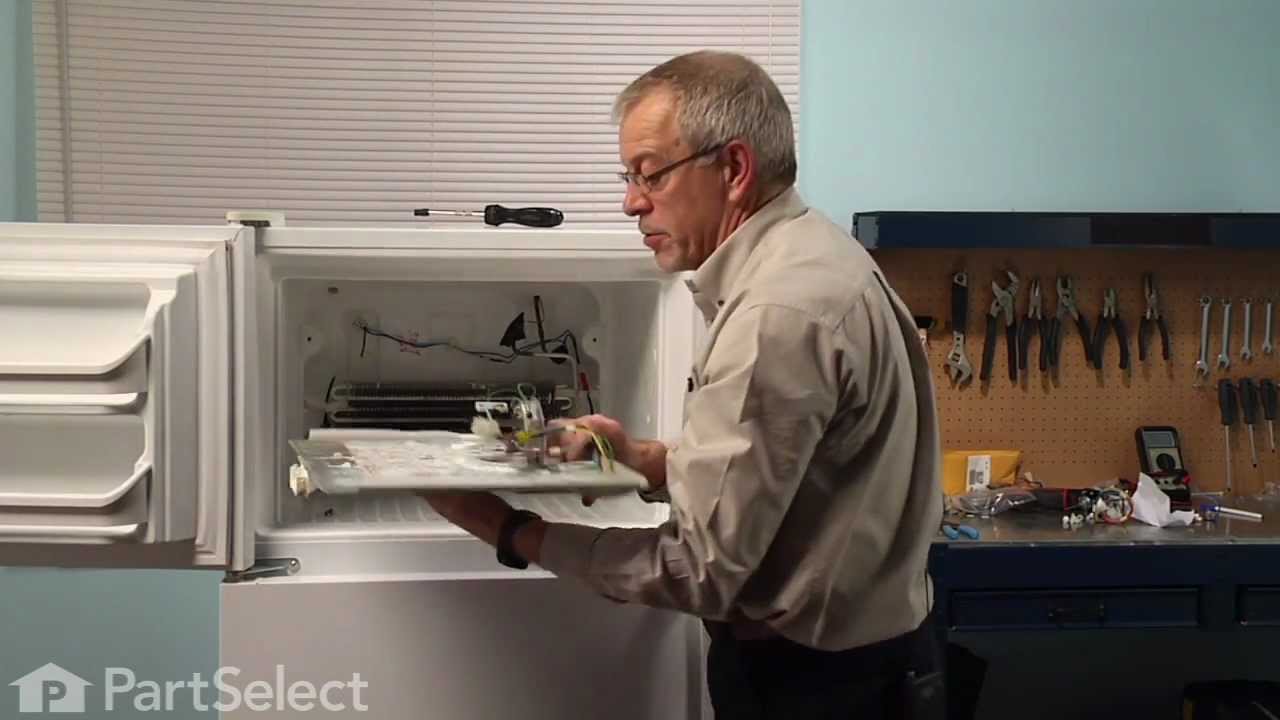

See how others fixed this model. Time, tools, difficulty, and steps that lead to victory!
View More