


 My Orders


25331145303 Kenmore Refrigerator - Overview
Diagrams for 25331145303
See every part. Know exactly what you need.

Enter a part description. DIY Heroes keep it simple, eg. "belt" or "pump".
Search filter:
Clear Filter
Your search term must have 3 or more characters.

$71.57
In Stock
Refrigerator Door Shelf Bin
Part #240338101
This door shelf bin for your refrigerator snaps right into place on mounting tabs, requiring no tools for installation. The shelf is sold individually.

$49.94
In Stock
Defrost Timer - 60Hz 120V
Part #215846602
This defrost timer will cycle for thirty minutes after every eight hours of run time.

$35.95
In Stock
Light Bulb
Part #316538904
This 40-watt appliance light bulb is a reliable replacement for use in select ranges, refrigerators, freezers, and microwaves. It provides bright, consistent lighting to help you see clearly inside your appliance. Installation is simple—just unscrew the old bulb and replace it with the new one. If the existing bulb is broken, disconnect p...Read moreower and use needle-nose pliers to safely remove the remaining base. Sold individually, this bulb is a commonly replaced part—consider keeping a spare on hand.
Read less

$39.55
In Stock
Defrost Thermostat
Part #5303918202
This defrost thermostat is a critical component in the refrigerator’s defrost system, designed to prevent overheating during the defrost cycle by regulating the temperature around the evaporator coils. Positioned within the freezer compartment, it monitors coil temperature and interrupts power to the defrost heater when safe limits are re...Read moreached. A malfunctioning thermostat may result in uneven cooling, excessive frost buildup, or a warm refrigerator compartment despite a cold freezer. Replacing this part restores proper defrost function and helps maintain consistent internal temperatures and energy efficiency.
Read less

$85.41
In Stock
Door Bin
Part #240338201
This is a replacement door bin for your refrigerator. The door bin fits into your refrigerator door and is used to store food and other items. It is made of white plastic and is approximately 13 inches wide, 5 inches tall, and 8 inches deep. Your refrigerator may have more than one damaged or missing door bin, but keep in mind that this p...Read moreart is sold individually. To replace this part, simply slide out the damaged bin and slide the new bin into place. This is an OEM part sourced directly from the manufacturer.
Read less

$70.20
In Stock
Evaporator Fan Motor Kit - 120V 60Hz
Part #5303918549
This kit includes the motor, clips and terminal connectors. This part has been updated by the manufacture.
This evaporator fan motor is located in the back of the freezer, and circulates air over the refrigerator coils. These coils will convert the heat into cool air, which is then circulated.

$22.39
In Stock
Screw - Kit of Four
Part #5304515677
This screw is used in refrigerators. The screw can be loosened or tightened with a Phillips-head or square-head screwdriver. This screw is used to secure the refrigerator handle to the refrigerator door. This is an OEM part sourced directly from the manufacturer.

$182.45
In Stock
Meat Pan
Part #240530811
This is the replacement meat pan for your refrigerator. It is made of clear plastic and is approximately 18 inches long and 13 inches wide. The meat pan slides into the bottom of the refrigerator shelf and is used to store meat and other food items. The main reason to replace the meat pan is if yours is cracked, damaged, or missing. To re...Read moreplace the meat pan, simply slide the old pan out, and slide the new one into place. This part is an OEM part sourced directly from the manufacturer, and is sold individually.
Read less

No Longer Available
Crisper Pan Cover
Part #242201805
Keep your produce fresh and your refrigerator organized with this crisper pan cover, which includes the frame and insert. Positioned above the crisper drawer, it helps regulate humidity to prevent premature wilting of fruits and vegetables. The cover also protects drawer contents from spills and contributes to the overall structure of the...Read more refrigerator interior. This part is designed to fit select models—please verify compatibility before purchase.
Read less

$44.34
In Stock

$229.16
In Stock
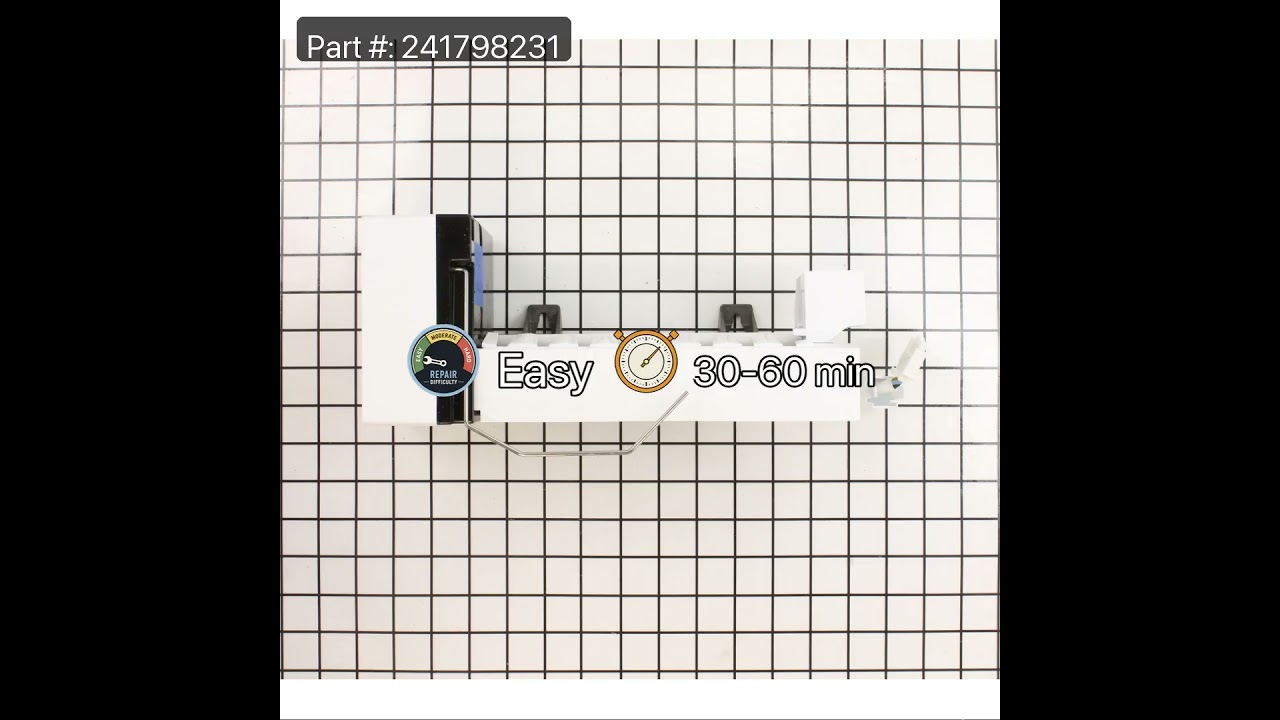
Refrigerator Ice Maker Assembly
Part #241798231
This 8-cube ice maker is used to create ice for your refrigerator. The ice maker receives water from the water inlet valve and will freeze until ice cubes are formed. Once the water has been frozen the cubes will be ejected from the mold in to the ice bucket. The ice maker will continue the process until the ice bucket has reached the l...Read moreimit. If your ice maker is not making ice you may need to replace this part. Please remember to disconnect the power and water supply before starting your repair. This ice maker is a genuine OEM part.
Read less

$202.64
In Stock
Spill Safe Shelf
Part #240358928
Keep your fridge clean and organized with this Spill-Safe glass shelf. Designed to catch spills before they spread, it helps protect the rest of your refrigerator while giving you a stable surface to store everything from leftovers to fresh produce. The clear glass and white frame blend seamlessly into your fridge’s interior. Be sure to check your model number to make sure it’s the right fit. Sold individually.
Manuals & Care Guides for 25331145303
Click to downloadCommon Symptoms of the 25331145303
How this model fails, and the parts that fix it.
Fridge too warm
Fixed by
these parts
these parts


Show All
Ice maker not making ice
Fixed by
these parts
these parts


Show All
Noisy
Fixed by
these parts
these parts


Show All
Freezer section too warm
Fixed by
these parts
these parts
Show All
Freezer not defrosting
Fixed by
these parts
these parts
Show All
Door won’t open or close
Fixed by
these parts
these parts


Show All
Leaking
Fixed by
these parts
these parts

Show All
Fridge and Freezer are too warm
Fixed by
these parts
these parts

Show All
Ice maker won’t dispense ice
Fixed by
these parts
these parts
Show All
Will Not Start
Fixed by
these parts
these parts
Show All
Fridge runs too long
Fixed by
these parts
these parts
Show All
Light not working
Fixed by
these parts
these parts


Show All
Fridge too cold
Fixed by
these parts
these parts
Show All
Too warm
Fixed by
these parts
these parts
Show All
Freezer too cold
Fixed by
these parts
these parts
Show All
Frost buildup
Fixed by
these parts
these parts
Show All
Door Sweating
Fixed by
these parts
these parts
Show All
Clicking sound
Fixed by
these parts
these parts
Show All
Won’t start
Fixed by
these parts
these parts
Show All
Watch our pros, then fix it yourself.

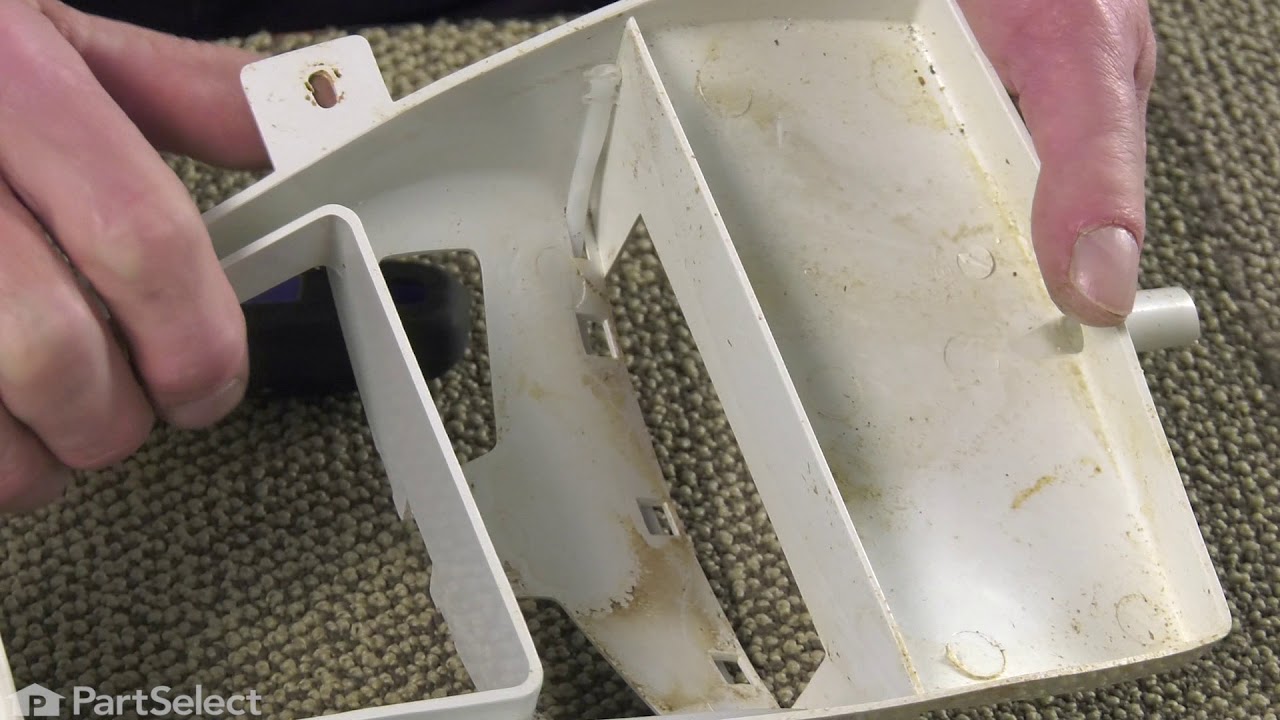
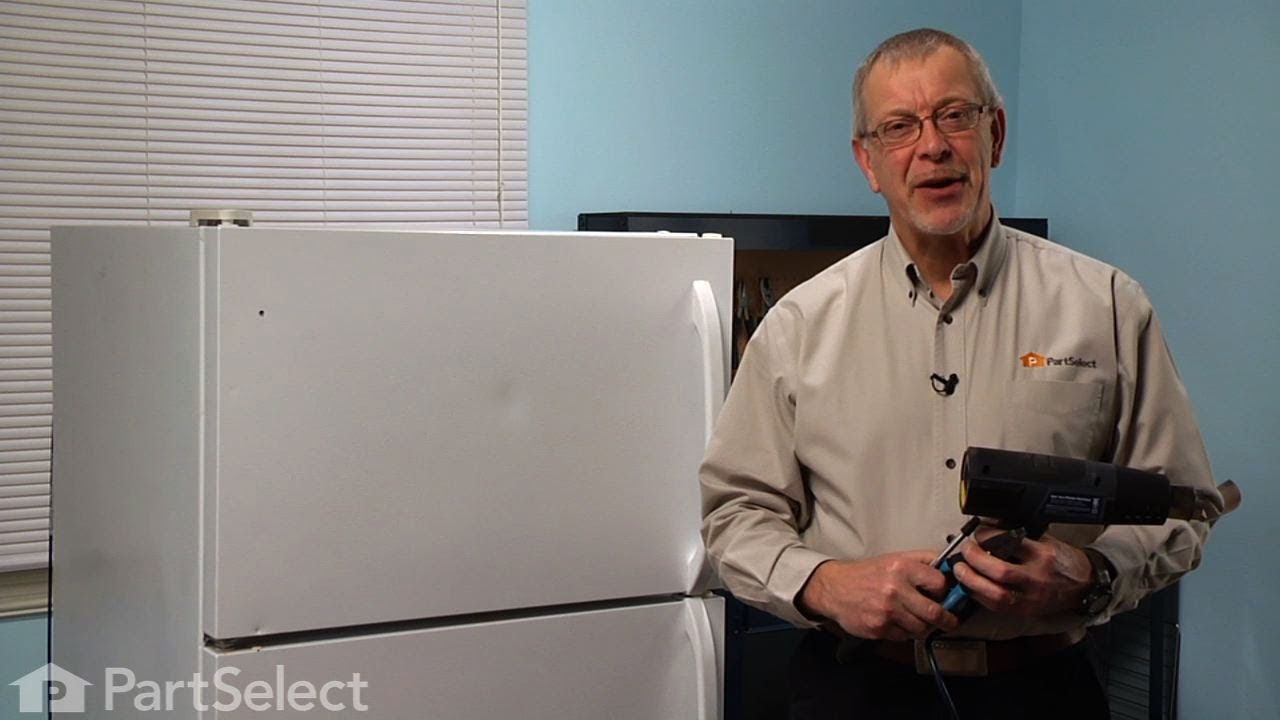
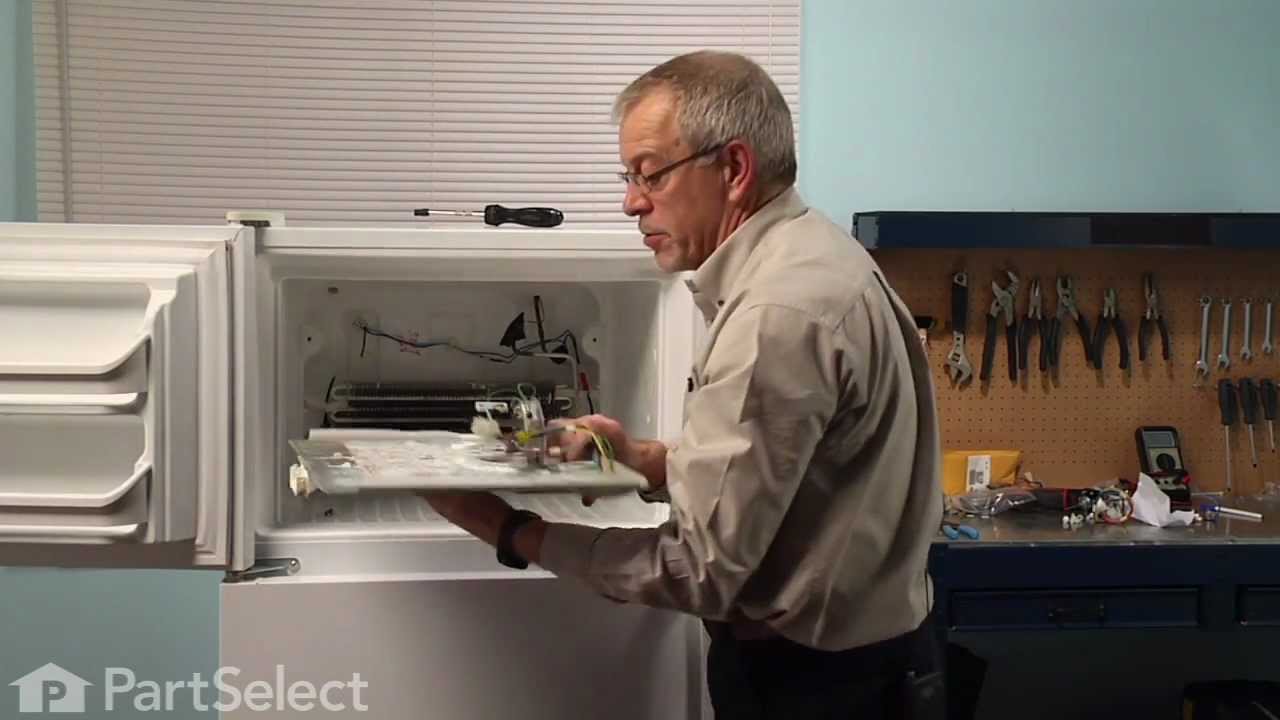

See how others fixed this model. Time, tools, difficulty, and steps that lead to victory!
View More