


 My Orders


25323714101 Kenmore Freezer - Overview

Enter a part description. DIY Heroes keep it simple, eg. "belt" or "pump".
Search filter:
Clear Filter
Your search term must have 3 or more characters.

$19.95
In Stock
Freezer Door Key
Part #297147700
This plastic freezer door key is designed to operate the lock mechanism on upright and chest freezers, providing secure access to the appliance’s contents. Compatible with a range of models, it helps maintain consistent internal temperatures and prevents unauthorized access, particularly in households with children. Constructed from high-...Read moregrade, durable plastic, the key offers long-term reliability and is an ideal replacement for lost or damaged originals. Installation is straightforward—simply insert and turn to unlock or secure the freezer door.
Read less

$88.98
In Stock
Refrigerator Light Bulb
Part #5304517886
This 3.8-watt LED light bulb is designed to illuminate the interior of select refrigerator models, providing bright and efficient lighting when the door is opened. If your current bulb is dim, flickering, or no longer functioning, replacing it will restore visibility and convenience. Installation is simple—unplug the refrigerator, unthrea...Read mored the old bulb, and screw in the new one. This bulb is sold individually and does not include additional components.
Read less

$58.82
In Stock
Run Capacitor
Part #5304464438
This part is attached to the compressor. It helps the compressor kick on and off while maintaining a constant temperature to keep things frozen in your freezer.

$83.50
In Stock

$226.46
In Stock
Refrigerator Door Gasket
Part #5304507200
This replacement door gasket forms a tight seal around the perimeter of the freezer door, helping maintain consistent internal temperatures and energy efficiency. By preventing warm air from entering and cold air from escaping, it supports optimal food preservation and reduces strain on the appliance. Over time, gaskets can wear, crack, o...Read morer lose flexibility, compromising the seal and leading to temperature fluctuations. This OEM part is designed for compatibility with select refrigerator and freezer models. Clamps or additional hardware are not included and must be ordered separately if required.
Read less

$41.81
In Stock

$32.89
In Stock
Screw
Part #240521303
This small, Phillips-head screw works with your refrigerator/freezer. It screws in to the freezer door and connects to the door handle. This part is made of stainless steel and is sold individually. This is an OEM part sourced directly from the manufacturer.

$57.02
In Stock

$24.41
In Stock

$29.95
In Stock

$46.95
In Stock
Evaporator Shelf Trim - White
Part #5304509723
Clean shelf edges help keep a freezer organized and easier to use. Replace the front trim if it is warped, broken, or no longer stays attached to the evaporator shelf. Check the length, color, shape, and mounting style before ordering because similar pieces may not interchange. Match the replacement to the full freezer model and parts dia...Read moregram. Empty the shelf, clean and dry the mounting edge, and install the trim carefully. Make sure it sits firmly before placing food back inside.
Read less

No Longer Available
White Touch up Paint
Part #5303321319
This 18 ml bottle of white appliance touch up paint is a little over two inches tall. It can be used for refrigerators, microwaves, ranges, clothes dryers, and freezers.
Manuals & Care Guides for 25323714101
Click to downloadCommon Symptoms of the 25323714101
How this model fails, and the parts that fix it.
Frost buildup
Fixed by
these parts
these parts


Show All
Will Not Start
Fixed by
these parts
these parts

Show All
Fridge too warm
Fixed by
these parts
these parts

Show All
Freezer section too warm
Fixed by
these parts
these parts
Show All
Too warm
Fixed by
these parts
these parts
Show All
Won’t start
Fixed by
these parts
these parts

Show All
Light not working
Fixed by
these parts
these parts

Show All
Fridge and Freezer are too warm
Fixed by
these parts
these parts
Show All
Noisy
Fixed by
these parts
these parts
Show All
Doesn’t stop running
Fixed by
these parts
these parts
Show All
Fridge runs too long
Fixed by
these parts
these parts
Show All
Door Sweating
Fixed by
these parts
these parts
Show All
Leaking
Fixed by
these parts
these parts
Show All
Clicking sound
Fixed by
these parts
these parts
Show All
Door won’t open or close
Fixed by
these parts
these parts

Show All
Watch our pros, then fix it yourself.

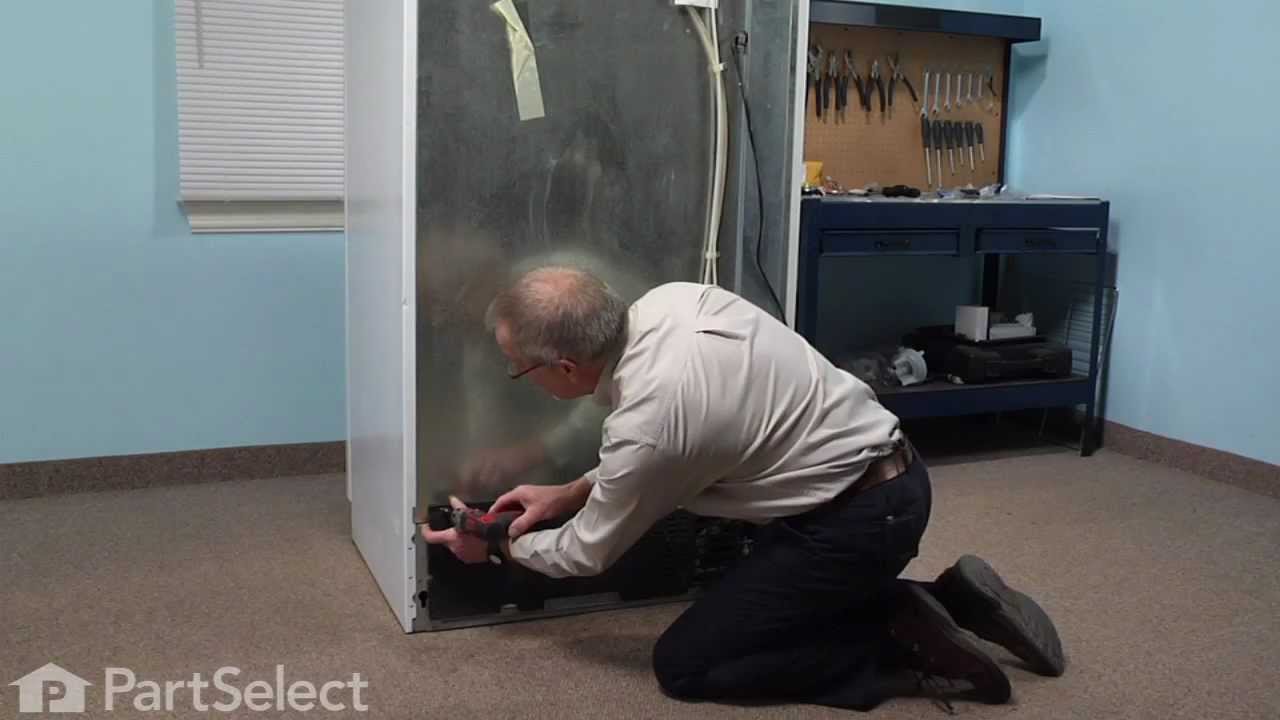
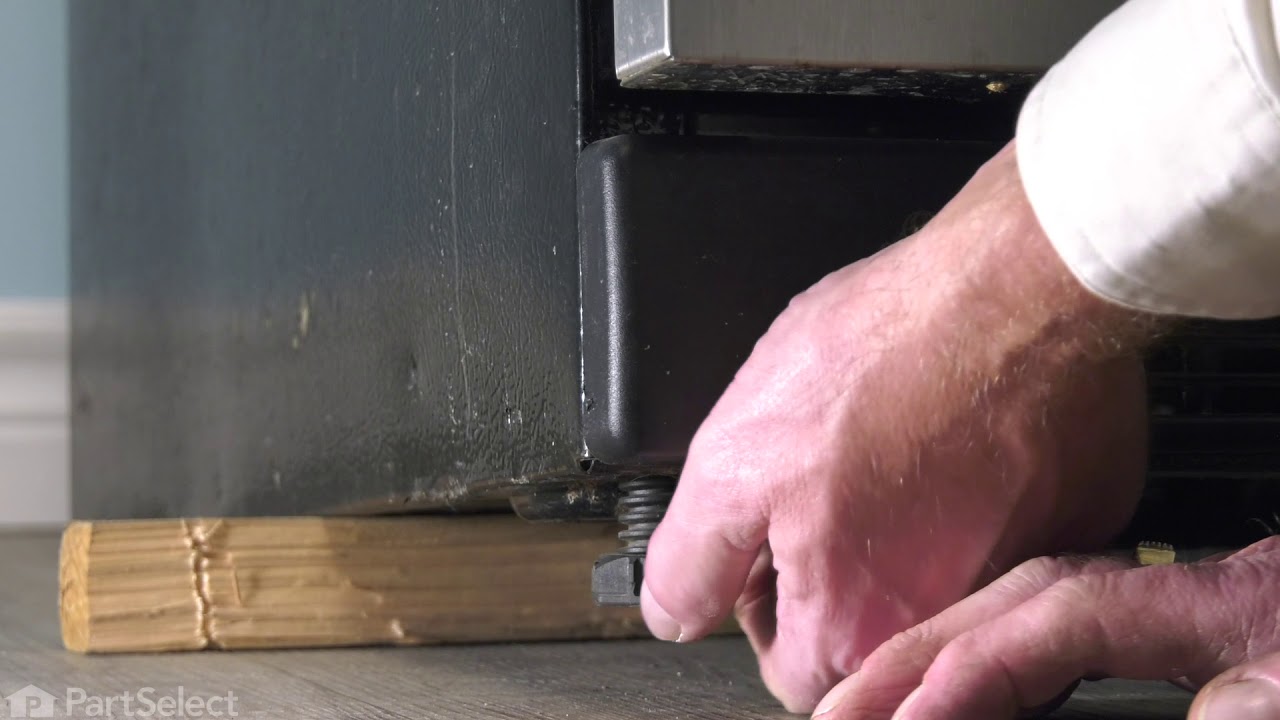

See how others fixed this model. Time, tools, difficulty, and steps that lead to victory!
View More
Search repair tips from other customers using simple keywords like "replace", "fit", "remove", "inspect". DIY doesn't mean you have to do it alone!
Search filter:
Clear Filter
Your search term must have 3 or more characters.
wouldnt freeze/compressor not running
56 of 77 people
found this instruction helpful.
Unplug cord. Remove the retaining clip. Remove the two wires by sticking small screwdriver in hole to release the clips holding the wires in. very easy took less than five minutes
Other Parts Used:


Was this helpful?
Thank you for voting!