


 My Orders


25321021104 Kenmore Freezer - Overview


Enter a part description. DIY Heroes keep it simple, eg. "belt" or "pump".
Search filter:
Clear Filter
Your search term must have 3 or more characters.

$38.75
In Stock
Defrost Thermostat
Part #297216600
This authentic defrost thermostat is sourced directly from the original equipment manufacturer and is designed for use with Frigidaire freezers. It regulates the internal temperature to ensure the freezer operates within the proper range. Over time, the thermostat may develop electrical issues that lead to inconsistent performance, making...Read more replacement necessary to maintain optimal functionality.
To install the new thermostat, you’ll need a screwdriver to remove the old component and secure the replacement. Be sure to consult your owner’s manual and model-specific diagrams to ensure correct installation. This high-quality part is sold individually.
Read less

$19.95
In Stock
Freezer Door Key
Part #297147700
This plastic freezer door key is designed to operate the lock mechanism on upright and chest freezers, providing secure access to the appliance’s contents. Compatible with a range of models, it helps maintain consistent internal temperatures and prevents unauthorized access, particularly in households with children. Constructed from high-...Read moregrade, durable plastic, the key offers long-term reliability and is an ideal replacement for lost or damaged originals. Installation is straightforward—simply insert and turn to unlock or secure the freezer door.
Read less

$88.98
In Stock
Refrigerator Light Bulb
Part #5304517886
This 3.8-watt LED light bulb is designed to illuminate the interior of select refrigerator models, providing bright and efficient lighting when the door is opened. If your current bulb is dim, flickering, or no longer functioning, replacing it will restore visibility and convenience. Installation is simple—unplug the refrigerator, unthrea...Read mored the old bulb, and screw in the new one. This bulb is sold individually and does not include additional components.
Read less

$58.82
In Stock
Run Capacitor
Part #5304464438
This part is attached to the compressor. It helps the compressor kick on and off while maintaining a constant temperature to keep things frozen in your freezer.

$77.46
In Stock
DEFROST TIMER
Part #5304518034
This part continually advances and alternates between activating the cooling cycle and the defrost heater.

$83.50
In Stock

$41.81
In Stock

$210.41
In Stock
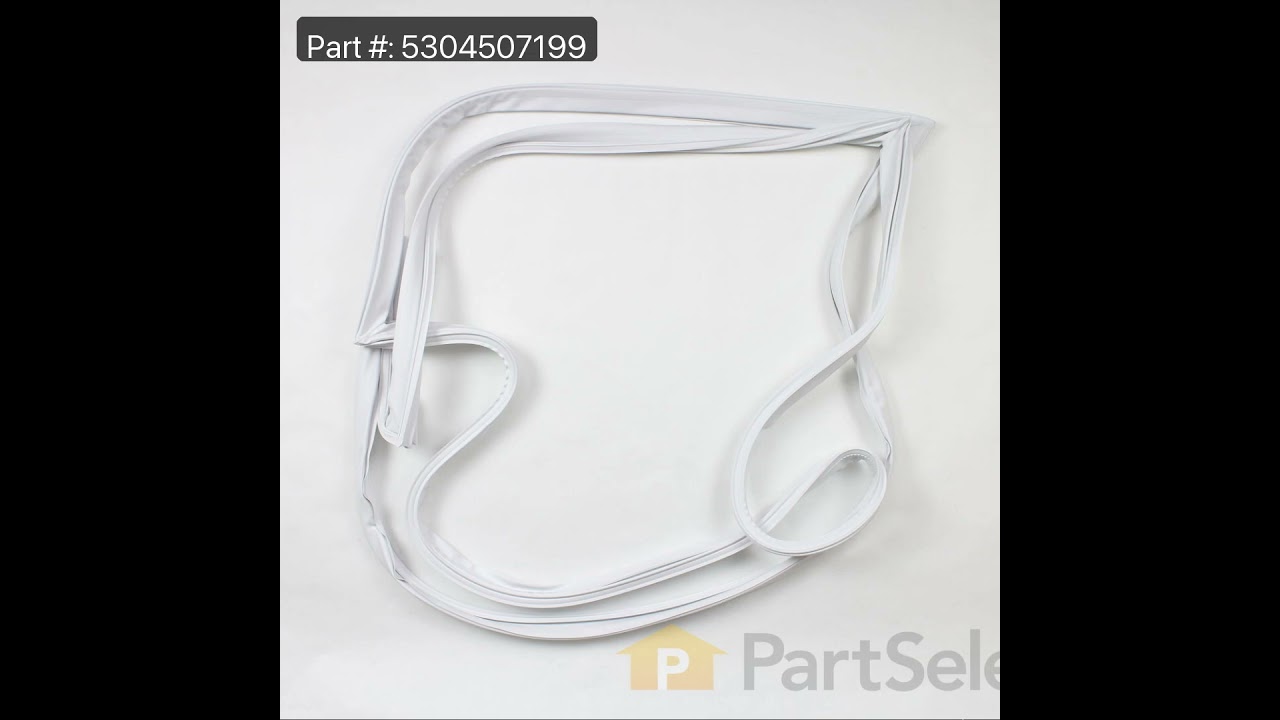
Freezer Door Gasket
Part #5304507199
This freezer door gasket is a genuine replacement component designed to create a secure seal when the door is closed, helping maintain consistent internal temperatures and energy efficiency. Finished in white, it prevents warm air from entering the freezer and keeps cool air contained, reducing frost buildup and ensuring optimal food pres...Read moreervation. Common signs of a worn or damaged gasket include difficulty closing the door, temperature fluctuations, frost accumulation, or visible leaks. Installation requires removing the existing screws and carefully aligning the new gasket into place. Compatible with select freezer models, this OEM part is sold individually and ensures a precise fit and reliable performance.
Read less

$67.04
In Stock

$24.41
In Stock

$29.95
In Stock

$126.84
In Stock
Defrost Heater
Part #216730700
If your freezer keeps frosting up or your fridge isn’t cooling right, this defrost heater might be the fix. It melts away ice from the coils so cold air can flow freely and your food stays fresh. It also helps your fridge run more efficiently. Swapping out a worn heater can solve problems like uneven temperatures or a fridge that runs too long.
Common Symptoms of the 25321021104
How this model fails, and the parts that fix it.
Frost buildup
Fixed by
these parts
these parts


Show All
Too warm
Fixed by
these parts
these parts

Show All
Fridge too warm
Fixed by
these parts
these parts
Show All
Will Not Start
Fixed by
these parts
these parts
Show All
Won’t start
Fixed by
these parts
these parts
Show All
Noisy
Fixed by
these parts
these parts


Show All
Doesn’t stop running
Fixed by
these parts
these parts
Show All
Freezer section too warm
Fixed by
these parts
these parts
Show All
Light not working
Fixed by
these parts
these parts

Show All
Fridge and Freezer are too warm
Fixed by
these parts
these parts
Show All
Freezer not defrosting
Fixed by
these parts
these parts
Show All
Fridge runs too long
Fixed by
these parts
these parts
Show All
Freezer too cold
Fixed by
these parts
these parts
Show All
Clicking sound
Fixed by
these parts
these parts
Show All
Too cold
Fixed by
these parts
these parts
Show All
Watch our pros, then fix it yourself.
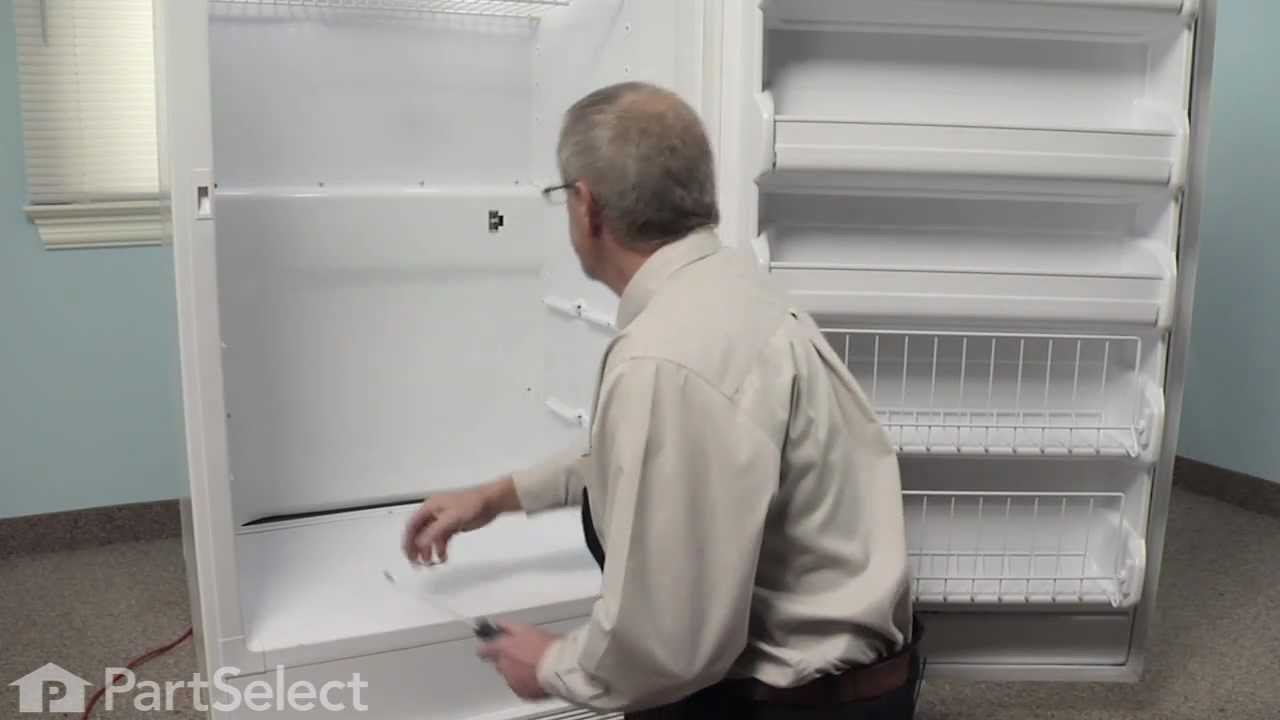

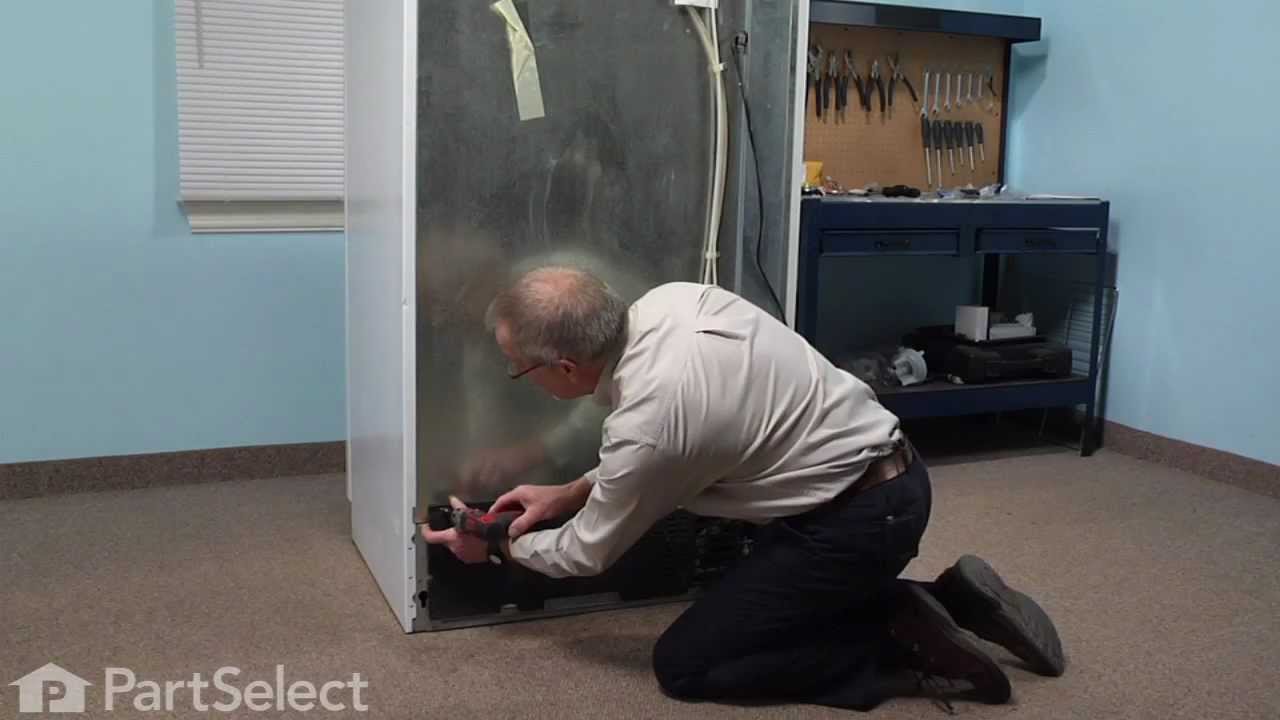
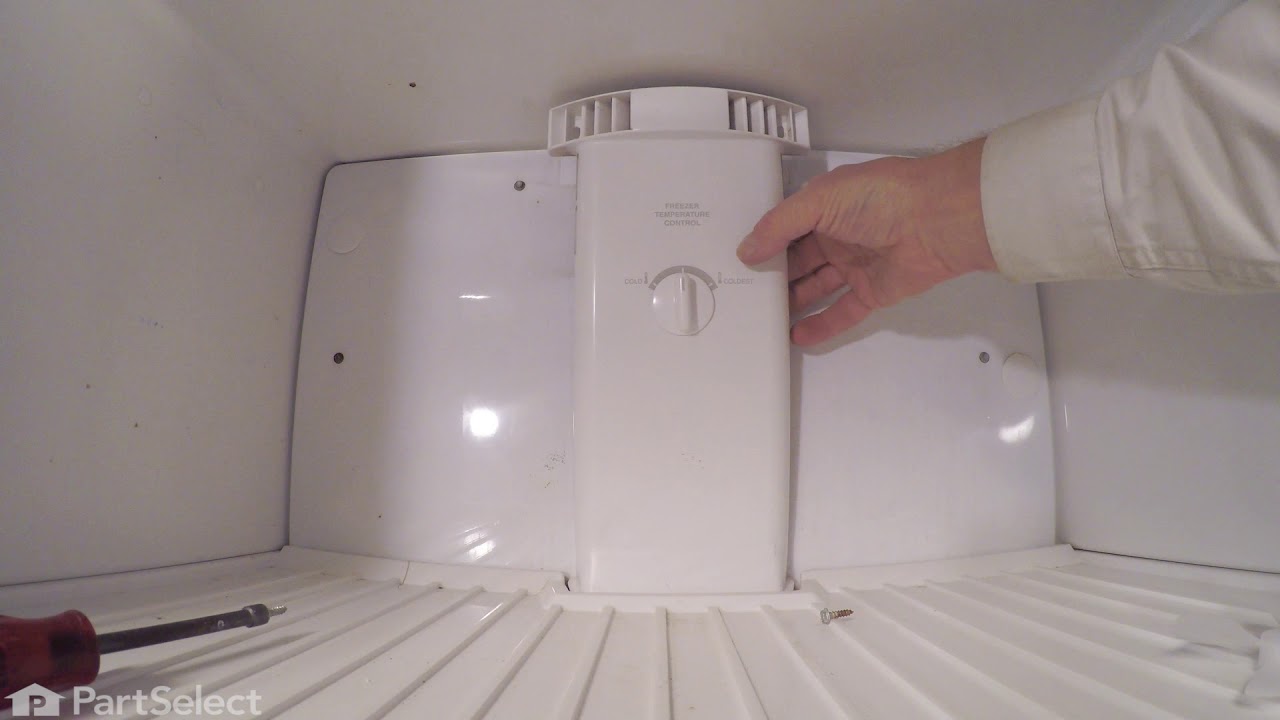
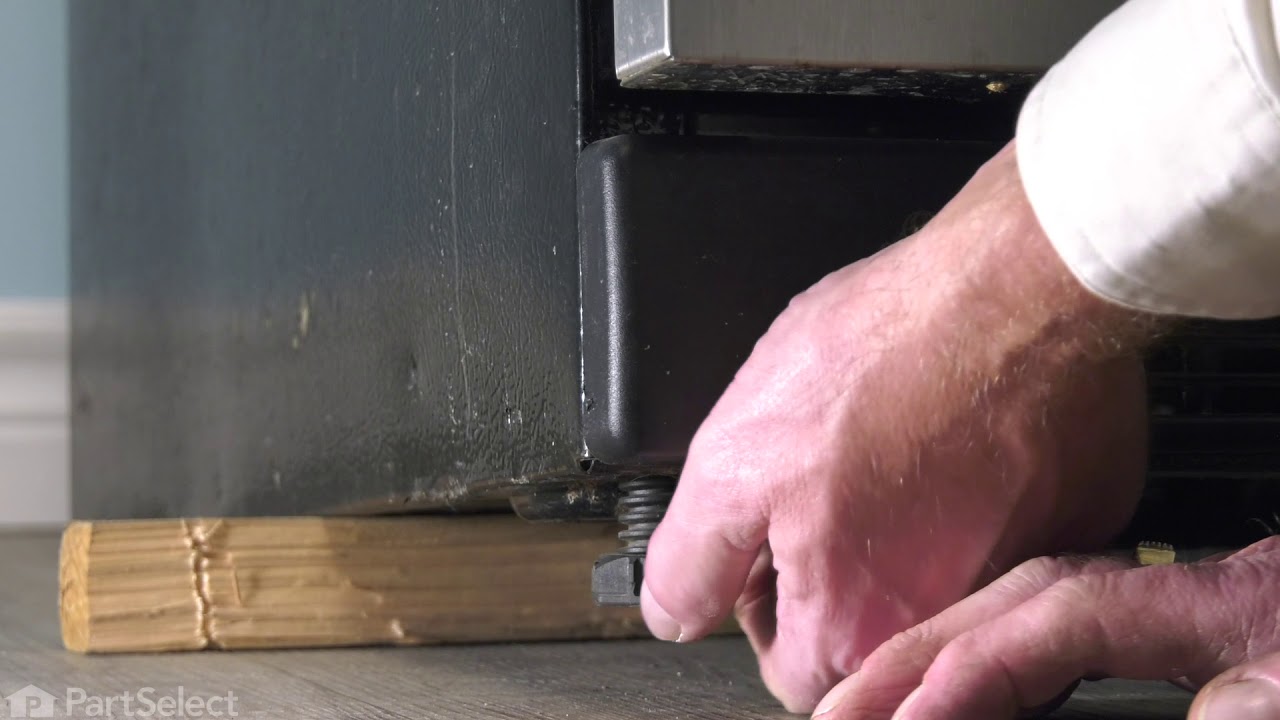
See how others fixed this model. Time, tools, difficulty, and steps that lead to victory!
View More