


 My Orders


2214799N512 Kenmore Dishwasher - Overview
Diagrams for 2214799N512
See every part. Know exactly what you need.


Enter a part description. DIY Heroes keep it simple, eg. "belt" or "pump".
Search filter:
Clear Filter
Your search term must have 3 or more characters.

$45.12
In Stock
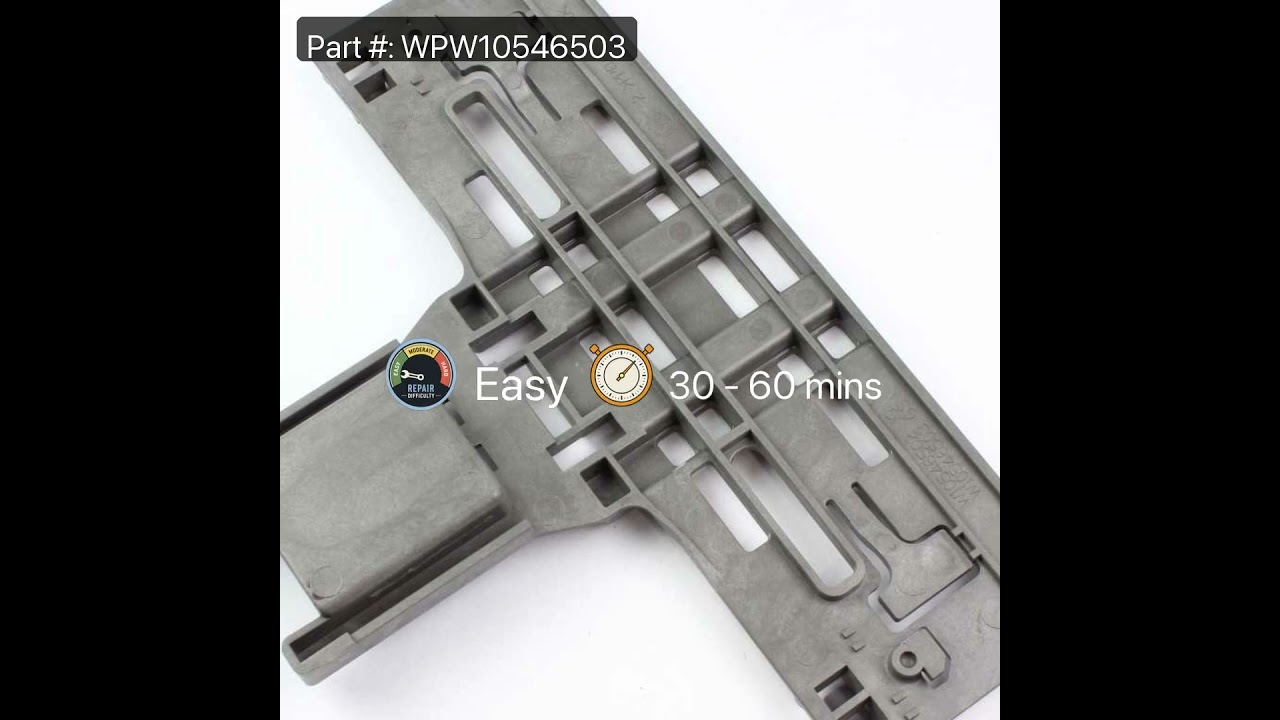
Dishwasher Upper Rack Adjuster
Part #WPW10546503
This OEM Dishwasher Upper Rack Adjuster is a grayish-black, plastic part which will require a screwdriver to install. It fits onto the dishwasher rack and connects it to the track allowing it to slide in and out. If broken then the rack will no longer slide properly, and the part must be replaced. The installation has been rated as "easy...Read more" by customers. Before beginning any repair, you should unplug the dishwasher and wear gloves to protect your hands. Check your model number and user manual to see if this part is right for you! Your dishwasher should have a left and right upper rack adjuster, and both are the same part. These parts are sold individually, so if you are looking to replace both, you will need to order two parts.
Read less

$66.74
In Stock
Silverware Basket
Part #W10807920
Need a new spot for your silverware in the dishwasher? This updated flatware basket is just what you need. It holds forks, spoons, and other small items securely so they get cleaned properly. The look might be a little different from your old one, but it works the same and fits right into the lower rack. It’s a simple way to keep your dishwasher running smoothly.

$44.46
In Stock
Door Balance Link Kit
Part #8194001
The door balance kit helps support the dishwasher door. This kit includes 2 door balance links and 2 door balance mounts with wheels.

$50.55
In Stock
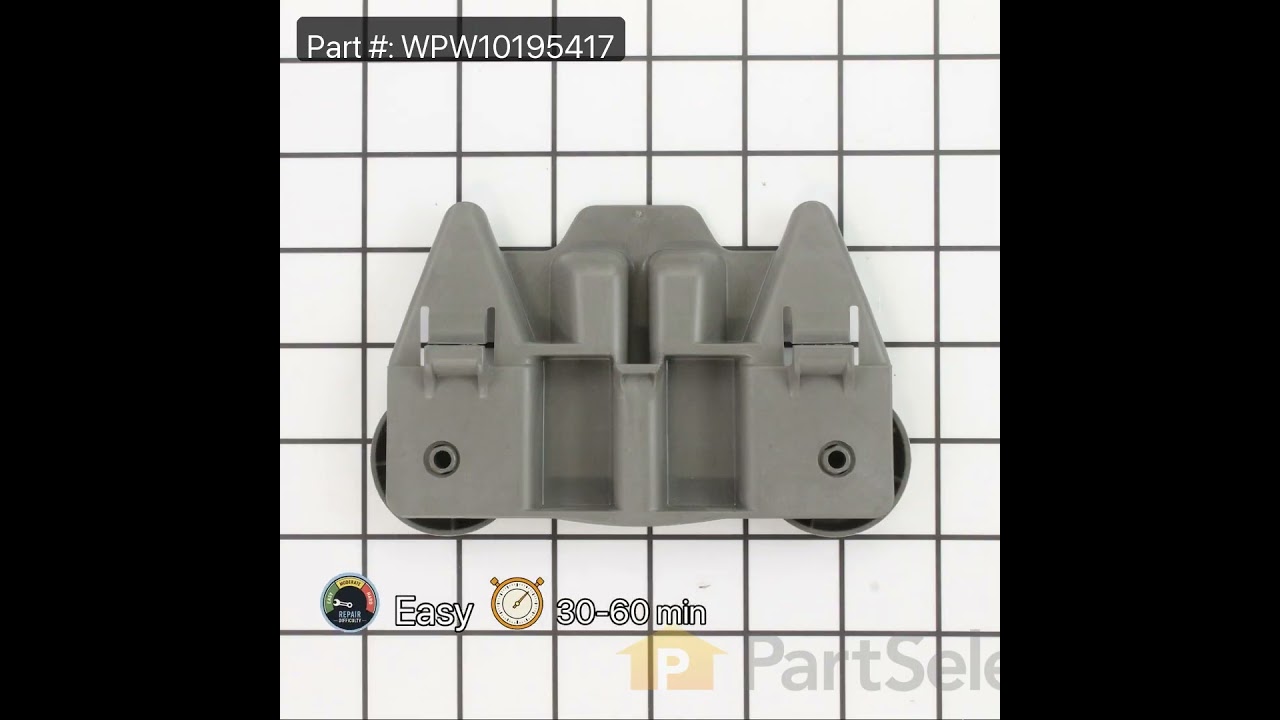
Lower Dishrack Wheel Assembly
Part #WPW10195417
This gray plastic lower dishrack roller is a part for your dishwasher. It attaches to the bottom of the lower dishrack, allowing it to move in and out smoothly. If the lower dishrack stops moving in and out easily or preventing you from being able to shut the dishwasher door, inspect the dishrack roller for damage. The assembly includes 2...Read more rollers and the bracket that attaches to the dishrack (parts are not sold separately). This assembly is sold individually, so you will need 4 assemblies to replace them all in your appliance. For this easy repair, start by removing the lower dishrack from the appliance and set it on the counter. Use a screwdriver to pry off the old roller assembly from the lower tabs. Align the new part on the dishrack by snapping it in place.
Read less

$23.11
In Stock
Dishwasher Mounting Bracket
Part #WP8269145
Sold individually. This part secures the upper side of the dishwasher to the underside of the counter or cabinet to prevent the dishwasher from moving, shaking, or tilting forward.

$14.43
In Stock
Dishwasher Tine Pivot
Part #WPW10082853
The tine pivot clip, also known as the tine row pivot, is used in dishwashers and is located in the upper dishrack. At around 3 inches in length, the clip is used to keep the tine row in place in the dishrack. If your clip is cracked or damaged, it is best to replace this part. To repair, first lift the release tab and hold the other side...Read more to prevent it from falling off. After lifting it off, you can set the new clip on the tine row and lock it up. Refer to the manual provided by the manufacturer for further installation instructions and guidance. Remember to wear work gloves as a safety precaution. This repair was rated as very easy by our customers and should be done in 15 minutes or less.
Read less

$76.66
In Stock
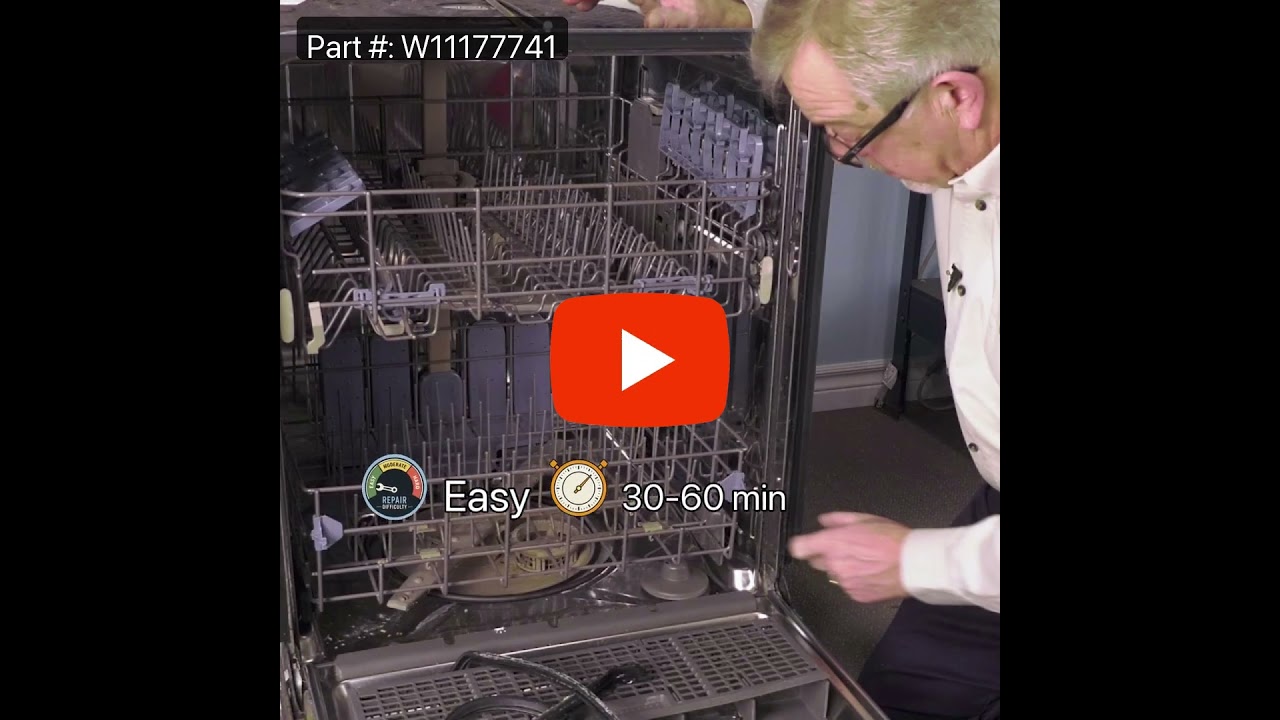
Dishwasher Door Seal
Part #W11177741
Prevent leaks and maintain optimal cleaning performance with this durable dishwasher door seal. It creates a secure barrier to keep water contained during wash cycles, ensuring reliable operation. Replace by removing the old seal and fitting the new one snugly around the door frame.

$56.05
In Stock
Dishwasher Positioner
Part #WPW10195840
Also known as rack adjuster. Sold individually.
This is an original part from KitchenAid, Kenmore, Whirlpool, Jenn-Air, and Maytag for use with Dishwashers. The dishrack adjuster arm positioner clip holds the adjuster arm in the right position on the dishrack. The most common reason for replacing the strap is if the rack will not stay i...Read moren its desired position. This part is sold individually. There are no tools needed to replace the positioner.
Read less

No Longer Available
Touch-Up Paint - White
Part #72017
This 18 ml bottle of white appliance touch-up paint is used to cover scratches or marks on your appliance. The white touch-up paint can be used on refrigerators, microwaves, ranges, clothes dryers, and freezers. This is a genuine OEM part and includes a brush applicator. Please remember to wear gloves to protect your hands when applying this paint.

$113.00
In Stock
Dishwasher Heating Element
Part #W10703867
This dishwasher heating element is a genuine replacement component designed for select models from Whirlpool, KitchenAid, Maytag, Kenmore, and affiliated brands. Constructed from a durable nickel-chromium alloy, it efficiently heats water during the wash cycle and provides the necessary heat to dry dishes at the end of the cycle. A malfun...Read morectioning heating element may result in poor cleaning performance, wet dishes, insufficient water temperature, or failure to start. In some cases, blinking control panel lights may indicate a heating issue. Replacing this part can restore optimal functionality and improve overall appliance efficiency. Compatibility should be confirmed using your dishwasher’s model number prior to installation.
Read less

$54.24
In Stock
Middle Spray Arm
Part #WPW10498900
Struggling with a dishwasher that's not cleaning your dishes properly? The issue might lie with your spray arm, a crucial part of your Whirlpool dishwasher's functionality. This top-quality Whirlpool spray arm is here to solve your dishwashing woes by boosting the performance of your appliance. When your spray arm is functioning its bes...Read moret, it rotates and sprays water evenly and powerfully across your dishes. This ensures an in-depth, comprehensive cleaning for each and every item in the dishwasher tub. The result? Dishes that sparkle, every time. Our Whirlpool spray arm is built to last, giving your dishwasher the endurance to tackle countless cycles of dirty dishes. With its durable construction, you can count on a lasting performance that stands up to regular, everyday use. Do note, it's best to wear work gloves while handling this part during repair, simply ensuring your hands are safe while you get your dishwasher back to top condition. Choose this Whirlpool spray arm and reignite the power of your dishwasher. With every wash, you'll appreciate the unmatched cleanliness standard it provides. After all, your Whirlpool dishwasher should be as relentless in cleanliness as you are. Invest in peace of mind and sparkling dishes today.
Read less

$49.45
In Stock
Dishwasher Dishrack Adjuster
Part #WPW10195839
This dishrack adjuster allows you to change the height of the top rack in your dishwasher, making room for larger items below or optimizing space for smaller loads. If the clip becomes damaged or worn, the rack may not stay in place and could shift during cycles. Replacing the adjuster restores proper rack positioning and smooth operation...Read more. This part is sold individually, so be sure to order the correct quantity for your dishwasher model.
Read less
Common Symptoms of the 2214799N512
How this model fails, and the parts that fix it.
Leaking
Fixed by
these parts
these parts


Show All
Door latch failure
Fixed by
these parts
these parts


Show All
Not cleaning dishes properly
Fixed by
these parts
these parts


Show All
Door won’t close
Fixed by
these parts
these parts
Show All
Not drying dishes properly
Fixed by
these parts
these parts

Show All
Not draining
Fixed by
these parts
these parts


Show All
Will not fill with water
Fixed by
these parts
these parts


Show All
Noisy
Fixed by
these parts
these parts
Show All
Will Not Start
Fixed by
these parts
these parts

Show All
Will not dispense detergent
Fixed by
these parts
these parts

Show All
Watch our pros, then fix it yourself.

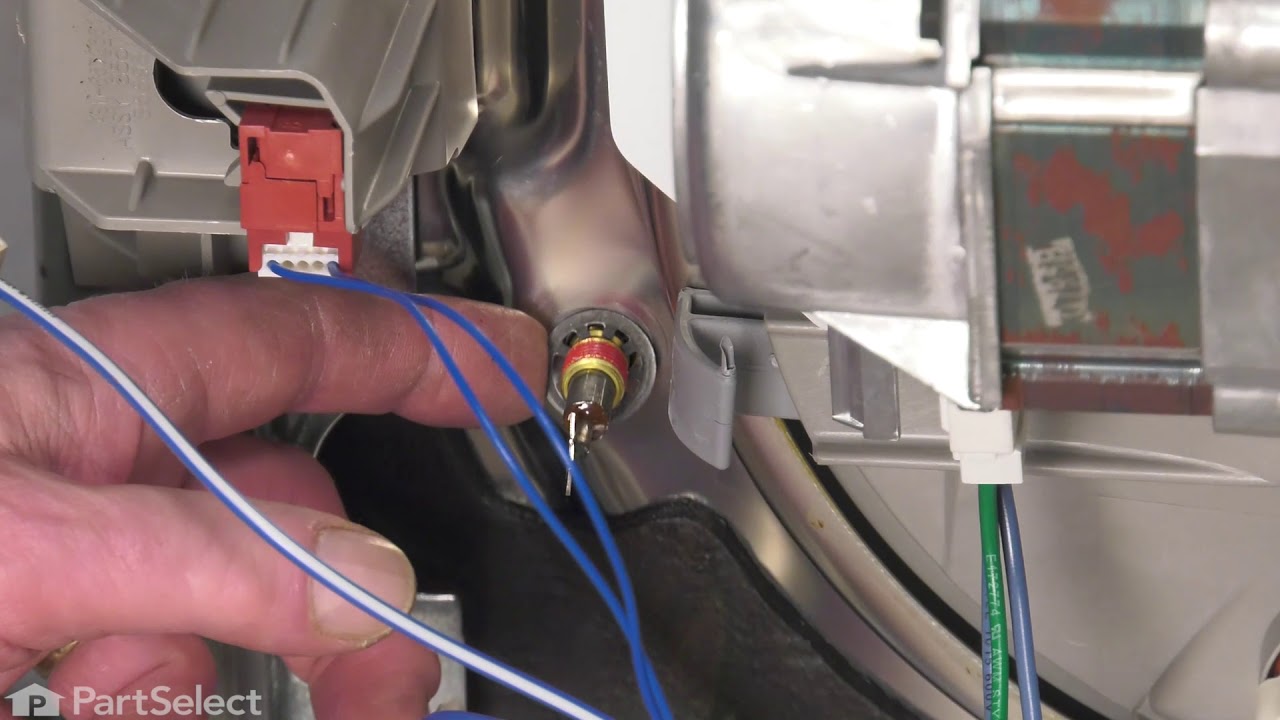
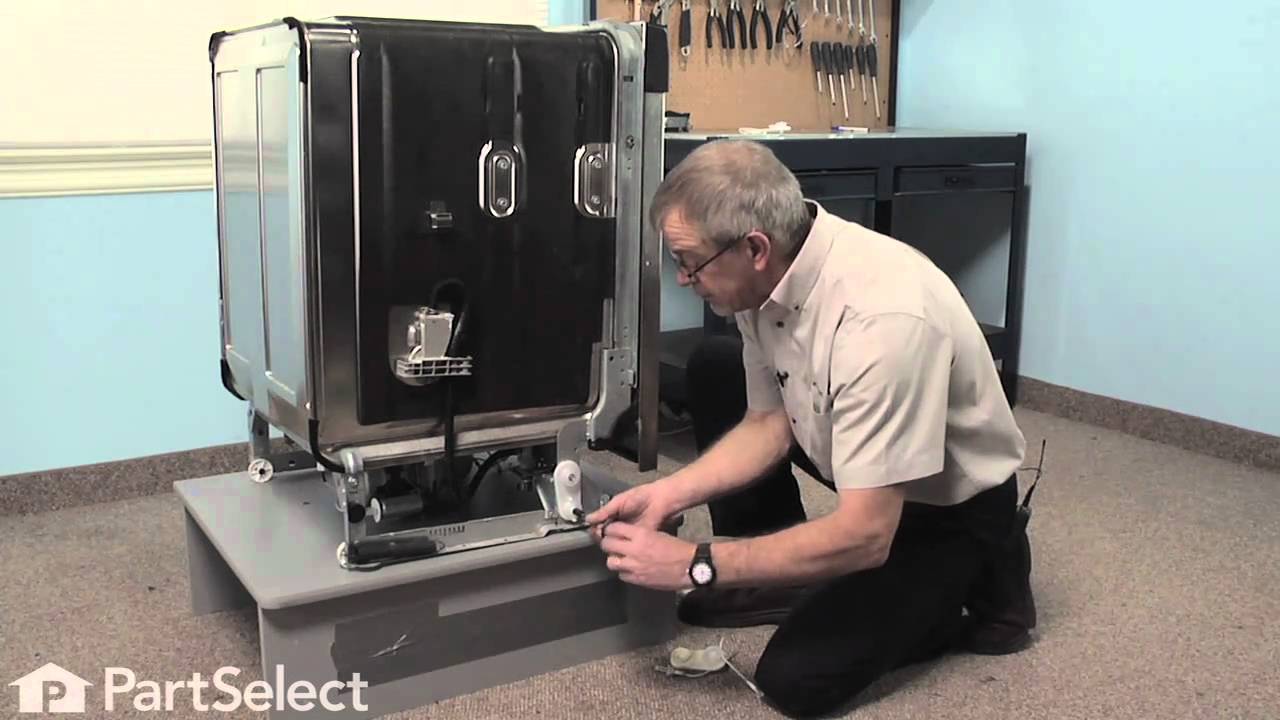

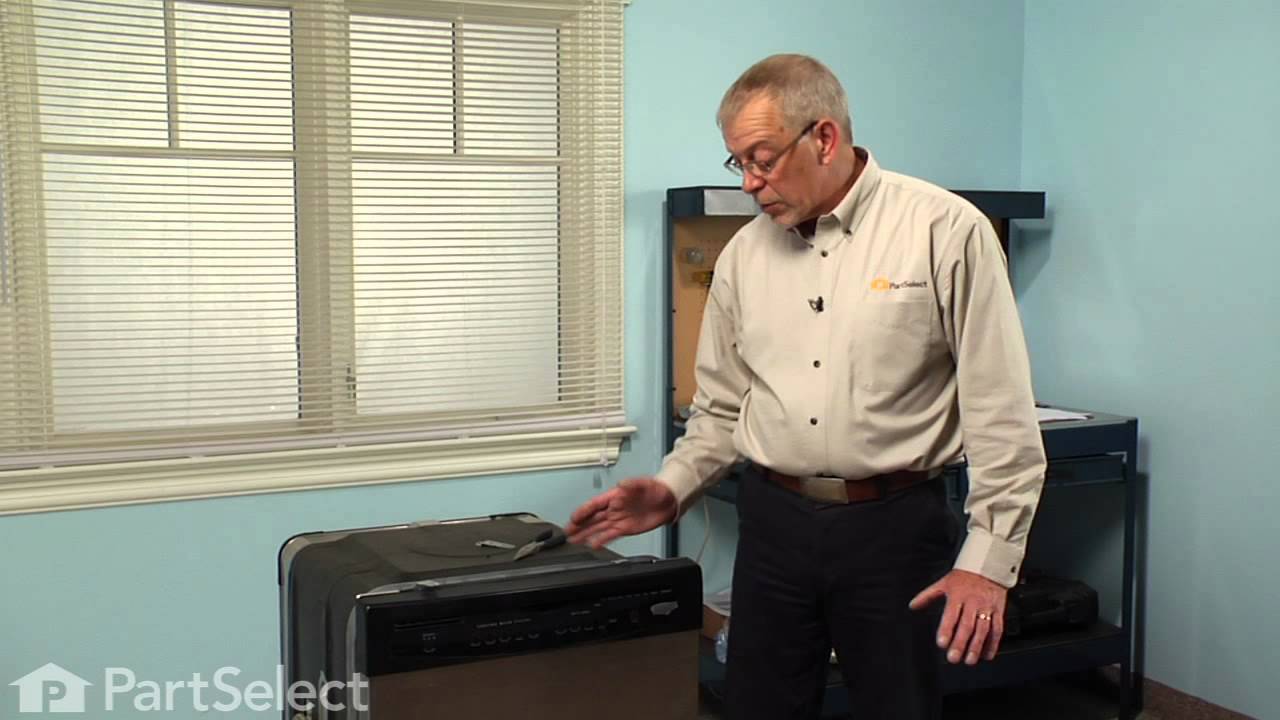
See how others fixed this model. Time, tools, difficulty, and steps that lead to victory!
View More