21433 (1988) Kenmore Wall Oven - Overview

Diagrams for 21433

See every part. Know exactly what you need.

Enter a part description. DIY Heroes keep it simple, eg. "belt" or "pump".

Search filter:
Clear Filter
Your search term must have 3 or more characters.
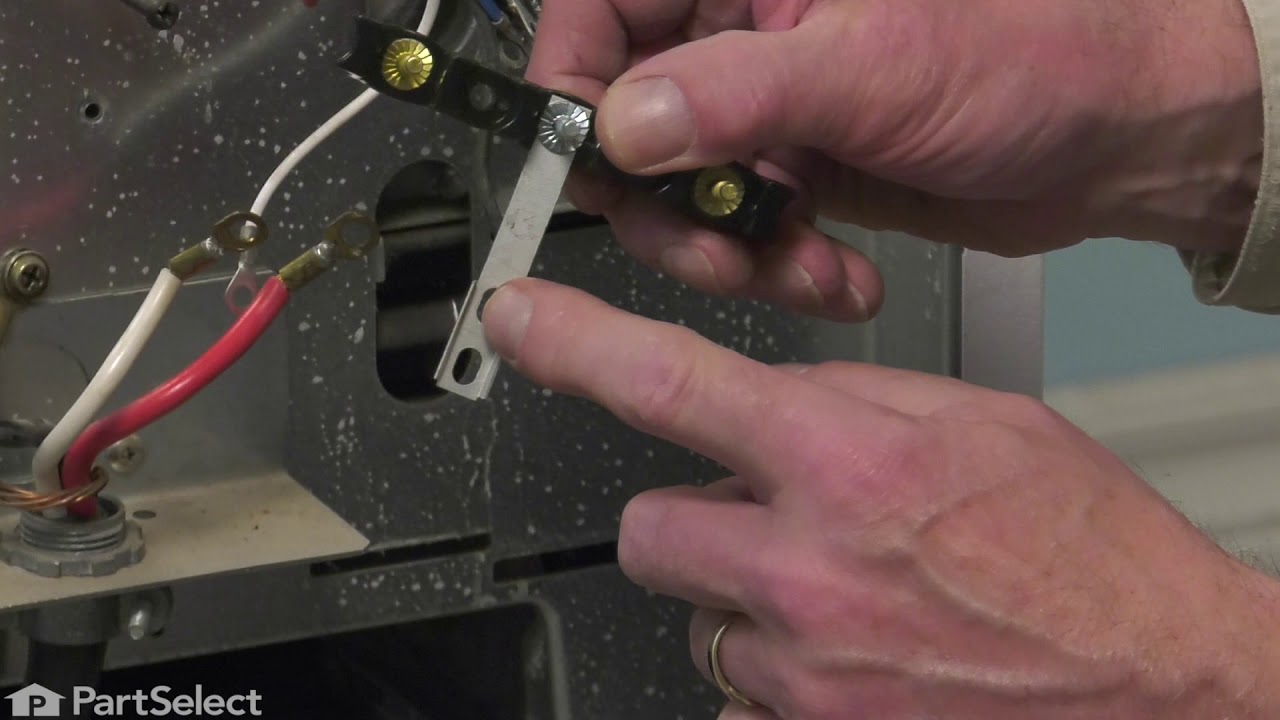
Range Terminal Block – Part Number: WPW10245259
$41.51
In Stock
Range Terminal Block
★★★★★
★★★★★
(2)
Part #WPW10245259
It provides a way of connecting individual electrical wires and offers protection of the device from electrical surges (voltages and/or currents).
Bake Element (15 Inch long x 19 Inch wide) – Part Number: WPY04000041
$107.34
Special Order
Bake Element (15 Inch long x 19 Inch wide)
★★★★★
★★★★★
(3)
Part #WPY04000041
This spade style bake element with push on wire terminals is 15 inches long and 19 inches wide. The depth of the terminals is three inches.
Range Bake Element – Part Number: WPY04000066
$81.24
In Stock
Range Bake Element
★★★★★
★★★★★
(1)
Part #WPY04000066
This spade style bake element with push on wire terminals is 16 inches wide. It has a terminal depth of three inches and a total element length of nineteen inches. This element comes with an instructions sheet and is intended for use with electric ovens.
Stand Mixer Screw – Part Number: WP4159193
$12.95
In Stock
Stand Mixer Screw
Part #WP4159193
This screw is sold individually.
Broil Element (15 Inch long x 12 Inch wide) – Part Number: WPY04000048
$157.59
In Stock
Broil Element (15 Inch long x 12 Inch wide)
★★★★★
★★★★★
(1)
Part #WPY04000048
This oven broil element with push on terminals can be used with some electric ranges or ovens. It comes with four screws and an instructions sheet. This element also has a terminal depth of three inches and a total element length of eighteen inches.
KNOB – Part Number: W11238392
$30.43
Special Order
KNOB
Part #W11238392
+  FAN- AS – Part Number: W10127321
$228.95
Special Order
+ FAN- AS
Part #W10127321
Glass Clip - Black – Part Number: 7112P093-60
No Longer Available
Glass Clip - Black
Part #7112P093-60
This clip helps to hold the exterior glass in place. Order quantity required.
Door Glass Spacer – Part Number: 74003986
$31.95
Special Order
Door Glass Spacer
Part #74003986
Sold individually.
Oven light – Part Number: 790064
No Longer Available
Oven light
Part #790064
Bumper – Part Number: 790087
No Longer Available
Bumper
Part #790087
Fan cover – Part Number: 790203
No Longer Available
Fan cover
Part #790203

Exact Part matches for your search term

DISCONTINUED – Part Number: 21433
No Longer Available
DISCONTINUED
This part number matches the current model number 21433
Part #21433
3-jaw chuck, self-centering – Part Number: 21433
No Longer Available
3-jaw chuck, self-centering
This part number matches the current model number 21433
Part #21433

Common Symptoms of the 21433

How this model fails, and the parts that fix it.

Watch our pros, then fix it yourself.

See how others fixed this model. Time, tools, difficulty, and steps that lead to victory! View More

Search repair tips from other customers using simple keywords like "replace", "fit", "remove", "inspect". DIY doesn't mean you have to do it alone!

Search filter:
Clear Filter
Your search term must have 3 or more characters.
bottom heating element in oven disintegrated
67 of 74 people found this instruction helpful.
  • DENISE from GERMANTOWN, TN
  • Really Easy
  • Less than 15 mins
  • Screw drivers
First I removed the two screws that hold the element in place. I then pulled the element out about 3 inches and disconnected the two wires. I threw away the old pieces.

Then I connected the two wires on the new element. I pushed the wires back in the insulation in the wall of the cabinet. Then I inserted the two screws and t ightened them in.

SUPER EASY!!!!!

This $40 part saved me $1500 on a new double wall oven.
Was this helpful?
Thank you for voting!
Burned terminal block and filter board
95 of 208 people found this instruction helpful.
  • Joseph from Decatur, GA
  • Easy
  • 30 - 60 mins
  • Nutdriver, Screw drivers, Socket set, Wrench set
Removed and replaced above named parts, rewired.Be sure to tighten all nuts that secure wires. I believe this is what caused the problem.
Was this helpful?
Thank you for voting!
Oven heating element blew out
33 of 39 people found this instruction helpful.
  • Shirley from Dallas, TX
  • Really Easy
  • 15 - 30 mins
  • Pliers, Screw drivers
Removed 2 screws, pulled element out. My husband used an ohmmeter to see if the electricity needed to be turned off. It showed no voltage. He could not remove electrical connectors by hand, so he used insulated pliers. When he touched the connectors, a shower of sparks covered the inside of the oven and tripped the breaker switch. Th en we noticed the pliers were welded to the side of the oven. Thankfully the pliers had insulated handles and he was not hurt. It might be a good idea to put in the instructions to TURN OFF POWER TO OVEN in the breaker panel because our oven was definitely HOT. Oven works perfectly now.
Was this helpful?
Thank you for voting!