


 My Orders


183 - Overview
Models starting with 183
Click on the best match to narrow your results.
- 18310679 Kenmore Refrigerator (REFRIGERATOR)
- 183112290 Craftsman Multi-Tool (Scrubber)
- 18313401300 Kenmore Freezer (FREEZER)
- 18313601300 Kenmore Freezer (FREEZER)
- 18314242500 Kenmore Wine and Beverage Cooler (WINE COOLER)
- 18314322500 Kenmore Wine and Beverage Cooler (WINE COOLER)
- 183172500 Craftsman Router (Router)
- 183172510 Craftsman Router (Router)
- 183172520 Craftsman Router (Router)
- 183172521 Craftsman Router (Router)
- 183172530 Craftsman Multi-Tool (Rotary Tool)
- 183172540 Craftsman Router (Router)
- 183217540 Craftsman Planer Jointer (Compucarve System)
- 1833*0A Roper Wall Oven (WALL OVEN)
- 1833^0A Whirlpool Range
- 1833W0A Whirlpool Range
- 1834G1A Midea Microwave (Midea 1.2 Cu. Ft. 1800w Push Button Commercial Microwave 1834g1a)
- 1835*0A Roper Range (Range (gas)*)
- 1835*1A Roper Range (Range (gas)*)
- 1835*2A Roper Range (Range (gas)*)
- 1835*3A Roper Range (Range (gas)*)
- 1835^0A Whirlpool Range
- 1835^1A Whirlpool Range
- 1835^2A Whirlpool Range
- 1835^3A Whirlpool Range
- 1835W0A Roper Range (Gas)
- 1835W1A Roper Range (Gas)
- 1835W2A Roper Range (Gas)
- 18385 (1988) Kenmore Dishwasher (DISHWASHER)
- 18391579 Kenmore Refrigerator (REFRIGERATOR)
- 18391772 Kenmore Refrigerator (REFRIGERATOR)
- 18392779 Kenmore Refrigerator (REFRIGERATOR)
- 18393972 Kenmore Refrigerator (REFRIGERATOR)
- 18394673 Kenmore Refrigerator (REFRIGERATOR)
- 18394679 Kenmore Refrigerator (REFRIGERATOR)
- 18395872 Haier Refrigerator
Enter a part description. DIY Heroes keep it simple, eg. "belt" or "pump".
Search filter:
Clear Filter
Your search term must have 3 or more characters.

$33.28
In Stock
Lid Switch
Part #W10820036
Keep your washer or dryer running safely with this easy-to-install lid or door switch kit. It stops the machine from working when the door is open, helping prevent spills and accidents. Compatible with many models, this small but important part fits neatly inside your appliance and comes with everything you need for installation. Just unp...Read morelug your machine, swap out the old switch, and you're good to go. It’s about 2.5 inches long and blends in with most interiors.
Read less

$74.75
In Stock
Delta Frame Surface Unit - 6 Inch
Part #WPY04100165
If one of your range burners has stopped working, this 6-inch coil surface element offers a simple and effective solution. Delivering 1250 watts of heating power, it provides consistent heat for cooking and is easy to install thanks to its plug-in terminal design. The included center medallion adds a polished touch, blending seamlessly wi...Read moreth your cooktop. Compatible with a variety of electric ranges, this replacement part helps restore full functionality to your appliance.
Read less

$92.28
In Stock

$46.95
Special Order
Detergent Cup Door Spring
Part #WD3X764

$22.95
Special Order
Dishwasher Hose Clamp Kit
Part #WH1X2036
This hose clamp kit contains two clamps. The smaller of the two is an inch in diameter while the larger of the two is two inches in diameter.

$19.99
Special Order
Dishwasher Clamp Sump
Part #WD1X1392

No Longer Available

$70.12
In Stock
Blower Belt
Part #WP691371
If your dryer isn’t drying clothes like it used to or making strange noises, this blower belt might be the fix. It connects the motor to the blower wheel, helping move air through the drum so clothes dry faster. Made to fit select Whirlpool models, it’s tough and reliable. Just unplug your dryer before installing and check your model number to make sure it’s the right part!

No Longer Available
P.C.B. - POWER
Part #RF-5210-11

No Longer Available
Thermostat
Part #RF-7350-101
Also known as Temperature Control Thermostat. This part maintains the proper temperature. When the refrigerator reaches the desired temperature, this part interrupts the flow of electricity to the compressor which stops the cooling process.

No Longer Available
Refrigerator Cold Control Thermostat
Part #8.06.02.0.120005
Also known as Temperature Control Thermostat. This part maintains the proper temperature. When the refrigerator reaches the desired temperature, this part interrupts the flow of electricity to the compressor which stops the cooling process.

$10.95
In Stock
Range Hex Nut
Part #WP112432
10-32 hex - Sold Individually - Appliance originally takes 3 of this item.
Exact Part matches for your search term
No Longer Available
Common Symptoms of models starting with 183
How this model fails, and the parts that fix it.
Element will not heat
Fixed by
these parts
these parts

Show All
Will Not Start
Fixed by
these parts
these parts

Show All
Will not drain
Fixed by
these parts
these parts
Show All
Leaking
Fixed by
these parts
these parts


Show All
Will not dispense detergent
Fixed by
these parts
these parts


Show All
Will not agitate
Fixed by
these parts
these parts
Show All
Won’t Start
Fixed by
these parts
these parts
Show All
Fridge too cold
Fixed by
these parts
these parts

Show All
Door latch failure
Fixed by
these parts
these parts
Show All
Watch our pros, then fix it yourself.
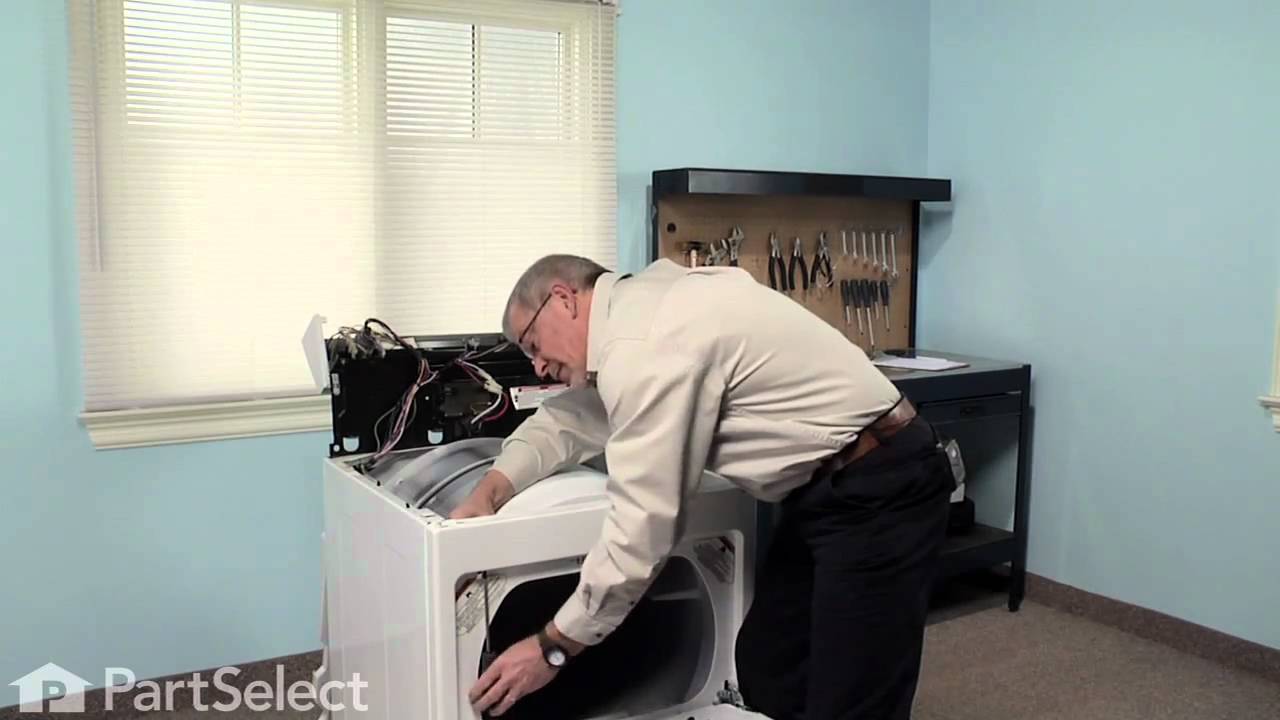
See how others fixed this model. Time, tools, difficulty, and steps that lead to victory!
View More