175607 Kenmore - Overview

Models starting with 175607

Enter a part description. DIY Heroes keep it simple, eg. "belt" or "pump".

Search filter:
Clear Filter
Your search term must have 3 or more characters.
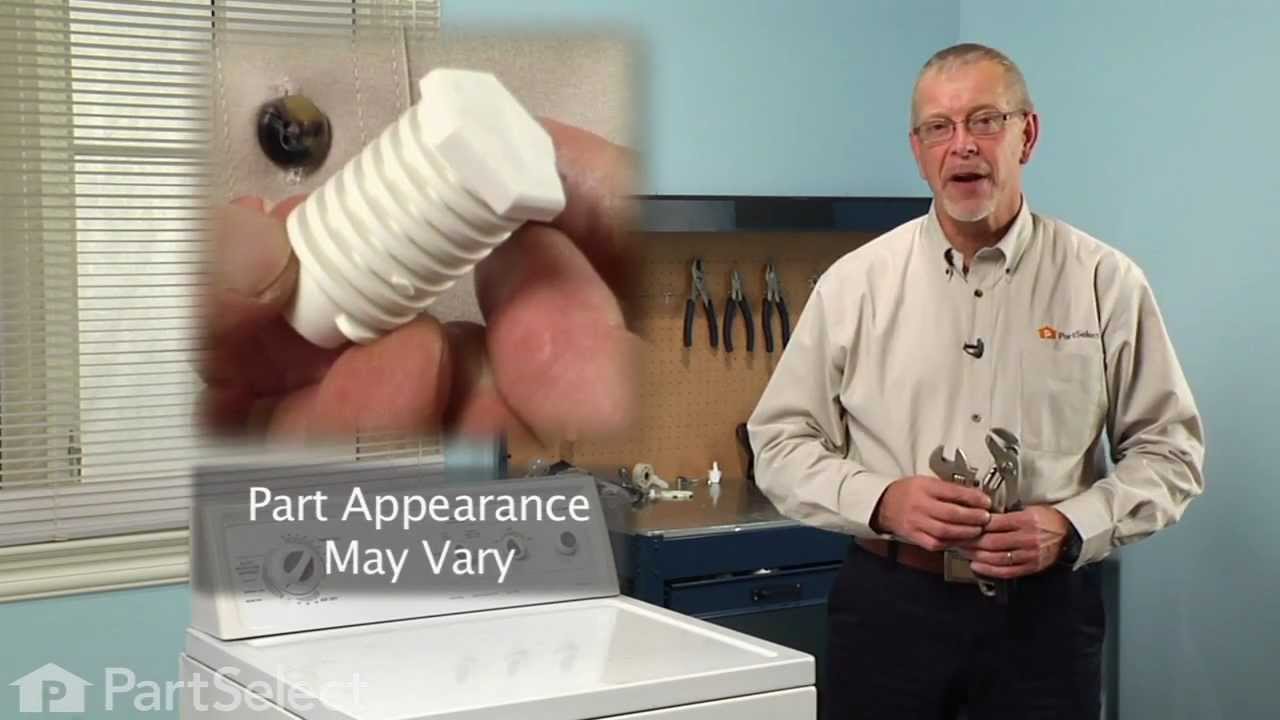
Leveling Foot – Part Number: 49621
$10.95
In Stock
Disposal Stopper/Starter – Part Number: 4211474
No Longer Available
Disposal Stopper/Starter
Part #4211474
This is a garbage disposal start and stopper assembly. Also known as an Actuator.
Seal and Nut Kit – Part Number: 4211578
$78.38
Special Order
Seal and Nut Kit
Part #4211578
DISCONTINUED – Part Number: 1266
No Longer Available
DISCONTINUED
Part #1266
DISCONTINUED – Part Number: 1155
No Longer Available
DISCONTINUED
Part #1155
USE WCI 3131025 – Part Number: 6649
No Longer Available
USE WCI 3131025
Part #6649
DISCONTINUED – Part Number: 70360
No Longer Available
DISCONTINUED
Part #70360
PANEL – Part Number: 9163
No Longer Available
PANEL
Part #9163
MOTOR STARTING SWITCH – Part Number: 5166
No Longer Available
SWITCH – Part Number: 83001031
No Longer Available
SWITCH
Part #83001031
USE WCI 3858 – Part Number: 5861
No Longer Available
USE WCI 3858
Part #5861
MANIFOLD PIPE – Part Number: 9873
No Longer Available
MANIFOLD PIPE
Part #9873

Exact Part matches for your search term

Rod.Brake.Ma – Part Number: 175607
No Longer Available
Rod.Brake.Ma
This part number matches the current model number 175607
Part #175607

Common Symptoms of models starting with 175607

How this model fails, and the parts that fix it.

Watch our pros, then fix it yourself.
See how others fixed this model. Time, tools, difficulty, and steps that lead to victory! View More

Search repair tips from other customers using simple keywords like "replace", "fit", "remove", "inspect". DIY doesn't mean you have to do it alone!

Search filter:
Clear Filter
Your search term must have 3 or more characters.
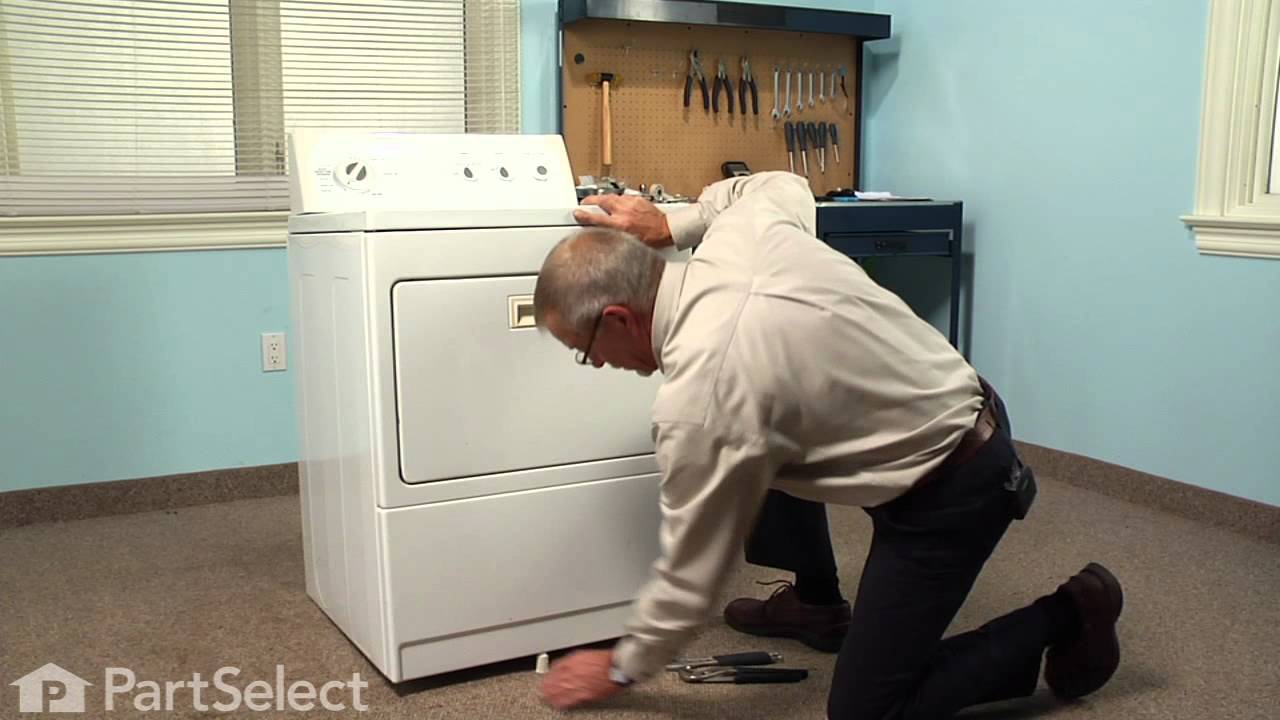
No leveling feet on dryer.
2 of 2 people found this instruction helpful.
  • Bobbie from BEND, OR
  • Very Easy
  • Less than 15 mins
  • Wrench (Adjustable)
This could not have been easier. The hardest part was tipping the dryer over on its' side.
Instructions:
1. Tip dryer over onto a non-scratch surface. I used a tarp on the floor.
Insert leveling foot into the foot opening on the bottom of the dryer &
screw in with fingers until it is difficult to turn.
2. Use t he adjustable wrench on the hexed foot (not the threads) to adjust to the desired level.
3. Tip dryer upright taking care not to exert pressure on the feet closest to floor. I used a folded-up tarp under the bottom edge of the dryer while lifting it to the upright position.
4. Use a level, back to front & side to side, to determine if feet need further adjustment.
5. Adjustments can be made with the dryer in the upright position, using the adjustable wrench on the hexed foot.
Was this helpful?
Thank you for voting!
Washer overflowed
  • Beth from Valley Springs, CA
  • Really Easy
  • 1- 2 hours
  • Screw drivers
Once I watched a YouTube video showing me how to do the job I ordered the part from you. Am so impressed with your fast shipping and best prices via the Internet. Thank you SO much! The water level switch was easy to install, it ws getting the cover on the washer back on that was hard for me since I am 68 yrs old and have a bad knee. Its why it took me two hours to do what most people could do in 20 minutes.
Was this helpful?
Thank you for voting!
ice tray was broken
  • mike from fitchburg, MA
  • Really Easy
  • Less than 15 mins
  • Screw drivers
This was by far so easy the instruction Partselect gave me where right on step by step. a repair man was going to charge 75$ just to come out 9$ from partselect. Thank you very much Mike chaplin
Was this helpful?
Thank you for voting!