


 My Orders


15B - Overview
Models starting with 15B
Click on the best match to narrow your results.
- 15B Amana Freezer
- 15B100 (0018-0645) Briggs and Stratton Engine (Engine)
- 15B100SERIES (0018-0645) Briggs and Stratton Engine (Engine)
- 15B114 (0367-E1) Briggs and Stratton Engine (Briggs & Stratton Small Engine Model 15B114/0367-E1 (15B114/0367E1, 15B114/0367 E1) Parts)
- 15B114 (0347-E1) Briggs and Stratton Engine (Briggs & Stratton Small Engine Model 15B114/0347-E1 (15B114/0347E1, 15B114/0347 E1) Parts)
- 15B114 (0645-E1) Briggs and Stratton Engine (Briggs & Stratton Small Engine Model 15B114/0645-E1 (15B114/0645E1, 15B114/0645 E1) Parts)
- 15B194 (0110-E1) Briggs and Stratton Engine (Briggs & Stratton Small Engine Model 15B194/0110-E1 (15B194/0110E1, 15B194/0110 E1) Parts)
- 15B194 (0018-E1) Briggs and Stratton Engine (Briggs & Stratton Small Engine Model 15B194/0018-E1 (15B194/0018E1, 15B194/0018 E1) Parts)
- 15B196 (0111-E1) Briggs and Stratton Engine (Briggs & Stratton Small Engine Model 15B196/0111-E1 (15B196/0111E1, 15B196/0111 E1) Parts)
Enter a part description. DIY Heroes keep it simple, eg. "belt" or "pump".
Search filter:
Clear Filter
Your search term must have 3 or more characters.

$26.41
In Stock
Light Bulb - 40W
Part #8009
This an authentic OEM 40-Watt replacement light bulb, used in a number of household appliances. It is specially designed to withstand extreme temperatures, which is why these replacement bulbs are most often used to light the inside of refrigerators and ranges. It features a standard socket base, which means you simply unscrew the burnt-o...Read moreut bulb and screw in the replacement. Depending on the appliance you may require a screwdriver or nut driver to access the light bulb. We recommend you wear work gloves while handling this replacement part. It is constructed of glass and metal and is sold individually. Depending on the appliance and location of the bulb within it, you may want to consider disconnecting power and using a flashlight for easier access to unscrewing and re-screwing in your bulb during this repair.
Read less

$115.19
In Stock
Refrigerator Condenser Fan Motor Kit
Part #833697
This condenser fan motor operates in a clockwise fashion and carries carries 2W and 115V. It comes with screws, a mounting nut for the blade and a cushion. This part provides forced-air cooling for the condenser coil.

$11.96
In Stock

$10.95
In Stock
Refrigerator Screw
Part #WP98165
This screw is a little under an inch long and is made of metal. It is used with a refrigerator's ice maker assembly. Sold individually.

$10.41
In Stock

No Longer Available
Screw - No Longer Available
Part #31750402
This black screw is well under an inch long, and is made of metal. It is used for many air conditioners, refrigerators, and ranges.

$10.95
Special Order

$33.95
Special Order
Puller-flywheel
Part #19203
This flywheel puller is designed for servicing larger small engines by safely removing tightly seated flywheels without stressing the crankshaft or damaging ignition components. Constructed from heavy-duty steel and engineered to apply even pulling force, it makes accessing the magneto, crankshaft key, or ignition system straightforward d...Read moreuring repairs or overhauls. Built to OEM specifications for durability and precise fit, it’s a reliable tool for maintaining lawn mowers, generators, and pressure washers with compatible engines.
Read less

$67.55
Special Order
Gear-governor
Part #693578

$7.95
Special Order
Cap-oil Fill
Part #281658S
This manufacturer approved replacement part is specially produced for use with Briggs and Stratton engines commonly installed on Toro lawn and garden equipment. It is utilized to keep the oil in the tank. Please note this durable plastic oil fill cap is sold individually.

$33.95
Special Order
Gear-Timing
Part #695087

$7.95
Special Order
Bolt
Part #691119
Common Symptoms of models starting with 15B
How this model fails, and the parts that fix it.
Noisy
Fixed by
these parts
these parts


Show All
Fridge too warm
Fixed by
these parts
these parts
Show All
Freezer section too warm
Fixed by
these parts
these parts
Show All
Fridge runs too long
Fixed by
these parts
these parts
Show All
Fridge and Freezer are too warm
Fixed by
these parts
these parts
Show All
Will Not Start
Fixed by
these parts
these parts

Show All
Leaking
Fixed by
these parts
these parts
Show All
Too warm
Fixed by
these parts
these parts
Show All
Cannot pull starter cord out or engine will not turn over
Fixed by
these parts
these parts

Show All
Watch our pros, then fix it yourself.
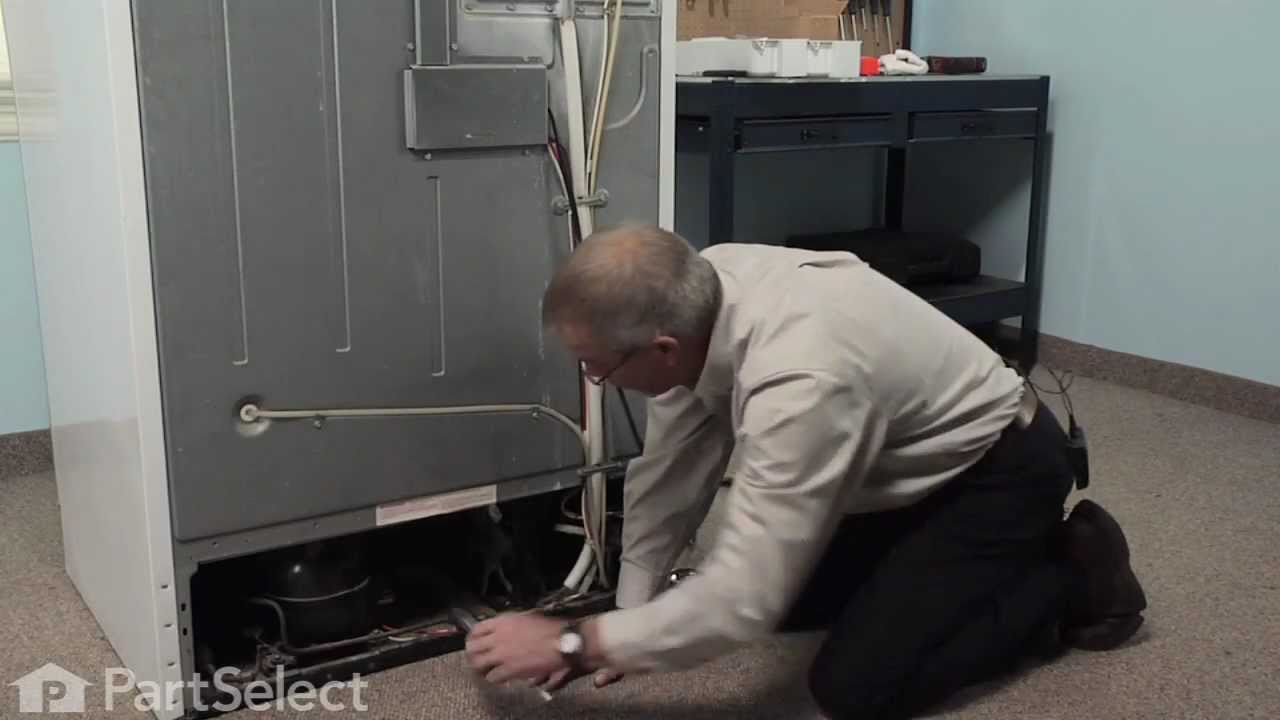
See how others fixed this model. Time, tools, difficulty, and steps that lead to victory!
View More