


 My Orders


15A - Overview
Models starting with 15A
Click on the best match to narrow your results.
- 15A Amana Freezer
- 15A-1 Maytag Range (Maytag Range/Stove/Oven Model 15A-1 (15A1, 15A 1) Parts)
- 15A-1 (6X) Maytag Range (Maytag Range/Stove/Oven Model 15A-1/6X (15A1/6X, 15A 1/6X) Parts)
- 15A-1 (5X) Maytag Range (Maytag Range/Stove/Oven Model 15A-1/5X (15A1/5X, 15A 1/5X) Parts)
- 15A-1 (1X) Maytag Range (Maytag Range/Stove/Oven Model 15A-1/1X (15A1/1X, 15A 1/1X) Parts)
- 15A-2 (1X) Maytag Range (Maytag Range/Stove/Oven Model 15A-2/1X (15A2/1X, 15A 2/1X) Parts)
- 15A-2 (6X) Maytag Range (Maytag Range/Stove/Oven Model 15A-2/6X (15A2/6X, 15A 2/6X) Parts)
- 15A103 (0622-E8) Briggs and Stratton Engine (Briggs & Stratton Small Engine Model 15A103/0622-E8 (15A103/0622E8, 15A103/0622 E8) Parts)
- 15A104 (0545-E1) Briggs and Stratton Engine (Briggs & Stratton Small Engine Model 15A104/0545-E1 (15A104/0545E1, 15A104/0545 E1) Parts)
- 15A104 (0545-E8) Briggs and Stratton Engine (Briggs & Stratton Small Engine Model 15A104/0545-E8 (15A104/0545E8, 15A104/0545 E8) Parts)
- 15A104 (0629-E8) Briggs and Stratton Engine (Briggs & Stratton Small Engine Model 15A104/0629-E8 (15A104/0629E8, 15A104/0629 E8) Parts)
- 15A112 (0006-E1) Briggs and Stratton Engine (Briggs & Stratton Small Engine Model 15A112/0006-E1 (15A112/0006E1, 15A112/0006 E1) Parts)
- 15A112 (0007-E1) Briggs and Stratton Engine (Briggs & Stratton Small Engine Model 15A112/0007-E1 (15A112/0007E1, 15A112/0007 E1) Parts)
- 15A114 (0123-E8) Briggs and Stratton Engine (Briggs & Stratton Small Engine Model 15A114/0123-E8 (15A114/0123E8, 15A114/0123 E8) Parts)
- 15A114 (0122-E8) Briggs and Stratton Engine (Briggs & Stratton Small Engine Model 15A114/0122-E8 (15A114/0122E8, 15A114/0122 E8) Parts)
- 15A114 (0117-E1) Briggs and Stratton Engine (Briggs & Stratton Small Engine Model 15A114/0117-E1 (15A114/0117E1, 15A114/0117 E1) Parts)
- 15A114 (0121-E1) Briggs and Stratton Engine (Briggs & Stratton Small Engine Model 15A114/0121-E1 (15A114/0121E1, 15A114/0121 E1) Parts)
- 15A114 (0115-E1) Briggs and Stratton Engine (Briggs & Stratton Small Engine Model 15A114/0115-E1 (15A114/0115E1, 15A114/0115 E1) Parts)
- 15A114 (0119-E8) Briggs and Stratton Engine (Briggs & Stratton Small Engine Model 15A114/0119-E8 (15A114/0119E8, 15A114/0119 E8) Parts)
- 15A114 (0119-E1) Briggs and Stratton Engine (Briggs & Stratton Small Engine Model 15A114/0119-E1 (15A114/0119E1, 15A114/0119 E1) Parts)
- 15A114 (0697-E1) Briggs and Stratton Engine (Briggs & Stratton Small Engine Model 15A114/0697-E1 (15A114/0697E1, 15A114/0697 E1) Parts)
- 15A114 (0121-E8) Briggs and Stratton Engine (Briggs & Stratton Small Engine Model 15A114/0121-E8 (15A114/0121E8, 15A114/0121 E8) Parts)
- 15A114 (0540-E1) Briggs and Stratton Engine (Briggs & Stratton Small Engine Model 15A114/0540-E1 (15A114/0540E1, 15A114/0540 E1) Parts)
- 15A114 (0124-E8) Briggs and Stratton Engine (Briggs & Stratton Small Engine Model 15A114/0124-E8 (15A114/0124E8, 15A114/0124 E8) Parts)
- 15A114 (1204-E1) Briggs and Stratton Engine (Briggs & Stratton Small Engine Model 15A114/1204-E1 (15A114/1204E1, 15A114/1204 E1) Parts)
- 15A114 (0116-E1) Briggs and Stratton Engine (Briggs & Stratton Small Engine Model 15A114/0116-E1 (15A114/0116E1, 15A114/0116 E1) Parts)
- 15A114 (0532-E1) Briggs and Stratton Engine (Briggs & Stratton Small Engine Model 15A114/0532-E1 (15A114/0532E1, 15A114/0532 E1) Parts)
- 15A114 (0124-E1) Briggs and Stratton Engine (Briggs & Stratton Small Engine Model 15A114/0124-E1 (15A114/0124E1, 15A114/0124 E1) Parts)
- 15A114 (0732-E1) Briggs and Stratton Engine (Briggs & Stratton Small Engine Model 15A114/0732-E1 (15A114/0732E1, 15A114/0732 E1) Parts)
- 15A114-0342-E1 Briggs and Stratton Engine (Small Engine)
- 15A193 (0118-E1) Briggs and Stratton Engine (Briggs & Stratton Small Engine Model 15A193/0118-E1 (15A193/0118E1, 15A193/0118 E1) Parts)
- 15AC208230-1-60A Nortek Air Conditioner (Nordyne Exported Ac)
- 15AC220240-1-50A Nortek Air Conditioner (Nordyne Exported Ac)
Enter a part description. DIY Heroes keep it simple, eg. "belt" or "pump".
Search filter:
Clear Filter
Your search term must have 3 or more characters.

$26.41
In Stock
Light Bulb - 40W
Part #8009
This an authentic OEM 40-Watt replacement light bulb, used in a number of household appliances. It is specially designed to withstand extreme temperatures, which is why these replacement bulbs are most often used to light the inside of refrigerators and ranges. It features a standard socket base, which means you simply unscrew the burnt-o...Read moreut bulb and screw in the replacement. Depending on the appliance you may require a screwdriver or nut driver to access the light bulb. We recommend you wear work gloves while handling this replacement part. It is constructed of glass and metal and is sold individually. Depending on the appliance and location of the bulb within it, you may want to consider disconnecting power and using a flashlight for easier access to unscrewing and re-screwing in your bulb during this repair.
Read less

$17.96
In Stock
Chrome Drip Bowl - 8 inch
Part #WPW10196405
This manufacturer-certified drip bowl is also known as a drip pan, and it is designed for use with cooktops and ranges. It sits below 8-inch burner elements and catches drips and spills from the cookware on the burner. The diameter of the drip bowl is approximately 10 inches. This replacement might appear slightly different, but it will f...Read moreit your appliance. You will need no tools to complete this repair. Simply remove the burner element, remove the old bowl, line up the hole on the new bowl with the terminal block and drop it into place. Make sure the bowl is flat before reinstalling the element. While you have the element out you should inspect the terminals for corrosion, damage, or discolouration. If you notice any of those things you should also replace the element and terminal block. You will need to replace your drip bowl if it is lost, damaged, or can no longer be cleaned. This replacement part is sold individually. To extend the life of your new drip bowl we recommend you clean it regularly with soap and water. We recommend only using the recommended drip bowl for your appliance; generic versions will not fit properly which could affect the performance of your elements and cause long-term damage.
Read less

$27.20
In Stock
Surface Burner Receptacle Kit
Part #12001676
This kit comes with one ceramic block, metal bracket, wires, and hi-temp wire nuts.

$115.19
In Stock
Refrigerator Condenser Fan Motor Kit
Part #833697
This condenser fan motor operates in a clockwise fashion and carries carries 2W and 115V. It comes with screws, a mounting nut for the blade and a cushion. This part provides forced-air cooling for the condenser coil.

$30.40
In Stock
Screw
Part #W11233072
This is a multi-use and multi-appliance screw. It can be used on a microwave, refrigerator, range/oven, air conditioner, dehumidifier, washer, or dryer. The measurements of this screw are 8 x 1/2 inch. It has 6 threads. Refer to the manual provided by the manufacturer for further information on repair and accurate guidance. Remember to wear work gloves as a safety precaution.

$11.96
In Stock

$10.95
In Stock
Refrigerator Screw
Part #WP98165
This screw is a little under an inch long and is made of metal. It is used with a refrigerator's ice maker assembly. Sold individually.

$10.41
On Order

$104.98
Special Order
Economy Y-frame Surface Unit - 8"
Part #WPY04000035
This electric range economy Y-frame surface element measures eight inches and has five turns. It carries 2100 watts and is used on some electric ranges. The center medallion is chrome.

$94.34
Special Order
Economy Y-frame Surface Unit - 6"
Part #WPY04000036
This electric range economy Y-frame surface element measures six inches and has three turns. It carries 1250 watts and is used on some electric ranges. The center medallion is chrome.

No Longer Available
Screw - No Longer Available
Part #31750402
This black screw is well under an inch long, and is made of metal. It is used for many air conditioners, refrigerators, and ranges.

$10.95
Special Order
Common Symptoms of models starting with 15A
How this model fails, and the parts that fix it.
Element will not heat
Fixed by
these parts
these parts


Show All
Noisy
Fixed by
these parts
these parts


Show All
Fridge too warm
Fixed by
these parts
these parts
Show All
Freezer section too warm
Fixed by
these parts
these parts
Show All
Will Not Start
Fixed by
these parts
these parts

Show All
Fridge runs too long
Fixed by
these parts
these parts
Show All
Fridge and Freezer are too warm
Fixed by
these parts
these parts
Show All
Too warm
Fixed by
these parts
these parts
Show All
Cannot pull starter cord out or engine will not turn over
Fixed by
these parts
these parts

Show All
Leaking
Fixed by
these parts
these parts
Show All
Watch our pros, then fix it yourself.
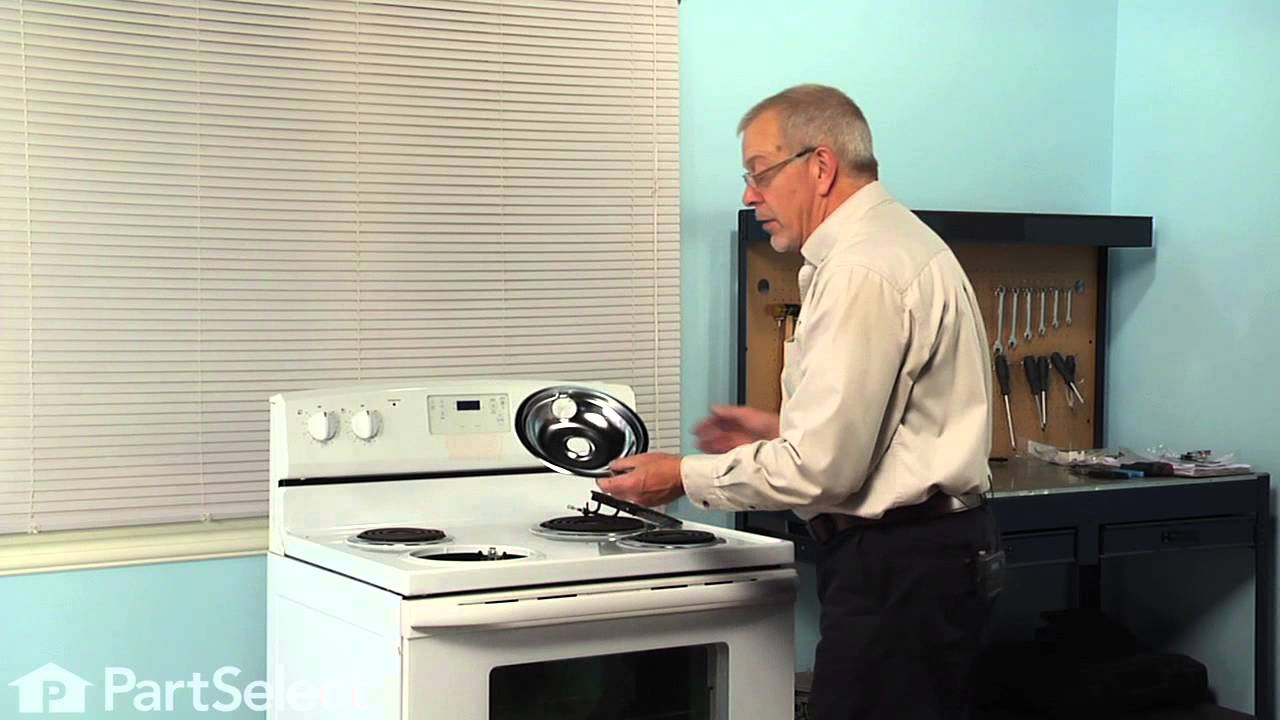
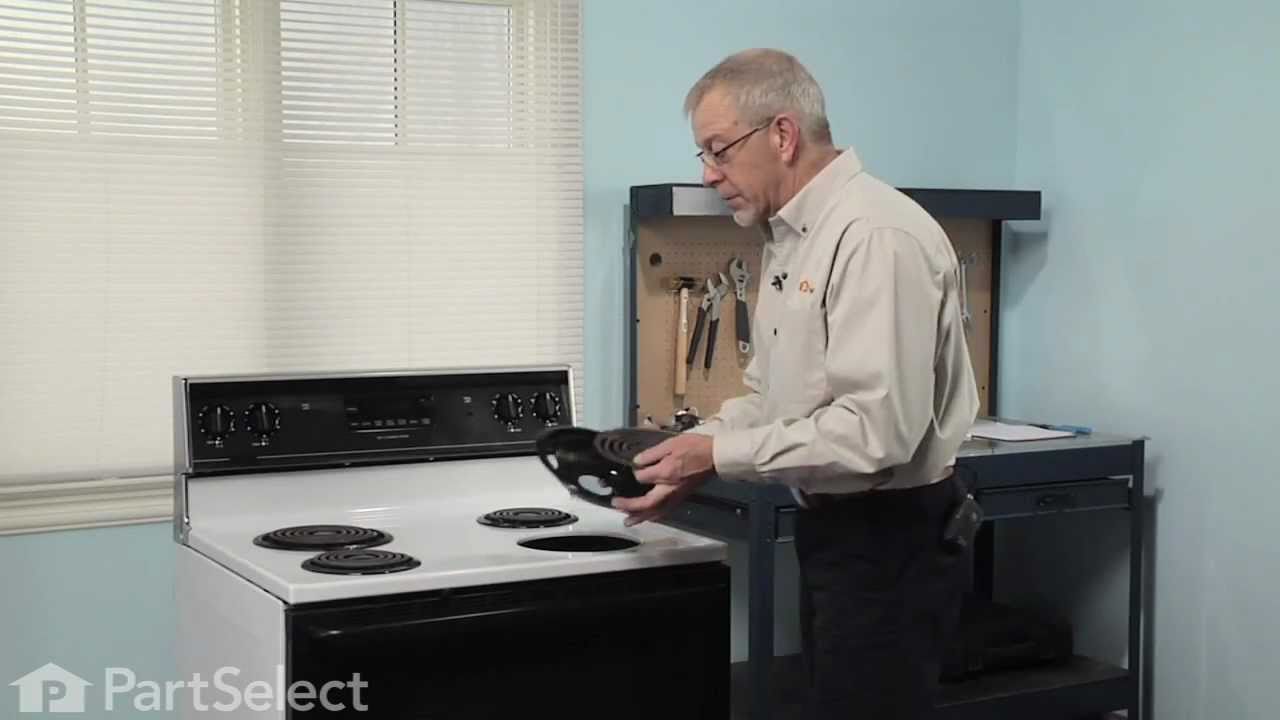
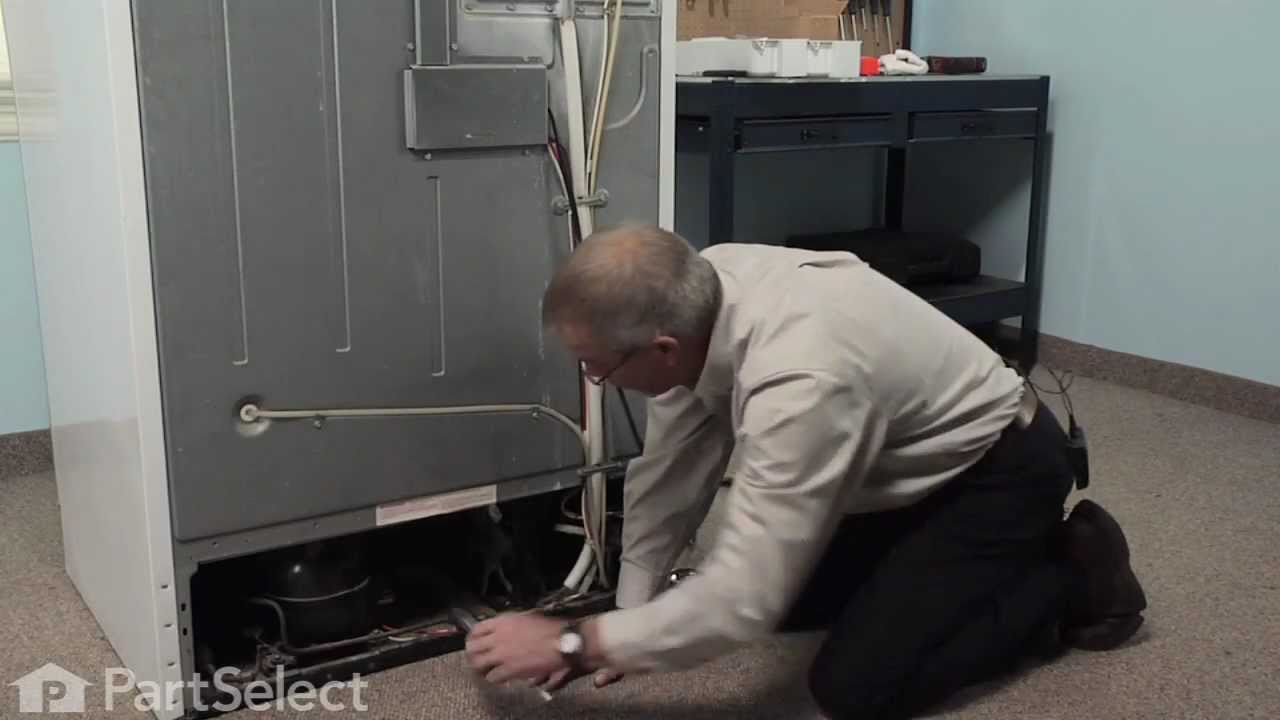
See how others fixed this model. Time, tools, difficulty, and steps that lead to victory!
View More