


 My Orders


1545 - Overview
Models starting with 1545
Click on the best match to narrow your results.
Enter a part description. DIY Heroes keep it simple, eg. "belt" or "pump".
Search filter:
Clear Filter
Your search term must have 3 or more characters.

$29.35
Special Order
Burner Bowl - 8 Inch
Part #WB31T10015
This part is located beneath the element and catches any spills.

No Longer Available
Burner Bowl - 6 Inch
Part #WB31T10014
This burner bowl is also known as a burner drip bowl or burner drip pan, and is designed for use with your cooktop or range. It is black in color and is approximately 6 inches in diameter. It can be found beneath the element and catches spills. If your old burner bowl is damaged or missing, you may need to replace it with this part.

$111.72
In Stock
Bake Element
Part #WB30X46987
The bake element is located on the bottom of the oven. If your oven will not heat properly it may be due to a faulty or damaged baking element. If you can see that the element has been separated or blistered, you should replace the part immediately. If there is no visible damage, turn the oven on and check to see if the element heats even...Read morely. If the element is not heating evenly, or if it is not heating at all, it will need to be replaced. This element is 19 inches wide x 19 inches long, and has male spade push on terminals.
Read less

$74.43
Special Order
Surface Burner Switch - 8 Inch - 2500W
Part #WB24T10025
The 8-inch surface element switch is also known as an infinite heat switch, and is a part for your range. It controls the large surface element. It will turn the element on and off, and allow you to change the heat intensity. The knob to adjust the heat setting mounts on the shaft of this swtich. The burner knob is sold separately. If you...Read morer large surface element will not turn on, or you cannot adjust the heat intensity, you may have a broken or damaged surface burner switch. Be sure you disconnect your range from the power source before you begin this repair.
Read less

$19.10
Special Order
Light Bulb - 40W
Part #40A15
This 40-Watt light bulb is sold individually.
It is specially designed to withstand extreme temperatures, so this bulb is compatible with a variety of appliance types including refrigerators, ranges, microwaves, and dryers. It features a frosted glass bulb with a standard metal socket base, which allows you to easily unscrew the burnt-out light and twist the new bulb into place.

$45.61
Special Order

$13.95
Special Order
Drawer Support
Part #WB02K10158
This is a replacement drawer support for your oven. The drawer support provides stability to the drawer unit as it opens and closes. If your oven drawer is hanging or will not slide in or out efficiently, you could have a damaged or missing drawer support. This part is made of white plastic and is sold individually. To replace the support...Read more, simply remove the oven drawer, and unscrew the front support on the sides of the oven. Then, simply screw the new part in and replace the drawer to complete your repair.
Read less

$13.95
Special Order
Lens
Part #WB25T10041
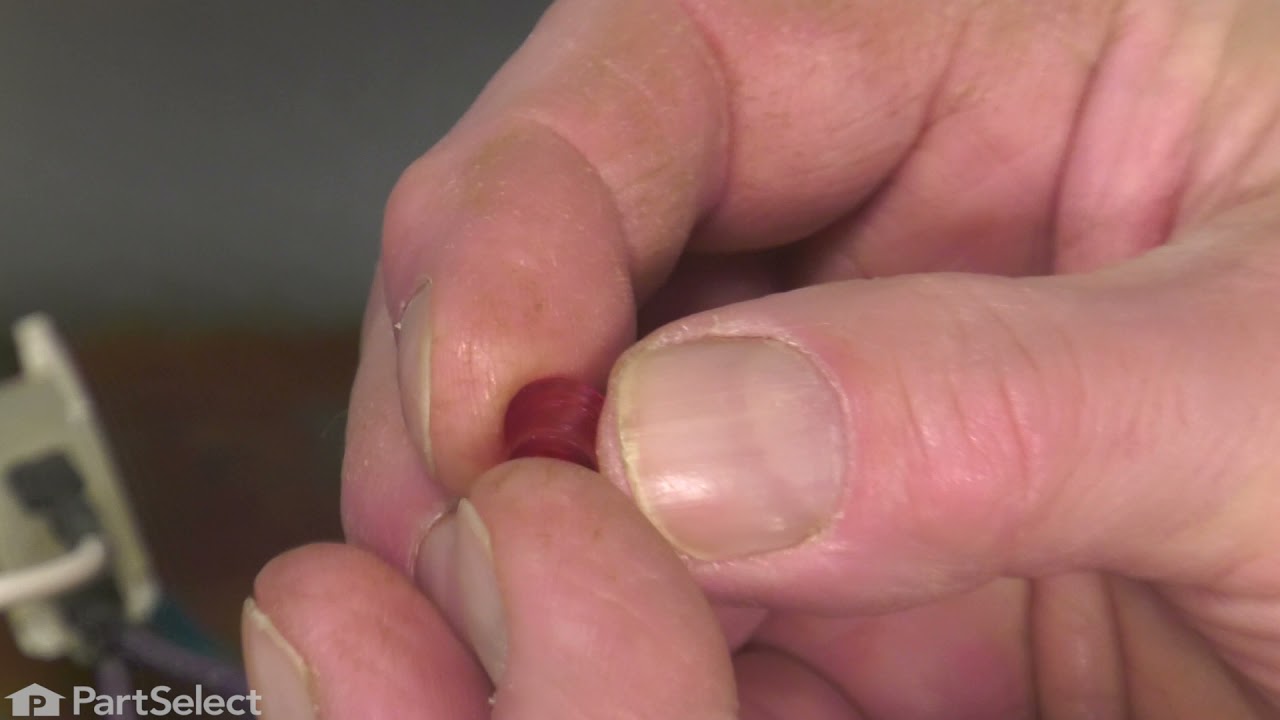
This part is a replacement lens for your oven or range. The lens is red in color, and when the elements are turned on, the light behind the lens will turn on to inform the user that the element is, in fact, on. The lens is a little less than half an inch in diameter and is made of plastic. If the light behind the lens still works, you sho...Read moreuld be able to simply remove the front panel and pop the damaged lens out of position, then replace it with the new one. This part is sold individually and is an OEM part sourced directly from the manufacturer.
Read less

$69.15
Special Order
Range Surface Element Control Switch - 6 Inch - 1560 W
Part #WB24T10029
If your stove’s burner isn’t heating right—maybe it’s stuck on high or won’t turn on at all—this control switch could be the fix. It’s made for 6-inch burners and lets you adjust the heat smoothly, not just in set steps. It works by turning the burner on and off to reach the temperature you want. Swapping out a worn switch can help your stove cook more evenly and safely.

No Longer Available
BROIL ELEMENT
Part #WB30X46986
If your oven isn’t getting hot enough when you broil, this replacement broil element could be the fix. It’s the part that heats from the top of the oven to give food that crispy finish. Easy to install—just make sure it fits your model and turn off the power before starting.

$29.72
Special Order

$87.90
Special Order
Surface Burner Terminal Block Kit
Part #WB17T10006
This kit includes the female contact with wires, terminal block and mounting clip.
Exact Part matches for your search term

No Longer Available
No Longer Available
Common Symptoms of models starting with 1545
How this model fails, and the parts that fix it.
Element will not heat
Fixed by
these parts
these parts


Show All
Little to no heat when baking
Fixed by
these parts
these parts
Show All
Will Not Start
Fixed by
these parts
these parts

Show All
Little to no heat when broiling
Fixed by
these parts
these parts

Show All
Oven not heating evenly
Fixed by
these parts
these parts

Show All
Door won’t close
Fixed by
these parts
these parts


Show All
Oven is too hot
Fixed by
these parts
these parts
Show All
Touchpad does not respond
Fixed by
these parts
these parts

Show All
Timer will not advance
Fixed by
these parts
these parts
Show All
Leaks water
Fixed by
these parts
these parts

Show All
Watch our pros, then fix it yourself.
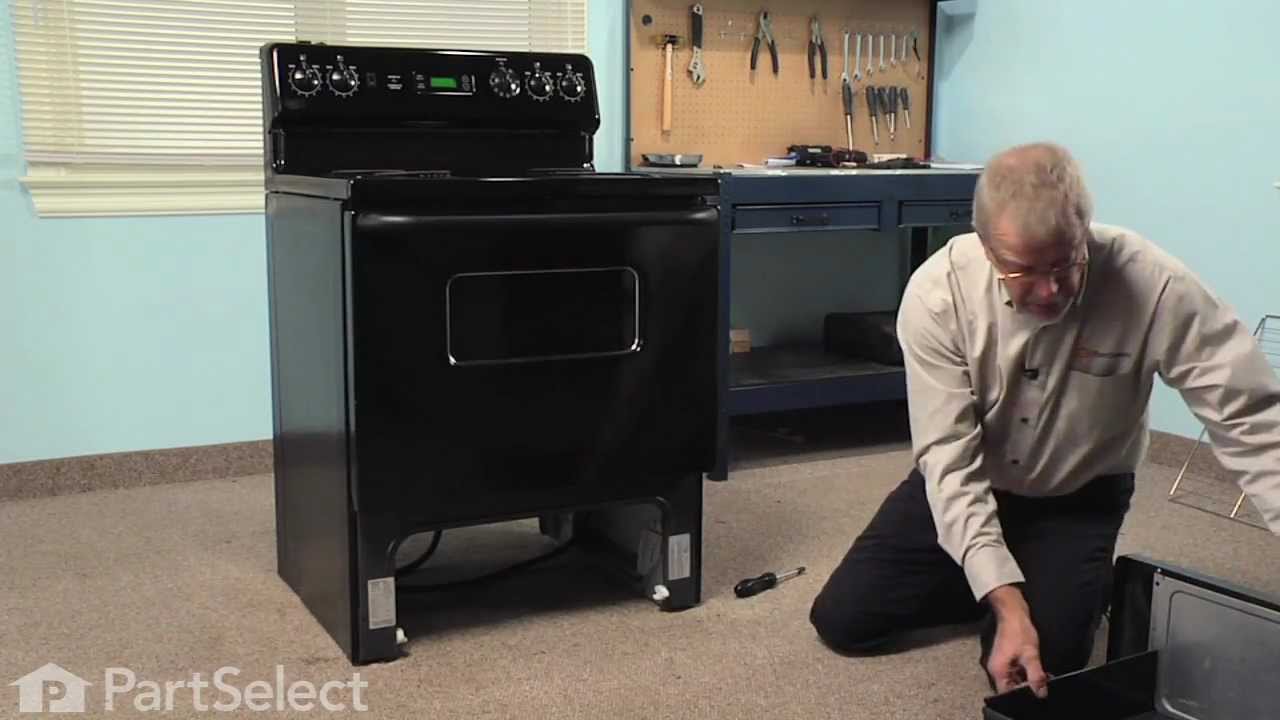

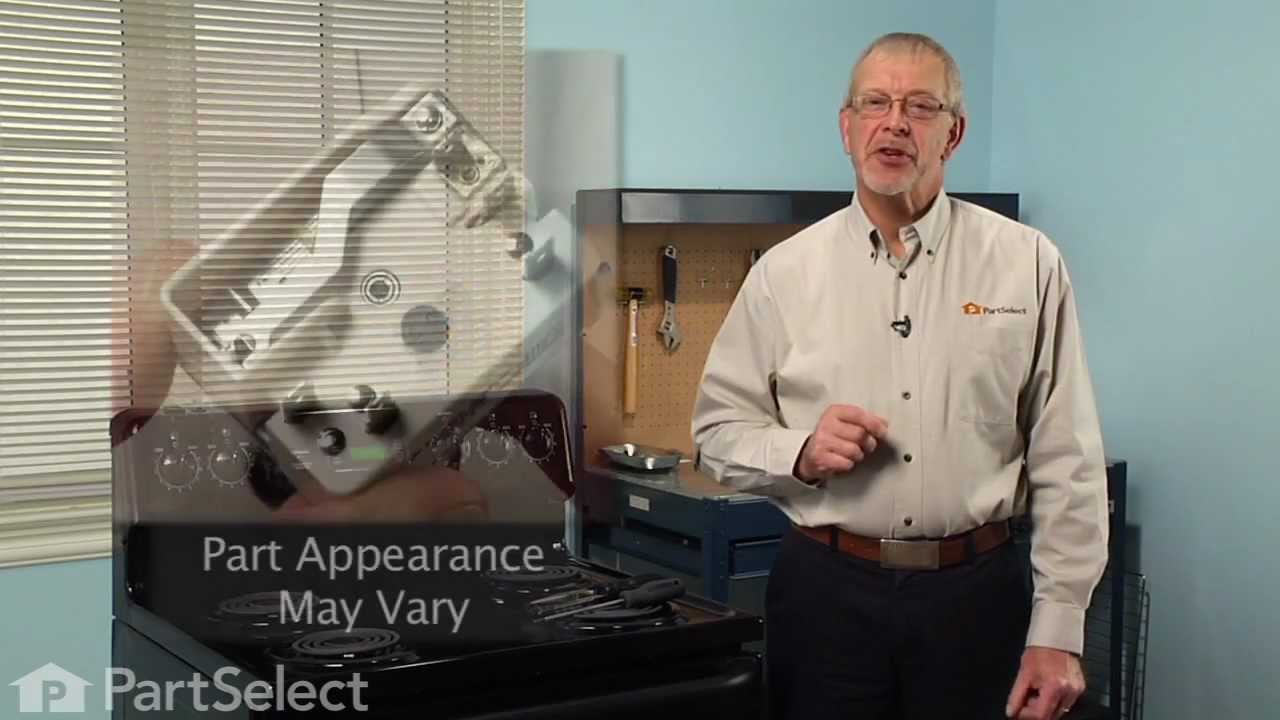

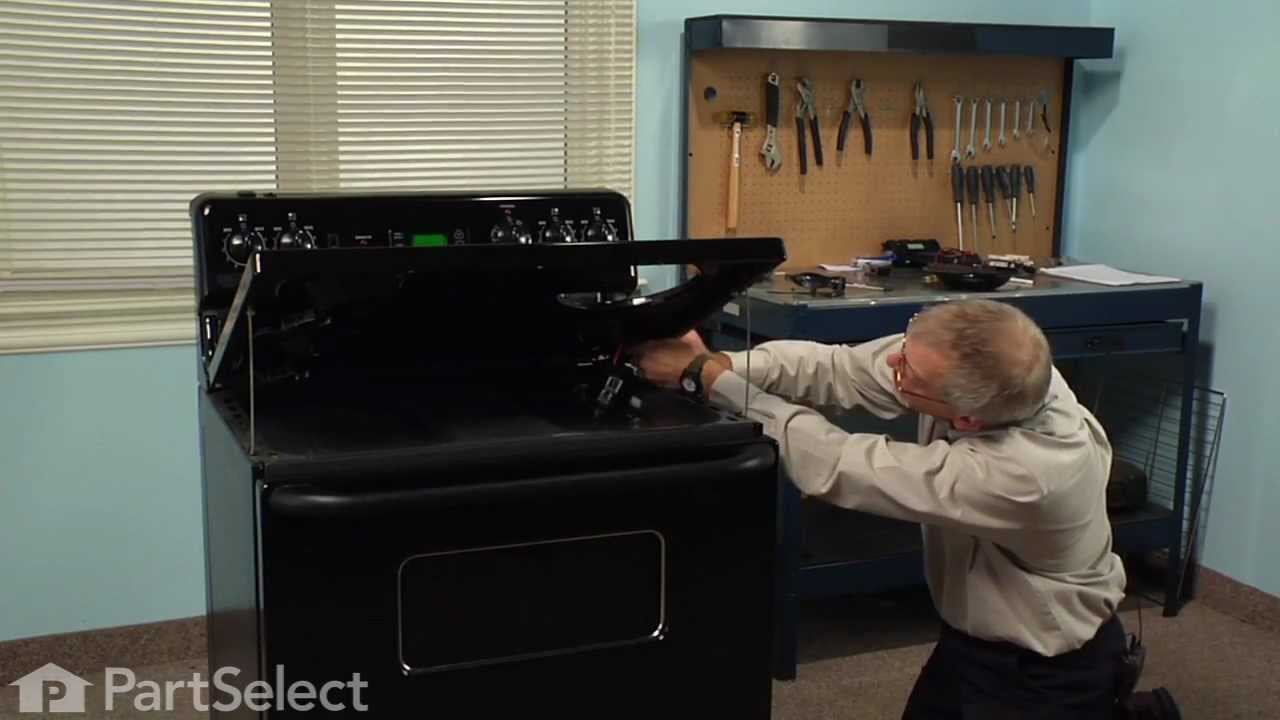
See how others fixed this model. Time, tools, difficulty, and steps that lead to victory!
View More
Search repair tips from other customers using simple keywords like "replace", "fit", "remove", "inspect". DIY doesn't mean you have to do it alone!
Search filter:
Clear Filter
Your search term must have 3 or more characters.
The switches failed on both front burners.
97 of 108 people
found this instruction helpful.
Remove nobs from both switches.
Pull out the range (the hardest part).
REMOVE THE POWER PLUG FROM THE WALL
Remove 7 screws with nut driver and take off upper back panel.
Remove 2 phillips screws from front, they hold the switch brackets.
The new switches don't fit in the bracket so discard the bracket keeping the ... Read more screws.
Removing 1 wire at a time from the old switch transfer to the new noting the letter/number ie "H1 P1" combos they are all there just not in the same places on the new switch.
When wiring is complete, using the bracket ,screws from the front screw on the switches.
Replace the back panel with 7 screws.
In my case the old nobs did not fit the shafts of the new switches. I found some at the local hardware store. I bought 4 for $0.29 each! I expect to be replacing the other burner switches shortly.
Pull out the range (the hardest part).
REMOVE THE POWER PLUG FROM THE WALL
Remove 7 screws with nut driver and take off upper back panel.
Remove 2 phillips screws from front, they hold the switch brackets.
The new switches don't fit in the bracket so discard the bracket keeping the ... Read more screws.
Removing 1 wire at a time from the old switch transfer to the new noting the letter/number ie "H1 P1" combos they are all there just not in the same places on the new switch.
When wiring is complete, using the bracket ,screws from the front screw on the switches.
Replace the back panel with 7 screws.
In my case the old nobs did not fit the shafts of the new switches. I found some at the local hardware store. I bought 4 for $0.29 each! I expect to be replacing the other burner switches shortly.
Read less
Other Parts Used:


Was this helpful?
Thank you for voting!