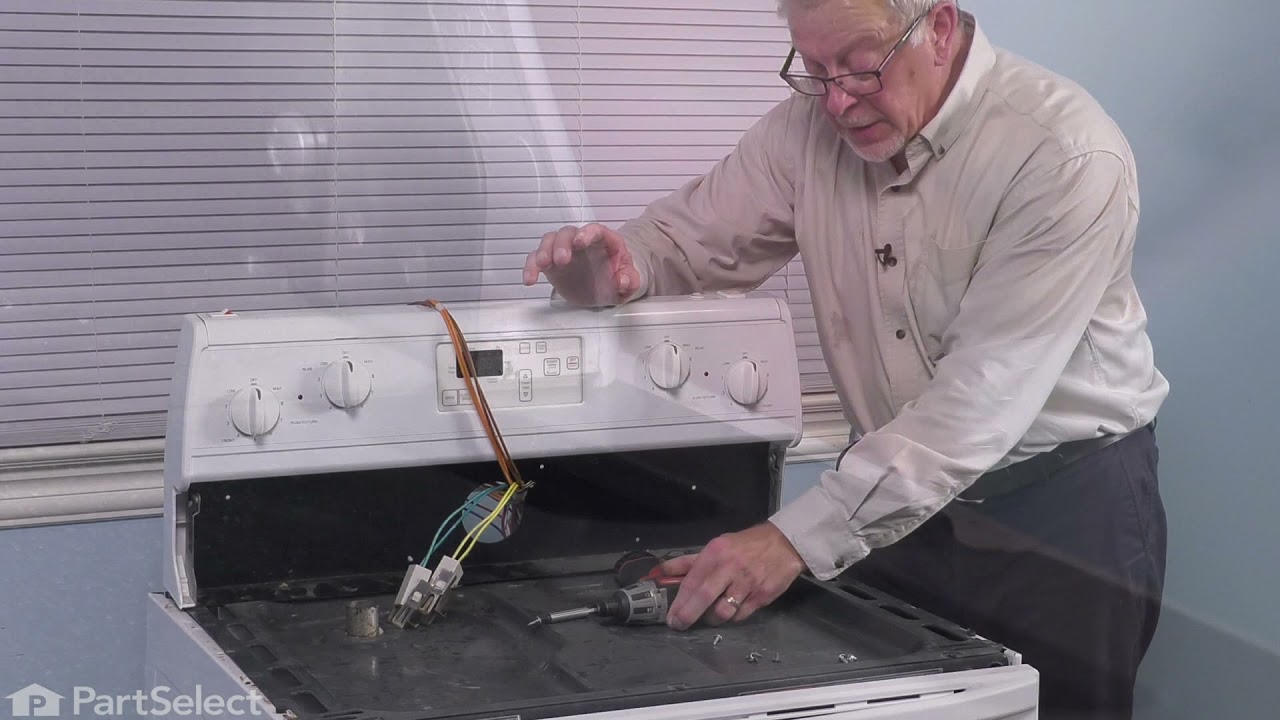
15441180 Kenmore Wall Oven - Overview

Diagrams for 15441180

See every part. Know exactly what you need.

Enter a part description. DIY Heroes keep it simple, eg. "belt" or "pump".

Search filter:
Clear Filter
Your search term must have 3 or more characters.
Light Bulb - 40W – Part Number: 8009
$26.41
In Stock
Light Bulb - 40W
★★★★★
★★★★★
(47)
Part #8009
This an authentic OEM 40-Watt replacement light bulb, used in a number of household appliances. It is specially designed to withstand extreme temperatures, which is why these replacement bulbs are most often used to light the inside of refrigerators and ranges. It features a standard socket base, which means you simply unscrew the burnt-out bulb and screw in the replacement. Depending on the appliance you may require a screwdriver or nut driver to access the light bulb. We recommend you wear work gloves while handling this replacement part. It is constructed of glass and metal and is sold individually. Depending on the appliance and location of the bulb within it, you may want to consider disconnecting power and using a flashlight for easier access to unscrewing and re-screwing in your bulb during this repair.
Range Insulation – Part Number: WPW10208653
$69.24
In Stock
Range Insulation
★★★★★
★★★★★
(9)
Part #WPW10208653
Oven Wrap Insulation.
Screw – Part Number: WP486754
$10.65
Special Order
Screw
Part #WP486754
Sold individually.
Screw – Part Number: WP965173
$11.65
In Stock
Screw
Part #WP965173
Sold individually.
WIRE, ORANGE 14 GA. 150
No Longer Available
DISCONTINUED – Part Number: 246853
No Longer Available
DISCONTINUED
Part #246853
TERMINAL, RING, 3/16 INCH DIA. HOLE – Part Number: 247283
No Longer Available
DISCONTINUED – Part Number: 247492
No Longer Available
DISCONTINUED
Part #247492
RACK-OVEN – Part Number: 254426
No Longer Available
RACK-OVEN
Part #254426
DISCONTINUED – Part Number: 254880
No Longer Available
DISCONTINUED
Part #254880
INSULATION – Part Number: 240133
No Longer Available
INSULATION
Part #240133
SCREW – Part Number: 241428
No Longer Available
SCREW
Part #241428

Watch our pros, then fix it yourself.
See how others fixed this model. Time, tools, difficulty, and steps that lead to victory! View More

Search repair tips from other customers using simple keywords like "replace", "fit", "remove", "inspect". DIY doesn't mean you have to do it alone!

Search filter:
Clear Filter
Your search term must have 3 or more characters.
mice had made nests in the insulation wrap in the range
129 of 211 people found this instruction helpful.
  • Wendy from Red Hook, NY
  • Easy
  • More than 2 hours
  • Screw drivers
I numbered every part. ex: 1 L., for first part removed left side. I used a magic marker to circle the holes and wrote the number of screws used on the part, set the srews in a separete place, so that I new where these screws went to. The cleanup was pretty time consuming, but I was able to keep my stove, when every repairman I called to fix my stove told me I was better off buying a new stove. ($600.00 stove 2 years old)Please Note: The insulation blanket needed for the entire stove is two pieces, the sides and top are one part # and the bottom and back, are another part #. I did not know this. I just purchased the top and sides. I got lucky, the back and bottom were still in good shape. So I guess I should have read the description of the part more carefully to see what it covers, before I ordered it. It took two people two hours to do the work, it was really nice to have an extra set of eyes, to remember what direction pieces of metal from the stove went. I would do it all over in a heart beat instead of buying a new stove.
Was this helpful?
Thank you for voting!
light bulb in water ice freezer door went bad
8 of 14 people found this instruction helpful.
  • Carl from RIVERSIDE, CA
  • Very Difficult
  • More than 2 hours
  • Screw drivers
I didn't. Don't know how to get to light bulb to change it for this specific model
Was this helpful?
Thank you for voting!
Replacing the bulb in the freezer side
5 of 11 people found this instruction helpful.
  • Yafa (and David) from Bothell, WA
  • Easy
  • Less than 15 mins
  • Nutdriver
Removed the ice brucket,
Removed the light shield by releasing one screw using a nutdriver.
Replacing the bulb and reinstalled the light shield.

Your web site is one of the best and most helpfull service sites I ever used. Just wish that in the future you will ship parts overseas.
Was this helpful?
Thank you for voting!