


 My Orders


14788B0 General Electric Range - Overview
Diagrams for 14788B0
See every part. Know exactly what you need.


Enter a part description. DIY Heroes keep it simple, eg. "belt" or "pump".
Search filter:
Clear Filter
Your search term must have 3 or more characters.

$141.05
Special Order

$140.58
Special Order

No Longer Available
Electronic Clock Control Board
Part #WB19X265
Please note: With this control the wiring could be differ from the original. It will possibly need to be installed by an appliance repair person.

No Longer Available
VALVE KIT-CO
Part #326295
No Longer Available
USE GEH WB3X780
Part #WB03X0780
No Longer Available
USE GEH WB3X782
Part #WB03X0782
No Longer Available
USE GEH WB14X101
Part #WB14X0101
No Longer Available
HINGE-LEFT
Part #WB14X0102
No Longer Available
USE GEH WB14X105
Part #WB14X0105
No Longer Available
USE GEH WB14X115
Part #WB14X0115
No Longer Available
USE GEH WB14X125
Part #WB14X0125
No Longer Available
USE GEH WB15X272
Part #WB15X0272
Common Symptoms of the 14788B0
How this model fails, and the parts that fix it.
Door won’t close
Fixed by
these parts
these parts


Show All
Door won’t open after self cleaning cycle
Fixed by
these parts
these parts
Show All
Watch our pros, then fix it yourself.
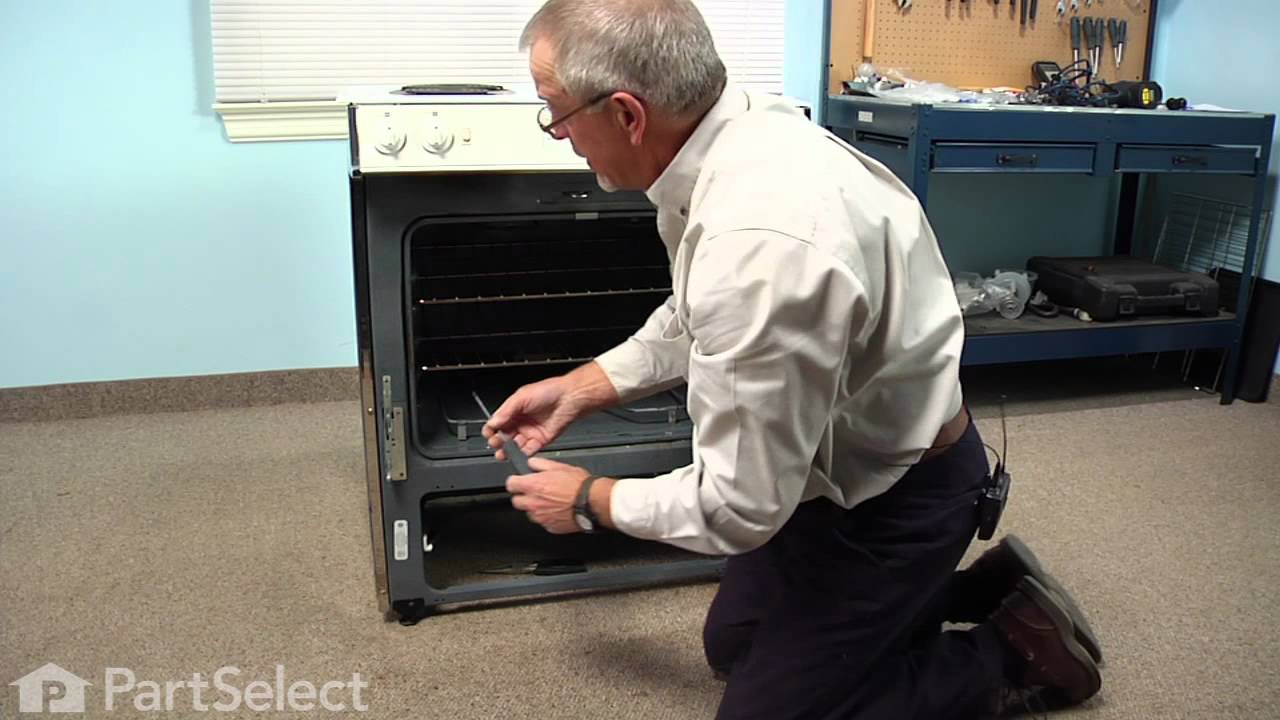
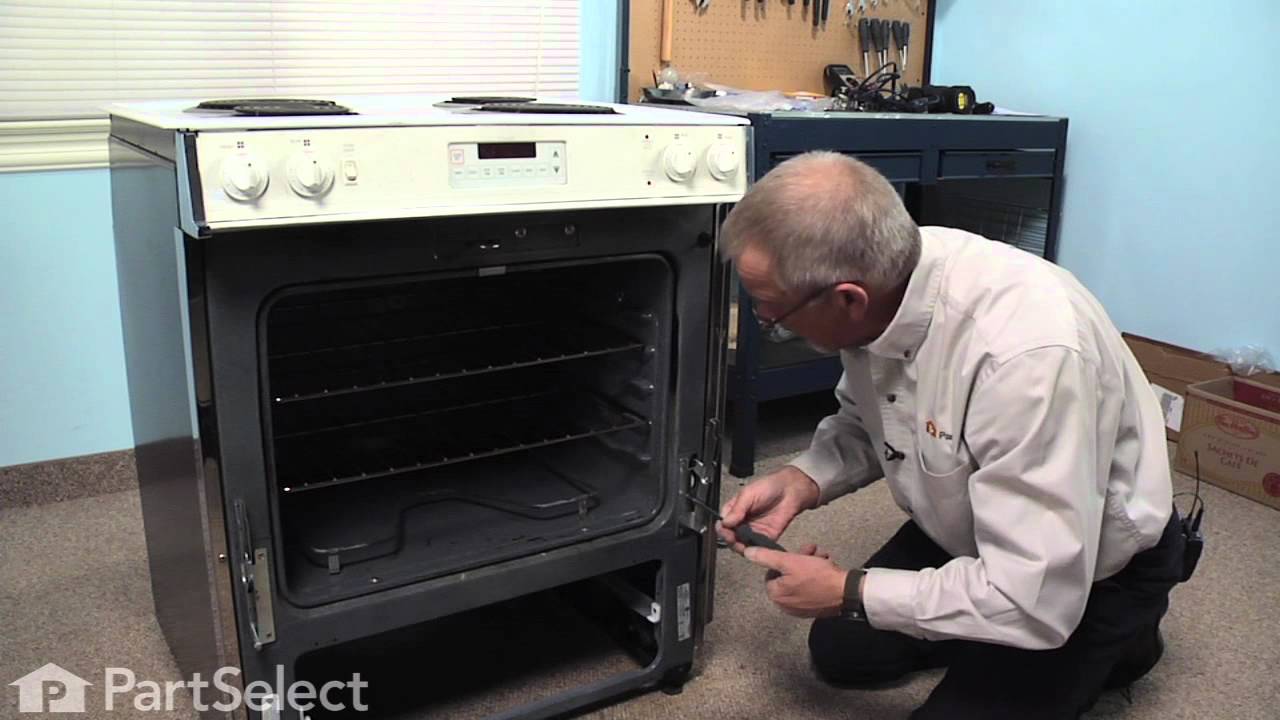
See how others fixed this model. Time, tools, difficulty, and steps that lead to victory!
View More
Search repair tips from other customers using simple keywords like "replace", "fit", "remove", "inspect". DIY doesn't mean you have to do it alone!
Search filter:
Clear Filter
Your search term must have 3 or more characters.
The right side hinge assembly broke. Replaced both sides
43 of 45 people
found this instruction helpful.
First I removed the door by lifting it off the hinge assemblies.
Then I removed the drawer to access the spring.
Removed the spring, noting which attachment hole was used.
Removed the hinge assembly with a Phillips screwdriver.
Replacef the unit.
Repeated for the other hinge assembly. ... Read more
Note: it took longer to find the correct parts in the parts diagrams than it did to replace them.
Then I removed the drawer to access the spring.
Removed the spring, noting which attachment hole was used.
Removed the hinge assembly with a Phillips screwdriver.
Replacef the unit.
Repeated for the other hinge assembly. ... Read more
Note: it took longer to find the correct parts in the parts diagrams than it did to replace them.
Read less
Other Parts Used:


Was this helpful?
Thank you for voting!
Oven door hinge rollers broke, hard to open door
16 of 18 people
found this instruction helpful.
Before removing screws, I reached in and felt for where the upper end of the spring attached to the hinge. There are three holes in the end of the hinge arm, so I wanted to be sure of which hole to use. (The holes are very close together, so if the spring falls out before you determine which hole it was in, it probably won't matter so l
... Read more
ong as you are sure to use the same hole on both new hinges.) I then removed three Phillips screws per hinge. Once the hinge was loose, I could wiggle it around and release enough of the spring tension to slip the top end of the spring out of the hole on the hinge arm. Then I pulled out the old hinge and inserted the new one and replaced the three screws. Without the tension, the lower end of the spring fell out of the little hole in the oven bottom where it normally attaches. Our gas oven has a broiler rather than a storage drawer, so it was a little difficult to get the lower tip of the spring back into that hole. It actually ended up being easier to get the lower tip of the spring back into that hole first, before trying to reattach it to the hinge arm. Once I got the lower end into that hole, I pulled up on the spring and maintained upward pressure on the spring while I fiddled around to get the upper end into the hinge arm hole. Took about 20 minutes, door works perfectly now. Lots of sharp edges inside the oven, so had to be careful.
Read less
Other Parts Used:
Was this helpful?
Thank you for voting!