


 My Orders


1472 - Overview
Models starting with 1472
Click on the best match to narrow your results.
- 147210 General Electric Range
- 147211 General Electric Range
- 147212 General Electric Range
- 147213 General Electric Range
- 147260 General Electric Range
- 147261 General Electric Range
- 147262 General Electric Range
- 147263 General Electric Range
- 147280410 Craftsman Chainsaw (Sears Electric Tree Surgeon Pruning Saw)
Enter a part description. DIY Heroes keep it simple, eg. "belt" or "pump".
Search filter:
Clear Filter
Your search term must have 3 or more characters.

$142.92
Special Order
Flat Style Oven Igniter Kit
Part #WB13K21
The flat-style oven igniter lights the gas burner in your oven. It includes a mounting bracket, two ceramic wire connectors, and measures 3-3/4 inches long. The plug may need to be spliced to the range wiring. Always unplug the range before installation.

$19.10
Special Order
Light Bulb - 40W
Part #40A15
This 40-Watt light bulb is sold individually.
It is specially designed to withstand extreme temperatures, so this bulb is compatible with a variety of appliance types including refrigerators, ranges, microwaves, and dryers. It features a frosted glass bulb with a standard metal socket base, which allows you to easily unscrew the burnt-out light and twist the new bulb into place.

$13.95
Special Order
Drawer Support
Part #WB02K10158
This is a replacement drawer support for your oven. The drawer support provides stability to the drawer unit as it opens and closes. If your oven drawer is hanging or will not slide in or out efficiently, you could have a damaged or missing drawer support. This part is made of white plastic and is sold individually. To replace the support...Read more, simply remove the oven drawer, and unscrew the front support on the sides of the oven. Then, simply screw the new part in and replace the drawer to complete your repair.
Read less

$43.95
Special Order
Burner Cap - 15K
Part #WB28K10222
This is a replacement burner cap for your gas range or cooktop. The burner cap is found on the burner head, and prevents debris from getting into the head when it is not in use. The cap is black in color and is sold individually. It is a little more than 4 inches in diameter. To replace the burner cap, simply remove the damaged cap, and r...Read moreeplace it with the new one. No tools are required for this repair. This is an OEM part from the manufacturer.
Read less

No Longer Available

$44.34
Special Order
Burner Cap - Black - Medium - 9500 BTU
Part #WB29K10023
This burner cap is for your gas range, and acts as a cover for the burner head. It is black in color and just over 3 inches in diameter. If your old burner cap is damaged or missing, this is the part that will replace it. This is an OEM part sourced directly from the manufacturer and is sold individually.

$43.07
Special Order
Burner Cap
Part #WB29K10024
This is a burner cap for your gas range. The cap acts as a cover for the burner head. If your old burner cap is damaged or missing, this is the part that will replace it. The cap is black in color and about 3 and a half inches in diameter. This is a quality OEM part sourced directly from the manufacturer. This cap is sold individually.

$29.72
Special Order

$90.54
Special Order
Oven Rack
Part #WB48T10095
This single chrome oven rack provides a reliable flat cooking surface for your cookware inside of the oven cavity. The oven rack is made of metal and measures approximately 24” wide by 17 1/2” deep. This is a genuine OEM part and is sold individually. Please order quantity needed.

$30.35
Special Order
Burner Cap - 5000 BTU - Black
Part #WB29K10022
This is a burner cap for your gas range. The cap is black in color and about 3 inches in diameter. The cap acts as a cover for the burner head. If your old burner cap is damaged or missing, this is the part that will replace it. This is a quality OEM part sourced directly from the manufacturer. This cap is sold individually.

$14.95
Special Order
Range Leg Leveler
Part #WB02K10182

$74.43
Special Order
Burner Head - Large - 12K
Part #WB16T10046
If your gas burner isn’t heating evenly or looks worn out, this replacement burner head might be just what you need. It’s about 3.5 inches wide, made of sturdy metal with a silver finish, and rated at 12,000 BTUs for solid cooking power. It spreads gas evenly for a steady flame and fits under the burner cap. Just be sure to turn off the gas and unplug your stove before installing.
Exact Part matches for your search term

No Longer Available
No Longer Available
Common Symptoms of models starting with 1472
How this model fails, and the parts that fix it.
Gas igniter glows, but will not light
Fixed by
these parts
these parts


Show All
Little to no heat when baking
Fixed by
these parts
these parts

Show All
Will Not Start
Fixed by
these parts
these parts

Show All
Element will not heat
Fixed by
these parts
these parts

Show All
Oven not heating evenly
Fixed by
these parts
these parts
Show All
Door won’t close
Fixed by
these parts
these parts


Show All
Gas smell
Fixed by
these parts
these parts
Show All
Little to no heat when broiling
Fixed by
these parts
these parts
Show All
Watch our pros, then fix it yourself.
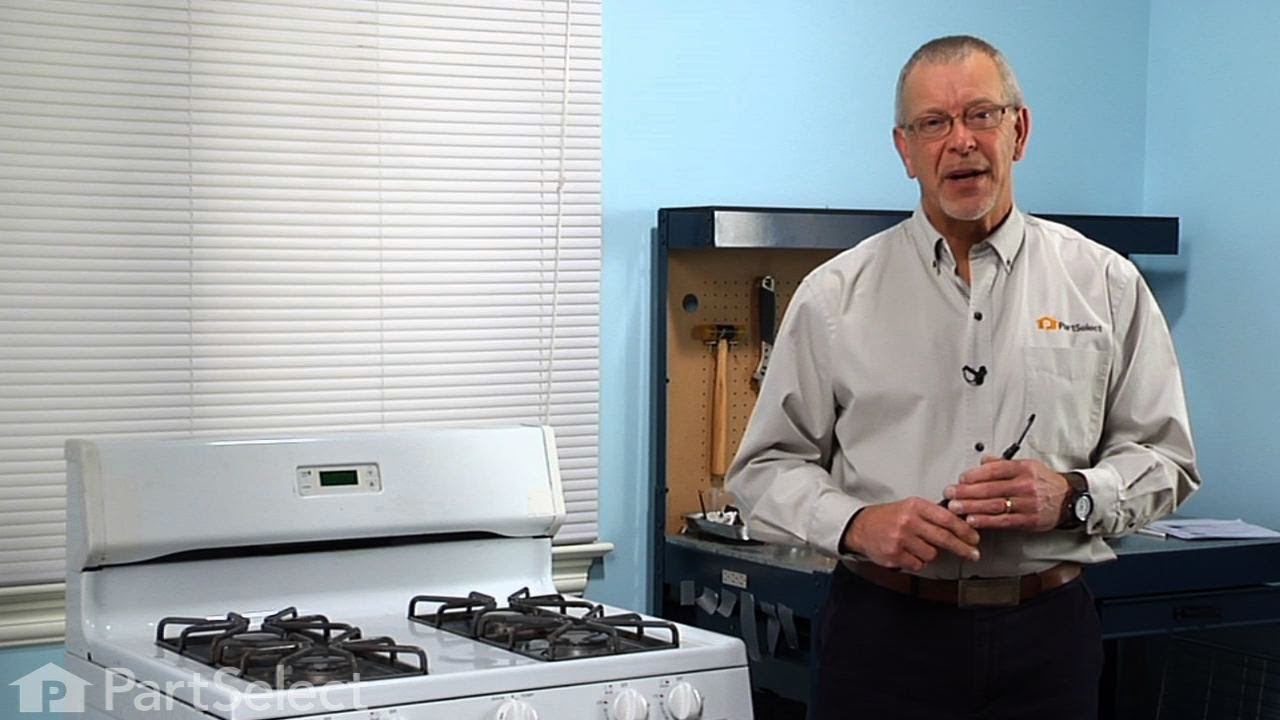
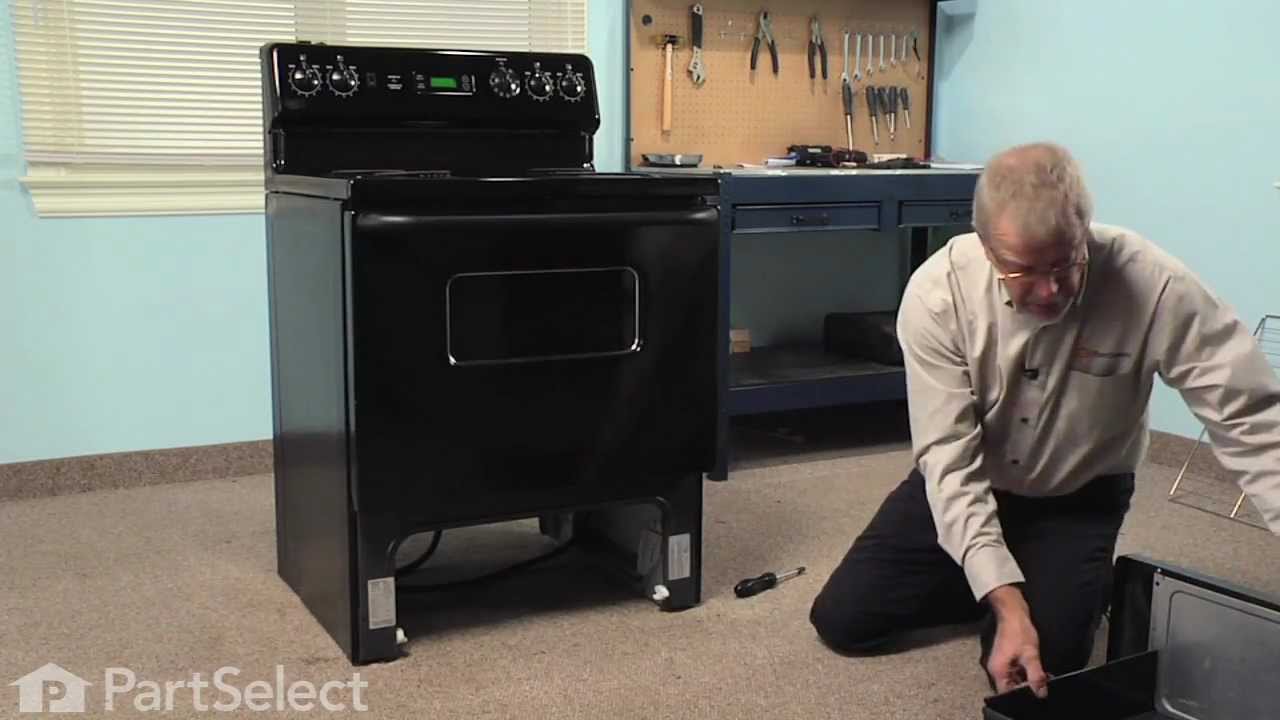


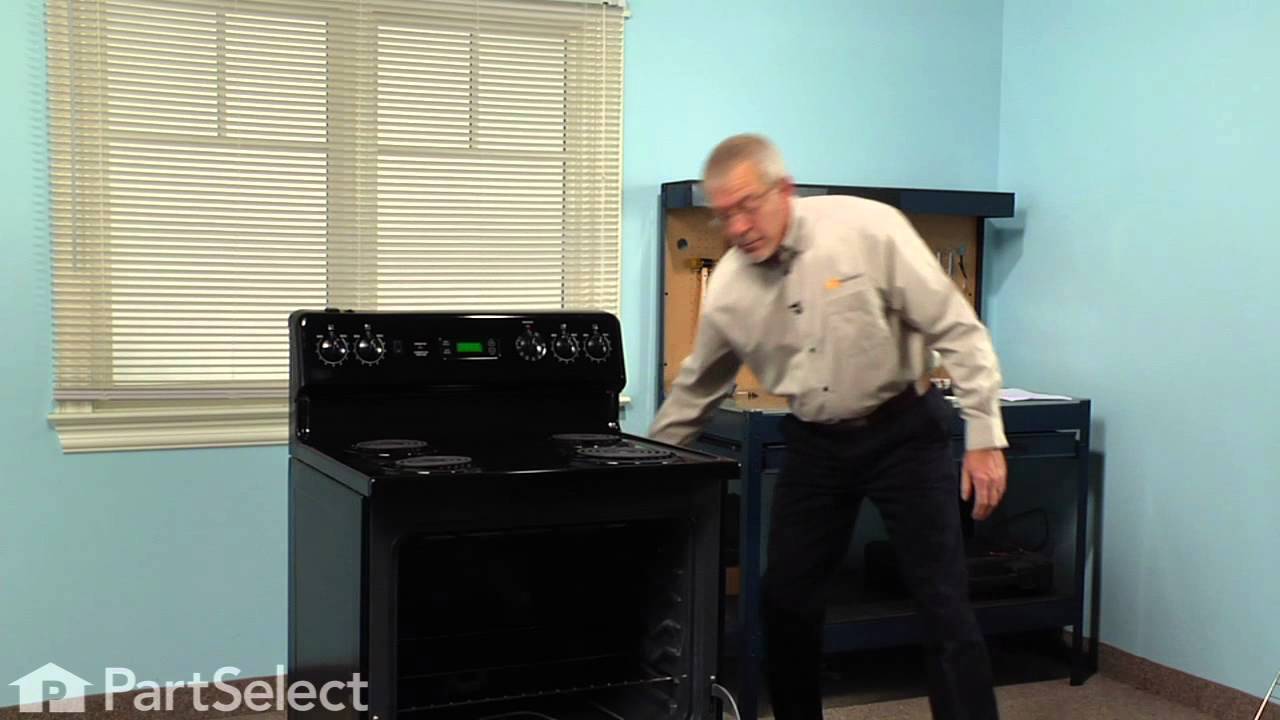
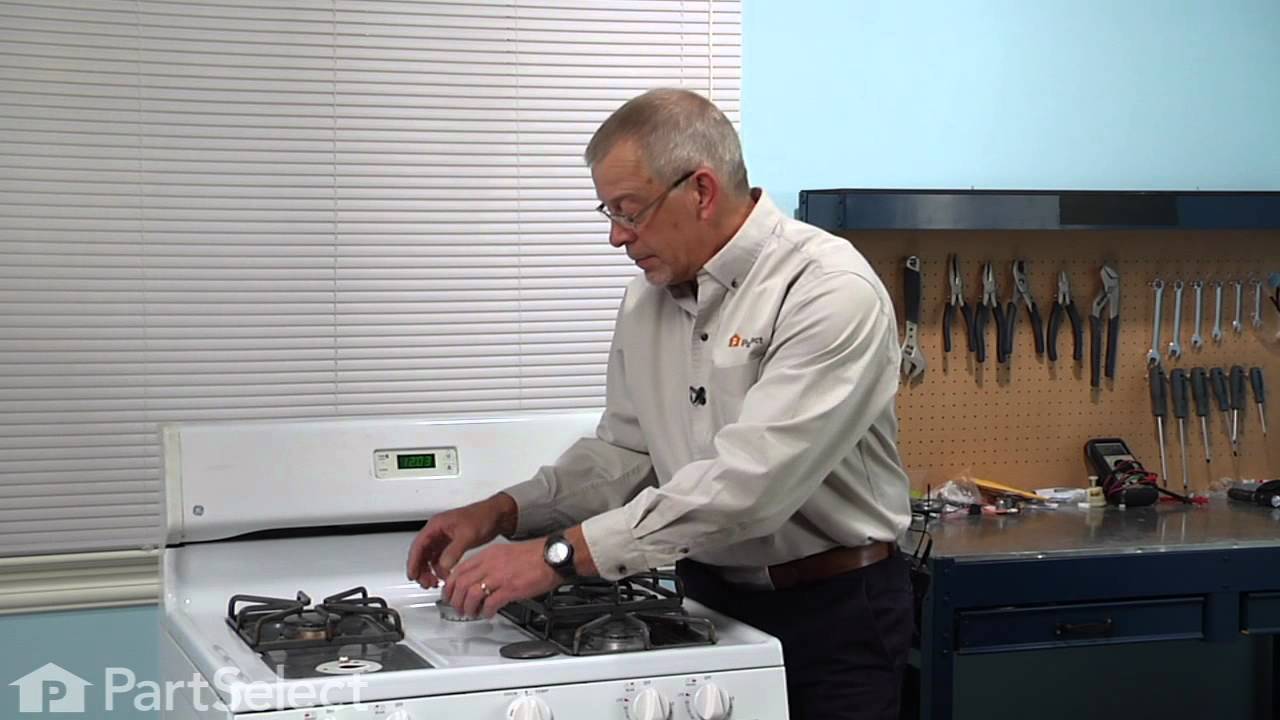
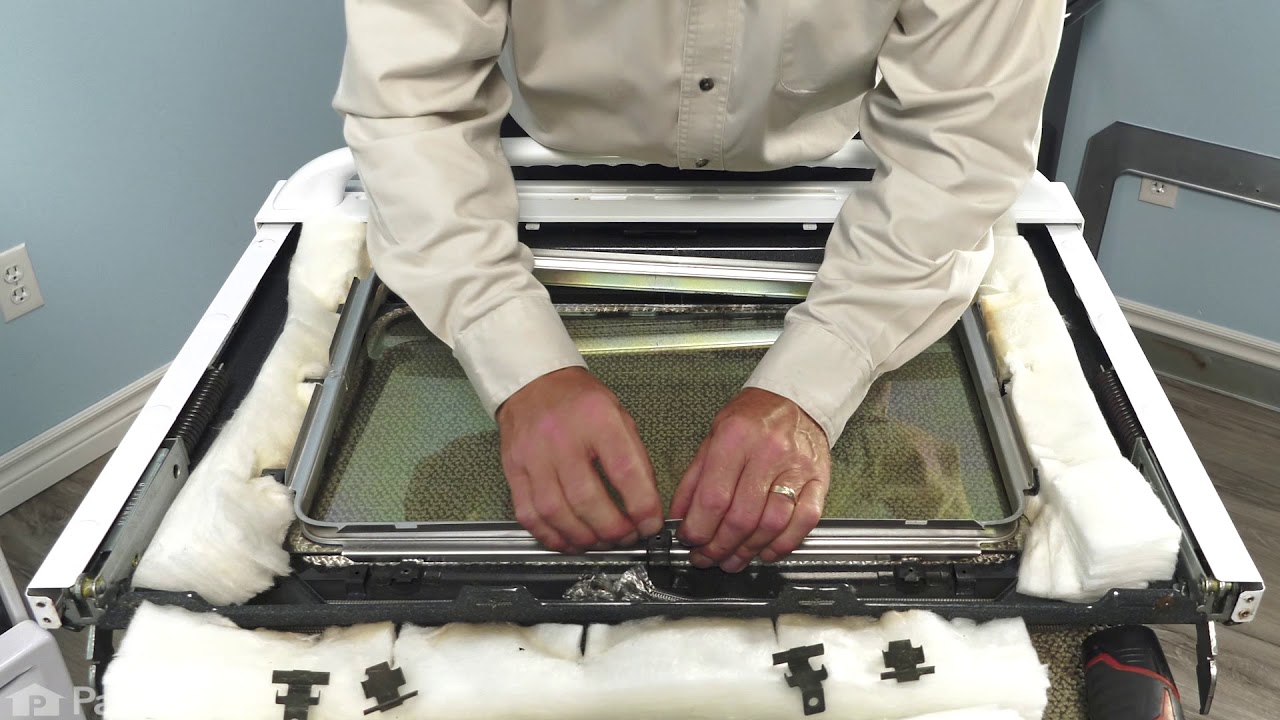

See how others fixed this model. Time, tools, difficulty, and steps that lead to victory!
View More