


 My Orders


1455 - Overview
Models starting with 1455
Click on the best match to narrow your results.
Enter a part description. DIY Heroes keep it simple, eg. "belt" or "pump".
Search filter:
Clear Filter
Your search term must have 3 or more characters.

$69.25
In Stock
Surface Burner Element Switch, Large Burner
Part #WP3149400
This control switch controls the stove top 8" surface burner. 8.9- 11.0 amp. This surface burner element switch is for an 8-inch surface burner on an oven, stove, or range. The element switch controls the heat of the surface burner. Disconnect power to your range before completing this repair because you will be working closely with elec...Read moretrical circuits. Remove the screws from back panel and the console, and remove the console to expose the switch. It is recommended to check for overheating or arcing on the wiring harness in case they need to be replaced as well. The harness that connects to the switch features a slip-on terminal for easy installation.
Read less

$33.28
In Stock
Lid Switch
Part #W10820036
Keep your washer or dryer running safely with this easy-to-install lid or door switch kit. It stops the machine from working when the door is open, helping prevent spills and accidents. Compatible with many models, this small but important part fits neatly inside your appliance and comes with everything you need for installation. Just unp...Read morelug your machine, swap out the old switch, and you're good to go. It’s about 2.5 inches long and blends in with most interiors.
Read less

$29.65
In Stock
Heat Resistant Adhesive
Part #W10841140
This is a heat-resistant adhesive for your appliance. The heat resistance allows you to stick parts such as grate feet, gaskets, and felt seals in hot areas, such as a cooktop, without compromising the integrity of the adhesive. It is white in color, and the tube is approximately 7.5 inches long.

$16.37
In Stock
Ceramic Fuse - 20 amp
Part #WPM0805101
This ceramic microwave fuse is just over an inch long. It is white in the center, while each end is made of metal. This is a twenty amp fuse.

$10.40
In Stock

$12.05
Special Order

No Longer Available

$70.12
In Stock
Blower Belt
Part #WP691371
If your dryer isn’t drying clothes like it used to or making strange noises, this blower belt might be the fix. It connects the motor to the blower wheel, helping move air through the drum so clothes dry faster. Made to fit select Whirlpool models, it’s tough and reliable. Just unplug your dryer before installing and check your model number to make sure it’s the right part!

$10.95
In Stock
Range Hex Nut
Part #WP112432
10-32 hex - Sold Individually - Appliance originally takes 3 of this item.

$6.95
Special Order
Bolt, SHCS M6-1.0 x 35mm
Part #40946GS

$26.95
Special Order
Garden Hose, Acc, Kit, Qc
Part #6190
This is a genuine manufacturer-sourced part which is specially designed for use with Craftsman Pressure Washers. The pressure washer connector lets you convert your pressure washer hose threads to quick connect fittings. First, you affix the male plug to your machine and the female quick-connect coupler to a standard garden hose. Now, you...Read more can easily connect or disconnect your water supply to the pressure washer. The Brass connector is sold individually. No tools needed to install this part.
Read less

$104.95
Special Order
Hose
Part #84006753
This replacement hose is a genuine OEM sourced item that specially produced for use with Craftsman pressure washers. This 25 ft. high-pressure hose is made of durable rubber with metal fittings and it is sold individually. It can be used on pumps that produce up to 2600 PSI. Over time the material may deteriorate or get damaged eventually requiring replacement to maintain a working unit.
Exact Part matches for your search term

No Longer Available
No Longer Available
Common Symptoms of models starting with 1455
How this model fails, and the parts that fix it.
Element will not heat
Fixed by
these parts
these parts

Show All
Will Not Start
Fixed by
these parts
these parts

Show All
Leaking
Fixed by
these parts
these parts

Show All
Won’t turn on
Fixed by
these parts
these parts

Show All
Will not drain
Fixed by
these parts
these parts
Show All
Oven is too hot
Fixed by
these parts
these parts
Show All
Will not agitate
Fixed by
these parts
these parts
Show All
Won’t Start
Fixed by
these parts
these parts
Show All
Will not program
Fixed by
these parts
these parts
Show All
Oven not heating evenly
Fixed by
these parts
these parts
Show All
Watch our pros, then fix it yourself.
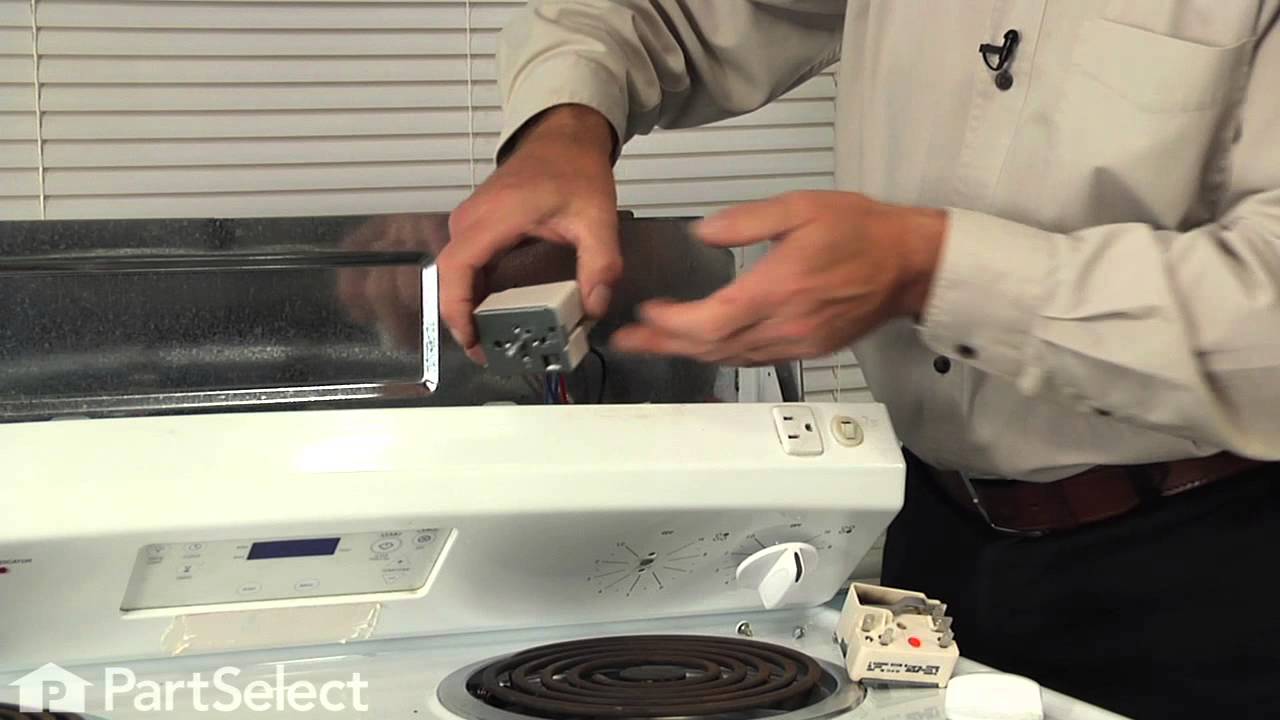
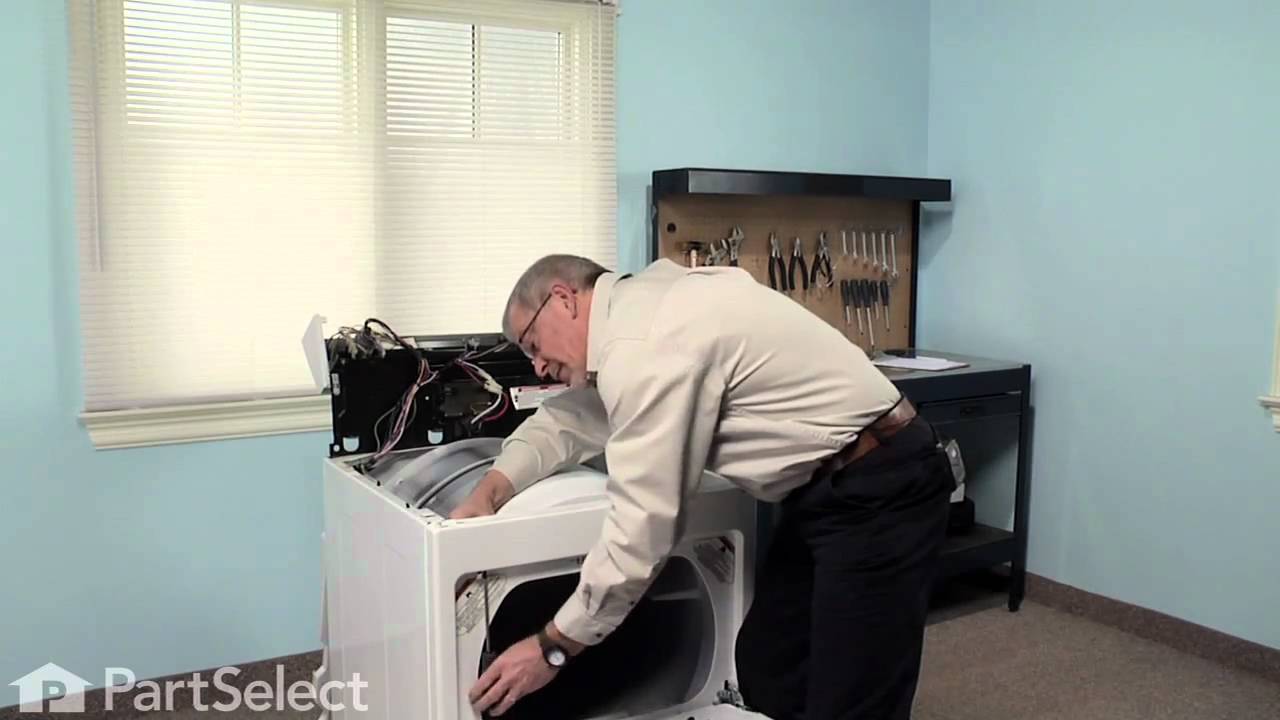
See how others fixed this model. Time, tools, difficulty, and steps that lead to victory!
View More