1424*0A Roper Range - Overview

Diagrams for 1424*0A

See every part. Know exactly what you need.

Enter a part description. DIY Heroes keep it simple, eg. "belt" or "pump".

Search filter:
Clear Filter
Your search term must have 3 or more characters.
Lid Switch – Part Number: W10820036
$33.28
In Stock
Lid Switch
★★★★★
★★★★★
(7)
Part #W10820036
Keep your washer or dryer running safely with this easy-to-install lid or door switch kit. It stops the machine from working when the door is open, helping prevent spills and accidents. Compatible with many models, this small but important part fits neatly inside your appliance and comes with everything you need for installation. Just unplug your machine, swap out the old switch, and you're good to go. It’s about 2.5 inches long and blends in with most interiors.
Delta Frame Surface Unit - 6 Inch – Part Number: WPY04100165
$74.75
In Stock
Delta Frame Surface Unit - 6 Inch
Part #WPY04100165
If one of your range burners has stopped working, this 6-inch coil surface element offers a simple and effective solution. Delivering 1250 watts of heating power, it provides consistent heat for cooking and is easy to install thanks to its plug-in terminal design. The included center medallion adds a polished touch, blending seamlessly with your cooktop. Compatible with a variety of electric ranges, this replacement part helps restore full functionality to your appliance.
High Limit Thermostat – Part Number: WP303896
$92.28
In Stock
High Limit Thermostat
★★★★★
★★★★★
(2)
Part #WP303896
This thermostat is used for Canadian models only.
Range Hex Nut – Part Number: WP112432
$10.95
In Stock
Range Hex Nut
Part #WP112432
10-32 hex - Sold Individually - Appliance originally takes 3 of this item.
Door Handle Spring – Part Number: 310197
No Longer Available
Door Handle Spring
Part #310197
Burner Control Knob – Part Number: WP313307
$22.43
Special Order
Burner Control Knob
Part #WP313307
Sold Individually.
USE WPL 660741 – Part Number: 301672
No Longer Available
USE WPL 660741
Part #301672
DISCONTINUED – Part Number: 309026
No Longer Available
DISCONTINUED
Part #309026
Timer – Part Number: 285675
No Longer Available
Timer
Part #285675
The timer controls most of the operations of the washer: water level, tub filling and emptying, length of cycles, and cycle setting sequences.
SEAL-FOAM – Part Number: 313751
No Longer Available
SEAL-FOAM
Part #313751
Operating Guide – Part Number: 324931
No Longer Available
Operating Guide
Part #324931

Common Symptoms of the 1424*0A

How this model fails, and the parts that fix it.

Watch our pros, then fix it yourself.

See how others fixed this model. Time, tools, difficulty, and steps that lead to victory! View More

Search repair tips from other customers using simple keywords like "replace", "fit", "remove", "inspect". DIY doesn't mean you have to do it alone!

Search filter:
Clear Filter
Your search term must have 3 or more characters.
Lid closes, switch wouldn't turn on machine.
31 of 47 people found this instruction helpful.
  • Kenneth from Wilmington, IL
  • Easy
  • 1- 2 hours
  • Nutdriver, Screw drivers, Socket set
Used toothpick for a year to push switch acctuator far enough to engage switch. Broke my foot and found time to order part thru PartSelect. Went from cast to boot and received part 2 days after ordered. Had difficulty with foot and getting to switch. Went back into PartSelect and figured out how to dis-assemmble panels thru the diagrams. Time on my job doesn't, just that their service and expertise that is available to everyone is there to use. Broken bones or not, I will always get my parts and advice from PartSelect. Thanks to PartSelect.
Was this helpful?
Thank you for voting!
Washer would fill up, wash, then stop
22 of 31 people found this instruction helpful.
  • Glen from Plano, TX
  • A Bit Difficult
  • 30 - 60 mins
  • Screw drivers
I deduced the lid switch was the problem.

I removed the two screws holding the control panel on. Pulled the control panel back.
Disconnected the ground wire of the lid switch.
removed the two top clamps that hold the panel to the top of the machine.
Pulled back the casing (outside of the washer) and placed it on it's side on the floor. Here I could reach the switch. Removed old, installed new and reversed the process.

The part that gave me the biggest problem was setting the casing back on to the frame. You have to slide the front part in at the bottome, then lean back the rest of it.
Was this helpful?
Thank you for voting!
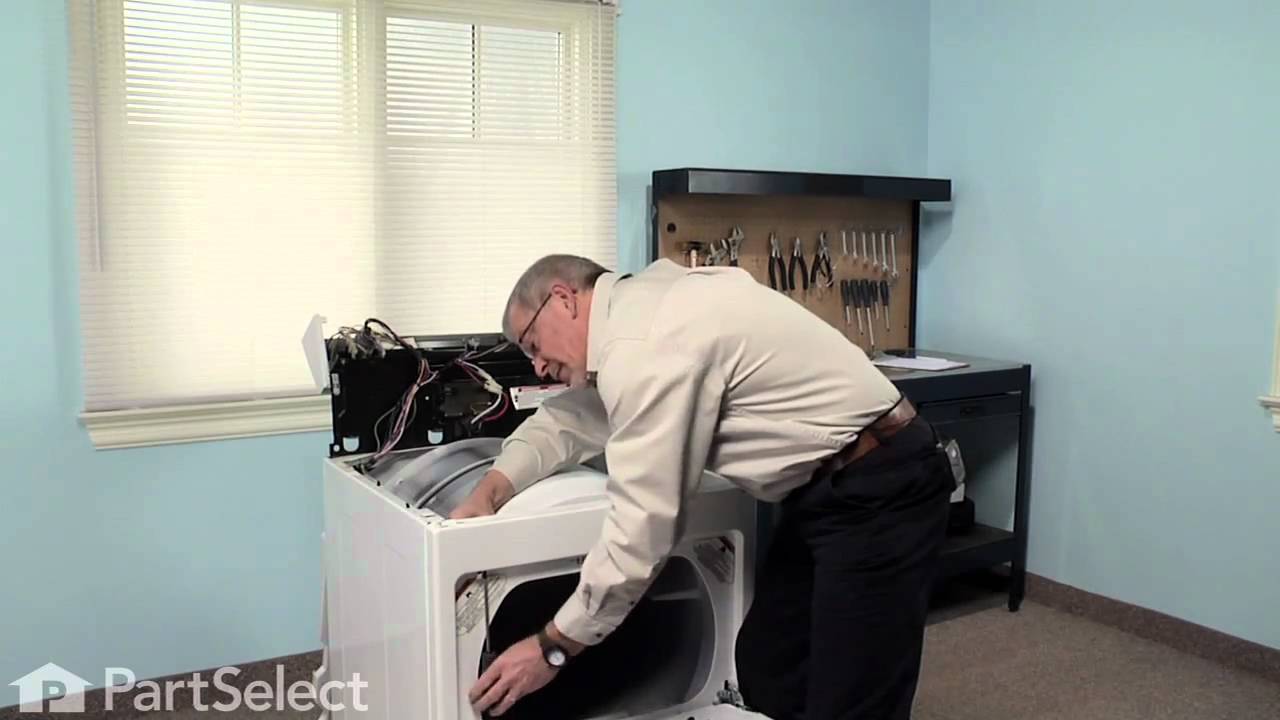
One day, I found my dryer continued running after I opened the door. And next day, it stopped working at all. I thought it was time to buy a new one, since my dryer had been used for more than 15 years. But I was curious to know what went wrong, and recalled my friend told me he repaired the door
17 of 21 people found this instruction helpful.
  • Xiaobin from Cordova, TN
  • Really Easy
  • Less than 15 mins
  • Screw drivers, Wrench set
My daughter found the video on youtube, which showed step by step repairing procedures. I just followed it and fixed my dryer in 15 min.
Was this helpful?
Thank you for voting!