


 My Orders


1352W06 Roper Range - Overview
Diagrams for 1352W06
See every part. Know exactly what you need.


Enter a part description. DIY Heroes keep it simple, eg. "belt" or "pump".
Search filter:
Clear Filter
Your search term must have 3 or more characters.

$69.25
In Stock
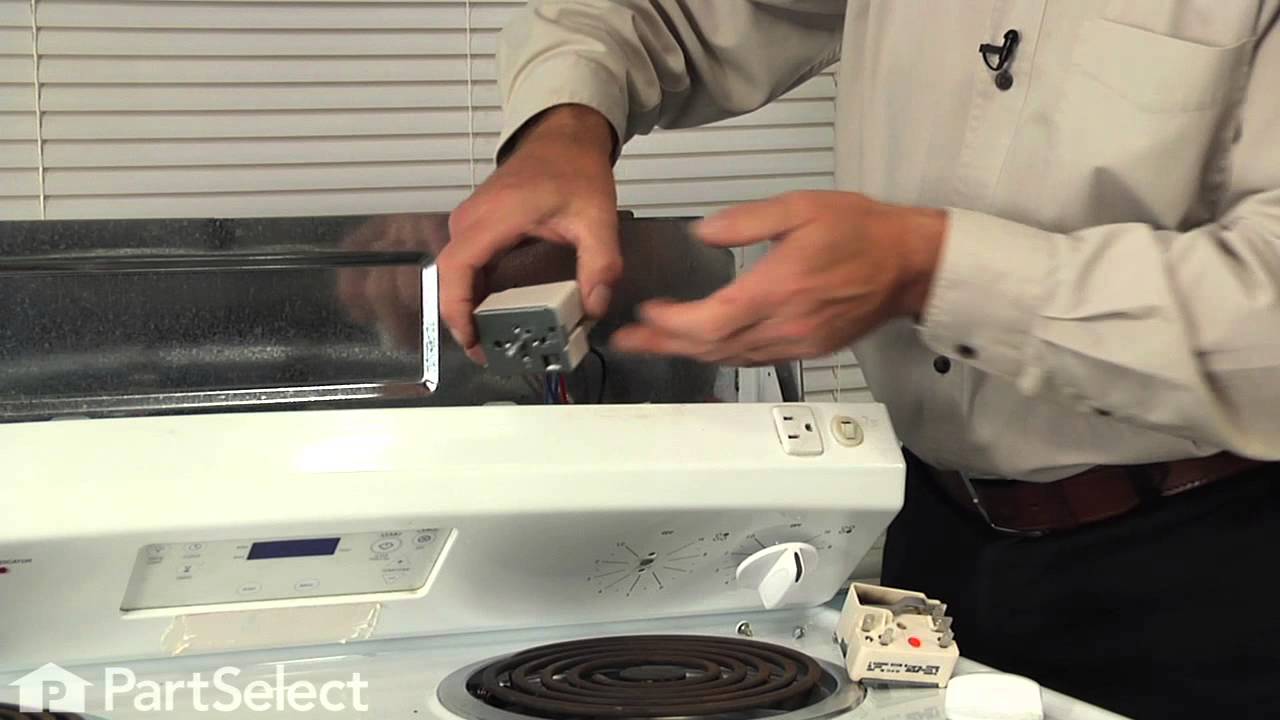
Surface Burner Element Switch, Large Burner
Part #WP3149400
This control switch controls the stove top 8" surface burner. 8.9- 11.0 amp. This surface burner element switch is for an 8-inch surface burner on an oven, stove, or range. The element switch controls the heat of the surface burner. Disconnect power to your range before completing this repair because you will be working closely with elec...Read moretrical circuits. Remove the screws from back panel and the console, and remove the console to expose the switch. It is recommended to check for overheating or arcing on the wiring harness in case they need to be replaced as well. The harness that connects to the switch features a slip-on terminal for easy installation.
Read less

$66.88
In Stock
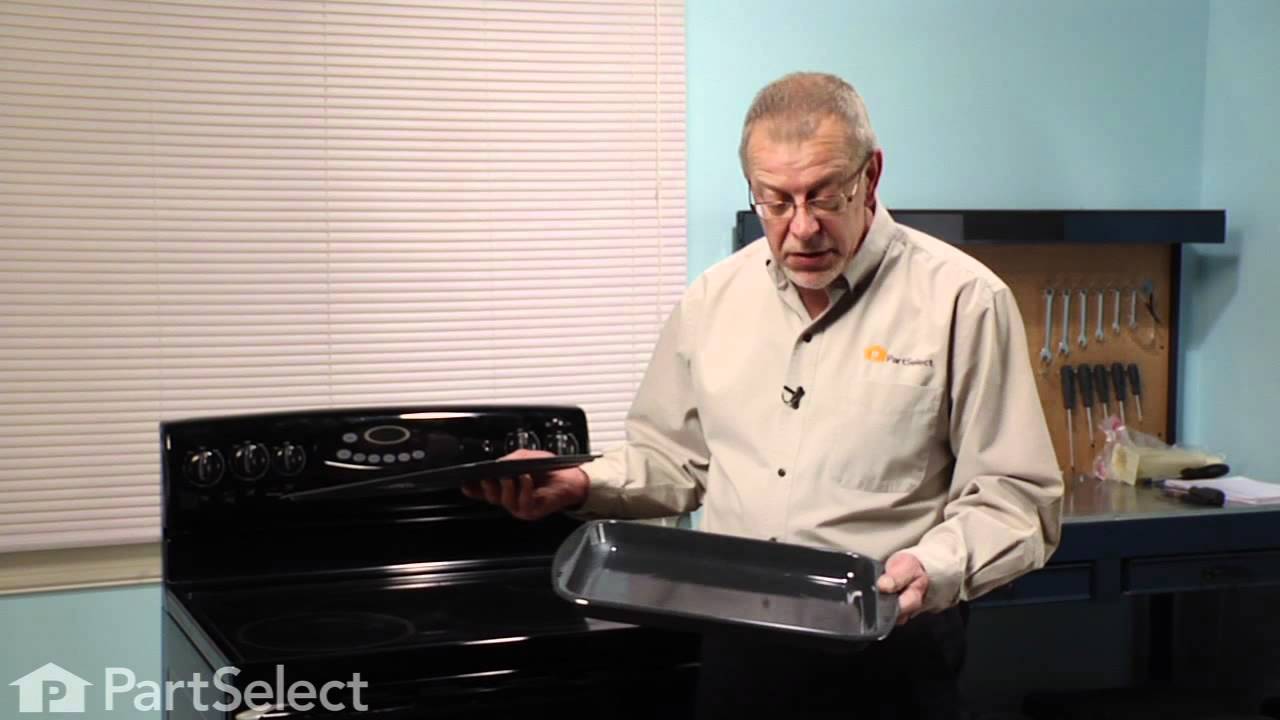
2 Piece Broiler Pan
Part #4396923
This broiler pan and roasting rack set features a two-piece design that allows fat to drain away for cleaner cooking and reduced splatter. Made with a durable, high-heat resistant porcelain finish, it offers reliable performance and easy cleanup. Measuring approximately 16 3/4 inches long by 12 3/4 inches wide and 1 3/4 inches high, it provides a practical solution for everyday broiling and roasting.

$98.67
In Stock

$59.35
In Stock

No Longer Available
Heater Wire - 240V
Part #WPY311946
Made for use with older model Maytag brand series 06 Halo of Heat style electric clothes dryers, this pre-stretched heating element coil carries 240 volts.

No Longer Available

$20.24
Special Order

$10.95
In Stock
Range Hex Nut
Part #WP112432
10-32 hex - Sold Individually - Appliance originally takes 3 of this item.

$39.99
Special Order
Thermostat Knob
Part #WPY0310527

No Longer Available
SPRING WAS
Part #312073

$9.60
Special Order
Hinge
Part #WP238456

$10.46
Special Order
Dryer Door Hinge Left Side
Part #WP238460
Manuals & Care Guides for 1352W06
Click to downloadCommon Symptoms of the 1352W06
How this model fails, and the parts that fix it.
Element will not heat
Fixed by
these parts
these parts


Show All
Oven is too hot
Fixed by
these parts
these parts
Show All
Will Not Start
Fixed by
these parts
these parts
Show All
Noisy
Fixed by
these parts
these parts

Show All
Will not program
Fixed by
these parts
these parts
Show All
Oven not heating evenly
Fixed by
these parts
these parts
Show All
Watch our pros, then fix it yourself.

See how others fixed this model. Time, tools, difficulty, and steps that lead to victory!
View More