


 My Orders


1315 - Overview
Models starting with 1315
Click on the best match to narrow your results.
- 1315*0A Roper Range (Range (gas)*)
- 1315*1A Roper Range (Range (gas)*)
- 1315*2A Roper Range (Range (gas)*)
- 1315-0 Briggs and Stratton Generator (7,500 EXL Portable Generator)
- 1315^0A Whirlpool Range
- 1315^1A Whirlpool Range
- 1315^2A Whirlpool Range
- 1315000 Whirlpool Microwave
- 1315001 Litton Microwave
- 1315002 Whirlpool Microwave
- 1315004 Litton Microwave
- 13155650 Craftsman Lawn Tractor (Gear Case Assembly)
- 13155652 Craftsman Lawn Tractor (Gear Case Assembly)
- 13155653 Craftsman Engine (Craftsman 26 In. Riding Mower)
- 13155654 Craftsman Lawn Tractor (Gear Case Assembly)
- 13155655 Craftsman Lawn Tractor (Gear Case Assembly)
- 13157065 Craftsman Lawn Tractor (Gear Case Assembly)
- 13158407 Craftsman Lawn Tractor (Differential And Axle Assembly)
- 13158916 Craftsman Lawn Tractor (Differential And Axle Assembly)
- 1315W0A Roper Range (Gas)
- 1315W1A Roper Range (Gas)
- 1315W2A Roper Range (Gas)
Enter a part description. DIY Heroes keep it simple, eg. "belt" or "pump".
Search filter:
Clear Filter
Your search term must have 3 or more characters.

$33.28
In Stock
Lid Switch
Part #W10820036
Keep your washer or dryer running safely with this easy-to-install lid or door switch kit. It stops the machine from working when the door is open, helping prevent spills and accidents. Compatible with many models, this small but important part fits neatly inside your appliance and comes with everything you need for installation. Just unp...Read morelug your machine, swap out the old switch, and you're good to go. It’s about 2.5 inches long and blends in with most interiors.
Read less

$29.65
In Stock
Heat Resistant Adhesive
Part #W10841140
This is a heat-resistant adhesive for your appliance. The heat resistance allows you to stick parts such as grate feet, gaskets, and felt seals in hot areas, such as a cooktop, without compromising the integrity of the adhesive. It is white in color, and the tube is approximately 7.5 inches long.

$16.37
In Stock
Ceramic Fuse - 20 amp
Part #WPM0805101
This ceramic microwave fuse is just over an inch long. It is white in the center, while each end is made of metal. This is a twenty amp fuse.

$10.40
In Stock

$12.05
Special Order

$70.12
In Stock
Blower Belt
Part #WP691371
If your dryer isn’t drying clothes like it used to or making strange noises, this blower belt might be the fix. It connects the motor to the blower wheel, helping move air through the drum so clothes dry faster. Made to fit select Whirlpool models, it’s tough and reliable. Just unplug your dryer before installing and check your model number to make sure it’s the right part!

No Longer Available
Door Hinge
Part #3185664

$103.95
Special Order
Assembly, Handle
Part #189715GS
This authentic OEM supplied trigger-throttle is designed for Briggs and Stratton and Snapper generators. It is designed to provide a user with a comfortable grip to operate the unit. This is an identical replacement for a damaged or a missing component that was installed on a new unit. Refer to the appropriate diagrams for your model to e...Read morensure the correct repair procedure. Keep in mind this high-quality handle assembly is made of durable material and is sold individually.
Read less

$33.95
Special Order
Fuel Valve With Bushing
Part #192980GS
This is a genuine replacement part sourced directly from the manufacturer. The valve fuel kit is commonly found in Craftsman pressure washers and generators. This part includes the valve made of high-quality plastic, and a rubber cap. It is used to carry fuel from the tank into the engine. You may require a screwdriver or Allen wrench when replacing this item.

$27.95
Special Order
Cable, Battery Charge
Part #65787GS

$65.95
Special Order
Power Regulator Assembly
Part #84132GS
This is a genuine OEM supplied part that is specially designed for Briggs and Stratton portable generators. The item provides an identical replacement for a faulty or a missing power regulator assembly that was installed on a new unit. It is made of high-quality materials and is sold as an individual item. Refer to the owner's manual and the appropriate diagrams for your model to ensure the correct repair procedure.

$43.95
Special Order
Assembly, Holder, Brush
Part #66386GS
This brush holder assembly is an authentic OEM replacement part that is specially designed for use on Briggs and Stratton generators. Brushes help to conduct electric current in the motor that powers the unit. This assembly includes one plastic brush holder and two carbon brushes with a lead wires and springs attached. You would need a screwdriver to complete this job.
Exact Part matches for your search term

No Longer Available
Common Symptoms of models starting with 1315
How this model fails, and the parts that fix it.
Will Not Start
Fixed by
these parts
these parts


Show All
Leaking
Fixed by
these parts
these parts

Show All
Won’t turn on
Fixed by
these parts
these parts

Show All
Will not drain
Fixed by
these parts
these parts
Show All
Will not agitate
Fixed by
these parts
these parts
Show All
Won’t Start
Fixed by
these parts
these parts
Show All
Watch our pros, then fix it yourself.
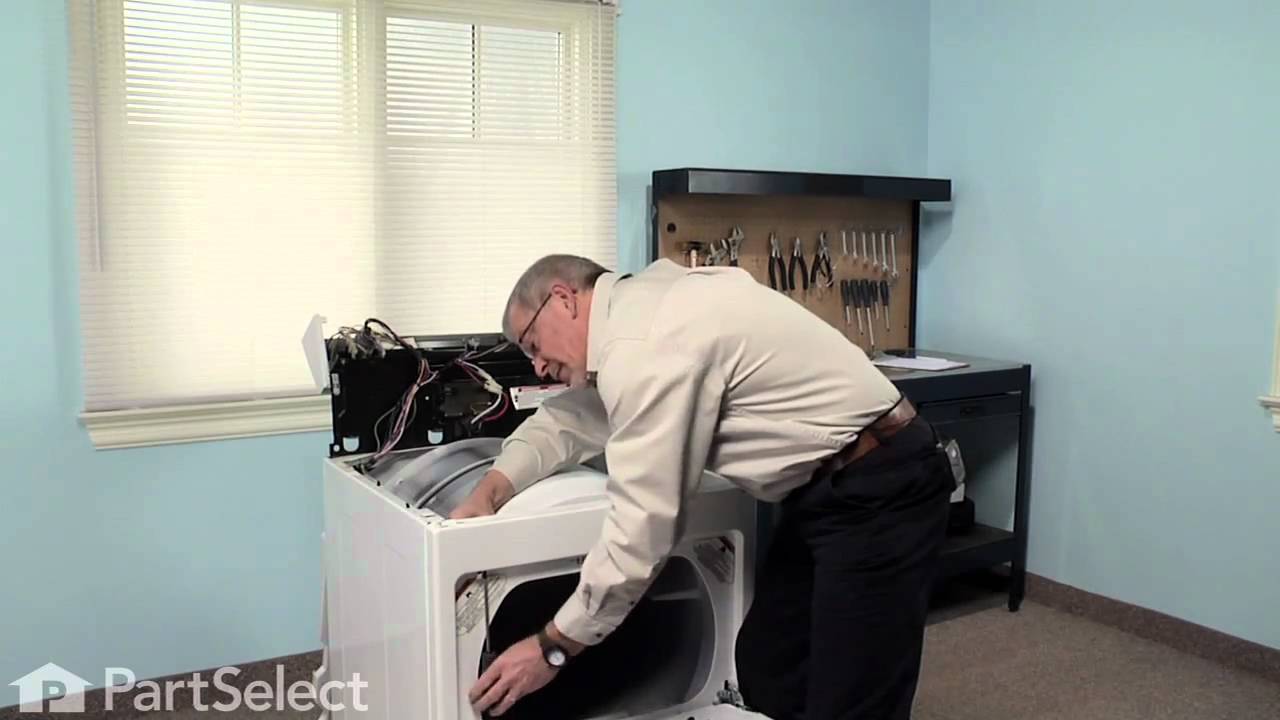
See how others fixed this model. Time, tools, difficulty, and steps that lead to victory!
View More