


 My Orders


13-2626-00 (08) Frigidaire Range - Overview

Enter a part description. DIY Heroes keep it simple, eg. "belt" or "pump".
Search filter:
Clear Filter
Your search term must have 3 or more characters.

$20.88
In Stock
Terminal Block Kit
Part #5303935058
This surface burner terminal block kit comes with interchangeable mounting brackets, terminal box, ceramic wire nuts, heat shrink protective tubing and wires.

$19.75
In Stock
Drip Bowl - 8"
Part #316048413
This drip bowl is located beneath the element and catches any spills. It is sold individually and has a diameter of approximately 10 inches.

$18.65
In Stock
Chrome Drip Bowl - 6"
Part #316048414
This drip bowl is sold individually. This part is located beneath the element and catches spills from cooking.

$89.29
In Stock
Surface Element - 8 Inch - 220V
Part #316442300
The coil burner element is eight inches in diameter. It has four turns, 220 volts and looped terminal ends. The coil burner element provides heat to the cooking surface on your range. You might need to replace this part if your element is not heating. It might have shorted out around the coil or the terminal block; you can test the coil t...Read moreo see if the burner or the switch may be at fault. Please make sure the power has been disconnected and the element is turned off and had time to cool before starting your repair. The element is a genuine OEM part and is sold individually.
Read less

$45.86
In Stock
Surface Element - 6 Inch
Part #318372210
Sold individually. This part is sold individually. This is a part for your stove top. The surface element is what your cookware sits on. The element supplies heat at varying temperatures. This may need to be replaced if the coil has shorted out or the terminal block shorted, and this caused the connectors at the end to burn out. The eleme...Read morent is set in place by springs. You will need to push the springs in to release the old element. Make sure the drip bowl is lined up with the terminal block and press the new element into place.
Read less

$72.50
In Stock

$47.00
Special Order
2 Pack Light Bulb - 40W
Part #5304490731

$63.75
Special Order
4 Wire Cord - 4ft - 50amp
Part #5308819008

$72.29
Special Order
6'RNG50A4S CS6 CORD
Part #5304490724

No Longer Available
4' 40 AMP 3 WIRE RANGE CORD, BAGGED
Part #5304512983

$60.84
Special Order
CORD
Part #5304503203

No Longer Available
KNOB-CONTROL
Part #316015203
Common Symptoms of the 13-2626-00
How this model fails, and the parts that fix it.
Element will not heat
Fixed by
these parts
these parts


Show All
Will Not Start
Fixed by
these parts
these parts
Show All
Oven not heating evenly
Fixed by
these parts
these parts
Show All
Watch our pros, then fix it yourself.
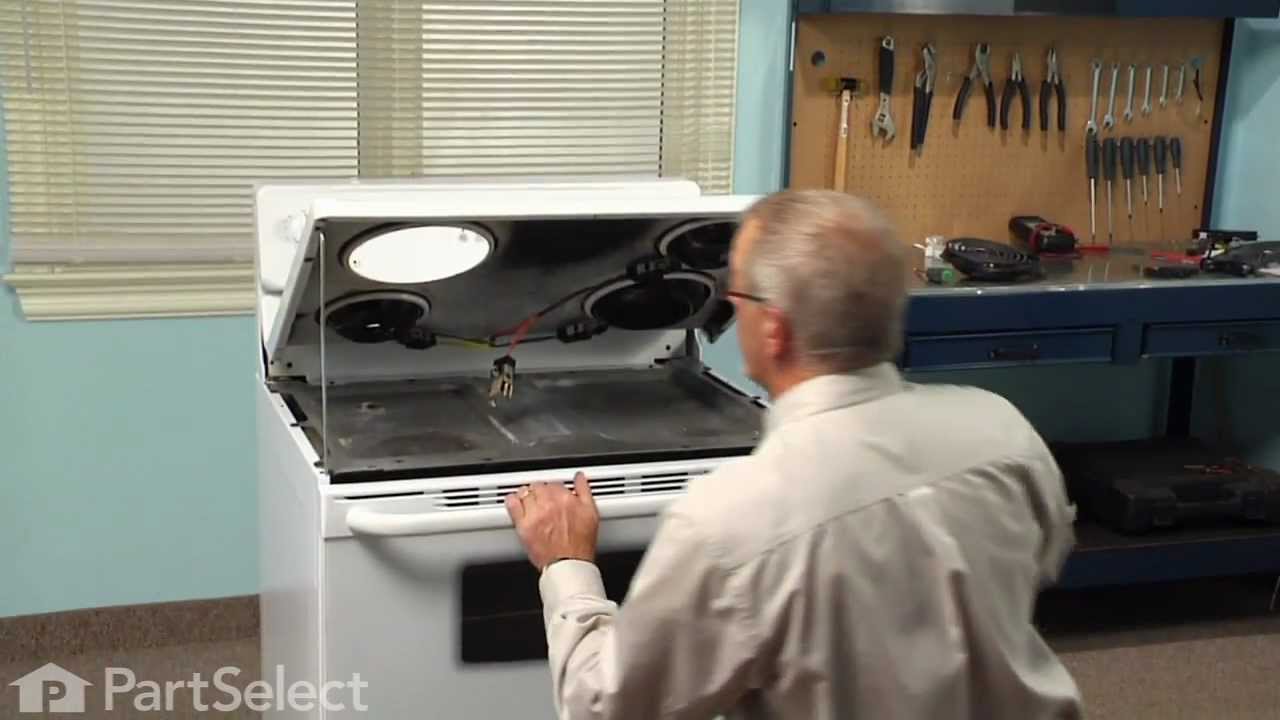
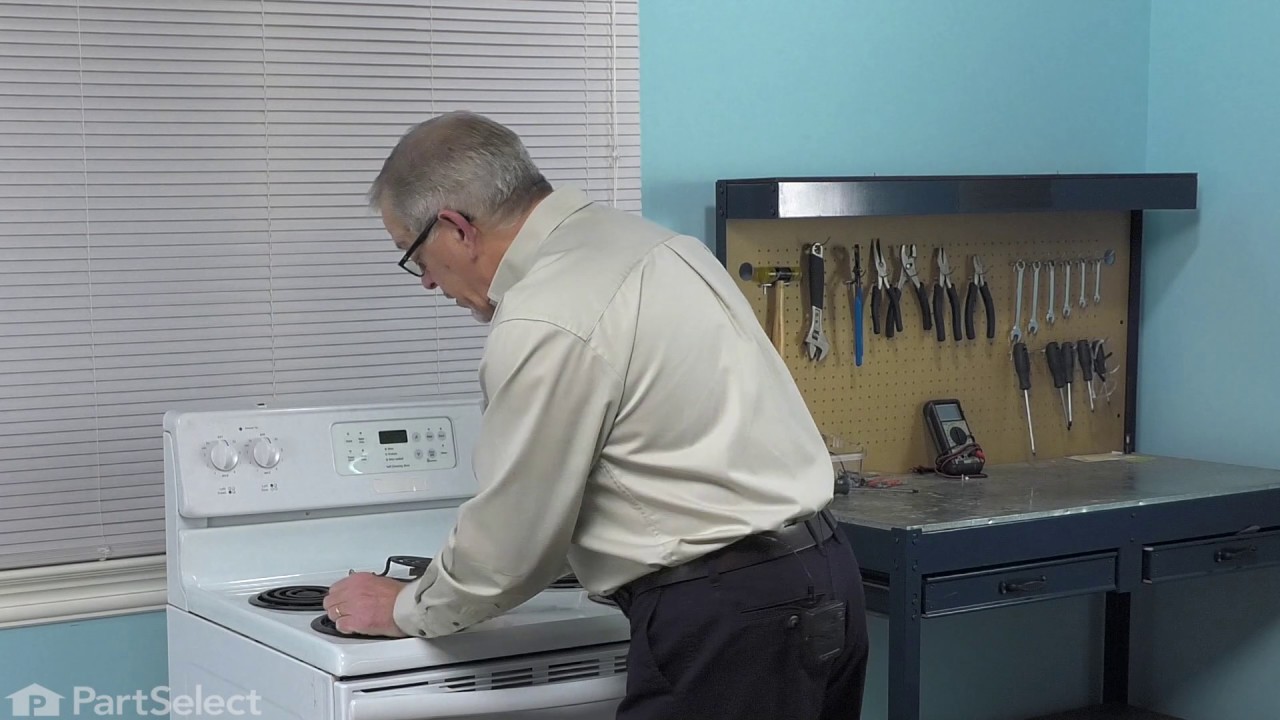

See how others fixed this model. Time, tools, difficulty, and steps that lead to victory!
View More
Search repair tips from other customers using simple keywords like "replace", "fit", "remove", "inspect". DIY doesn't mean you have to do it alone!
Search filter:
Clear Filter
Your search term must have 3 or more characters.
Old pans/bowls were corroded
48 of 55 people
found this instruction helpful.
Very easy---simply unplug the burners, remove the old pans and replace with the new ones
I was extremely pleased with the easy ordering and prompt delivery of parts that actually fit as they should!
I was extremely pleased with the easy ordering and prompt delivery of parts that actually fit as they should!
Other Parts Used:


Was this helpful?
Thank you for voting!