


 My Orders


1276 - Overview
Models starting with 1276
Click on the best match to narrow your results.
- 1276*0A Roper Range (Range (gas)*)
- 1276-0 Briggs and Stratton Generator (Power Transfer System 30 Amp Transfer System)
- 1276-1 Briggs and Stratton Generator (Power Transfer System 30 Amp Transfer System)
- 1276^0A Whirlpool Range
- 127602-0100-B1 Briggs and Stratton Engine (Engine)
- 127602-0100-E1 Briggs and Stratton Engine (Engine)
- 127602-0247-B1 Briggs and Stratton Engine (Engine)
- 127602-0247-E1 Briggs and Stratton Engine (Engine)
- 127602-0287-B1 Briggs and Stratton Engine (Engine)
- 127602-0287-E1 Briggs and Stratton Engine (Engine)
- 127602-0331-B1 Briggs and Stratton Engine (Engine)
- 127602-0331-B2 Briggs and Stratton Engine (Engine)
- 127602-0331-E1 Briggs and Stratton Engine (Engine)
- 127602-0331-E2 Briggs and Stratton Engine (Engine)
- 127602-0370-B1 Briggs and Stratton Engine (Engine)
- 127602-0370-E1 Briggs and Stratton Engine (Engine)
- 127605-0406-B1 Briggs and Stratton Engine (Engine)
- 127605-0406-E1 Briggs and Stratton Engine (Engine)
- 127607-0249-E1 Briggs and Stratton Engine (Engine)
- 127607-0369-B1 Briggs and Stratton Engine (Engine)
- 127607-0369-E1 Briggs and Stratton Engine (Engine)
- 127609-0325-E1 Briggs and Stratton Engine (Engine)
- 1276D (0601276939) Bosch Belt or Drum Sander (4" x 24" Belt Sander)
- 1276D (0601276956) Bosch Belt or Drum Sander (Belt Sander)
- 1276D (0601276963) Bosch Belt or Drum Sander (Belt Sander)
- 1276DVS (0601276756) Bosch Belt or Drum Sander (Belt Sander)
- 1276DVS (0601276787) Bosch Belt or Drum Sander (Belt Sander)
- 1276DVS (0601276739) Bosch Belt or Drum Sander (4" x 24" Belt Sander)
- 1276W0A Roper Range (Freestanding, Gas)
Enter a part description. DIY Heroes keep it simple, eg. "belt" or "pump".
Search filter:
Clear Filter
Your search term must have 3 or more characters.

$69.25
In Stock
Surface Burner Element Switch, Large Burner
Part #WP3149400
This control switch controls the stove top 8" surface burner. 8.9- 11.0 amp. This surface burner element switch is for an 8-inch surface burner on an oven, stove, or range. The element switch controls the heat of the surface burner. Disconnect power to your range before completing this repair because you will be working closely with elec...Read moretrical circuits. Remove the screws from back panel and the console, and remove the console to expose the switch. It is recommended to check for overheating or arcing on the wiring harness in case they need to be replaced as well. The harness that connects to the switch features a slip-on terminal for easy installation.
Read less

$33.28
In Stock
Lid Switch
Part #W10820036
Keep your washer or dryer running safely with this easy-to-install lid or door switch kit. It stops the machine from working when the door is open, helping prevent spills and accidents. Compatible with many models, this small but important part fits neatly inside your appliance and comes with everything you need for installation. Just unp...Read morelug your machine, swap out the old switch, and you're good to go. It’s about 2.5 inches long and blends in with most interiors.
Read less

No Longer Available

$70.12
In Stock
Blower Belt
Part #WP691371
If your dryer isn’t drying clothes like it used to or making strange noises, this blower belt might be the fix. It connects the motor to the blower wheel, helping move air through the drum so clothes dry faster. Made to fit select Whirlpool models, it’s tough and reliable. Just unplug your dryer before installing and check your model number to make sure it’s the right part!

$13.95
Special Order
Seal-oil
Part #399781S
This is an authentic replacement part manufactured for use with small engines. Seals can deteriorate overtime, and it is recommended to replace worn seals when servicing an engine. This seal is the lower seal in the engine's sump, the seal is sold individually.

$7.95
Special Order
Spring-friction
Part #691855

$88.95
Special Order
Engine Recoil Starter Assembly
Part #497680
This authentic OEM starter assembly is designed for use with lawn and garden engines and is sourced directly from the original manufacturer to ensure quality and compatibility. The assembly includes a durable plastic shroud/housing, starter pulley, recoil spring, pull rope with grip, and the necessary hardware for installation. It functio...Read morens as the primary mechanism for manually cranking and starting the engine. To complete the replacement, you’ll need a wrench. Simply remove the four screws and nuts securing the old starter assembly, then install the new one using the included hardware. This item is sold as a complete individual assembly.
Read less

$31.95
Special Order
Jet-main
Part #497466
This is a genuine Briggs & Stratton replacement part. The main jet is designed by the manufacturer for use in engines such as those found in blowers and lawnmowers. This part is made of metal, and comes with a plastic gasket. It is used to control the flow of fuel in the carburetor when the engine is running. You may require a wrench when replacing this item.

$11.95
In Stock
Kit-needle/seat
Part #398188
Genuine manufacturer approved carburetor needle valve for lawn and garden equipment engines. This item includes the seat. The needle valve opens and closes to control the flow of fuel into the carburetor. Make sure to disconnect the spark plug wire and drain all gasoline from the carburetor and fuel tank before starting a repair.

$7.95
Special Order
Retainer-Gov Shaft
Part #690340

$5.95
In Stock
Key-flywheel
Part #222698S
This is a Genuine OEM replacement part used on a variety of Lawn and Garden equipment. The key helps to secure Flywheel in place. This is a Metal Key and it is Sold Individually. You would need Pliers to replace this item.

$6.95
Special Order
Washer-sealing
Part #271716
This authentic OEM sealing washer is designed for your lawn equipment to create a tight seal within the carburetor body, preventing fuel or air leaks. If you notice any signs of leaks, such as dripping fuel or hissing sounds, it may indicate a faulty or worn-out sealing washer. Additionally, you might be experiencing engine performance is...Read moresues like rough idling or difficulty starting. To replace the sealing washer, ensure that the machine is off and that the engine has cooled down. Remove the air breather cover and the filter itself, following the instructions provided in your user manual to access the carburetor. Depending on your specific equipment model, you may need to detach the springs from the carburetor choke mechanism, disconnect the fuel line and fuel tank, remove the choke lever, and detach the air breather base. Once you have located the carburetor, carefully unthread the main jet from the bottom of the carburetor bowl. Finally, slide off the old sealing washer, ensuring you take note of its positioning for accurate replacement. Please note that this sealing washer is sold individually.
Read less
Exact Part matches for your search term

No Longer Available
Common Symptoms of models starting with 1276
How this model fails, and the parts that fix it.
Element will not heat
Fixed by
these parts
these parts

Show All
Will Not Start
Fixed by
these parts
these parts


Show All
Will not drain
Fixed by
these parts
these parts
Show All
Oven is too hot
Fixed by
these parts
these parts
Show All
Will not agitate
Fixed by
these parts
these parts
Show All
Won’t Start
Fixed by
these parts
these parts
Show All
Cannot pull starter cord out or engine will not turn over
Fixed by
these parts
these parts


Show All
Will not program
Fixed by
these parts
these parts
Show All
Oven not heating evenly
Fixed by
these parts
these parts
Show All
Watch our pros, then fix it yourself.
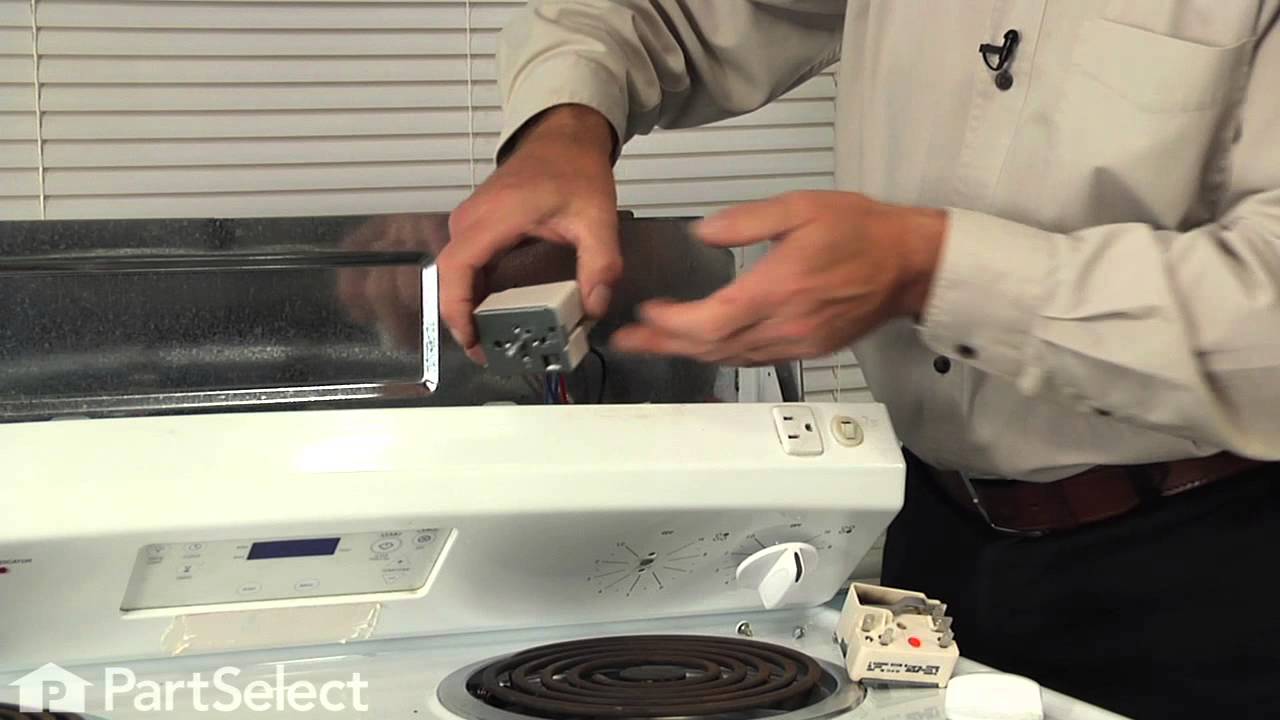
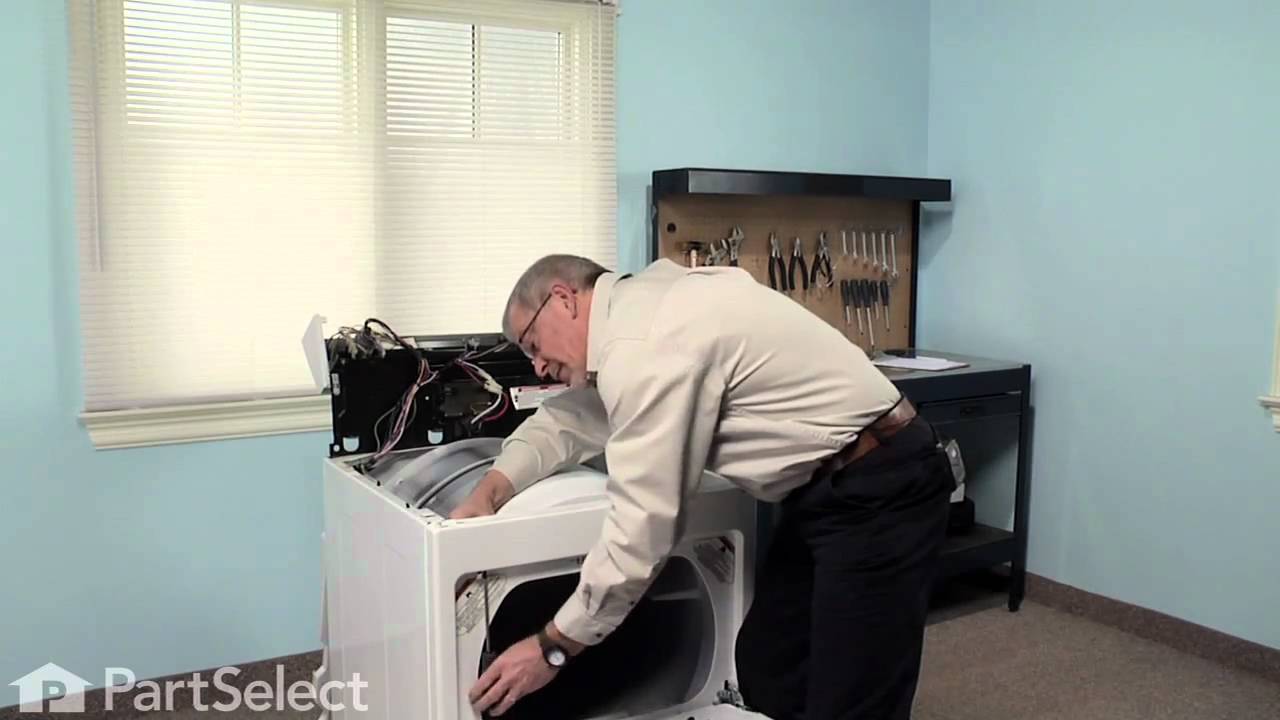
See how others fixed this model. Time, tools, difficulty, and steps that lead to victory!
View More