


 My Orders


1246 - Overview
Models starting with 1246
Click on the best match to narrow your results.
- 12460-1 General Electric Range
- 12460-2 General Electric Range
- 12460-3 General Electric Range
- 124602-0105-B1 Briggs and Stratton Engine (Engine)
- 124602-0105-E1 Briggs and Stratton Engine (Engine)
- 124602-0110-E1 Briggs and Stratton Engine (Engine)
- 124602-0111-01 Briggs and Stratton Engine (Engine)
- 124602-0113-01 Briggs and Stratton Engine (Engine)
- 124602-0117-E1 Briggs and Stratton Engine (Engine)
- 124602-0118-B1 Briggs and Stratton Engine (Engine)
- 124602-0118-E1 Briggs and Stratton Engine (Engine)
- 124602-0119-E1 Briggs and Stratton Engine (Engine)
- 124602-0121-E1 Briggs and Stratton Engine (Engine)
- 124602-0122-E1 Briggs and Stratton Engine (Engine)
- 124602-0125-E1 Briggs and Stratton Engine (Engine)
- 12461-1 General Electric Range
- 12461-2 General Electric Range
- 12461-3 General Electric Range
- 124672-0030-B1 Briggs and Stratton Engine (Engine)
- 124672-0030-E1 Briggs and Stratton Engine (Engine)
- 124672-0035-B1 Briggs and Stratton Engine (Engine)
- 124672-0035-E1 Briggs and Stratton Engine (Engine)
- 124672-0036-B1 Briggs and Stratton Engine (Engine)
- 124672-0036-E1 Briggs and Stratton Engine (Engine)
- 124672-0037-B1 Briggs and Stratton Engine (Engine)
- 124672-0037-E1 Briggs and Stratton Engine (Engine)
- 12468-1 General Electric Range
- 12468-2 General Electric Range
- 12468-3 General Electric Range
- 124682-0112-01 Briggs and Stratton Engine (Engine)
- 124682-0114-01 Briggs and Stratton Engine (Engine)
- 124682-0115-01 Briggs and Stratton Engine (Engine)
- 124682-0120-E1 Briggs and Stratton Engine (Engine)
- 124682-0127-B1 Briggs and Stratton Engine (Engine)
- 124682-0127-E1 Briggs and Stratton Engine (Engine)
Enter a part description. DIY Heroes keep it simple, eg. "belt" or "pump".
Search filter:
Clear Filter
Your search term must have 3 or more characters.

No Longer Available

No Longer Available
Door Handle End Cap
Part #WB7X7183
This oven door handle end cap is used on both the left and right hand sides. Sold individually.

No Longer Available
$135.09
In Stock
No Longer Available

No Longer Available
No Longer Available
BAKE ELEMENT CONVECTION
Part #WB44M169

$85.46
Special Order
Door Handle
Part #WB15K5076
This is the replacement door handle for your range. It is made of black plastic and measures approximately 22 inches by 1 inch. The door handle connects to the range door and allows you to open and close the door. The main reason to replace the door handle is if it is broken or missing. Depending on your model you may need to remove the i...Read morenside panel of your oven door to attach the handle. This part is sold individually and is a genuine OEM part sourced directly from the manufacturer.
Read less

$24.85
Special Order
Washer - 12 Pack
Part #WB1X119D

No Longer Available
Leveling Leg
Part #WB2X8248
No Longer Available
SWITCH INF.2600W
Part #WB23M99

No Longer Available
Gasket
Part #WB2X2058
This genuine OEM oven door gasket is designed to create a tight, heat-resistant seal between the oven door and the cooking cavity. By preventing heat from escaping, it helps maintain consistent cooking temperatures and supports efficient oven operation. Replacing a worn, torn, or damaged gasket can resolve issues such as heat loss, uneven...Read more cooking, or longer preheat times, restoring proper performance with a simple, direct-fit installation.
Read less
Exact Part matches for your search term
No Longer Available
No Longer Available
Common Symptoms of models starting with 1246
How this model fails, and the parts that fix it.
Will Not Start
Fixed by
these parts
these parts


Show All
Element will not heat
Fixed by
these parts
these parts
Show All
Cannot pull starter cord out or engine will not turn over
Fixed by
these parts
these parts


Show All
Door won’t close
Fixed by
these parts
these parts

Show All
Watch our pros, then fix it yourself.
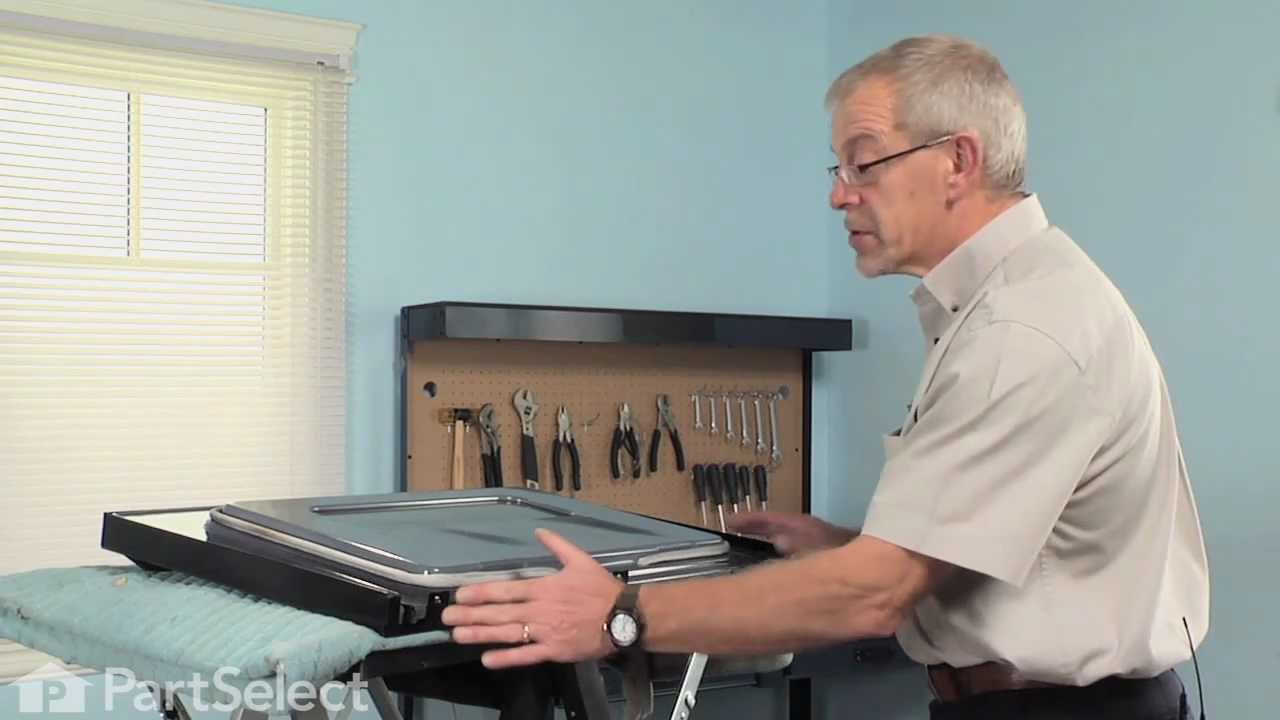
See how others fixed this model. Time, tools, difficulty, and steps that lead to victory!
View More
Search repair tips from other customers using simple keywords like "replace", "fit", "remove", "inspect". DIY doesn't mean you have to do it alone!
Search filter:
Clear Filter
Your search term must have 3 or more characters.
handle on range was broken
15 of 19 people
found this instruction helpful.
1] removed door and put it on bench
2] removed two[2] screws to open up face of door
3] wedged aa 2" x 4" between face of door and back of door
4] used nut-driver to remove the damaged end-cap [this part holds the stove handle in place]
5] put handle on one side to good end-cap and slipped new end-cap on handle and pu ... Read more t it opening where old end-cap came off
6]screwed in new part and screwed together face and back of oven door
7] put door back on oven
2] removed two[2] screws to open up face of door
3] wedged aa 2" x 4" between face of door and back of door
4] used nut-driver to remove the damaged end-cap [this part holds the stove handle in place]
5] put handle on one side to good end-cap and slipped new end-cap on handle and pu ... Read more t it opening where old end-cap came off
6]screwed in new part and screwed together face and back of oven door
7] put door back on oven
Read less
Other Parts Used:


Was this helpful?
Thank you for voting!