


 My Orders


1234 - Overview
Models starting with 1234
Click on the best match to narrow your results.
- 1234*0A Roper Range (GAS RANGE)
- 1234^0A Whirlpool Range
- 123432-0035-E1 Briggs and Stratton Engine (Engine)
- 123432-0036-E1 Briggs and Stratton Engine (Engine)
- 123432-0038-E1 Briggs and Stratton Engine (Engine)
- 123432-0057-E1 Briggs and Stratton Engine (Engine)
- 123432-0101-A1 Briggs and Stratton Engine (Engine)
- 123432-0101-E1 Briggs and Stratton Engine (Engine)
- 123432-0105-E1 Briggs and Stratton Engine (Engine)
- 123432-0118-E1 Briggs and Stratton Engine (Engine)
- 123432-0135-E1 Briggs and Stratton Engine (Engine)
- 123432-0136-E1 Briggs and Stratton Engine (Engine)
- 123432-0140-E1 Briggs and Stratton Engine (Engine)
- 123432-0140-E2 Briggs and Stratton Engine (Engine)
- 123432-0141-E1 Briggs and Stratton Engine (Engine)
- 123432-0143-E1 Briggs and Stratton Engine (Engine)
- 123432-0144-E1 Briggs and Stratton Engine (Engine)
- 123432-0146-E1 Briggs and Stratton Engine (Engine)
- 123432-0267-E1 Briggs and Stratton Engine (Engine)
- 123432-0267-E2 Briggs and Stratton Engine (Engine)
- 123435-0168-E1 Briggs and Stratton Engine (Engine)
- 123436-0177-E1 Briggs and Stratton Engine (Engine)
- 123437-0050-E1 Briggs and Stratton Engine (Engine)
- 123437-0119-E1 Briggs and Stratton Engine (Engine)
- 123437-0121-E1 Briggs and Stratton Engine (Engine)
- 123437-0137-E1 Briggs and Stratton Engine (Engine)
- 123437-0138-E1 Briggs and Stratton Engine (Engine)
- 123437-0170-E1 Briggs and Stratton Engine (Engine)
- 123437-0176-E1 Briggs and Stratton Engine (Engine)
- 123437-0178-E1 Briggs and Stratton Engine (Engine)
- 123452-0049-E1 Briggs and Stratton Engine (Engine)
- 123452-0049-E2 Briggs and Stratton Engine (Engine)
- 123452-0120-E1 Briggs and Stratton Engine (Engine)
- 123457-0150-E1 Briggs and Stratton Engine (Engine)
- 1234G1A Midea Microwave (Midea 1.2 Cu. Ft. 1200w Push Button Commercial Microwave 1234g1a)
- 1234W0A Roper Range
Enter a part description. DIY Heroes keep it simple, eg. "belt" or "pump".
Search filter:
Clear Filter
Your search term must have 3 or more characters.

$33.28
In Stock
Lid Switch
Part #W10820036
Keep your washer or dryer running safely with this easy-to-install lid or door switch kit. It stops the machine from working when the door is open, helping prevent spills and accidents. Compatible with many models, this small but important part fits neatly inside your appliance and comes with everything you need for installation. Just unp...Read morelug your machine, swap out the old switch, and you're good to go. It’s about 2.5 inches long and blends in with most interiors.
Read less

$92.28
In Stock

No Longer Available

$10.95
In Stock
Range Hex Nut
Part #WP112432
10-32 hex - Sold Individually - Appliance originally takes 3 of this item.

$5.95
Special Order
Screw
Part #698304

$49.95
Special Order
Brush Set
Part #497608

$11.95
In Stock
Kit-needle/seat
Part #398188
Genuine manufacturer approved carburetor needle valve for lawn and garden equipment engines. This item includes the seat. The needle valve opens and closes to control the flow of fuel into the carburetor. Make sure to disconnect the spark plug wire and drain all gasoline from the carburetor and fuel tank before starting a repair.

$13.95
Special Order
Wire-Stop
Part #695630

$7.95
Special Order
Screw
Part #690323

$39.95
Special Order

$7.95
Special Order
Cap-oil Fill
Part #281658S
This manufacturer approved replacement part is specially produced for use with Briggs and Stratton engines commonly installed on Toro lawn and garden equipment. It is utilized to keep the oil in the tank. Please note this durable plastic oil fill cap is sold individually.

$8.95
Special Order
Sleeve-Lever
Part #695588
Exact Part matches for your search term

No Longer Available
Common Symptoms of models starting with 1234
How this model fails, and the parts that fix it.
Will Not Start
Fixed by
these parts
these parts


Show All
Will not drain
Fixed by
these parts
these parts
Show All
Will not agitate
Fixed by
these parts
these parts
Show All
Won’t Start
Fixed by
these parts
these parts
Show All
Cannot pull starter cord out or engine will not turn over
Fixed by
these parts
these parts

Show All
Watch our pros, then fix it yourself.
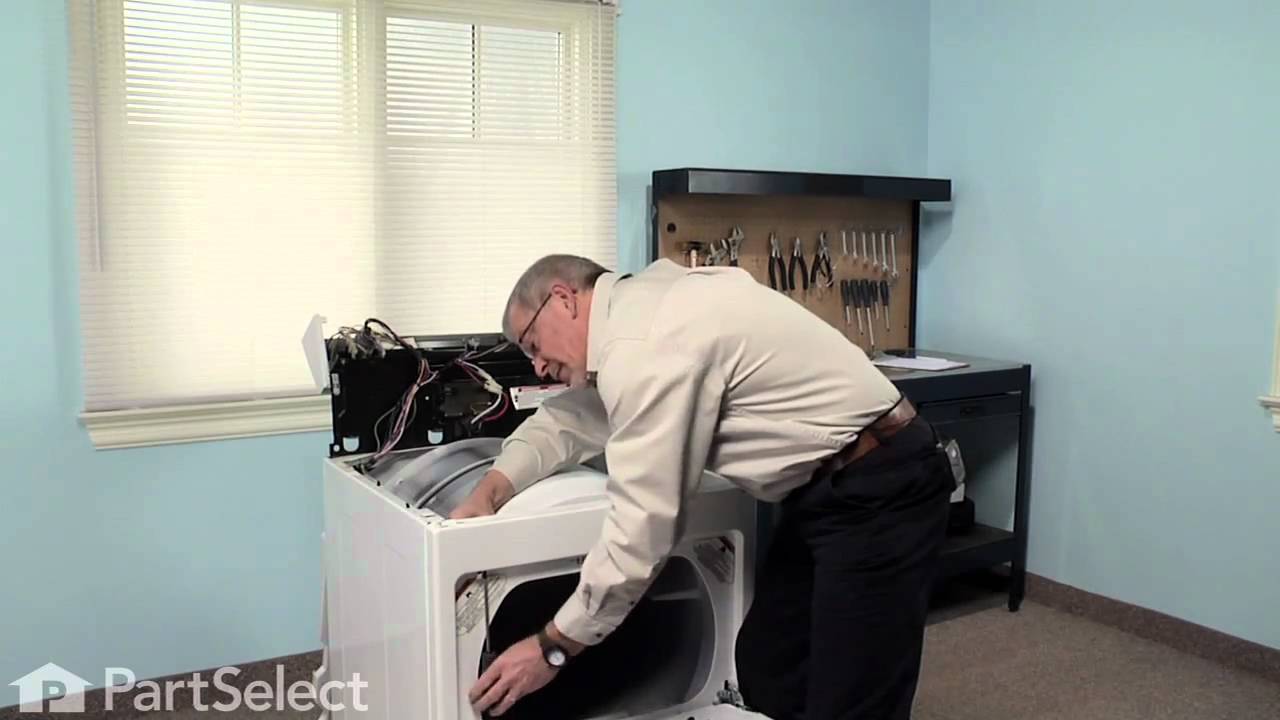
See how others fixed this model. Time, tools, difficulty, and steps that lead to victory!
View More