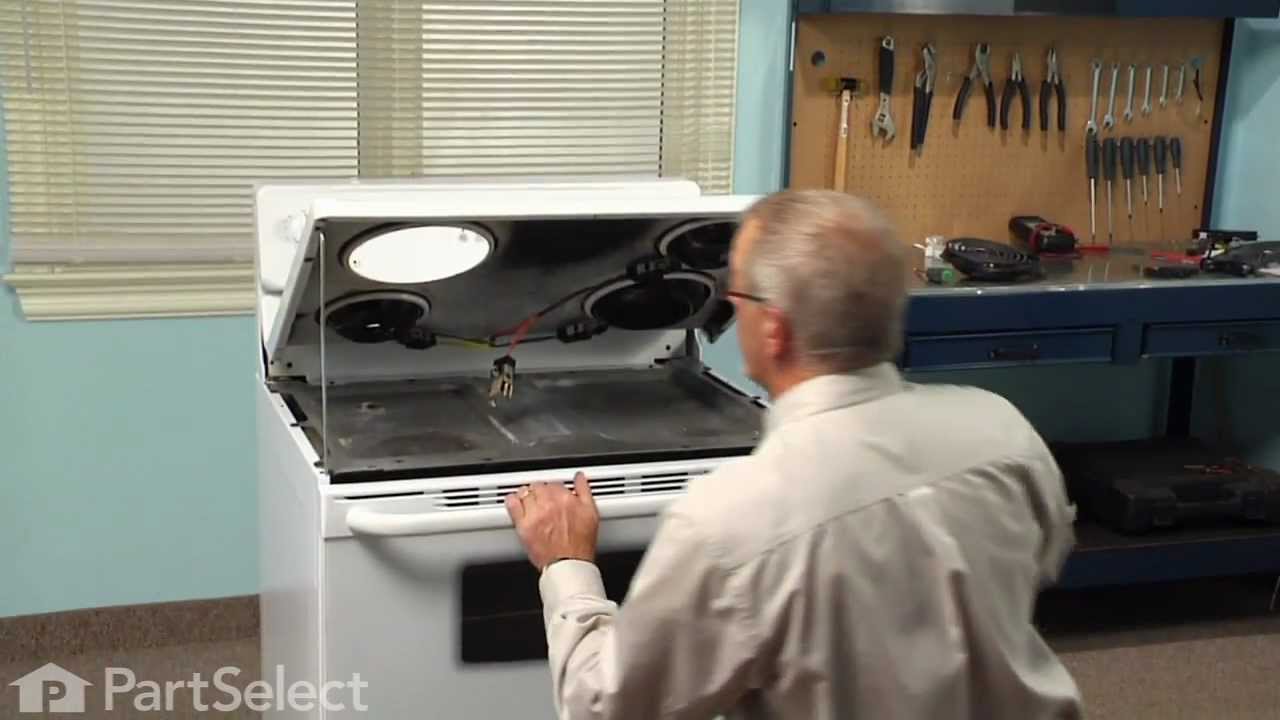
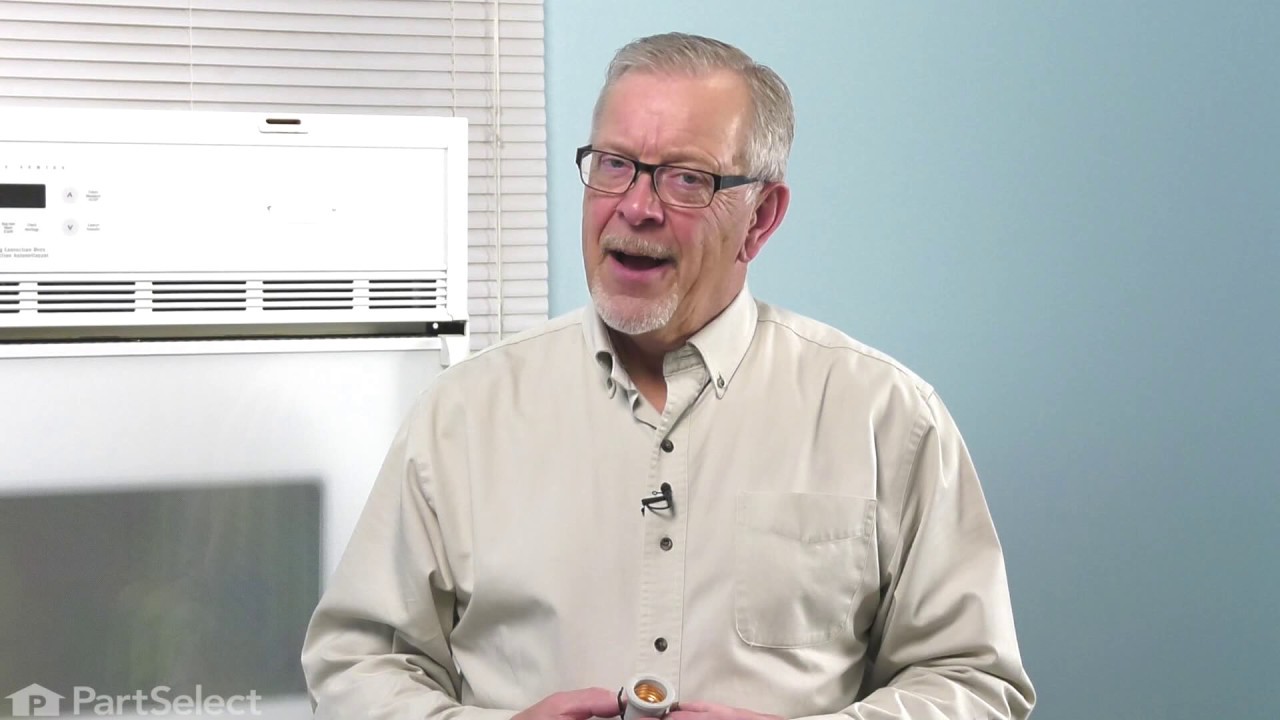
1199738991 Kenmore Range - Overview

Diagrams for 1199738991

See every part. Know exactly what you need.

Enter a part description. DIY Heroes keep it simple, eg. "belt" or "pump".

Search filter:
Clear Filter
Your search term must have 3 or more characters.
Terminal Block Kit – Part Number: 5303935058
$20.88
In Stock
Terminal Block Kit
★★★★★
★★★★★
(45)
Part #5303935058
This surface burner terminal block kit comes with interchangeable mounting brackets, terminal box, ceramic wire nuts, heat shrink protective tubing and wires.
Main Terminal Block Kit – Part Number: 5304409888
$48.78
In Stock
Main Terminal Block Kit
★★★★★
★★★★★
(11)
Part #5304409888
Terminal blocks (also called terminal boards or strips) provide a convenient means of connecting individual electrical wires.
Surface Element - 6 Inch – Part Number: 318372210
$45.86
In Stock
Surface Element - 6 Inch
★★★★★
★★★★★
(6)
Part #318372210
Sold individually. This part is sold individually. This is a part for your stove top. The surface element is what your cookware sits on. The element supplies heat at varying temperatures. This may need to be replaced if the coil has shorted out or the terminal block shorted, and this caused the connectors at the end to burn out. The element is set in place by springs. You will need to push the springs in to release the old element. Make sure the drip bowl is lined up with the terminal block and press the new element into place.
Oven Light Socket – Part Number: 316116400
$75.74
In Stock
Burner Switch Kit – Part Number: 5303935086
$72.50
In Stock
Burner Switch Kit
★★★★★
★★★★★
(8)
Part #5303935086
This switch controls the stove top surface burner.
Screw - Flat Head – Part Number: 134156200
$30.95
In Stock
Screw - Flat Head
Part #134156200
Sold individually.
Hinge - Right Side – Part Number: 318348800
No Longer Available
Hinge - Right Side
Part #318348800
Screw – Part Number: 5304500008
$28.05
In Stock
Screw
Part #5304500008
Sold individually.
Door Hinge - Left Side – Part Number: 318348801
$105.77
Special Order
Door Hinge - Left Side
Part #318348801
This hinge is located on left side of the oven door.
Surface Burner Cap - Black – Part Number: 5303017715
$79.48
Special Order
Surface Burner Cap - Black
Part #5303017715
HOUSING-OVEN LIGHT – Part Number: 3051511
No Longer Available
HOUSING-OVEN LIGHT
Part #3051511
KNOBS (SET OF 3) – Part Number: 5303935039
$73.16
Special Order
KNOBS (SET OF 3)
Part #5303935039

Common Symptoms of the 1199738991

How this model fails, and the parts that fix it.

Watch our pros, then fix it yourself.
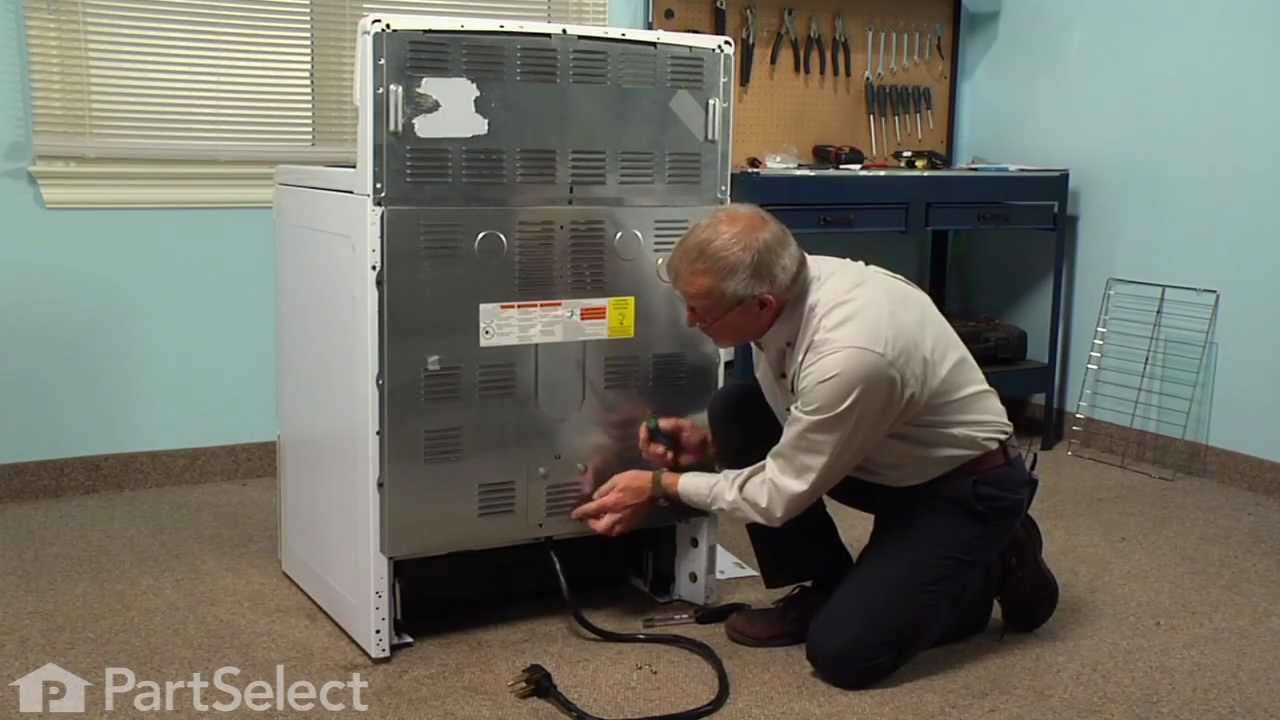
See how others fixed this model. Time, tools, difficulty, and steps that lead to victory! View More

Search repair tips from other customers using simple keywords like "replace", "fit", "remove", "inspect". DIY doesn't mean you have to do it alone!

Search filter:
Clear Filter
Your search term must have 3 or more characters.
Cord was not tightened enough by delivery crew.
109 of 174 people found this instruction helpful.
  • Timothy from Spring Valley, AL
  • Really Easy
  • 15 - 30 mins
  • Screw drivers, Socket set
PF alarm appeared on display. Noticed clicking when cord was moved. Had arced for some time and melted original block. New part slightly different. Only has 3 lugs, old one had six. Stack using washers provided. Take note of colors before disassembly. Use caution while working through access opening. The edges are sharp. Only tools neede d are phillips screwdriver, deep socket for lug nuts. Nut driver optional. Hope this is helpful.
Was this helpful?
Thank you for voting!
Oven light receptacle broken - bulb base broke off
69 of 118 people found this instruction helpful.
  • Paul from Spokane Valley, WA
  • Easy
  • 30 - 60 mins
  • Screw drivers
Turned power off at electrical panel. Pulled oven away from wall. Removed back cover (6 screws), then unplugged wires from old receptacle. I had to pull the squeeze clips backwards & break them to remove the old receptacle - couldn't squeeze them enough to remove them otherwise. The old receptacle came out through the inside of the oven, and the new one snapped in easily from inside the oven as well. Replaced wiring, installed new bulb, restored power & tested. Replaced back cover. Good time to vacuum under/behind where the oven usually lives before sliding it back to the wall.
Was this helpful?
Thank you for voting!
High heat reluctant to turn down.
45 of 49 people found this instruction helpful.
  • George from New Port Richey, FL
  • Easy
  • 15 - 30 mins
  • Nutdriver, Pliers, Screw drivers
Most of the job is simple fastener mechanics.
Use a nut driver or Phillips screwdriver. Remove rear panel.

Pull out control knob. If it is stuck, wrap a small rag around the back of it and pull the rag steadily.

Carefully match marked terminals on the replacement switch with those on original. Switch terminals may not be in the same location. Replace wires one for one, one at a time.

Carefully select the correct knob filler for the switch post. Several are supplied. Proceed with logic and measure the shaft length and the filler length and type to match.
Was this helpful?
Thank you for voting!