


 My Orders


110C61633610 Kenmore Dryer - Overview

Enter a part description. DIY Heroes keep it simple, eg. "belt" or "pump".
Search filter:
Clear Filter
Your search term must have 3 or more characters.

$56.05
In Stock
Dryer Repair Kit
Part #4392067
This dryer repair kit consists of five commonly replaced dryer parts: one multi-rib belt (part #661570V and measures 93 1/2 inches long), four drum support rollers, one idler assembly, nine tri-rings, and one washer. This universal maintenance kit is an all-encompassing kit for fixing a noisy dryer, among other symptoms, but noisy being t...Read morehe most common. It is compatible with 27-inch wide dryers built from 1965 onwards. Be sure to disconnect the dryer or shut off the house circuit breaker for the appliance before you begin your repair. To access these parts, you will need to remove the dryer drum. For this installation you will need a 1/4-inch nut driver, a long flat-blade screwdriver, a short flat-blade screw diver, and a Phillips screwdriver.
Read less

$10.95
In Stock

$13.97
In Stock
Heating Element Connection Wire Kit
Part #279457
This kit is used for electric clothes dryers, and it comes with a yellow wire nut.

$9.85
In Stock

$70.95
In Stock
Thermal Cut-Off with High Limit Thermostat
Part #280148
The thermal cut-off (fuse) is meant to trip at a higher temperature than that of a high limit thermostat. This is a one time use fuse, so when it does trip, you must replace it. The hi-limit thermostat acts as a safety mechanism that keeps the dryer from overheating. Once the dryer temperature reaches a certain point, this piece will shut down power to the heating element.

$82.81
In Stock
Lint Filter
Part #W10859086
This is the replacement lint screen for your dryer. It is made of plastic and is approximately 14 inches by 9 inches. The lint screen traps unwanted lint and debris so your dryer can effectively dry your clothes. If the old lint screen is cracked or clogged, the dryer takes too long to dry, or excessive lint is accumulating inside the dry...Read moreer or its venting, you may need to replace it. Simply remove the old, damaged filter, and replace it with the new one.
Read less

$10.95
In Stock

No Longer Available
Spray Paint - 12 oz. - White
Part #350930

$10.95
In Stock
Screw
Part #WP8534022

$29.99
In Stock
Touch-Up Paint
Part #W10446202

$104.47
In Stock
Restrainer, Belt
Part #WP3393657
This belt retainer helps keep the drive belt properly positioned during operation, preventing slippage or misalignment. Secure belt guidance supports efficient power transfer and consistent performance. Replacing a damaged retainer helps protect the belt and restore smooth, reliable operation.

$10.95
In Stock
Washer Screw 818 X 1/2
Part #WP9740848
Common Symptoms of the 110C61633610
How this model fails, and the parts that fix it.
Noisy
Fixed by
these parts
these parts


Show All
Drum Not Spinning
Fixed by
these parts
these parts

Show All
Not Heating
Fixed by
these parts
these parts


Show All
Won’t Start
Fixed by
these parts
these parts
Show All
Too hot
Fixed by
these parts
these parts
Show All
Will not agitate
Fixed by
these parts
these parts
Show All
Burning smell
Fixed by
these parts
these parts
Show All
Marks left on clothes
Fixed by
these parts
these parts
Show All
Spins slowly
Fixed by
these parts
these parts
Show All
Watch our pros, then fix it yourself.
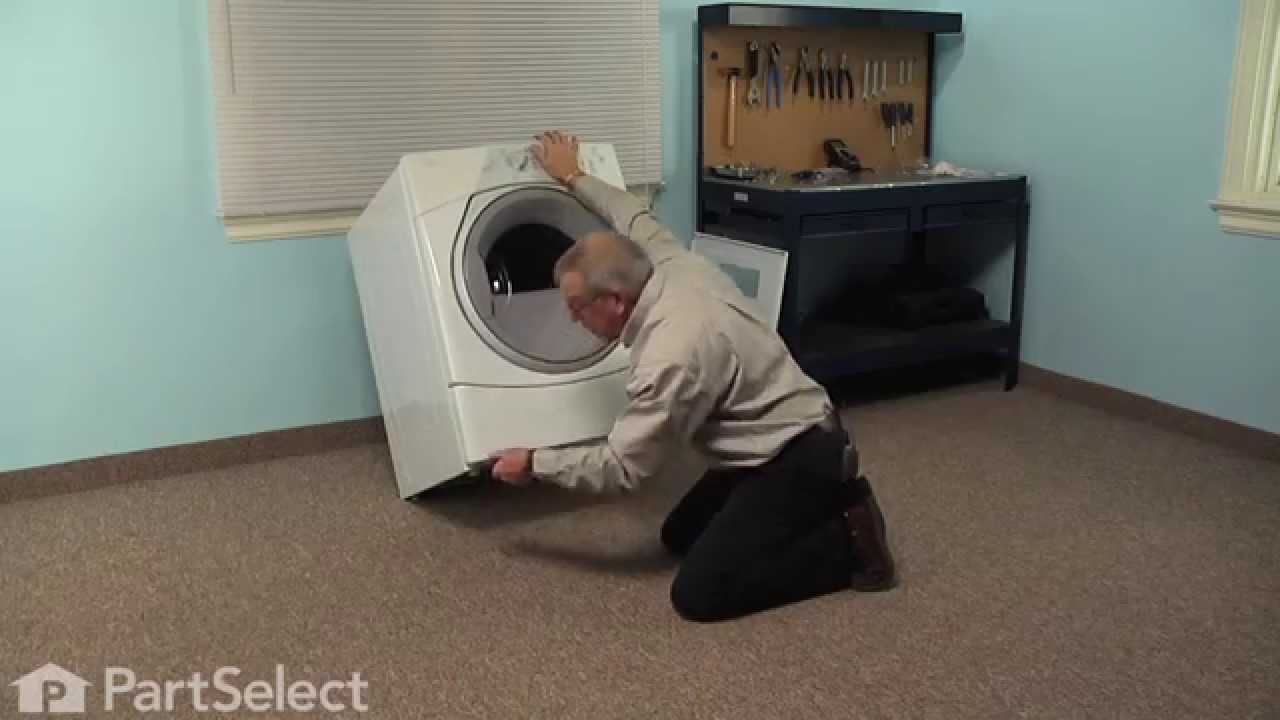
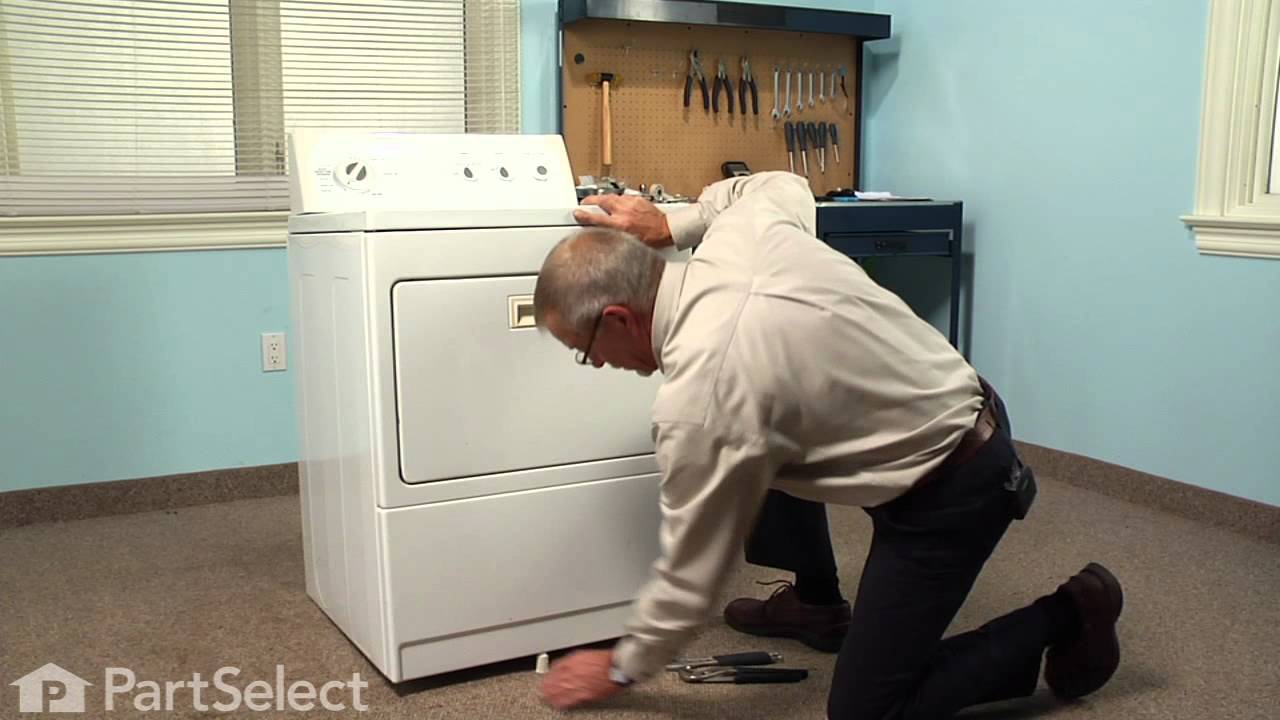
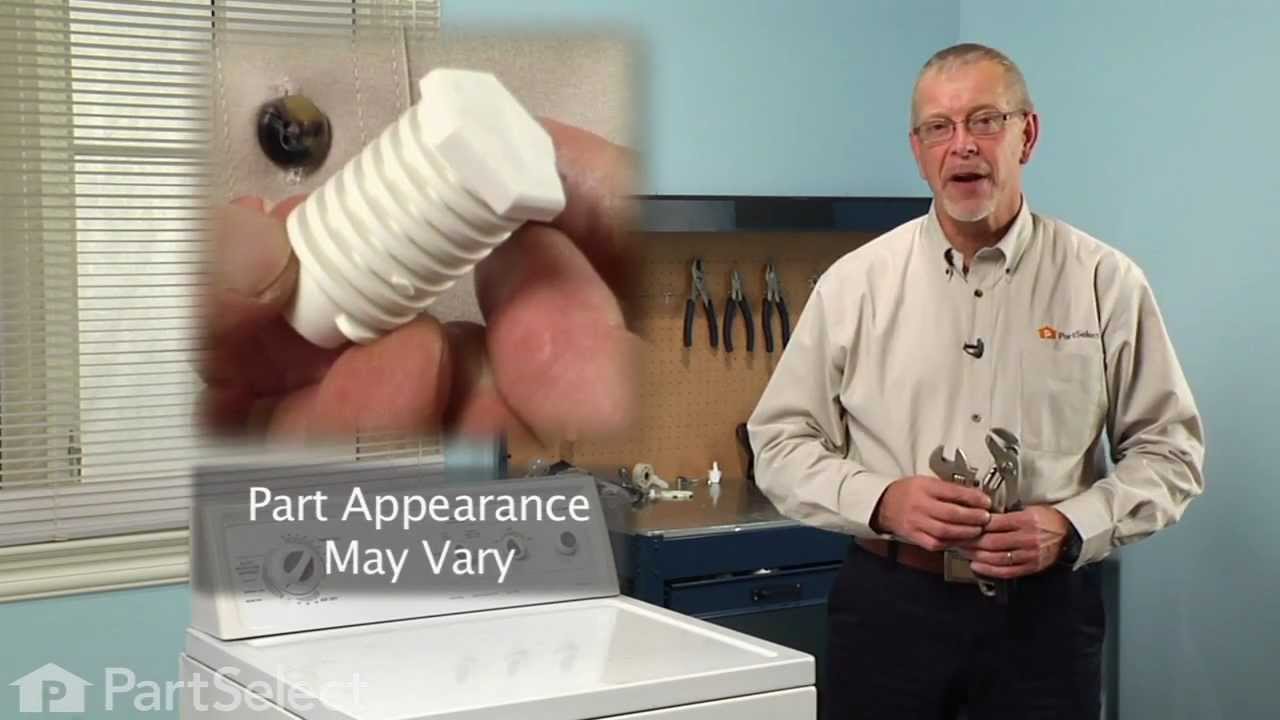
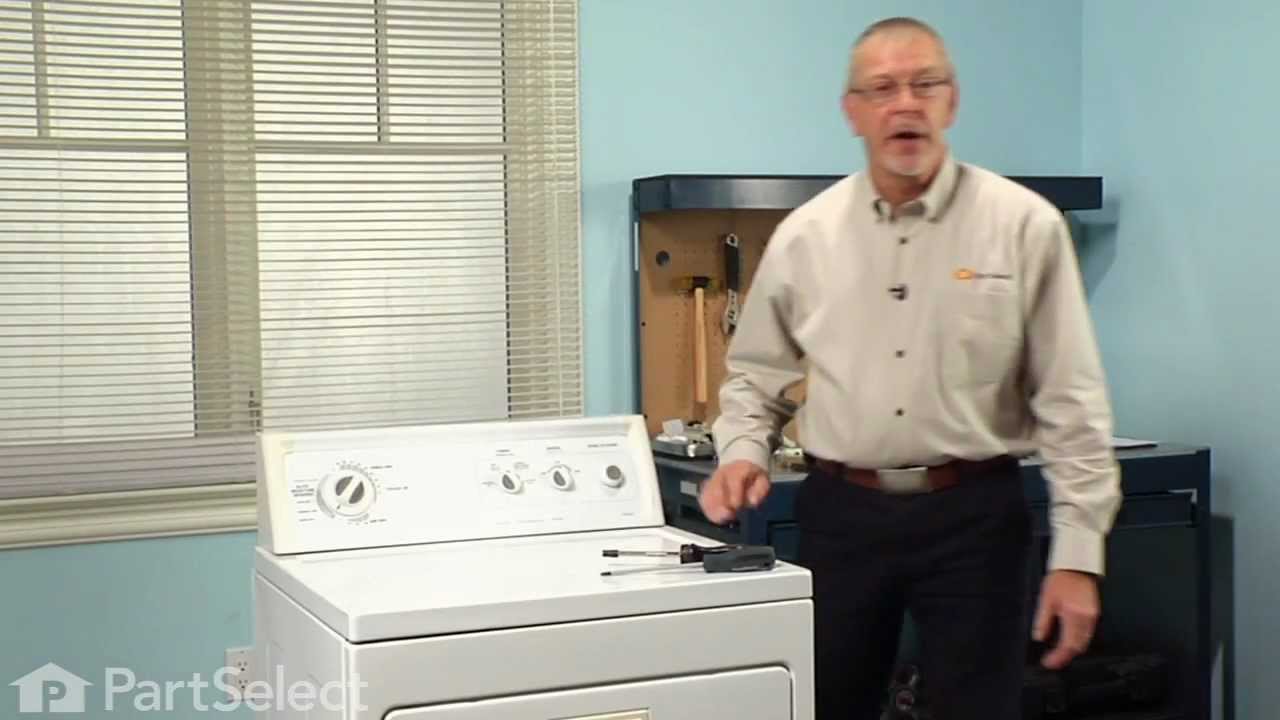
See how others fixed this model. Time, tools, difficulty, and steps that lead to victory!
View More