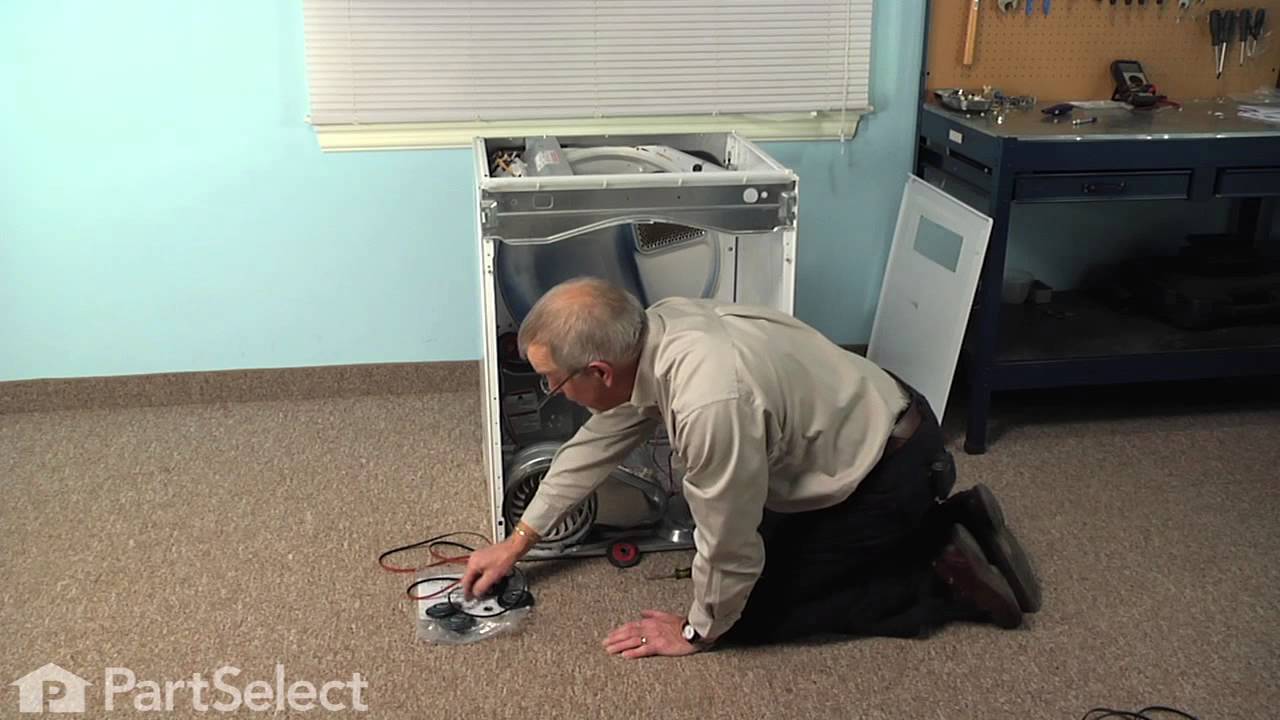
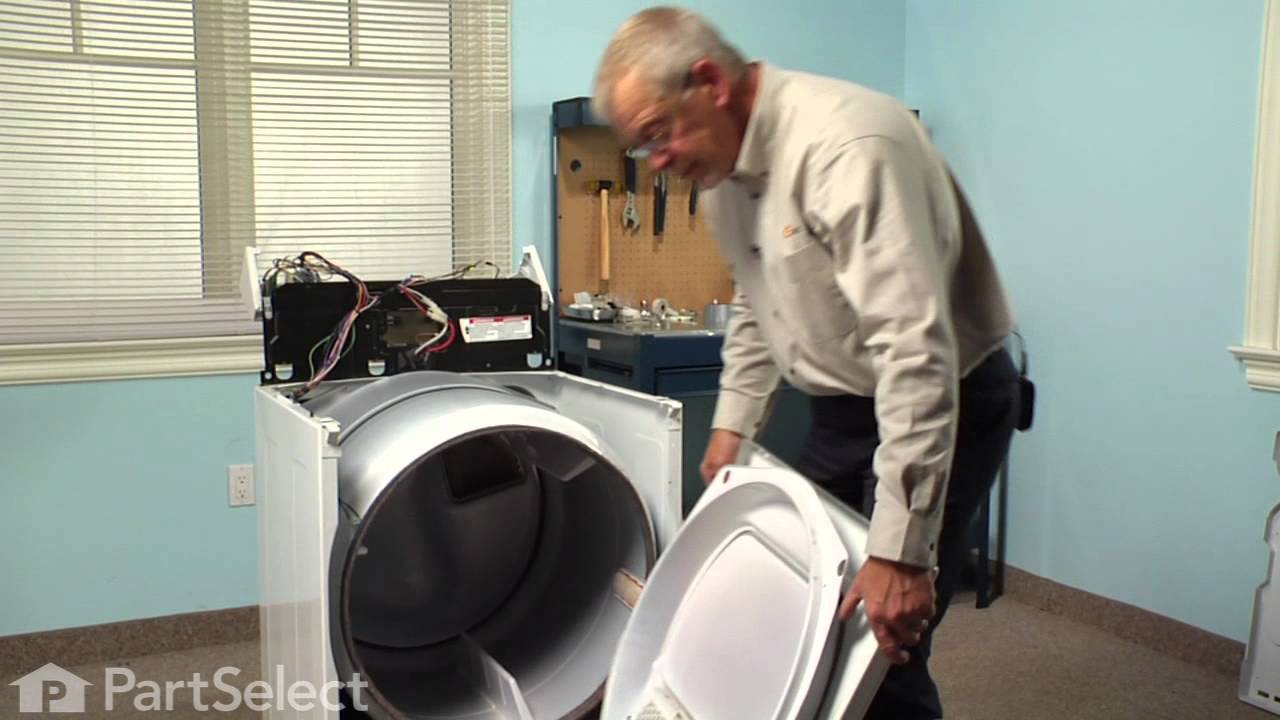
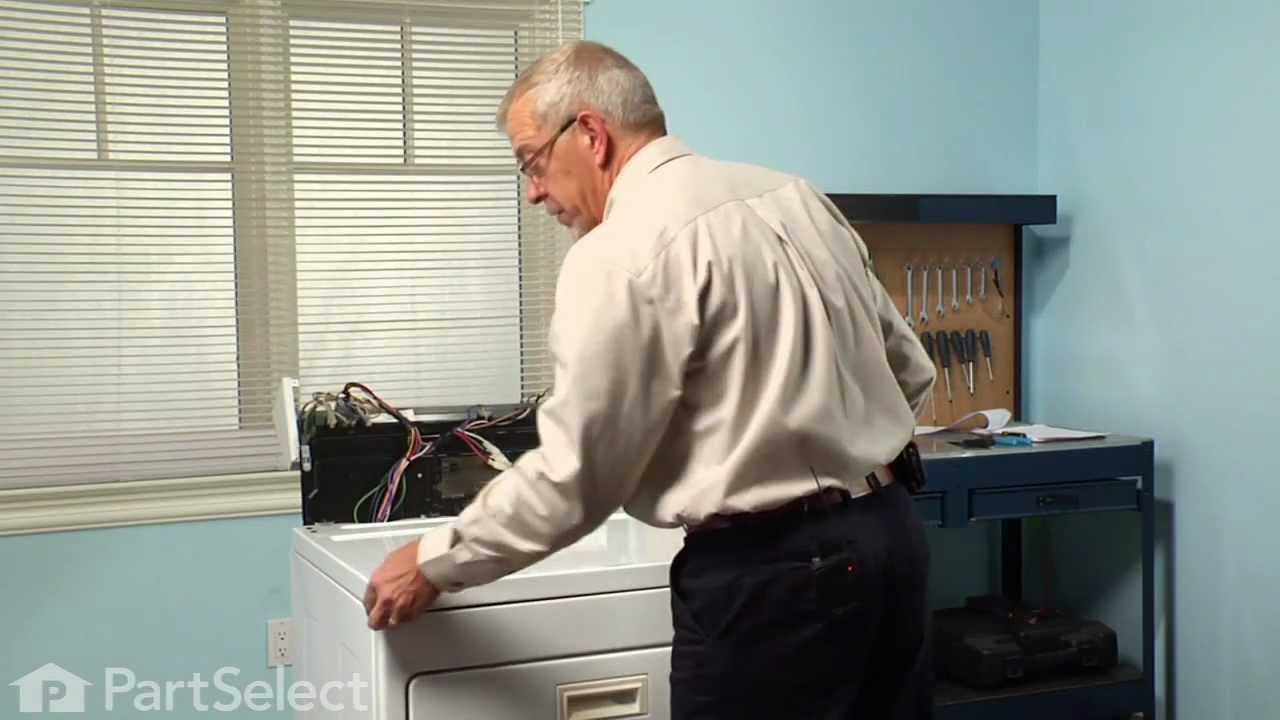
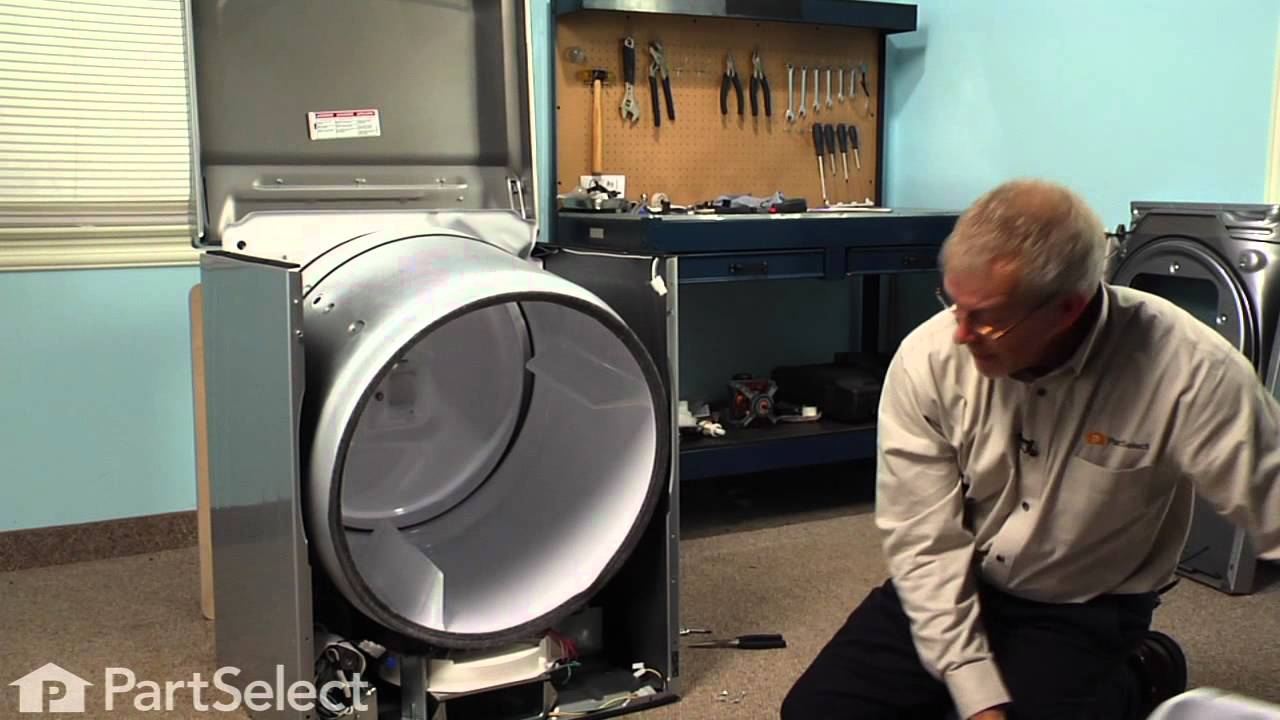
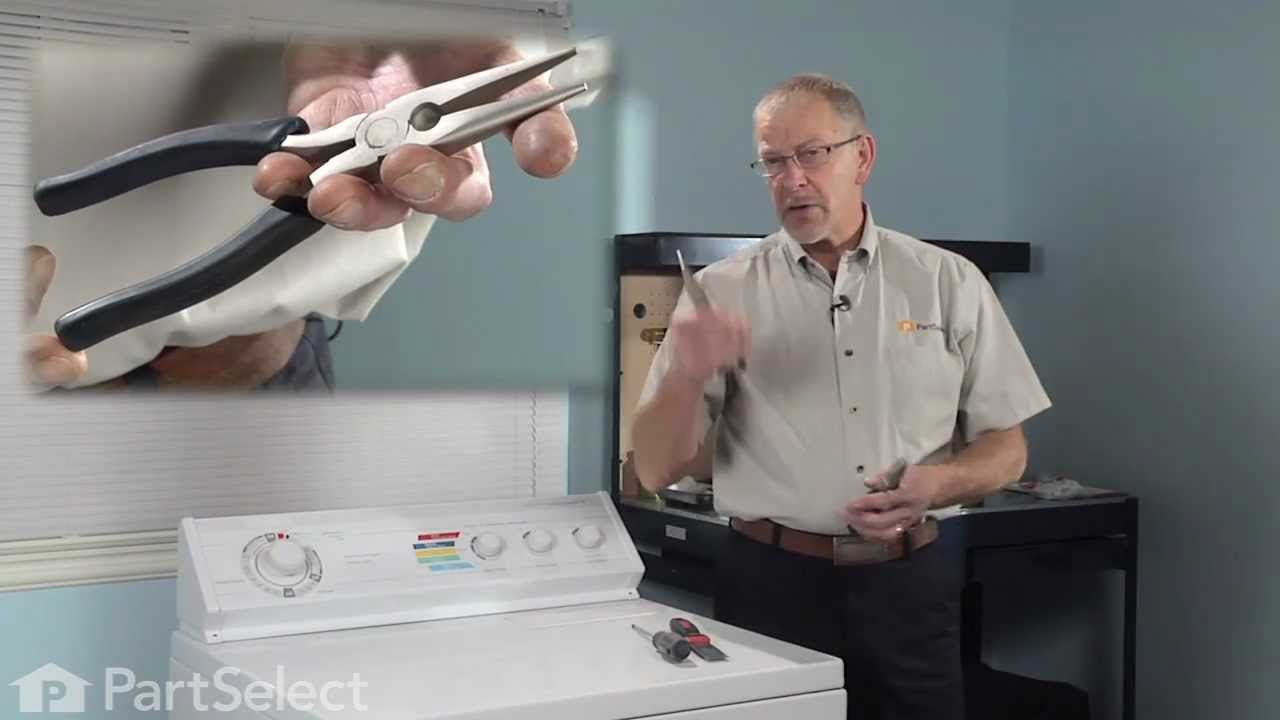
This Idler Pulley includes the tri-ring and gasket and everything included here is manufacturer-certified. This part maintains correct tension on the drive belt in order to spin the drum properly. If damaged or broken the dryer will not dry properly, will not tumble properly, or may not even start. Installation is rated as "Medium" diffic...Read moreulty. This part is located on the dryer drum, around the tension pulley. Refer to your user manual and model number for repair instructions and to ensure this part is right for you. For this repair project, the tools needed are a Phillips screwdriver, 1/4 inch nut driver, putty knife, small flat blade screw driver, and needle nose pliers.
This genuine OEM dryer drum support roller is designed to hold the drum in place while allowing it to rotate smoothly and quietly during operation. Built for durability and reliable performance, it helps reduce noise and ensures consistent tumbling. Ideal for replacing worn or damaged rollers, it resolves issues such as squeaking, rumblin...Read moreg, or poor drum movement, helping restore efficient and dependable dryer operation.
This dryer lint filter is designed to capture lint and debris during the drying cycle, helping maintain airflow and prevent potential fire hazards. Measuring approximately 12.5 inches wide by 10.5 inches deep, it fits securely into the designated slot within compatible dryer models. Regular inspection and replacement of the filter are ess...Read moreential for optimal performance. Installation is tool-free—simply remove the old filter and insert the new one. During replacement, it's recommended to check the filter slot for any accumulated lint, which should be cleared to ensure safe and efficient operation.
The Drive Belt is a 93 1/2" belt which wraps around the dryer drum to allow tension and movement. If broken the dryer will not turn properly, or there may be loud noises. The part is rated as "medium" difficulty to install. Refer to your model number and user manual to ensure this part is correct for you. To complete this repair you will ...Read moreneed a Phillips screwdriver, 1/4 inch nut driver, a putty knife, and a pair of needle nose pliers. Ensure you disconnect your power to the dryer before beginning this repair, which should take between 30 and 60 minutes maximum to complete.
This thermostat may differ in appearance, but functions the same as the original part. This part controls the temperature of the inside of the dryer drum and prevents the dryer from overheating.
This gas dryer ignition coil set comes with two ignition coils: one three-terminal boost/hold coil, and one two terminal secondary coil. Usually only one of them burns out but you should replace them as a set. Both have to be operational for the gas valve to open.
This is the moisture sensor for your dryer. It helps detect the amount of moisture in your clothes during the dryer cycle. If you notice your clothes are still wet after an automatic dryer cycle is done, you may need to replace the sensor. You will find the moisture sensor behind the lint screen. Be sure to disconnect the power source fro...Read morem the dryer before you begin this repair. Note: Some model's require two sensors, please order quantity needed. Sensor only, harness is not included. This part is sold individually.
If you notice that your dryer is noisy or will not tumble, you may need to replace the tri ring. This part is triangular, and is less than an inch in size. Tri rings can be found both on the idler pulley shaft, or on the rear drum roller shaft. In either case, you will need to remove the front panel of the dryer and the drum to access the...Read more part for repair. Once you have accessed the damaged tri ring, you will simply need to slip it off and replace it with the new one. This part is sold individually. Be sure to disconnect the power source from the dryer before you begin this repair.
This 18 ml bottle of white appliance touch-up paint is used to cover scratches or marks on your appliance. The white touch-up paint can be used on refrigerators, microwaves, ranges, clothes dryers, and freezers. This is a genuine OEM part and includes a brush applicator. Please remember to wear gloves to protect your hands when applying this paint.
Ask our experts a question about this model and we'll get back to you as soon as possible!
We may have answered a similar question already! Search questions and answers left by others using simple keywords like "fit", "broken", "easy", or "quality" to find questions that match.
Search filter:
Clear Filter
Your search term must have 3 or more characters.
Sort by:
Prev
1
Next
Sorry, we couldn't find any existing answers that matched.Try using some different or simpler keywords, or submit your new question by using the "Ask a Question" button above!
JAMES - For model number 11097872601
March 17, 2023
drier does not ignite
Hello James, thank you for reaching out. Based on our understanding of the issue, we would suggest that you check the gas valve ignition solenoid. The gas valve solenoids open the gas valve ports to allow gas to flow into the burner assembly. If a gas valve solenoid fails, the dryer won’t heat. Check the igniter to determine if one or more of the gas valve solenoids have failed. If the igniter glows and goes out but does not ignite the gas, the gas valve solenoid is defective. If one or more of the gas valve coils are defective, we recommend that you replace the gas valve solenoid, part number PS334310. If the gas valve solenoids are good, you need to check the igniter kit. If the igniter is not working, the gas will not ignite, preventing the dryer from heating. To determine if the igniter has burned out, use a multimeter to test the igniter for continuity. If the igniter does not have continuity, change the igniter kit, part number PS334180. If these do not solve the issue, we recommend that you replace the dryer flame sensor, part number PS11741429. We hope this helps, good luck with this repair!
Hello John, thank you for reaching out. Your model comes with the door latch kit, part number PS334230, which keeps the dryer door closed. The kit includes 2 door strikes and 3 door latches. We would recommend replacing it to solve the problem. We hope this helps!
See how others fixed this model. Time, tools, difficulty, and steps that lead to victory!View More
Search repair tips from other customers using simple keywords like "replace", "fit", "remove", "inspect". DIY doesn't mean you have to do it alone!
Search filter:
Clear Filter
Your search term must have 3 or more characters.
Door Catch part had fallen out,/ was missing
676 of 740 peoplefound this instruction helpful.
Terri from Saint Augustine, FL
Really Easy
Less than 15 mins
Received your parts, Popped them both right into place, Even though only one side needed to be replaced, I wanted them to match up. It was amazing how easy this was. My husband was quite impressed I had ordered these rather then look for either a new or used dryer from some other source.
Was this helpful?
Thank you for voting!
Dryer ran but would not heat
422 of 482 peoplefound this instruction helpful.
Gary from Haverhill, NH
Easy
30 - 60 mins
Nutdriver, Screw drivers, Socket set
PartSelect showed seven different possibilities why the dryer wouldn't heat. I removed the two screws to remove the bottom panel and turned the dryer on and noticed that the heating element that ignites the gas was working fine. This meant that it was not getting gas so it could be the gas valve or one of the two gas valve coils which are
... Read more located on top of the gas valve. I borrowed my neighbor"s ohm meter and touched the two probes on the coils terminals to check for continuity and found that one of the coils read zero. I then took both of the coils out by removing two screws and tested each coil again. One coil read 500-850 and the other read zero. This meant that it was no good so I called for the part and received it in three days. I reassembled the parts and turned the dryer on and it fired up after a few seconds. It works as good as new. The part plus shipping was less than $30. My repairman would have charged me $150-$200. While the dryer was apart I gave it a good cleaning with a vacuum and a toothbrush in delicate areas. I also removed and cleaned the lint trap housing by removing two nuts. I didn't know much about gas dryers, but thanks to PartSelect I easily fixed it myself.
Read less
Was this helpful?
Thank you for voting!
Dryer flame goes out after about 8-minutes from start and won’t work again until a 15-minute rest.
220 of 248 peoplefound this instruction helpful.
andy from Bethesda, MD
Easy
30 - 60 mins
Screw drivers
There was no problem with lint build-up within the dryer & the exhaust vent. I removed the gas cycling thermostat & thermal fuse from system & dryer still was not operating correctly. The radiant sensor & hi-limit thermostat both seemed to be operating correctly. That left either of the two coils as the culprits. I replaced both coils
... Read more& the problem was corrected.



 My Orders