


 My Orders


110961 Kenmore Dryer - Overview
Models starting with 110961
Click on the best match to narrow your results.
Enter a part description. DIY Heroes keep it simple, eg. "belt" or "pump".
Search filter:
Clear Filter
Your search term must have 3 or more characters.

$25.19
In Stock
Dryer Thermal Fuse
Part #WP3392519
This part is a one-time use thermal fuse which attaches to the blower wheel housing of your clothes dryer. It cannot be re-set and must be replaced when there is no longer continuity between the pins. Terminal size is 3/16".

$21.14
In Stock
Multi Rib Belt - 92-1/4"
Part #341241
This dryer drum belt has four ridges, three grooves and is 1/4" wide.

$10.58
In Stock
Door Catch Kit
Part #279570
This kit contains two door strikes, and three door catches to service dryer doors that have one or two catches.

$34.29
In Stock
Idler Pulley
Part #279640
This Idler Pulley includes the tri-ring and gasket and everything included here is manufacturer-certified. This part maintains correct tension on the drive belt in order to spin the drum properly. If damaged or broken the dryer will not dry properly, will not tumble properly, or may not even start. Installation is rated as "Medium" diffic...Read moreulty. This part is located on the dryer drum, around the tension pulley. Refer to your user manual and model number for repair instructions and to ensure this part is right for you. For this repair project, the tools needed are a Phillips screwdriver, 1/4 inch nut driver, putty knife, small flat blade screw driver, and needle nose pliers.
Read less

$85.75
In Stock
Dryer Heating Element
Part #WP3387747
When connected to electricity the dryer heating element glows red hot and generates heat. When air is blown over it, it heats the air which is used to dry the clothes. The heating element fits inside the heater housing inside the dryer. Wear and tear on the heater coil from use will eventually cause the coil to break and the element to fa...Read moreil. When this part fails it can cease to produce any heat. Alternately, the coil could break and short to ground allowing the dryer to continue to heat even when turned off. The latter is a fire hazard and the dryer should be disconnected from power until the element is replaced. If the element coil breaks, the element needs to be replaced. This model is 11 by 5 inches with 5/16” terminals, metal and ceramic, and comes in black. It is sold individually.
Read less

$28.21
In Stock
Dryer Drum Support Roller
Part #WPW10314173
This genuine OEM dryer drum support roller is designed to hold the drum in place while allowing it to rotate smoothly and quietly during operation. Built for durability and reliable performance, it helps reduce noise and ensures consistent tumbling. Ideal for replacing worn or damaged rollers, it resolves issues such as squeaking, rumblin...Read moreg, or poor drum movement, helping restore efficient and dependable dryer operation.
Read less

$62.65
In Stock
Lint Filter
Part #W10120998
This dryer lint filter is designed to capture lint and debris during the drying cycle, helping maintain airflow and prevent potential fire hazards. Measuring approximately 12.5 inches wide by 10.5 inches deep, it fits securely into the designated slot within compatible dryer models. Regular inspection and replacement of the filter are ess...Read moreential for optimal performance. Installation is tool-free—simply remove the old filter and insert the new one. During replacement, it's recommended to check the filter slot for any accumulated lint, which should be cleared to ensure safe and efficient operation.
Read less

$34.28
In Stock
Multi Rib Belt
Part #661570
The Drive Belt is a 93 1/2" belt which wraps around the dryer drum to allow tension and movement. If broken the dryer will not turn properly, or there may be loud noises. The part is rated as "medium" difficulty to install. Refer to your model number and user manual to ensure this part is correct for you. To complete this repair you will ...Read moreneed a Phillips screwdriver, 1/4 inch nut driver, a putty knife, and a pair of needle nose pliers. Ensure you disconnect your power to the dryer before beginning this repair, which should take between 30 and 60 minutes maximum to complete.
Read less

$45.05
In Stock
Dryer Thermostat Internal bias
Part #WP8577274
This thermostat may differ in appearance, but functions the same as the original part. This part controls the temperature of the inside of the dryer drum and prevents the dryer from overheating.

$29.23
In Stock
Rear Drum Support Roller Kit
Part #349241T
This dryer drum roller kit is designed to restore smooth and quiet operation in a wide range of dryer models. It includes two drum rollers, four tri-rings, and one to two retaining washers, providing all necessary components for a complete replacement. The rollers support the drum as it rotates, and worn or damaged rollers can cause exces...Read moresive noise, poor tumbling performance, or even leave marks on clothing. Replacing these components can resolve issues such as rumbling, squealing, or grinding sounds during operation. Compatible with many units from Whirlpool, Kenmore, Sears, and other brands, this kit offers a reliable solution for maintaining optimal dryer performance.
Read less

$10.95
In Stock

$41.14
In Stock
Idler Pulley with Bracket
Part #W10837240
This idler pulley assembly includes the pulley and bracket, ensuring proper tension on the dryer drive belt for smooth drum rotation. Compatible with several Whirlpool, KitchenAid, Maytag, Jenn-Air, Amana, Inglis, and Magic Chef dryers, this OEM part is ideal for replacing damaged components. Disconnect power before installation.
Exact Part matches for your search term

No Longer Available
Common Symptoms of models starting with 110961
How this model fails, and the parts that fix it.
Noisy
Fixed by
these parts
these parts


Show All
Not Heating
Fixed by
these parts
these parts


Show All
Drum Not Spinning
Fixed by
these parts
these parts


Show All
Door won’t close
Fixed by
these parts
these parts


Show All
Won’t Start
Fixed by
these parts
these parts

Show All
Too hot
Fixed by
these parts
these parts

Show All
Marks left on clothes
Fixed by
these parts
these parts


Show All
Door Pops Open
Fixed by
these parts
these parts
Show All
Will Not Start
Fixed by
these parts
these parts

Show All
Touchpad does not respond
Fixed by
these parts
these parts
Show All
Heat stays on after drum has stopped
Fixed by
these parts
these parts
Show All
Will not drain
Fixed by
these parts
these parts
Show All
Will not agitate
Fixed by
these parts
these parts

Show All
Lid or door won’t close
Fixed by
these parts
these parts
Show All
Burning smell
Fixed by
these parts
these parts
Show All
Timer Not Working
Fixed by
these parts
these parts
Show All
Running With Door Open
Fixed by
these parts
these parts
Show All
Spins slowly
Fixed by
these parts
these parts
Show All
Watch our pros, then fix it yourself.


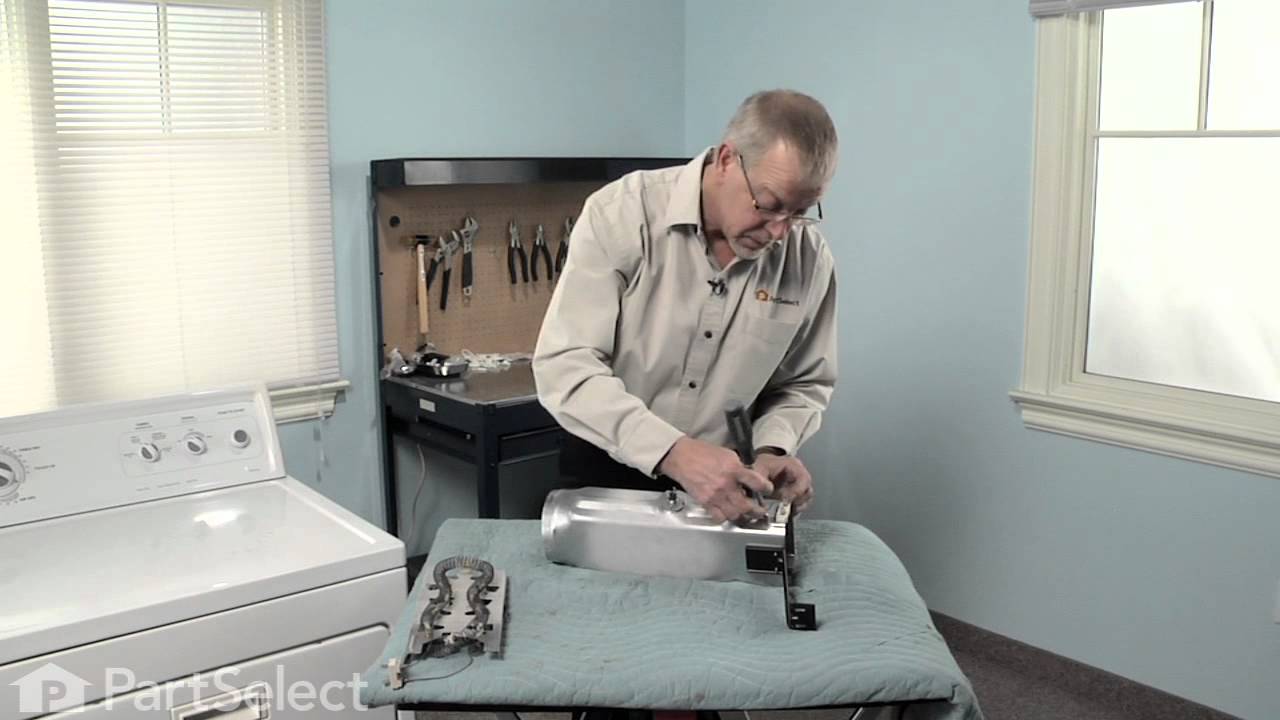
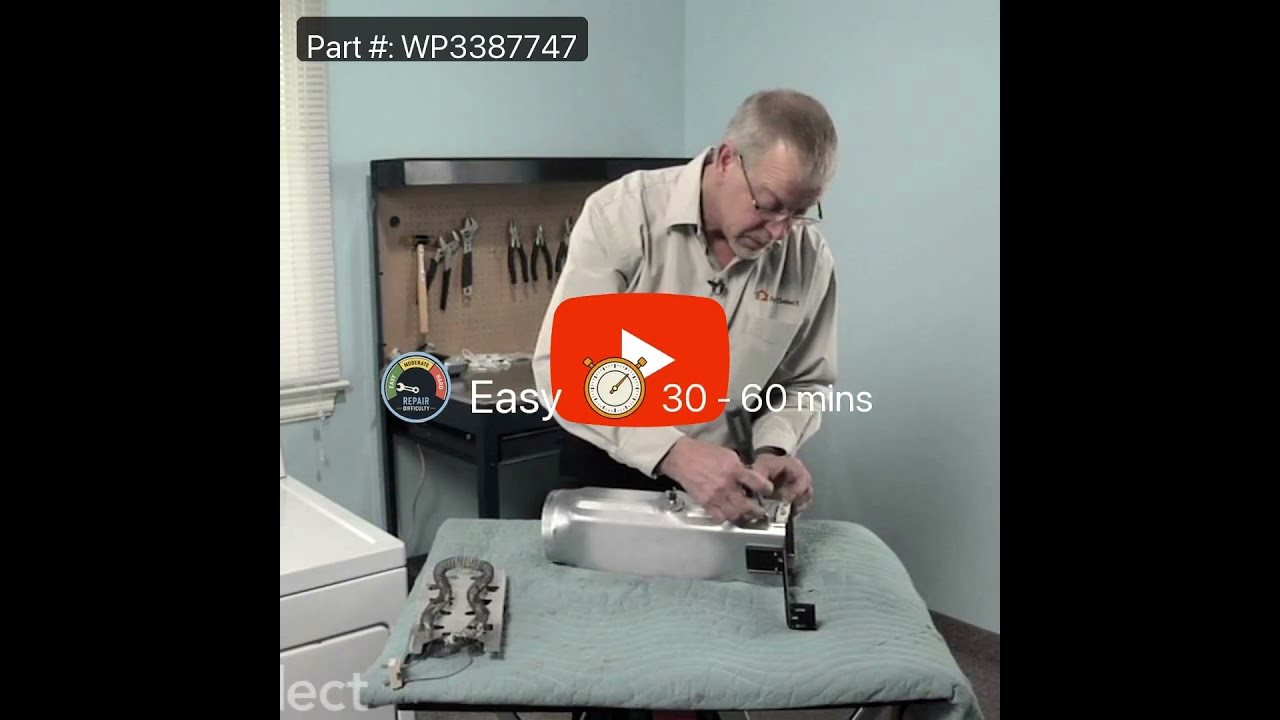
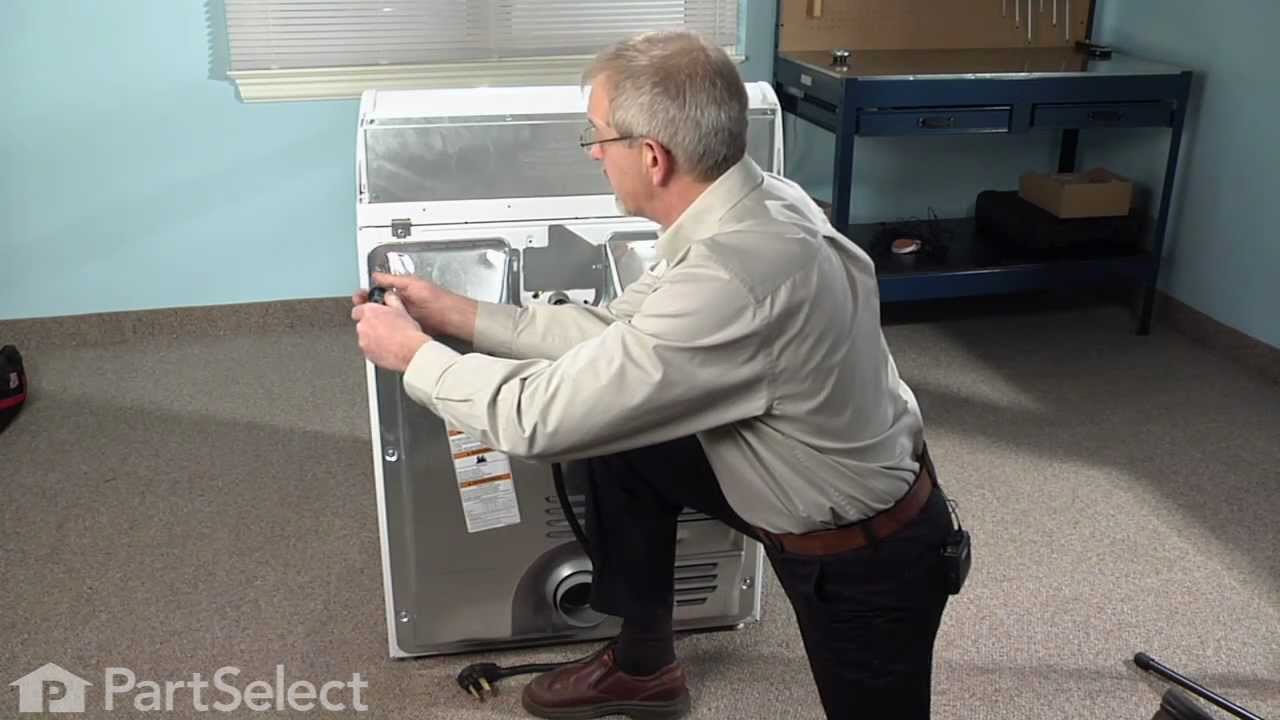
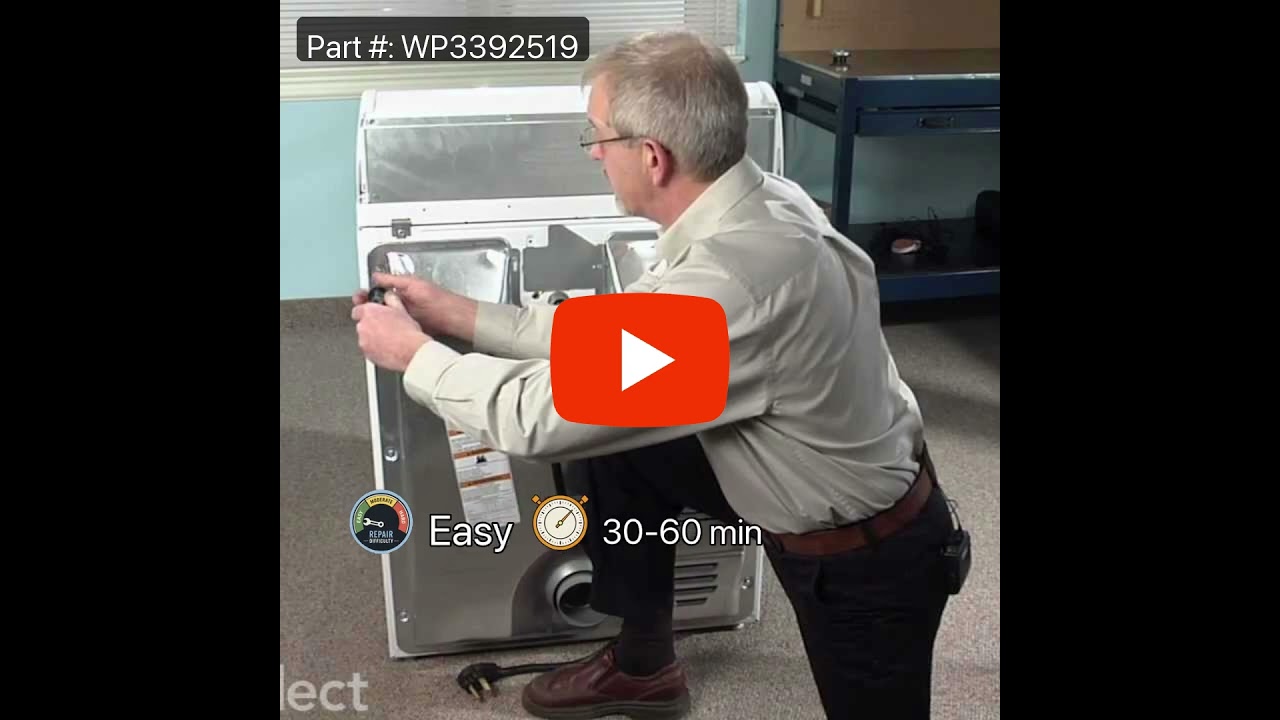
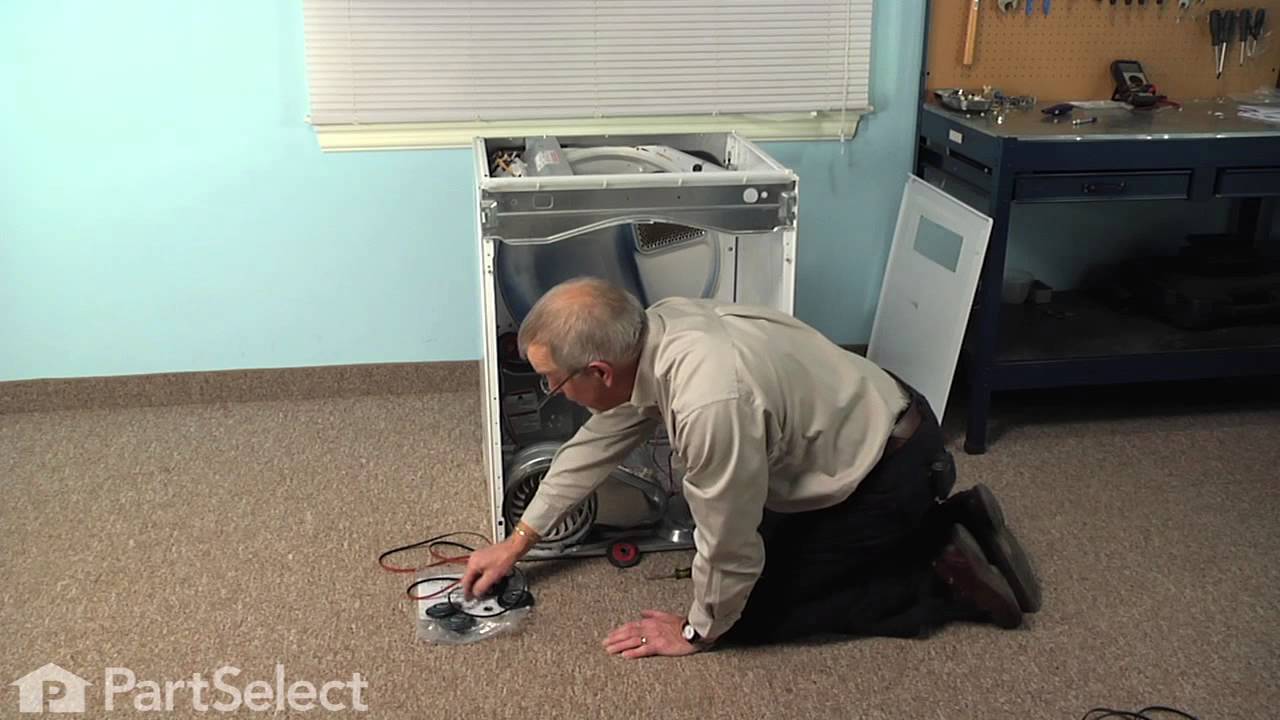
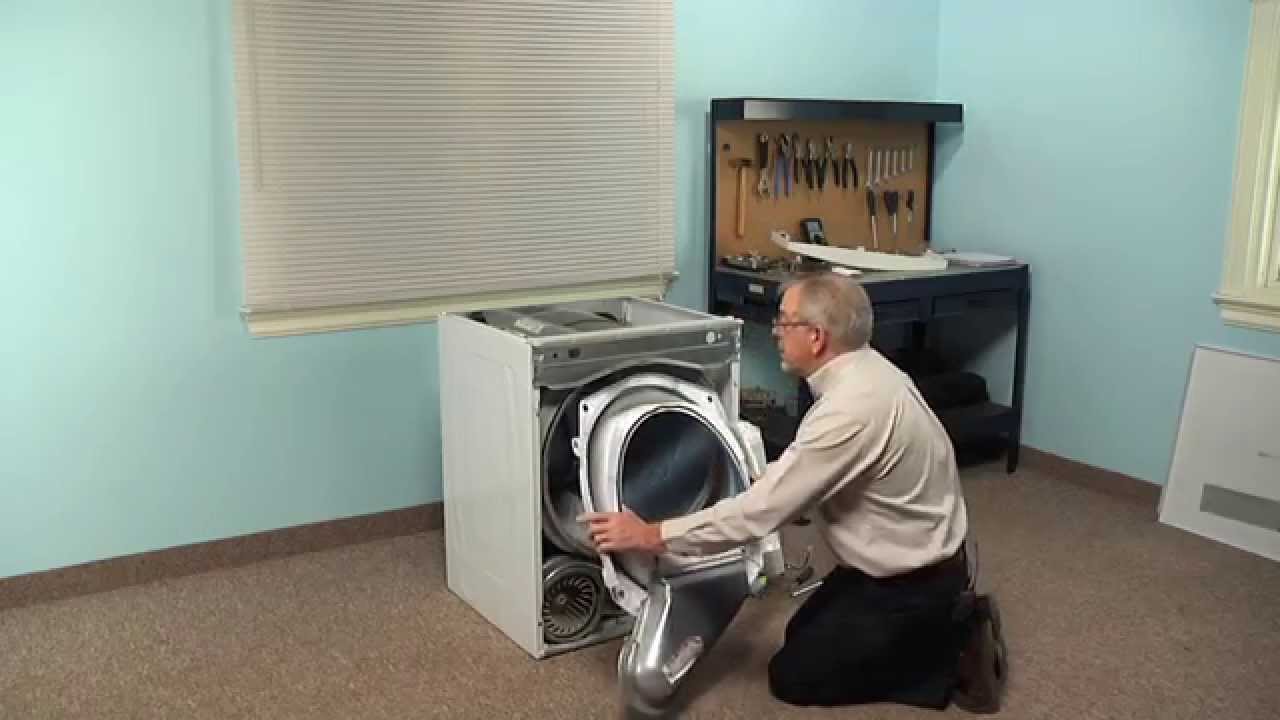
See how others fixed this model. Time, tools, difficulty, and steps that lead to victory!
View More
Search repair tips from other customers using simple keywords like "replace", "fit", "remove", "inspect". DIY doesn't mean you have to do it alone!
Search filter:
Clear Filter
Your search term must have 3 or more characters.
Dryer tub belt broke
1370 of 1493 people
found this instruction helpful.
Removed the two screws that attatch the lent channel to the top of the dryer, then lifted the top of the dryer by pushing in on the two locking tabs located at the front , left and right , corners of the dryer top with a small flat head screw driver. The top of the dryer will fold back out of the way. At this point I removed the two 1/4 i
... Read more
nch screws that are located on the inside of the dryer front left and right corners that hold the front panel/door to the two side panels. Now I was able to lift the front panel up and set it to the side. The bottom of the front panel that contains the dryer door that I just removed was held on the bottom by two clips that slide into slots on the front panel and did not require any removal to disconnect the bottom of the front panel, just pull up on the front panel. Since the tub was held in place by floating on a seal at the back of the dryer and a seal on the front panel , which I just removed the tub is now free floating except for the two alignment roller wheels at the bottom of the tub. It is easier if you lay the dryer on its back at this point with front of the tub pointing up. I pulled the tub out and cleaned the years of built up lent and removed all the pieces of the old , destroyed, belt. Note, the belt tentioner is located at the front of the motor which on the bottom right hand side. If your belt is broke like mine the tensioner may/will fall to the back of the dryer when you tilt it back, but do not worry. Once the dryer was cleaned up I put the tub back in place , still on its back and made sure the two alignment rollers were in place and rolled freely when the tub was turned by hand. Another note, my original belt tensioner did not have a rolling wheel that the belt rode on , but was a semi-circle smooth surface that the belt remained in constant friction with when the dyer was running, so I made sure the replacement tensioner I ordered with my new belt did have a rolling wheel that the belt would ride on, which I believe will reduce wear and extend the belt life. The new belt came with a diagram of the belt and tensioner routing which was helpful. Note: do not take the tensioner wheel off/apart when trying to route the belt. Follow the instructions routing diagram. The tensioner is held in palce by inserting the bottom back half into the slot in the bottom floor of the dryer making sure it is aligned with the belt pully on the shaft of the dryer motor. The dryer is still on its back side. Now, it was easier for me to route the belt around the center of the tub, following the marks from the original belt, and hold in in place in a few spots with masking tape and then route it thru the tensioner and onto the front pully of the motor. Make sure you have the grooves of the belt against the tub and the grooves are aligned with the pully on the motor. Now you can remove the masking tape that was holding the belt around the tub and spin the tub by hand watching the belt making sure it is not in a bind and is traveling around the motor pully , tensioner and tub freely. Make sure the tub is still sealed on the back side wall. As you turn the tub by hand you can adjust the belt by hand so that is following the original marks around the tub left by the orignal belt. Also double check the two alingment rollers and make sure they are spinning and on track. Now put the front panel with the door on by sliding it onto the two clips that are one the bottom at each side and put the two screws in that hold the front panel to the two side panels. Now stand the dryer back up and spin the tub by hand again making sure it has a good seal on the back side and on the front panel. Pull the top back down and put the two screws in that hold the lent channle to the top. I am not sure when the belt started failing on my dryer, but was amazed at how quiet it runs now. Guess I was use to the extra noise made by a dryer that was about to die. This was a cheap and easy repair and glad I did it myself.
Read less
Other Parts Used:


Was this helpful?
Thank you for voting!