


 My Orders


11088752796 Kenmore Washer Dryer Combo - Overview
Diagrams for 11088752796
See every part. Know exactly what you need.
-
Brake And Drive Tube Parts

-
Brake, Clutch, Gearcase, Motor And Pump Parts

-
Dryer Bulkhead Parts

-
Dryer Cabinet And Motor Parts

-
Dryer Front Panel And Door Parts

-
Dryer Support And Washer Parts

-
Gearcase Parts

-
Machine Base Parts

-
Miscellaneous Parts, Optional Parts

-
Product Accessory Parts

-
Tub And Basket Parts

-
Washer Cabinet Parts

-
Washer Top And Lid Parts

-
Washer/dryer Control Panel Parts

-
Water System Parts

Enter a part description. DIY Heroes keep it simple, eg. "belt" or "pump".
Search filter:
Clear Filter
Your search term must have 3 or more characters.

$27.20
In Stock
Direct Drive Motor Coupling
Part #285753A
This direct drive motor coupling (Direct Drive Washer Motor Coupling, Motor Coupling, Washer Motor Coupling, Coupling Kit) provides a cushioned connection between the transmission and the motor shaft. It attaches to the direct-drive transmission and the motor shaft. If this part is defective it will affect the agitator in your washer beca...Read moreuse of its direct connection with the motor. Your washer may not agitate, spin slowly, or not spin at all. The coupling must be replaced when there is no longer a consistent connection between the transmission and the motor shaft. The coupling can wear over time because of its location between two major parts of the dryer. It is subject to material fatigue over time from normal use, or breakage caused by frequent overloading. The part measures approximately 2 inches in diameter, and is constructed of plastic and metal. This model comes in black/white.
Read less

$10.58
In Stock
Door Catch Kit
Part #279570
This kit contains two door strikes, and three door catches to service dryer doors that have one or two catches.

$52.75
In Stock
Washer Clutch Assembly
Part #285785
A worn clutch can cause a slower spin speed which will leave your clothes wet after a cycle. This clutch assembly comes with brake cam driver, blue spring for large capacity washers and black spring for compact washers. As per factory, the blue spring (1.24") replaces the black spring (1.46").

$29.23
In Stock
Rear Drum Support Roller Kit
Part #349241T
This dryer drum roller kit is designed to restore smooth and quiet operation in a wide range of dryer models. It includes two drum rollers, four tri-rings, and one to two retaining washers, providing all necessary components for a complete replacement. The rollers support the drum as it rotates, and worn or damaged rollers can cause exces...Read moresive noise, poor tumbling performance, or even leave marks on clothing. Replacing these components can resolve issues such as rumbling, squealing, or grinding sounds during operation. Compatible with many units from Whirlpool, Kenmore, Sears, and other brands, this kit offers a reliable solution for maintaining optimal dryer performance.
Read less

$18.70
In Stock
Roller Support Tri-Ring
Part #WPW10512946
If you notice that your dryer is noisy or will not tumble, you may need to replace the tri ring. This part is triangular, and is less than an inch in size. Tri rings can be found both on the idler pulley shaft, or on the rear drum roller shaft. In either case, you will need to remove the front panel of the dryer and the drum to access the...Read more part for repair. Once you have accessed the damaged tri ring, you will simply need to slip it off and replace it with the new one. This part is sold individually. Be sure to disconnect the power source from the dryer before you begin this repair.
Read less

No Longer Available
Touch-Up Paint - White
Part #72017
This 18 ml bottle of white appliance touch-up paint is used to cover scratches or marks on your appliance. The white touch-up paint can be used on refrigerators, microwaves, ranges, clothes dryers, and freezers. This is a genuine OEM part and includes a brush applicator. Please remember to wear gloves to protect your hands when applying this paint.

$77.53
In Stock
Dryer Lint Filter and Cover
Part #W10828351
This dryer lint filter and screen assembly is a genuine replacement part designed to trap lint and fibers during the drying cycle, helping to maintain airflow and prevent blockages in the vent system. Its kidney-shaped screen is constructed from durable steel and ABS plastic, housed within a cover that features four metal clips for secure...Read more installation. By capturing debris, it supports efficient drying times and reduces the risk of overheating or fire hazards. Compatible with various Whirlpool, Kenmore, and associated brand dryers, this OEM part replaces several previous versions and ensures a precise fit. Regular inspection and replacement of the lint filter are recommended to maintain optimal dryer performance.
Read less

$13.97
In Stock
Heating Element Connection Wire Kit
Part #279457
This kit is used for electric clothes dryers, and it comes with a yellow wire nut.

$38.45
In Stock
Push-To-Start Switch
Part #WP3977456
This is a genuine OEM part. The push-to-start switch is composed of metal and plastic components. Compatible with dryers, the Whirlpool switch powers the appliance after the button is pressed. With a screwdriver, this item is fitted between the bracket and console. The push-to-start switch is sold individually.

$14.95
In Stock

$10.95
In Stock

$15.95
In Stock
Common Symptoms of the 11088752796
How this model fails, and the parts that fix it.
Noisy
Fixed by
these parts
these parts


Show All
Will not agitate
Fixed by
these parts
these parts


Show All
Door won’t close
Fixed by
these parts
these parts


Show All
Spins slowly
Fixed by
these parts
these parts

Show All
Spinning Issues
Fixed by
these parts
these parts

Show All
Will not drain
Fixed by
these parts
these parts

Show All
Leaking
Fixed by
these parts
these parts


Show All
Burning smell
Fixed by
these parts
these parts

Show All
Door Pops Open
Fixed by
these parts
these parts
Show All
Will Not Start
Fixed by
these parts
these parts

Show All
Not Heating
Fixed by
these parts
these parts


Show All
Won’t Start
Fixed by
these parts
these parts


Show All
Drum Not Spinning
Fixed by
these parts
these parts
Show All
Marks left on clothes
Fixed by
these parts
these parts

Show All
Lid or door won’t close
Fixed by
these parts
these parts

Show All
Too hot
Fixed by
these parts
these parts
Show All
Draining Issues
Fixed by
these parts
these parts
Show All
Noisy and Marks Left on Clothes
Fixed by
these parts
these parts
Show All
Running With Door Open
Fixed by
these parts
these parts
Show All
Touchpad does not respond
Fixed by
these parts
these parts
Show All
Shaking and Moving
Fixed by
these parts
these parts
Show All
Watch our pros, then fix it yourself.
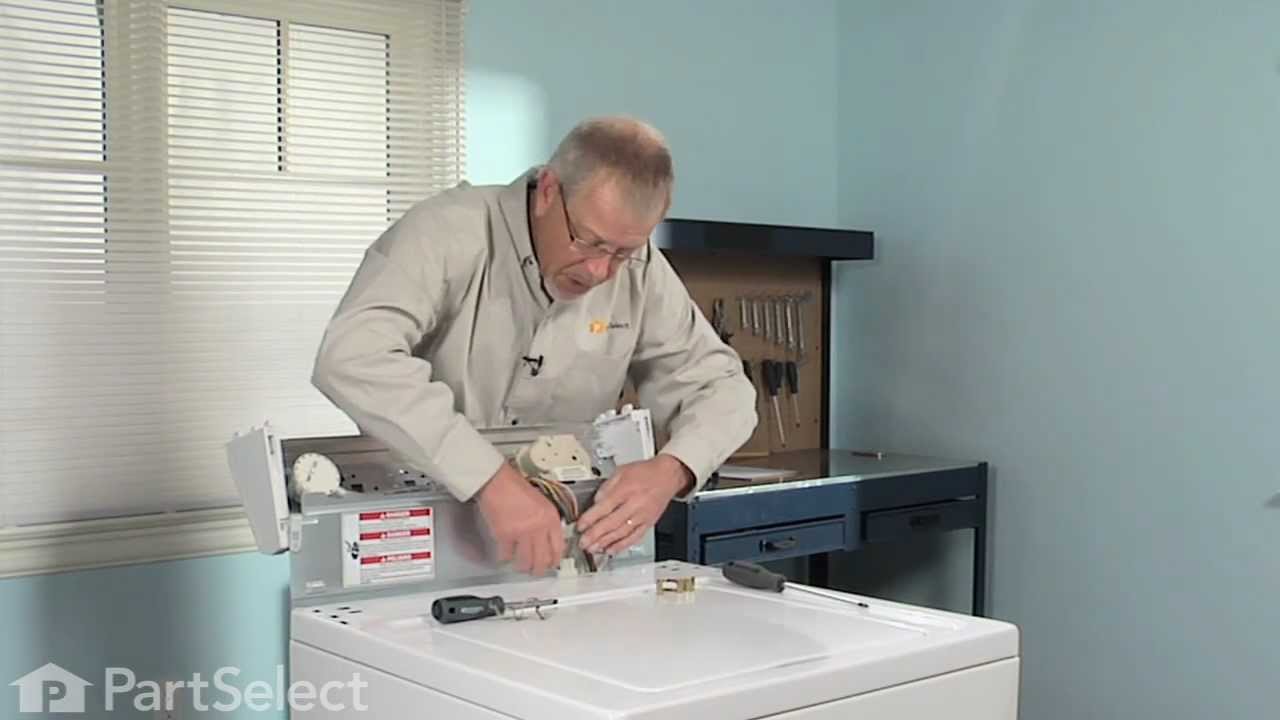
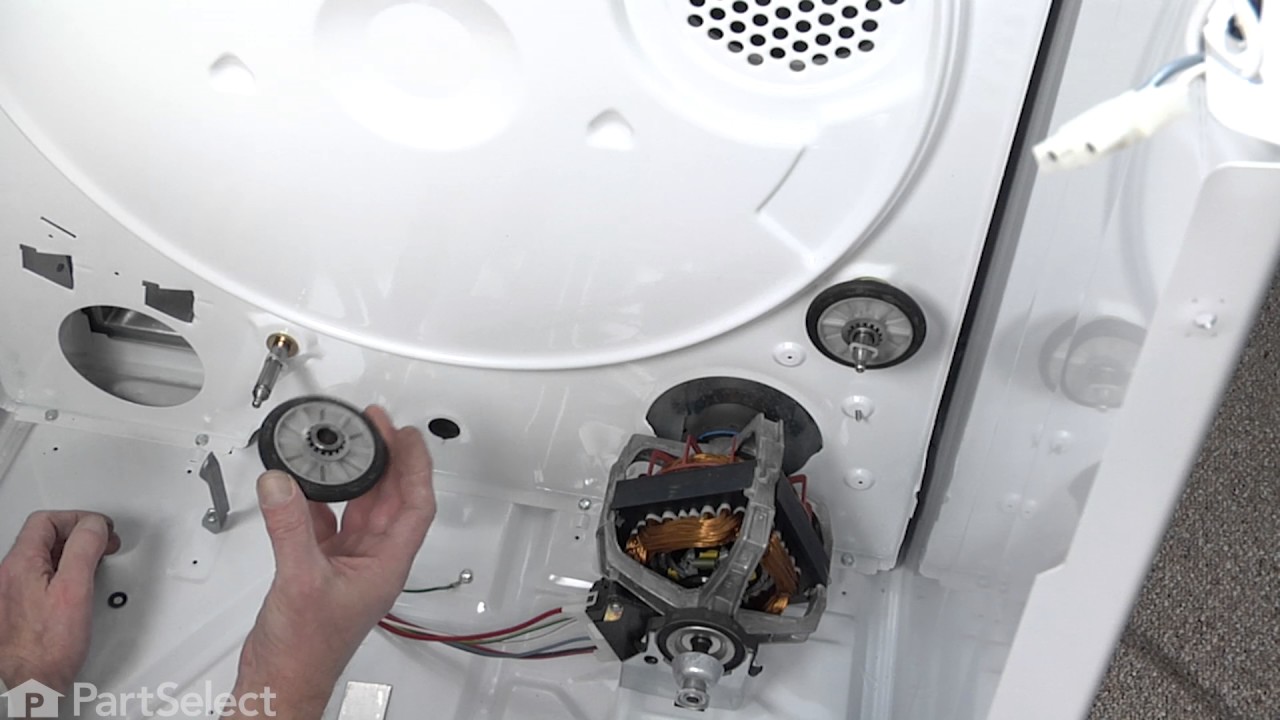
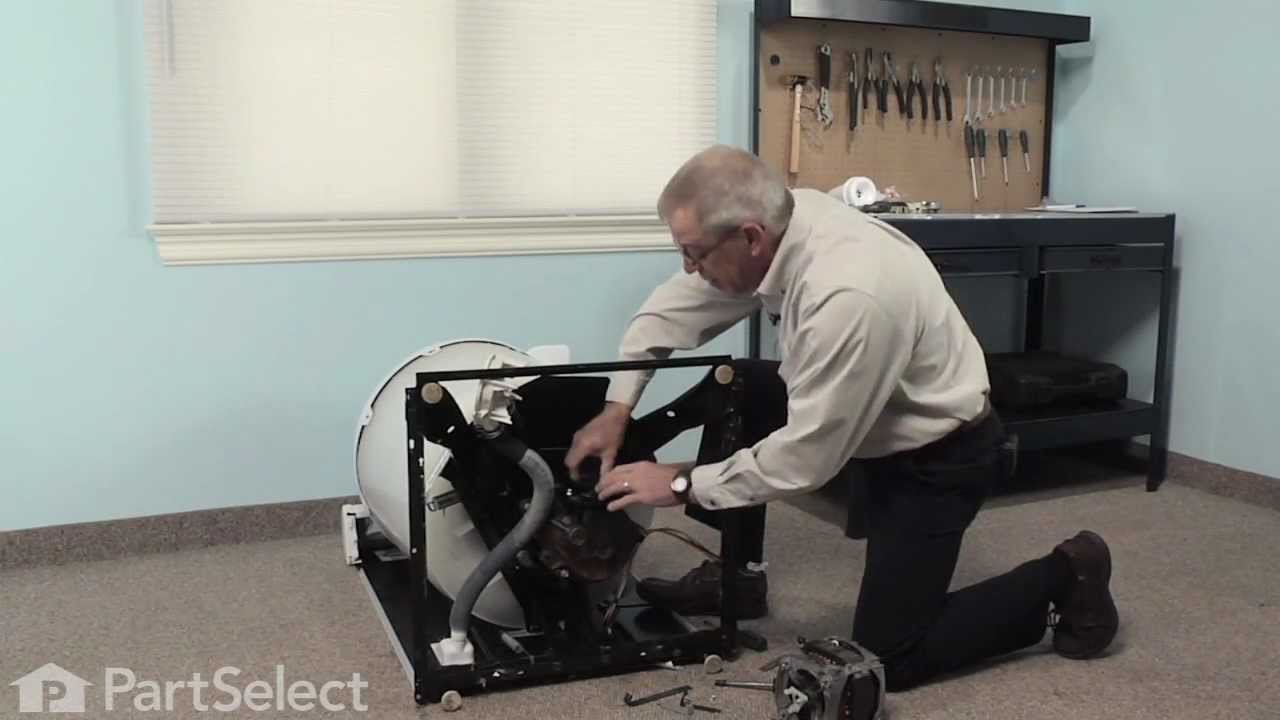
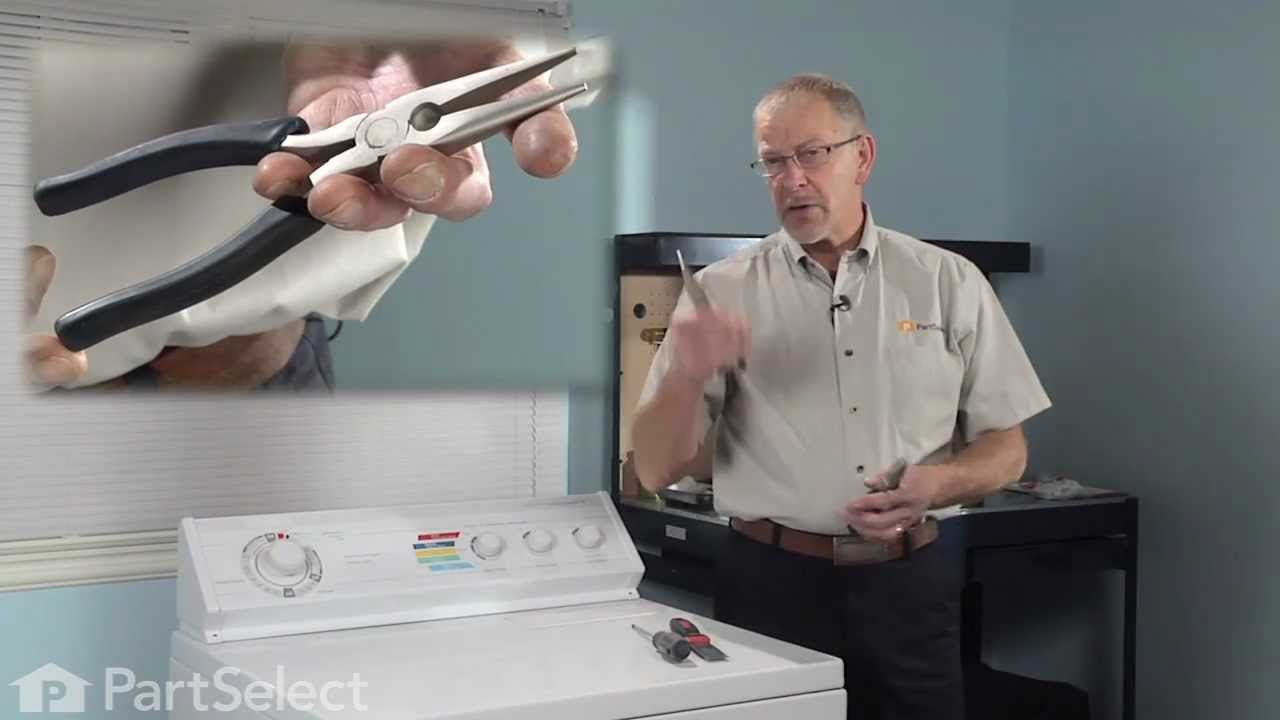
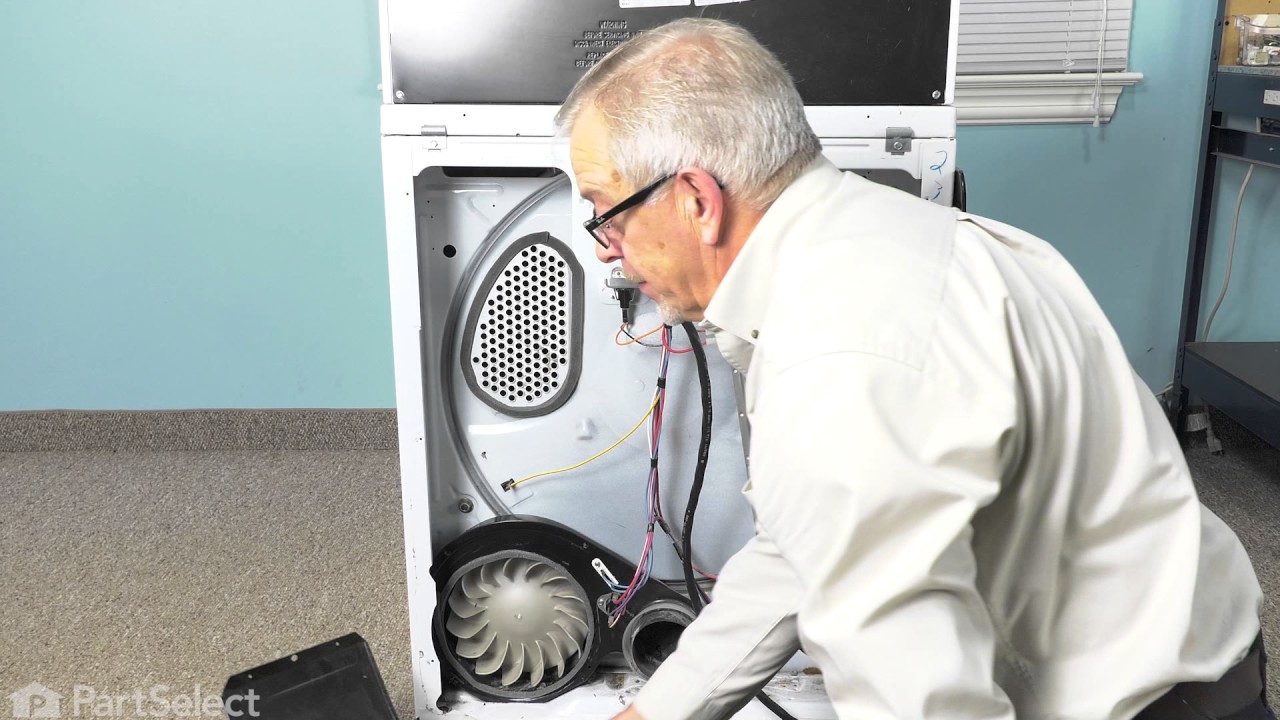
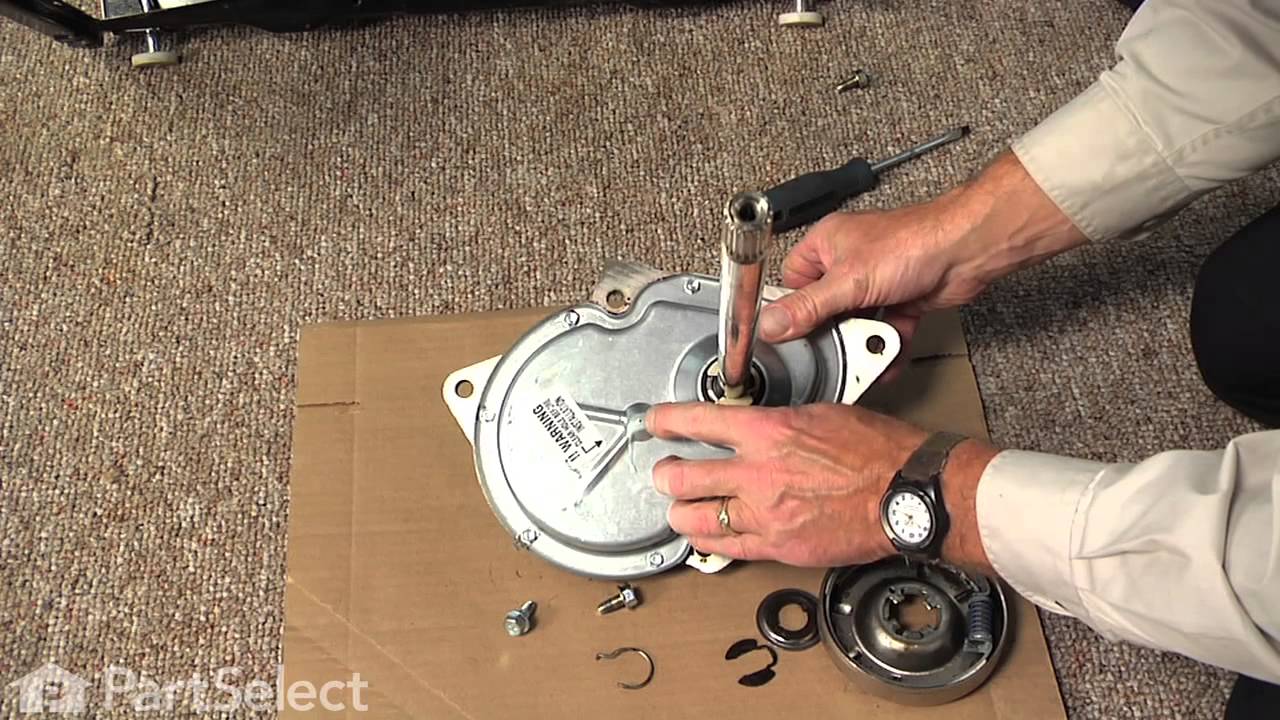
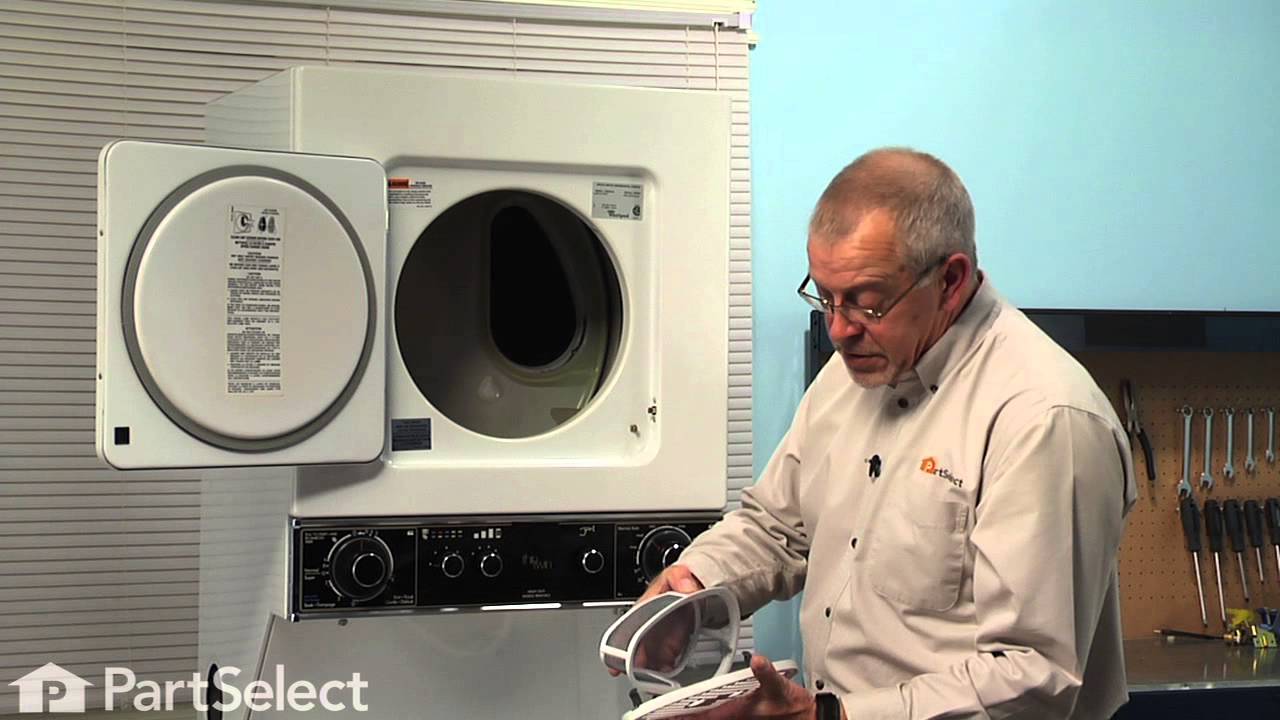
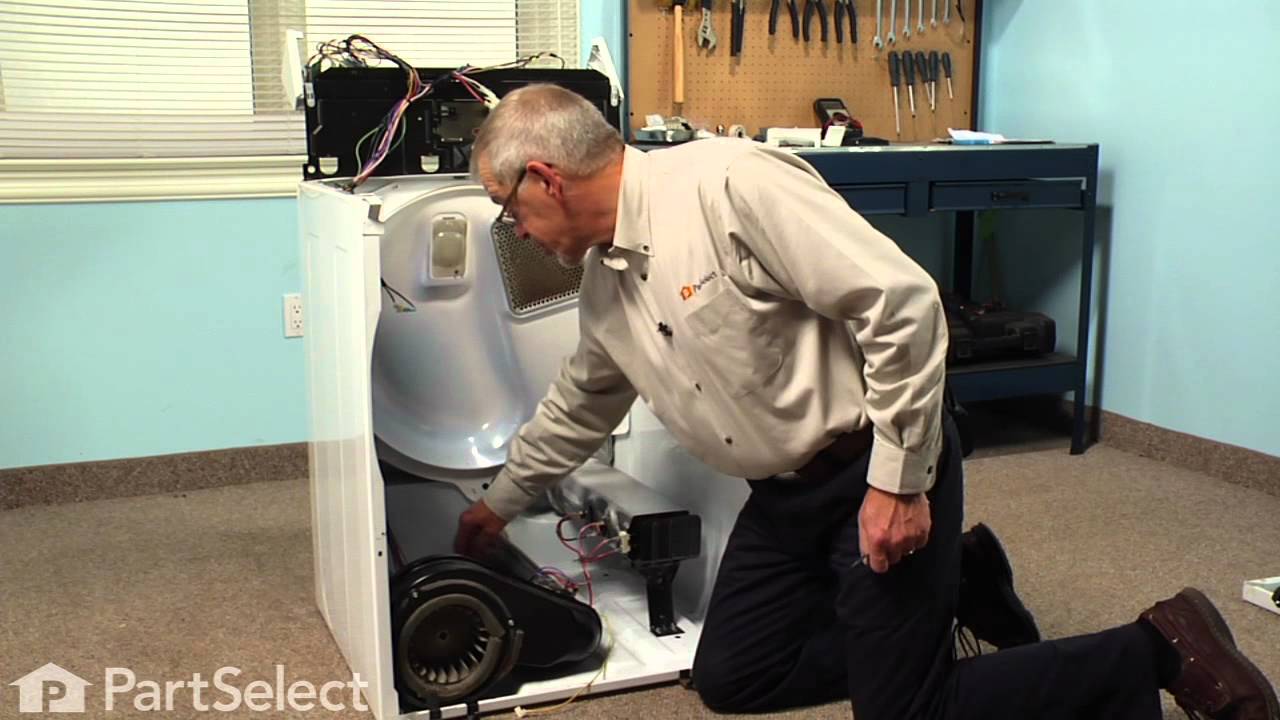
See how others fixed this model. Time, tools, difficulty, and steps that lead to victory!
View More