


 My Orders


11087842700 Kenmore Washer Dryer Combo - Overview
Diagrams for 11087842700
See every part. Know exactly what you need.
-
Agitator, Basket And Tub Parts

-
Brake And Drive Tube Parts

-
Brake, Clutch, Gearcase, Motor And Pump Parts

-
Dryer Bulkhead Parts

-
Dryer Cabinet And Motor Parts

-
Dryer Front Panel And Door Parts

-
Dryer Support And Washer Harness Parts

-
Gearcase Parts

-
Machine Base Parts

-
Miscellaneous Parts, Optional Parts

-
Washer Cabinet Parts

-
Washer Top And Lid Parts

-
Washer/dryer Control Panel Parts

-
Water System Parts

Enter a part description. DIY Heroes keep it simple, eg. "belt" or "pump".
Search filter:
Clear Filter
Your search term must have 3 or more characters.

$6.55
In Stock
Agitator Directional Cogs
Part #80040
These agitator directional cogs are commonly referred to as dog ears. They come four to a package and are usually used with direct drive washing machines.

$34.29
In Stock
Idler Pulley
Part #279640
This Idler Pulley includes the tri-ring and gasket and everything included here is manufacturer-certified. This part maintains correct tension on the drive belt in order to spin the drum properly. If damaged or broken the dryer will not dry properly, will not tumble properly, or may not even start. Installation is rated as "Medium" diffic...Read moreulty. This part is located on the dryer drum, around the tension pulley. Refer to your user manual and model number for repair instructions and to ensure this part is right for you. For this repair project, the tools needed are a Phillips screwdriver, 1/4 inch nut driver, putty knife, small flat blade screw driver, and needle nose pliers.
Read less

$34.28
In Stock
Multi Rib Belt
Part #661570
The Drive Belt is a 93 1/2" belt which wraps around the dryer drum to allow tension and movement. If broken the dryer will not turn properly, or there may be loud noises. The part is rated as "medium" difficulty to install. Refer to your model number and user manual to ensure this part is correct for you. To complete this repair you will ...Read moreneed a Phillips screwdriver, 1/4 inch nut driver, a putty knife, and a pair of needle nose pliers. Ensure you disconnect your power to the dryer before beginning this repair, which should take between 30 and 60 minutes maximum to complete.
Read less

$18.70
In Stock
Roller Support Tri-Ring
Part #WPW10512946
If you notice that your dryer is noisy or will not tumble, you may need to replace the tri ring. This part is triangular, and is less than an inch in size. Tri rings can be found both on the idler pulley shaft, or on the rear drum roller shaft. In either case, you will need to remove the front panel of the dryer and the drum to access the...Read more part for repair. Once you have accessed the damaged tri ring, you will simply need to slip it off and replace it with the new one. This part is sold individually. Be sure to disconnect the power source from the dryer before you begin this repair.
Read less

No Longer Available
Touch-Up Paint - White
Part #72017
This 18 ml bottle of white appliance touch-up paint is used to cover scratches or marks on your appliance. The white touch-up paint can be used on refrigerators, microwaves, ranges, clothes dryers, and freezers. This is a genuine OEM part and includes a brush applicator. Please remember to wear gloves to protect your hands when applying this paint.

$15.56
In Stock
Agitator Bolt
Part #WP358237
This kit contains one screw with rubber gasket and threaded sealant. The screw head is 7/16".

$15.41
In Stock
Washer Inner Cap Seal
Part #WPW10072840
Also known as an O-Ring. This black o-ring seal is three inches in diameter.

$80.99
In Stock
Washer Lid Switch Kit
Part #WP3355458
The point of the lid switch is for the tub to stop spinning when the washer lid is opened.

$12.01
In Stock
Centerpost Gasket
Part #W10814296
This main outer tub seal is a critical component that prevents water from leaking at the bottom of the tub during operation. Measuring approximately 2 inches in diameter, it is constructed from durable black plastic for long-lasting performance. Proper installation requires disconnecting power, drain hose, and inlet hose, followed by remo...Read moreving the outer cabinet and the entire tub assembly. Inspect the seal for cracks or wear during maintenance to avoid leaks and ensure optimal washer performance.
Read less

$9.85
In Stock

$17.26
In Stock

$11.52
In Stock
Washer Hose Clamp
Part #WP596669
Common Symptoms of the 11087842700
How this model fails, and the parts that fix it.
Will not agitate
Fixed by
these parts
these parts


Show All
Noisy
Fixed by
these parts
these parts


Show All
Leaking
Fixed by
these parts
these parts


Show All
Drum Not Spinning
Fixed by
these parts
these parts
Show All
Spins slowly
Fixed by
these parts
these parts

Show All
Will not drain
Fixed by
these parts
these parts


Show All
Spinning Issues
Fixed by
these parts
these parts

Show All
Won’t Start
Fixed by
these parts
these parts

Show All
Will Not Start
Fixed by
these parts
these parts
Show All
Marks left on clothes
Fixed by
these parts
these parts
Show All
Does not dispense fabric softener or detergent
Fixed by
these parts
these parts

Show All
No hot or cold water
Fixed by
these parts
these parts


Show All
Shaking and Moving
Fixed by
these parts
these parts

Show All
Burning smell
Fixed by
these parts
these parts

Show All
Not cleaning dishes properly
Fixed by
these parts
these parts
Show All
Noisy and Marks Left on Clothes
Fixed by
these parts
these parts
Show All
Lid or door won’t close
Fixed by
these parts
these parts

Show All
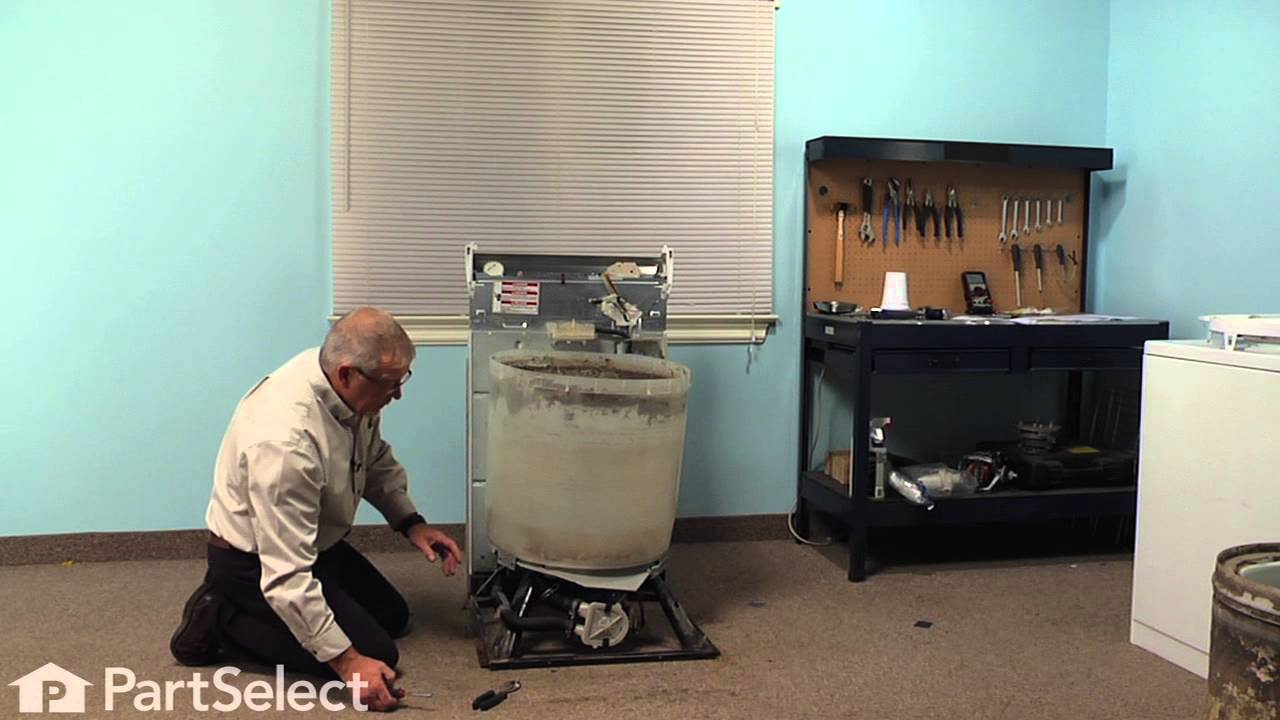
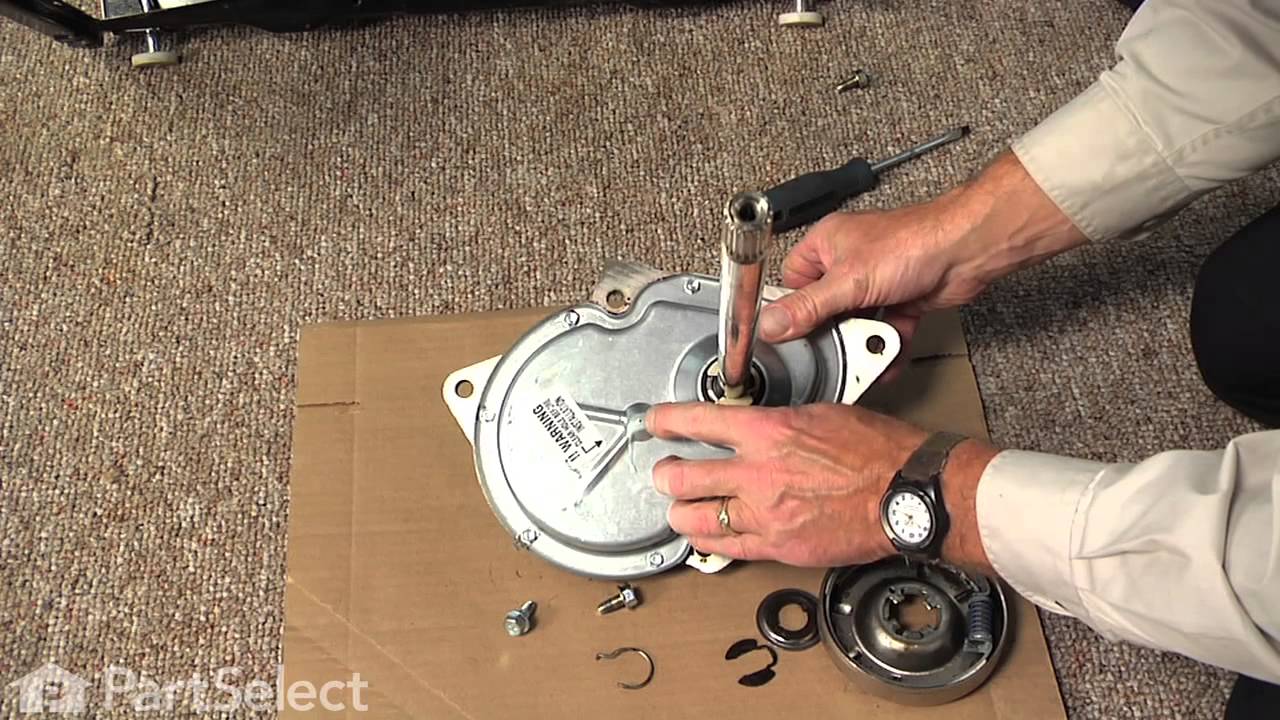
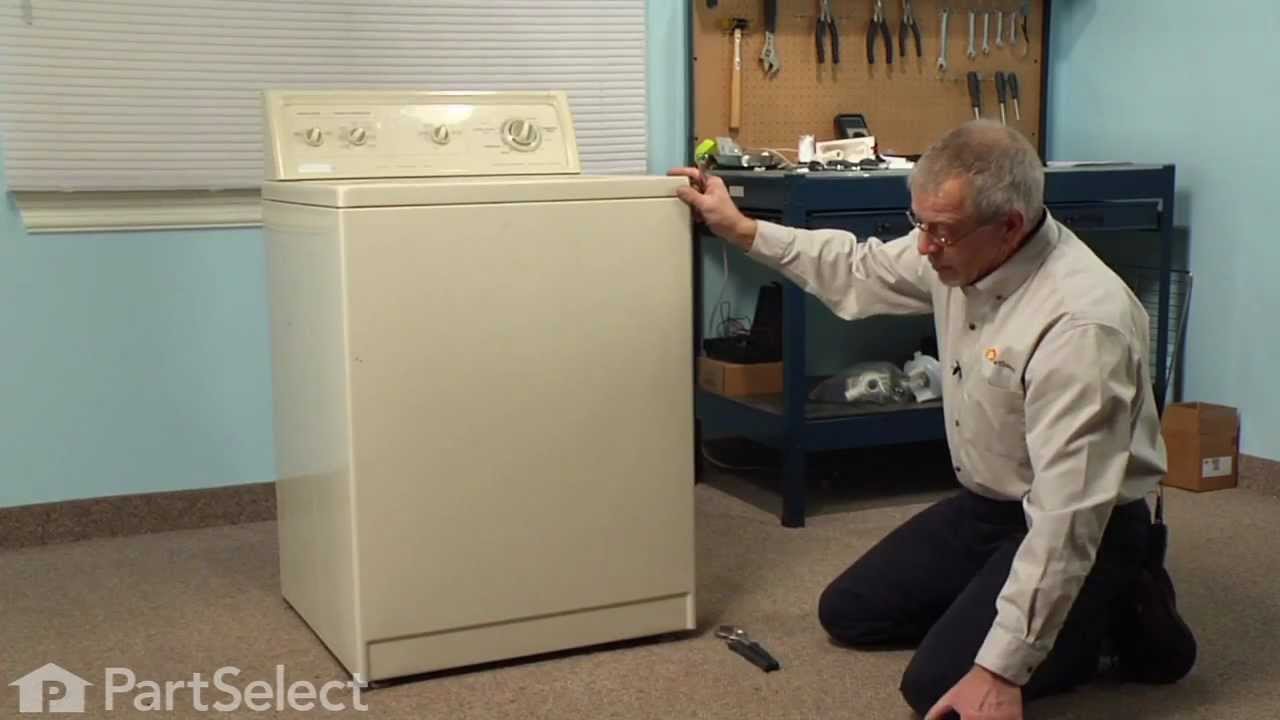
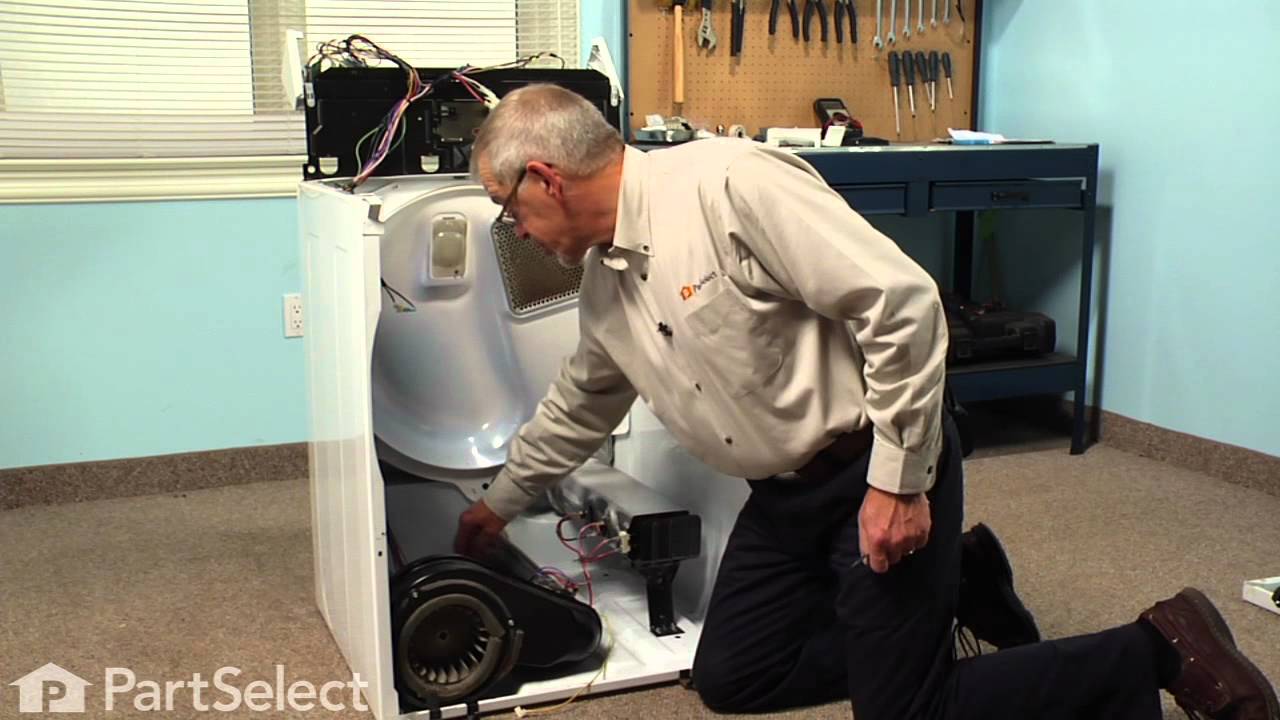
Watch our pros, then fix it yourself.
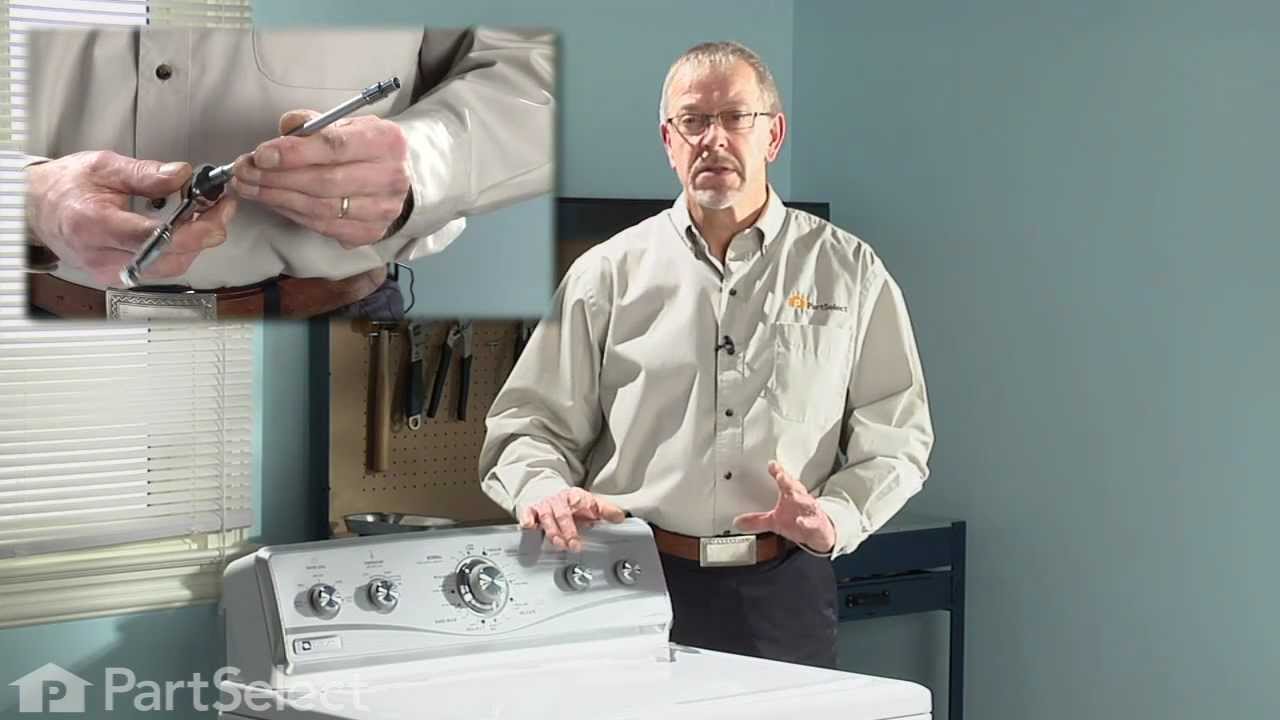
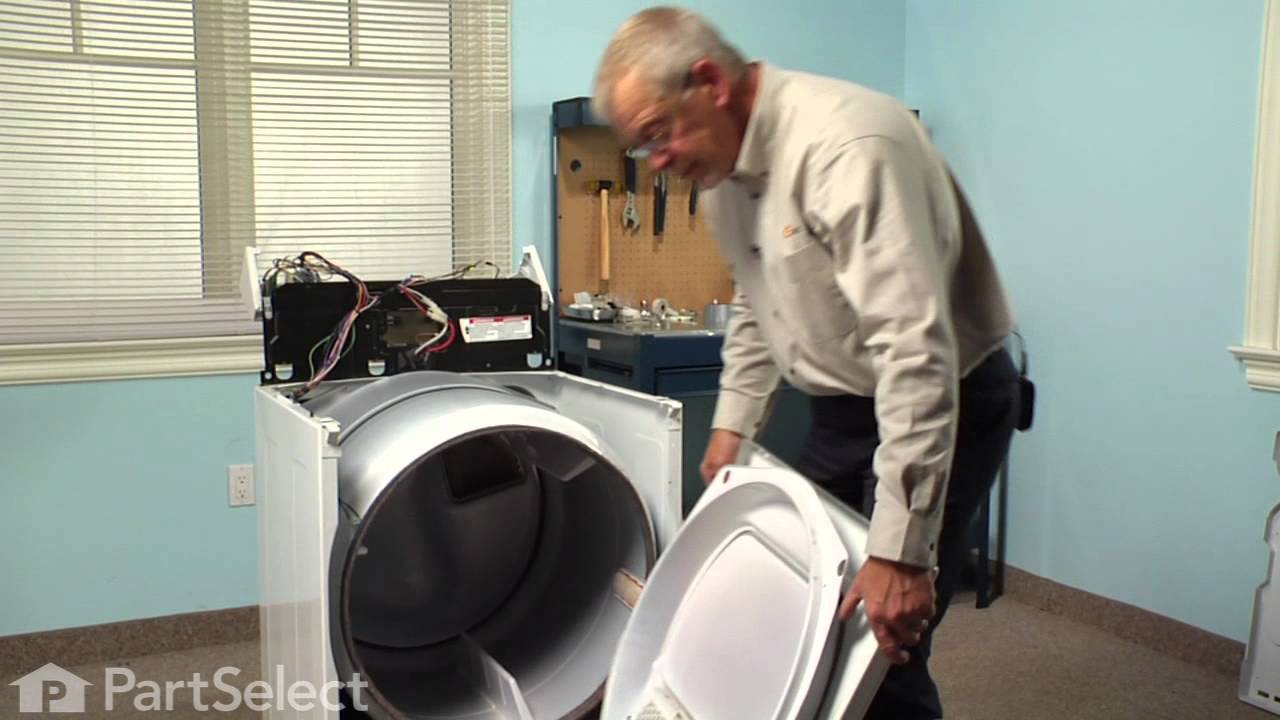
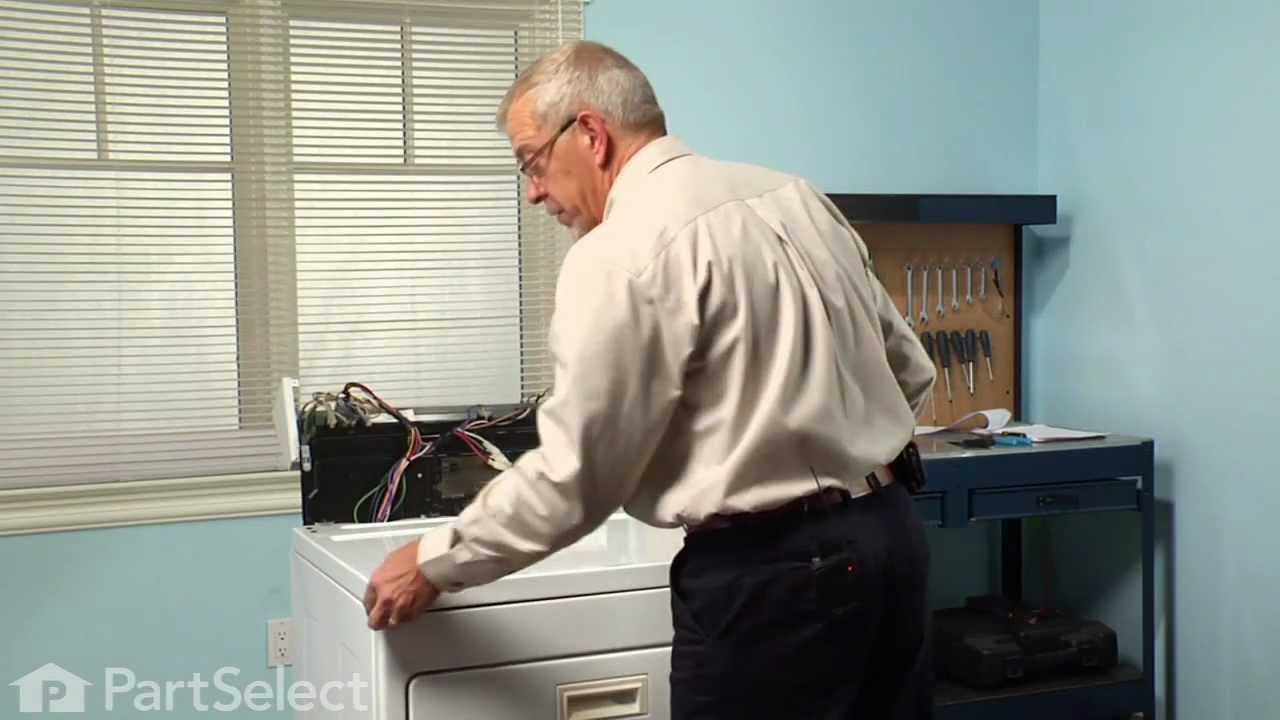
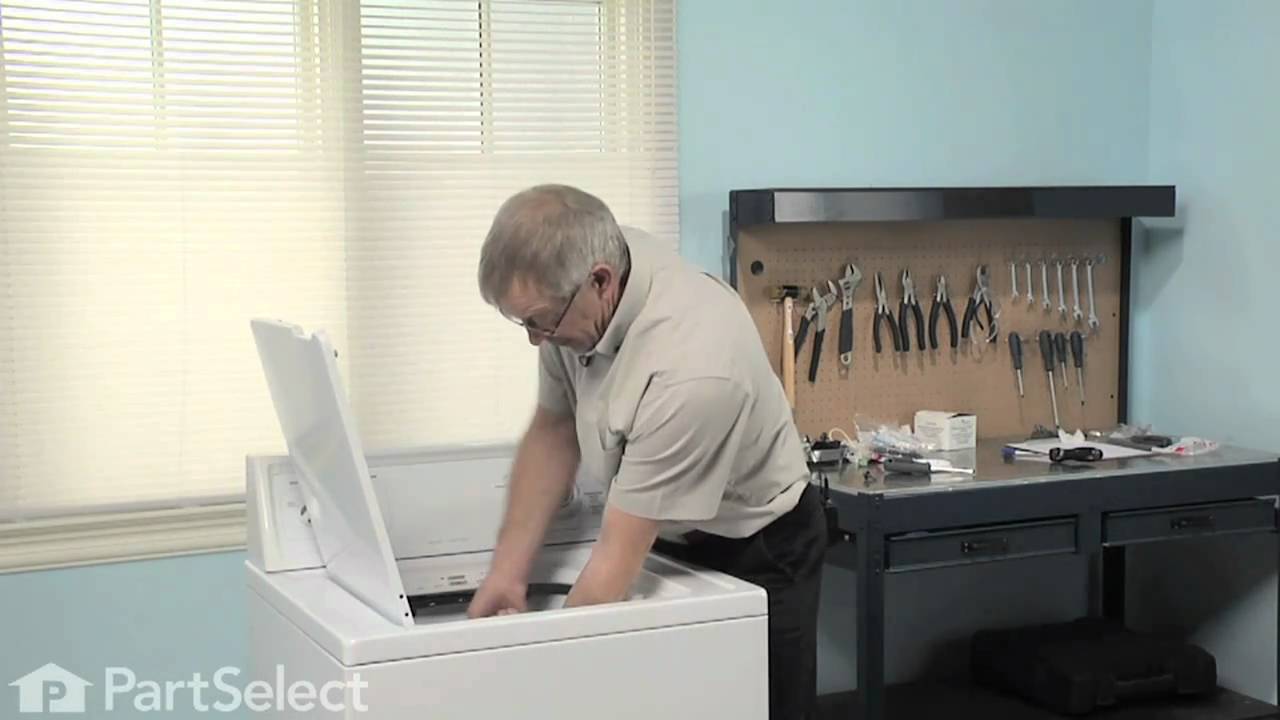
See how others fixed this model. Time, tools, difficulty, and steps that lead to victory!
View More
Search repair tips from other customers using simple keywords like "replace", "fit", "remove", "inspect". DIY doesn't mean you have to do it alone!
Search filter:
Clear Filter
Your search term must have 3 or more characters.
Gearcase oil leak
150 of 166 people
found this instruction helpful.
To replace gearcase seals, first disconnect the power cord. Turn off water supply and remove water inlet hoses at washer (safety first). You may want to have a bucket available to catch water that will drain out of the hot/cold and drain hoses. Next, remove top agitator cap, seal and (7/16”) bolt (see diagrams on PartSelect). This will al
... Read more
low the top agitator and cogs to be removed. Grab the bottom agitator and rock it back and forth until it can be removed.
Suggestion: now is a good time to remove and clean the old soap and junk from drain holes in the top agitator and any junk that may be under the lower agitator.
Lay the washer on its right side. You will now have access to the motor, pump, hoses clutch and gearcase. Place a couple of 2X4X(5?) blocks under the tub to support it. Remove the electrical connector from the motor (this is clipped into place) and the two wires that go to the capacitor on the motor.(TIP: don’t put your finger across these terminals, SHOCK HAZARD) Remove the hose clamps and hoses, the two screws (5/16”) on each strap that holds the motor in place, you may have to use a screw driver to pop the straps off the motor. Remove the motor and pump by pushing the tub to the left and move the motor and pump to the right to clear the coupling. If you have not replaced the drive coupling, now would be a good time to order and replace. With the motor out of the way, remove the three (½”) bolts holding the gearcase to the chassis and pull to remove gearcase and shaft. If you are only replacing the drive shaft seal, you do not need to open the gearcase case. Stand the gearcase so the input shaft is facing up, or what fluid is left in the gearcase will come out. One question I see a lot is how do you remove the seal. One, buy a real expensive tool that you will only use once, or take a screwdriver with about a ¼” blade, stick it between the shaft and the seal, gently leverage the seal out while going around the shaft. After the seal is removed, oil can be added thru the seal hole. Understand that different oils are designed for different applications. That said, I used 90 weight gear oil from the local auto parts store, you can add it thru the seal hole. To install the seal, lightly tape it into the seal cavity, then use a socket that is close to the diameter of the seal and gently drive it in.
If you have to replace the top case seal, it will require you to take the gearcase apart. The advantage of this is, if you have an older washer, you can clean out the contaminated oil and sludge and check for wear on the parts, and replace as needed from PartSelect. Here’s a suggestion: if you have a digital camera, take pictures, this will really help when you put things back together.
Now look at the diagram that is provide by PartSelect, remove the clutch, remove the bolts on the top cover, try to keep it level or you may have a mess on your hands. Lift the cover up over the shaft. I found the top case seal very stubborn to remove. Using a small screwdriver, get between the case and the seal and gently pry it out. Replace the seal, again, by using a socket and gently taping into place. There is also a seal at the top of the drive gear that you may want to replace to keep the oil from going up into the clutch. Now its time to clean all of the years of gunk out of the case and gears. When you are ready, fill the bottom half of the gearcase with oil, about half a quart. To seal the case, I used a ultra blue silicone gasket sealer in a tube from my local auto parts store or sealant can be purchased from PartSelect. I used it on the top half of the gearcase case. Slide the top case over the shaft and evenly tighten the bolts. Reinstall the clutch to the gearcase shaft and install into the washer. I found that the motor bearings needed to be lubed, so I used white lithium grease in an aerosol can. Reinstall motor and don’t forget to put the electrical plug back into the motor and the wires that go to the capacitor and pump h
Suggestion: now is a good time to remove and clean the old soap and junk from drain holes in the top agitator and any junk that may be under the lower agitator.
Lay the washer on its right side. You will now have access to the motor, pump, hoses clutch and gearcase. Place a couple of 2X4X(5?) blocks under the tub to support it. Remove the electrical connector from the motor (this is clipped into place) and the two wires that go to the capacitor on the motor.(TIP: don’t put your finger across these terminals, SHOCK HAZARD) Remove the hose clamps and hoses, the two screws (5/16”) on each strap that holds the motor in place, you may have to use a screw driver to pop the straps off the motor. Remove the motor and pump by pushing the tub to the left and move the motor and pump to the right to clear the coupling. If you have not replaced the drive coupling, now would be a good time to order and replace. With the motor out of the way, remove the three (½”) bolts holding the gearcase to the chassis and pull to remove gearcase and shaft. If you are only replacing the drive shaft seal, you do not need to open the gearcase case. Stand the gearcase so the input shaft is facing up, or what fluid is left in the gearcase will come out. One question I see a lot is how do you remove the seal. One, buy a real expensive tool that you will only use once, or take a screwdriver with about a ¼” blade, stick it between the shaft and the seal, gently leverage the seal out while going around the shaft. After the seal is removed, oil can be added thru the seal hole. Understand that different oils are designed for different applications. That said, I used 90 weight gear oil from the local auto parts store, you can add it thru the seal hole. To install the seal, lightly tape it into the seal cavity, then use a socket that is close to the diameter of the seal and gently drive it in.
If you have to replace the top case seal, it will require you to take the gearcase apart. The advantage of this is, if you have an older washer, you can clean out the contaminated oil and sludge and check for wear on the parts, and replace as needed from PartSelect. Here’s a suggestion: if you have a digital camera, take pictures, this will really help when you put things back together.
Now look at the diagram that is provide by PartSelect, remove the clutch, remove the bolts on the top cover, try to keep it level or you may have a mess on your hands. Lift the cover up over the shaft. I found the top case seal very stubborn to remove. Using a small screwdriver, get between the case and the seal and gently pry it out. Replace the seal, again, by using a socket and gently taping into place. There is also a seal at the top of the drive gear that you may want to replace to keep the oil from going up into the clutch. Now its time to clean all of the years of gunk out of the case and gears. When you are ready, fill the bottom half of the gearcase with oil, about half a quart. To seal the case, I used a ultra blue silicone gasket sealer in a tube from my local auto parts store or sealant can be purchased from PartSelect. I used it on the top half of the gearcase case. Slide the top case over the shaft and evenly tighten the bolts. Reinstall the clutch to the gearcase shaft and install into the washer. I found that the motor bearings needed to be lubed, so I used white lithium grease in an aerosol can. Reinstall motor and don’t forget to put the electrical plug back into the motor and the wires that go to the capacitor and pump h
Read less
Other Parts Used:


Was this helpful?
Thank you for voting!