


 My Orders


11086884100 Kenmore Washer Dryer Combo - Overview
Diagrams for 11086884100
See every part. Know exactly what you need.

Enter a part description. DIY Heroes keep it simple, eg. "belt" or "pump".
Search filter:
Clear Filter
Your search term must have 3 or more characters.

$10.58
In Stock
Door Catch Kit
Part #279570
This kit contains two door strikes, and three door catches to service dryer doors that have one or two catches.

$34.29
In Stock
Idler Pulley
Part #279640
This Idler Pulley includes the tri-ring and gasket and everything included here is manufacturer-certified. This part maintains correct tension on the drive belt in order to spin the drum properly. If damaged or broken the dryer will not dry properly, will not tumble properly, or may not even start. Installation is rated as "Medium" diffic...Read moreulty. This part is located on the dryer drum, around the tension pulley. Refer to your user manual and model number for repair instructions and to ensure this part is right for you. For this repair project, the tools needed are a Phillips screwdriver, 1/4 inch nut driver, putty knife, small flat blade screw driver, and needle nose pliers.
Read less

$85.75
In Stock
Dryer Heating Element
Part #WP3387747
When connected to electricity the dryer heating element glows red hot and generates heat. When air is blown over it, it heats the air which is used to dry the clothes. The heating element fits inside the heater housing inside the dryer. Wear and tear on the heater coil from use will eventually cause the coil to break and the element to fa...Read moreil. When this part fails it can cease to produce any heat. Alternately, the coil could break and short to ground allowing the dryer to continue to heat even when turned off. The latter is a fire hazard and the dryer should be disconnected from power until the element is replaced. If the element coil breaks, the element needs to be replaced. This model is 11 by 5 inches with 5/16” terminals, metal and ceramic, and comes in black. It is sold individually.
Read less

$28.21
In Stock
Dryer Drum Support Roller
Part #WPW10314173
This genuine OEM dryer drum support roller is designed to hold the drum in place while allowing it to rotate smoothly and quietly during operation. Built for durability and reliable performance, it helps reduce noise and ensures consistent tumbling. Ideal for replacing worn or damaged rollers, it resolves issues such as squeaking, rumblin...Read moreg, or poor drum movement, helping restore efficient and dependable dryer operation.
Read less

$10.95
In Stock

$41.14
In Stock
Idler Pulley with Bracket
Part #W10837240
This idler pulley assembly includes the pulley and bracket, ensuring proper tension on the dryer drive belt for smooth drum rotation. Compatible with several Whirlpool, KitchenAid, Maytag, Jenn-Air, Amana, Inglis, and Magic Chef dryers, this OEM part is ideal for replacing damaged components. Disconnect power before installation.

$15.29
In Stock
Moisture Sensor
Part #WP3387223
This is the moisture sensor for your dryer. It helps detect the amount of moisture in your clothes during the dryer cycle. If you notice your clothes are still wet after an automatic dryer cycle is done, you may need to replace the sensor. You will find the moisture sensor behind the lint screen. Be sure to disconnect the power source fro...Read morem the dryer before you begin this repair. Note: Some model's require two sensors, please order quantity needed. Sensor only, harness is not included. This part is sold individually.
Read less

$18.70
In Stock
Roller Support Tri-Ring
Part #WPW10512946
If you notice that your dryer is noisy or will not tumble, you may need to replace the tri ring. This part is triangular, and is less than an inch in size. Tri rings can be found both on the idler pulley shaft, or on the rear drum roller shaft. In either case, you will need to remove the front panel of the dryer and the drum to access the...Read more part for repair. Once you have accessed the damaged tri ring, you will simply need to slip it off and replace it with the new one. This part is sold individually. Be sure to disconnect the power source from the dryer before you begin this repair.
Read less

$151.26
In Stock
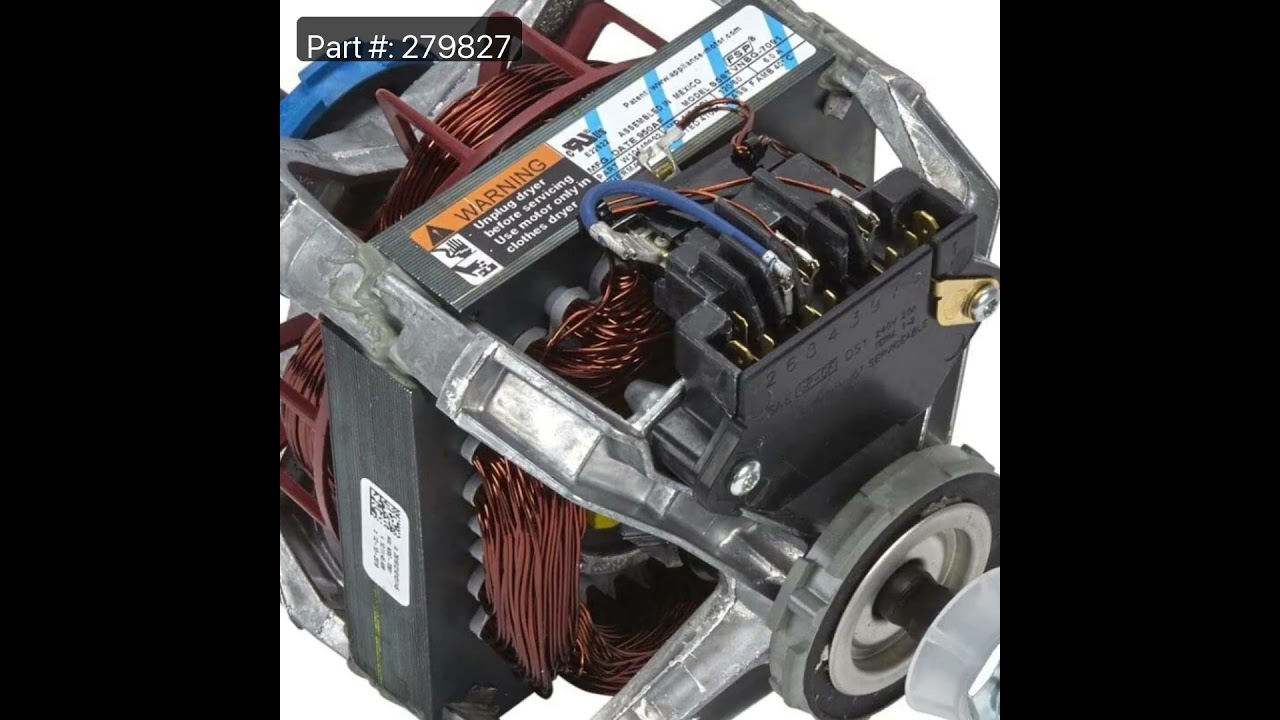
Drive Motor with Pulley
Part #279827
If your dryer drum isn’t spinning, the motor might be the issue. This replacement motor works with many Whirlpool-brand dryers made before 1996 and comes with the pulley already attached. It powers the drum by turning the belt, helping your clothes dry properly. Just make sure to unplug the dryer before starting the repair. Once installed, your dryer should be back to working like new.

$61.07
In Stock
Dryer Drum Seal with Adhesive
Part #280114
This part seals the drum to prevents air from escaping. This includes silicone rubber adhesive.

$54.46
In Stock
Thermal Cut-Off Kit
Part #279769
This kit includes one high limit thermostat with a limit of 250 degrees Fahrenheit, and one thermal cut-off fuse with a limit of 360 degrees Fahrenheit. The thermostat and fuse help prevent the dryer from overheating.

$31.25
In Stock
Dryer Disposable Thermal Fuse
Part #WP3390719
This part attaches to the exhaust duct of your clothes dryer.
Common Symptoms of the 11086884100
How this model fails, and the parts that fix it.
Noisy
Fixed by
these parts
these parts


Show All
Door won’t close
Fixed by
these parts
these parts


Show All
Not Heating
Fixed by
these parts
these parts


Show All
Drum Not Spinning
Fixed by
these parts
these parts

Show All
Won’t Start
Fixed by
these parts
these parts


Show All
Too hot
Fixed by
these parts
these parts

Show All
Door Pops Open
Fixed by
these parts
these parts
Show All
Marks left on clothes
Fixed by
these parts
these parts


Show All
Lid or door won’t close
Fixed by
these parts
these parts
Show All
Will not agitate
Fixed by
these parts
these parts

Show All
Burning smell
Fixed by
these parts
these parts
Show All
Running With Door Open
Fixed by
these parts
these parts
Show All
Will Not Start
Fixed by
these parts
these parts
Show All
Spins slowly
Fixed by
these parts
these parts
Show All
Watch our pros, then fix it yourself.
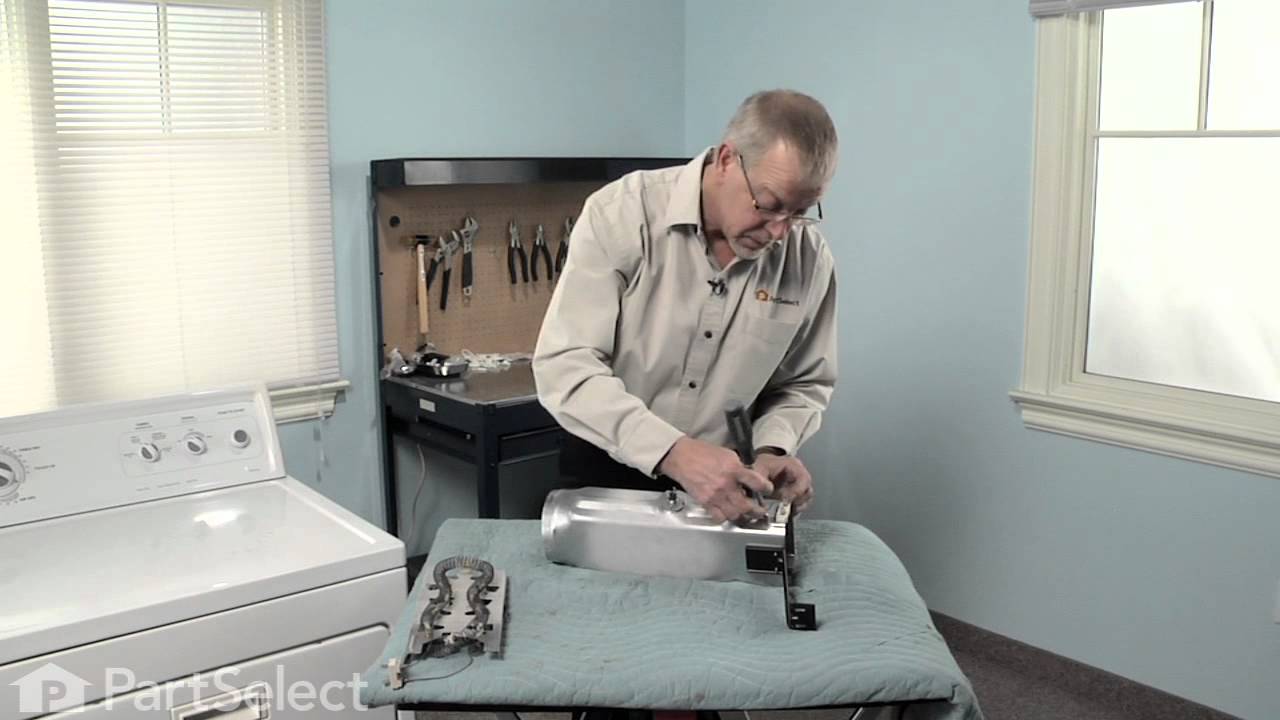
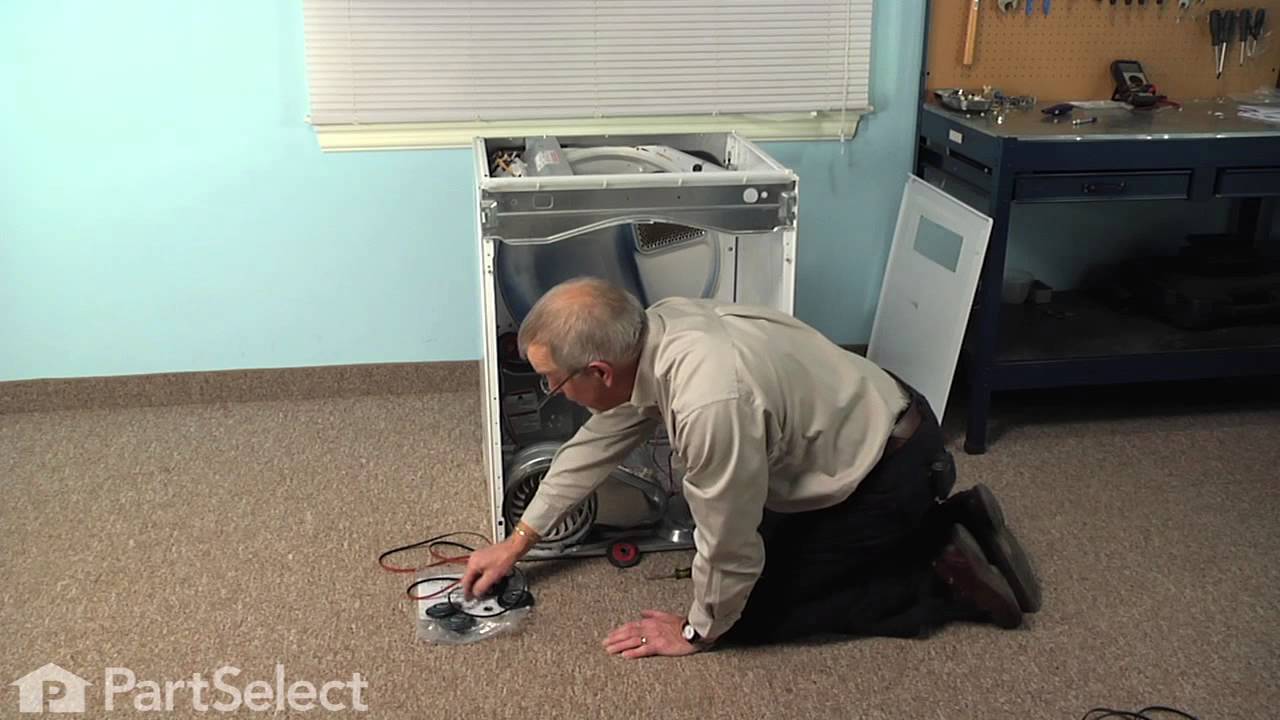
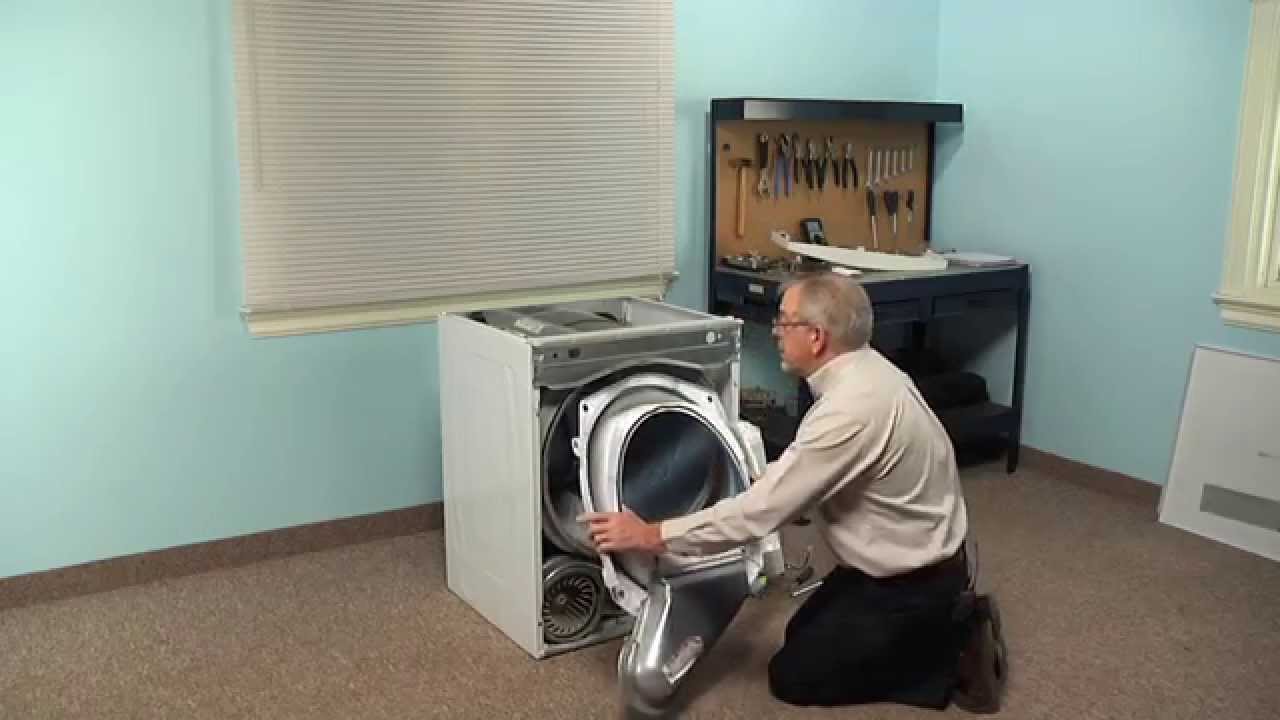
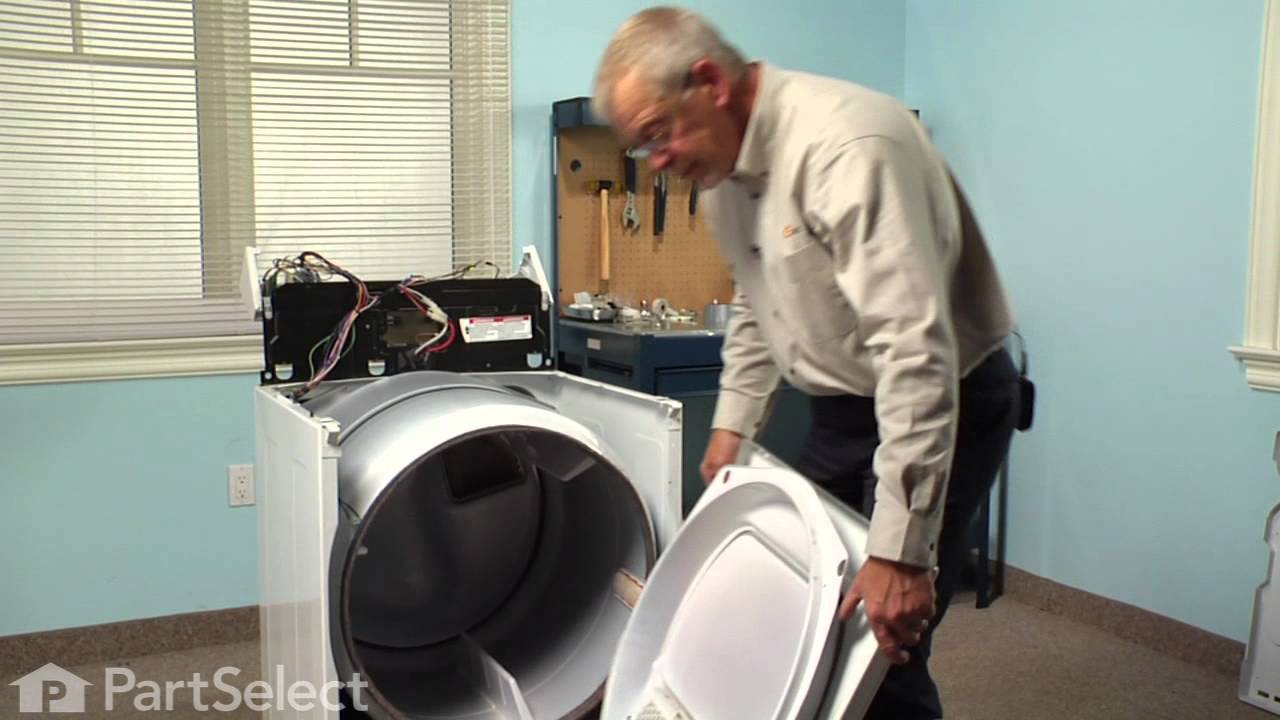
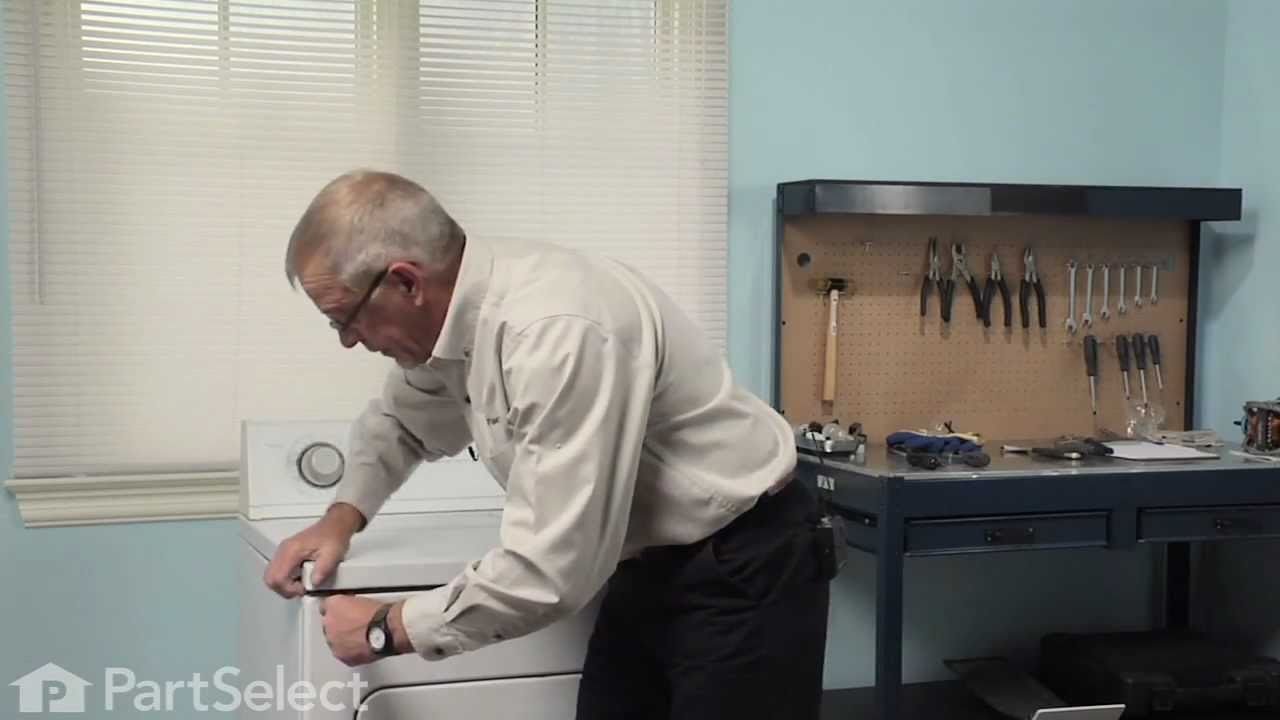
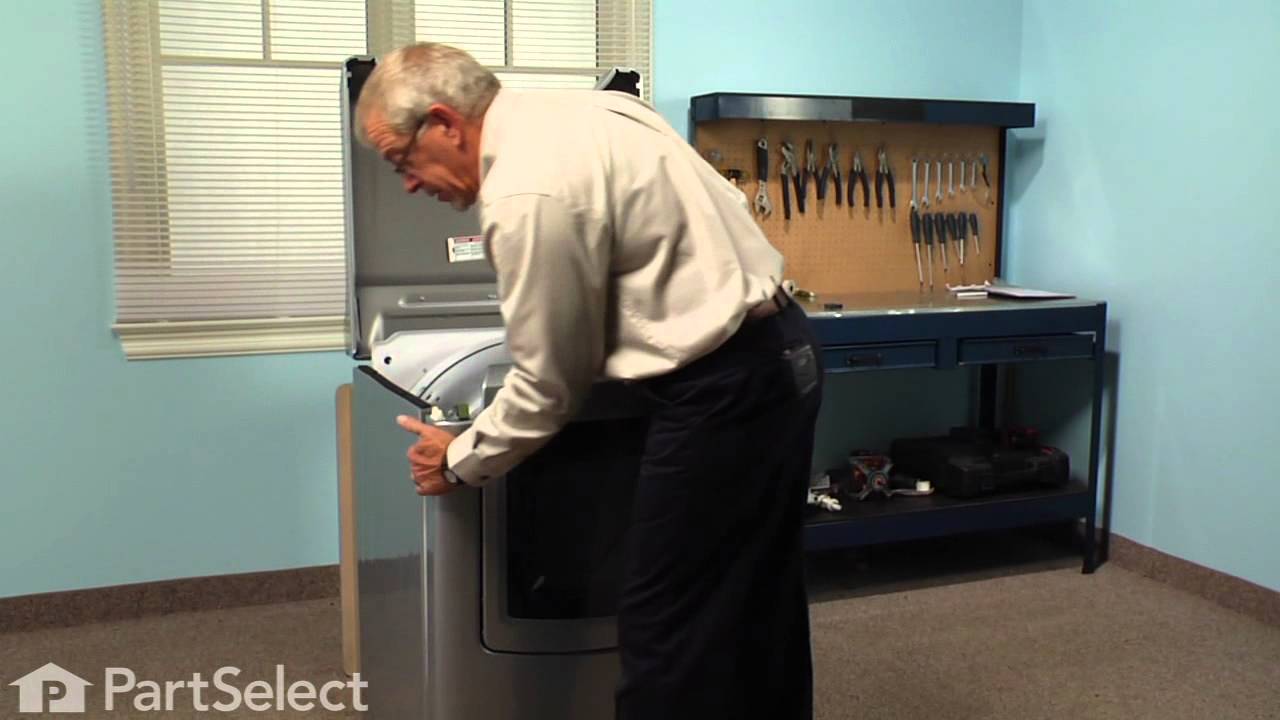
See how others fixed this model. Time, tools, difficulty, and steps that lead to victory!
View More
Search repair tips from other customers using simple keywords like "replace", "fit", "remove", "inspect". DIY doesn't mean you have to do it alone!
Search filter:
Clear Filter
Your search term must have 3 or more characters.
Dryer not heating
298 of 336 people
found this instruction helpful.
Our dryer is 8 years old and had been slowly taking longer and longer to dry clothes, to the point that I was ready to purchase a new one. When the dryer stopped heating completely, I removed the bottom panel and found that the heating element was no longer working. I checked online and found this website. The top two recommended fixes f
... Read more
or this issue was to replace the heating element and/or thermal cut-off kit (two sensors). I chose to purchase both, delivered to me very quickly (two days). I figured for $80 you can't go wrong. Here's the procedure I followed:
On my particular model, the back does NOT come off and all of my repairs had to be made via the front, bottom panel.
(1) disconnected 6 wires (3 pairs) from the heating element and two thermal sensors
(2) removed entire heating element 'sleeve" which contained both the heating element AND the two sensors. The space is way too tight to try and do this any other way (and I highly recommend this method to save a ton of time and frustration.)
(3) vaccummed out the entire inside of the dryer, clearing all lint and debris, including tons of lint creating a blockage, thus slowing the ability to dry over the years
(4) replaced sensors and heating element
(5) installed heating element & Thermal sensors back inside and reconnected all wires
(6) tested dryer to ensure that heating element lit up and produced heat - it worked beautifully!
Besides fixing the heating issue, cleaning out the clogged lint pipe at the back of the dryer and wall have made the old dryer new again. It's working better than ever!
On my particular model, the back does NOT come off and all of my repairs had to be made via the front, bottom panel.
(1) disconnected 6 wires (3 pairs) from the heating element and two thermal sensors
(2) removed entire heating element 'sleeve" which contained both the heating element AND the two sensors. The space is way too tight to try and do this any other way (and I highly recommend this method to save a ton of time and frustration.)
(3) vaccummed out the entire inside of the dryer, clearing all lint and debris, including tons of lint creating a blockage, thus slowing the ability to dry over the years
(4) replaced sensors and heating element
(5) installed heating element & Thermal sensors back inside and reconnected all wires
(6) tested dryer to ensure that heating element lit up and produced heat - it worked beautifully!
Besides fixing the heating issue, cleaning out the clogged lint pipe at the back of the dryer and wall have made the old dryer new again. It's working better than ever!
Read less
Other Parts Used:


Was this helpful?
Thank you for voting!