


 My Orders


11084090600 Kenmore Washer - Overview
Diagrams for 11084090600
See every part. Know exactly what you need.

Enter a part description. DIY Heroes keep it simple, eg. "belt" or "pump".
Search filter:
Clear Filter
Your search term must have 3 or more characters.

$46.79
In Stock
Water Inlet Valve with Mounting Bracket
Part #285805
The valve body of this part could be blue or green in color. There are two ports for water to enter, and this valve is compatible with a half inch ID hose. It has two 3/4-11x1/2 NHT hose threads.

$15.56
In Stock
Agitator Bolt
Part #WP358237
This kit contains one screw with rubber gasket and threaded sealant. The screw head is 7/16".

$57.15
In Stock
Dishwasher Faucet Adapter
Part #WPW10254672
Used with some portable dishwashers and washers. NOTE: As per the factory, this is used for faucets with inside or outside threads. For female connection (outside) just remove the washers.

$12.01
In Stock
Centerpost Gasket
Part #W10814296
This main outer tub seal is a critical component that prevents water from leaking at the bottom of the tub during operation. Measuring approximately 2 inches in diameter, it is constructed from durable black plastic for long-lasting performance. Proper installation requires disconnecting power, drain hose, and inlet hose, followed by remo...Read moreving the outer cabinet and the entire tub assembly. Inspect the seal for cracks or wear during maintenance to avoid leaks and ensure optimal washer performance.
Read less

$33.28
In Stock
Lid Switch
Part #W10820036
Keep your washer or dryer running safely with this easy-to-install lid or door switch kit. It stops the machine from working when the door is open, helping prevent spills and accidents. Compatible with many models, this small but important part fits neatly inside your appliance and comes with everything you need for installation. Just unp...Read morelug your machine, swap out the old switch, and you're good to go. It’s about 2.5 inches long and blends in with most interiors.
Read less

$11.52
In Stock
Washer Hose Clamp
Part #WP596669

$15.68
In Stock

$14.25
In Stock

$14.95
In Stock

$9.85
In Stock
Lid Hinge Mounting Screw
Part #WPW10119828
Sold individually. NOTE: The color on the screw may not be the same as the image, but will still function the same.

No Longer Available

$81.45
In Stock
Washer Capacitor Motor Start
Part #WP8572717
This part gets the motor up to speed quickly before transferring power to the run capacitor.
Common Symptoms of the 11084090600
How this model fails, and the parts that fix it.
Leaking
Fixed by
these parts
these parts


Show All
Will not agitate
Fixed by
these parts
these parts


Show All
No hot or cold water
Fixed by
these parts
these parts
Show All
Will Not Start
Fixed by
these parts
these parts

Show All
Will not drain
Fixed by
these parts
these parts

Show All
Water Filling Issues
Fixed by
these parts
these parts
Show All
Won’t Start
Fixed by
these parts
these parts
Show All
Spinning Issues
Fixed by
these parts
these parts
Show All
Will not fill with water
Fixed by
these parts
these parts

Show All
Spins slowly
Fixed by
these parts
these parts
Show All
Marks left on clothes
Fixed by
these parts
these parts
Show All
Burning smell
Fixed by
these parts
these parts
Show All
Lid or door won’t close
Fixed by
these parts
these parts

Show All
Watch our pros, then fix it yourself.
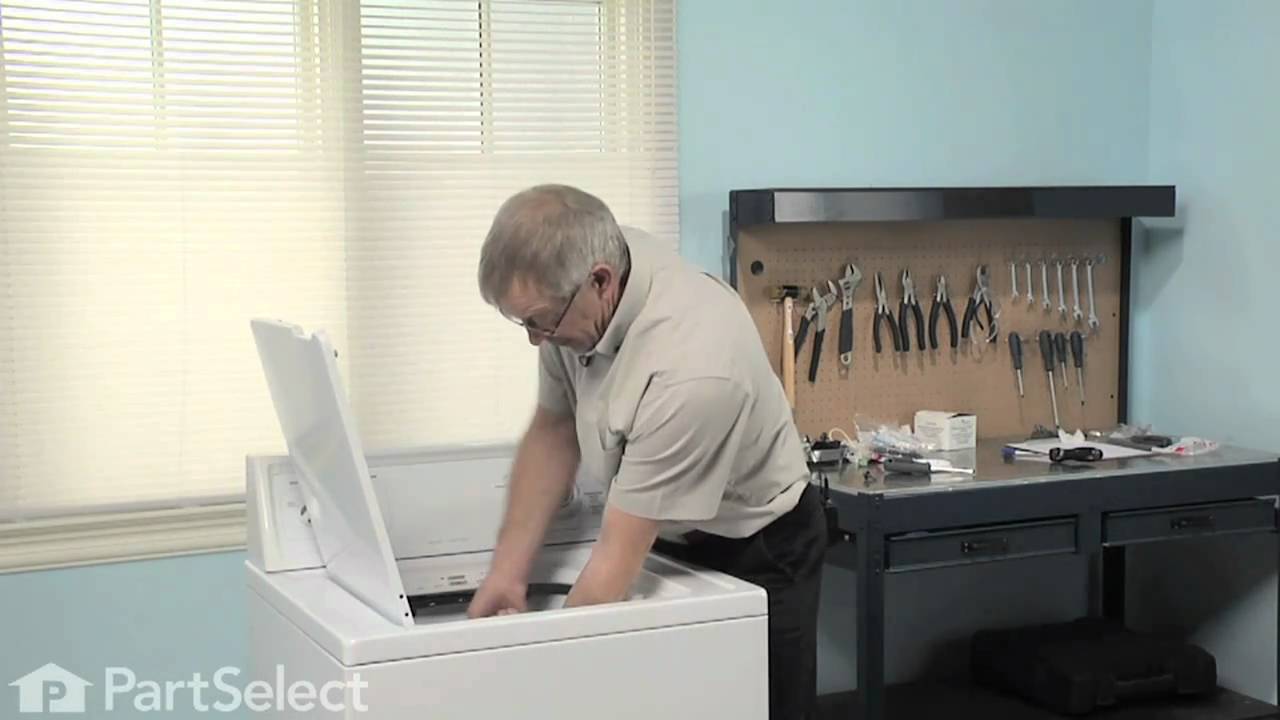
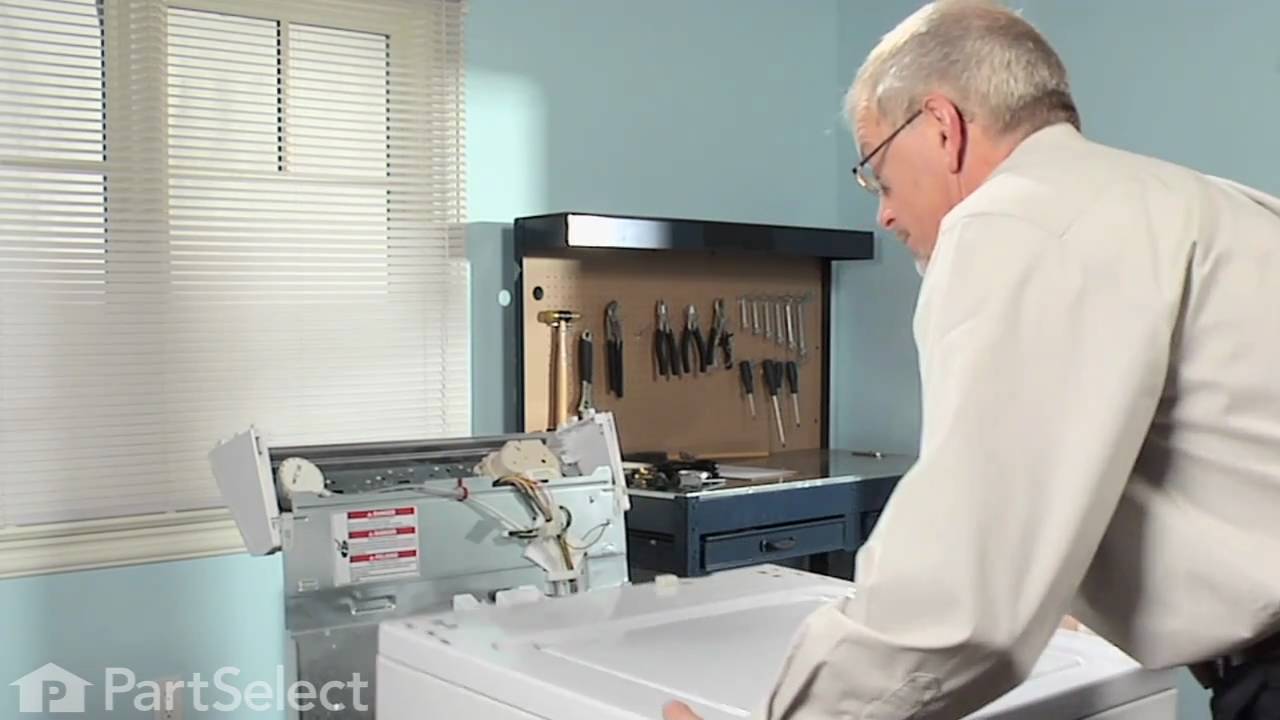
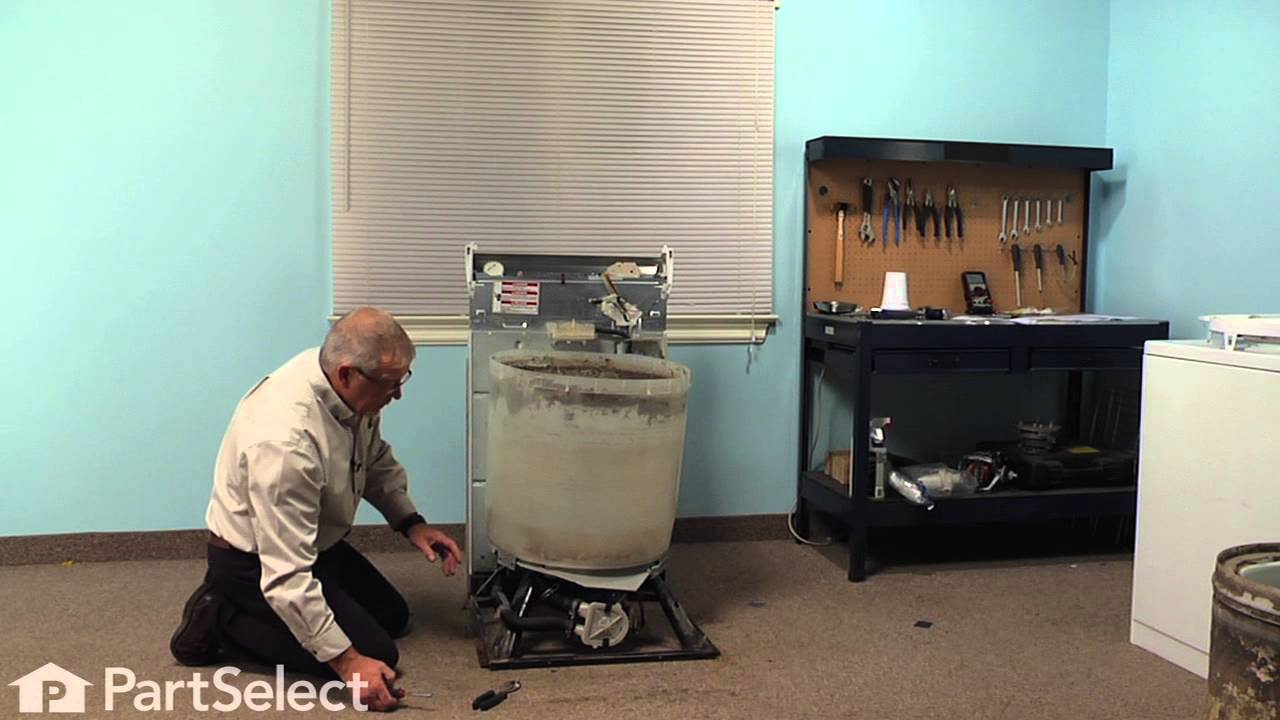
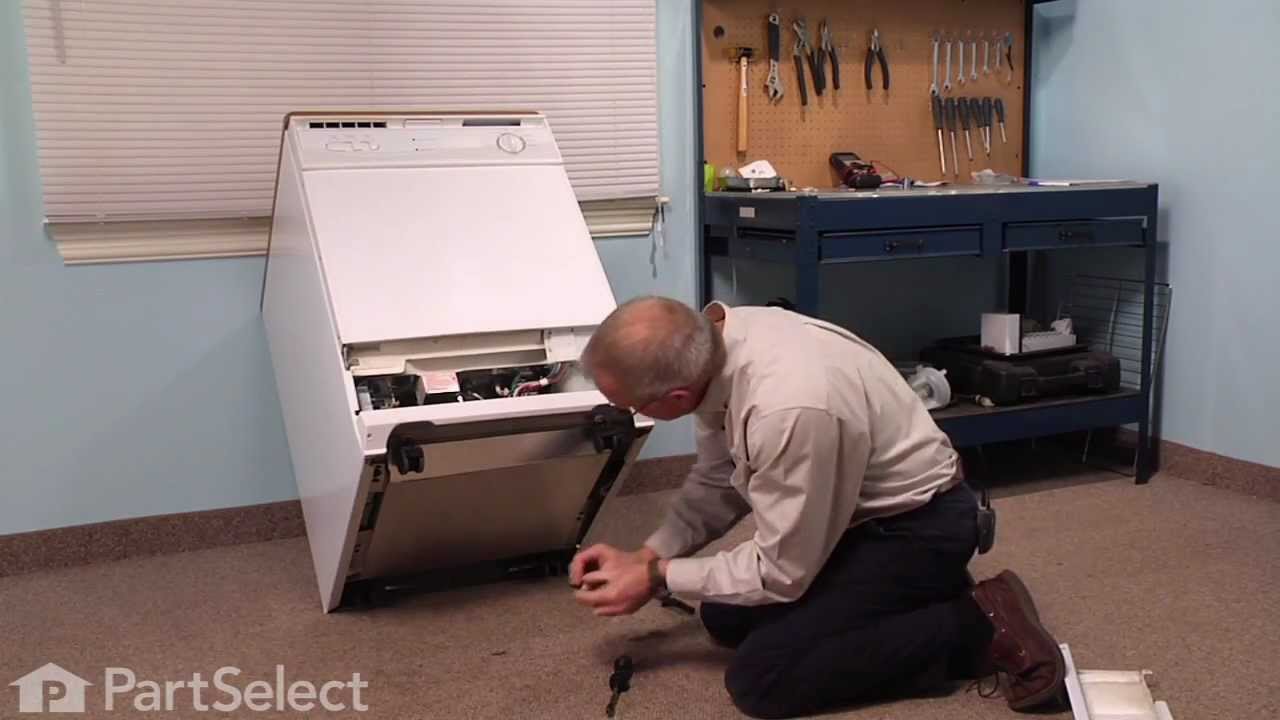
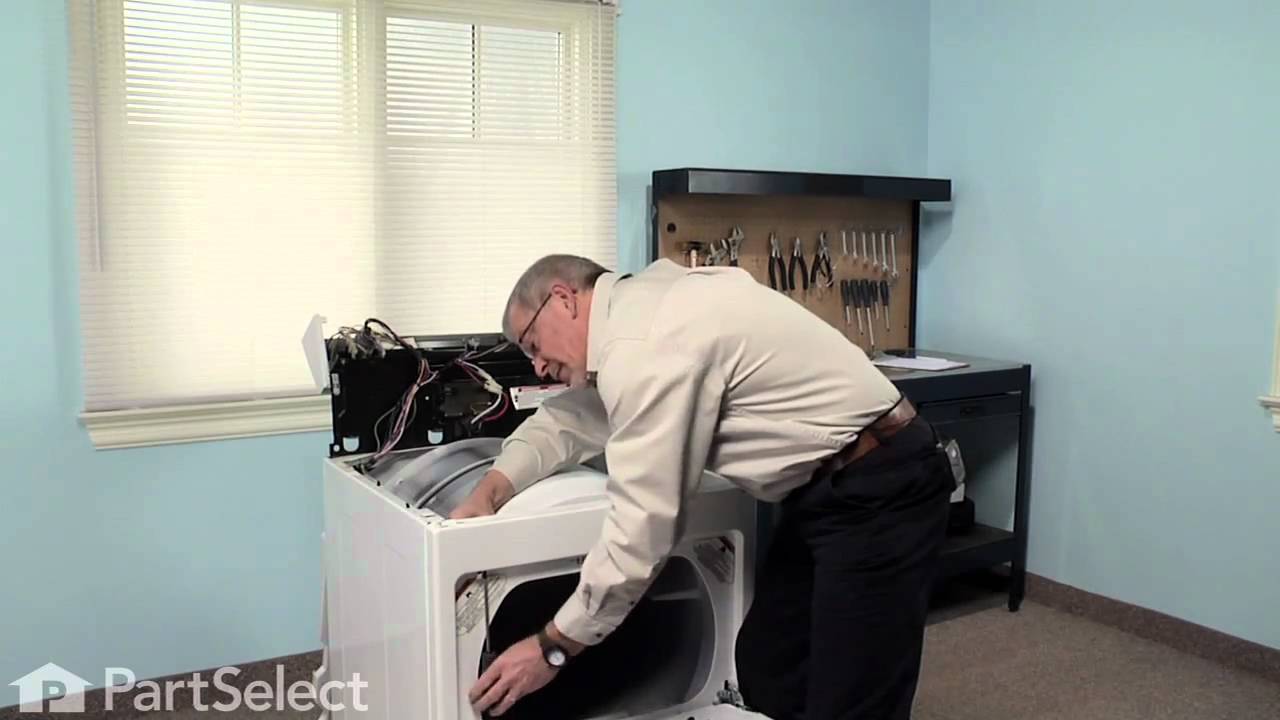
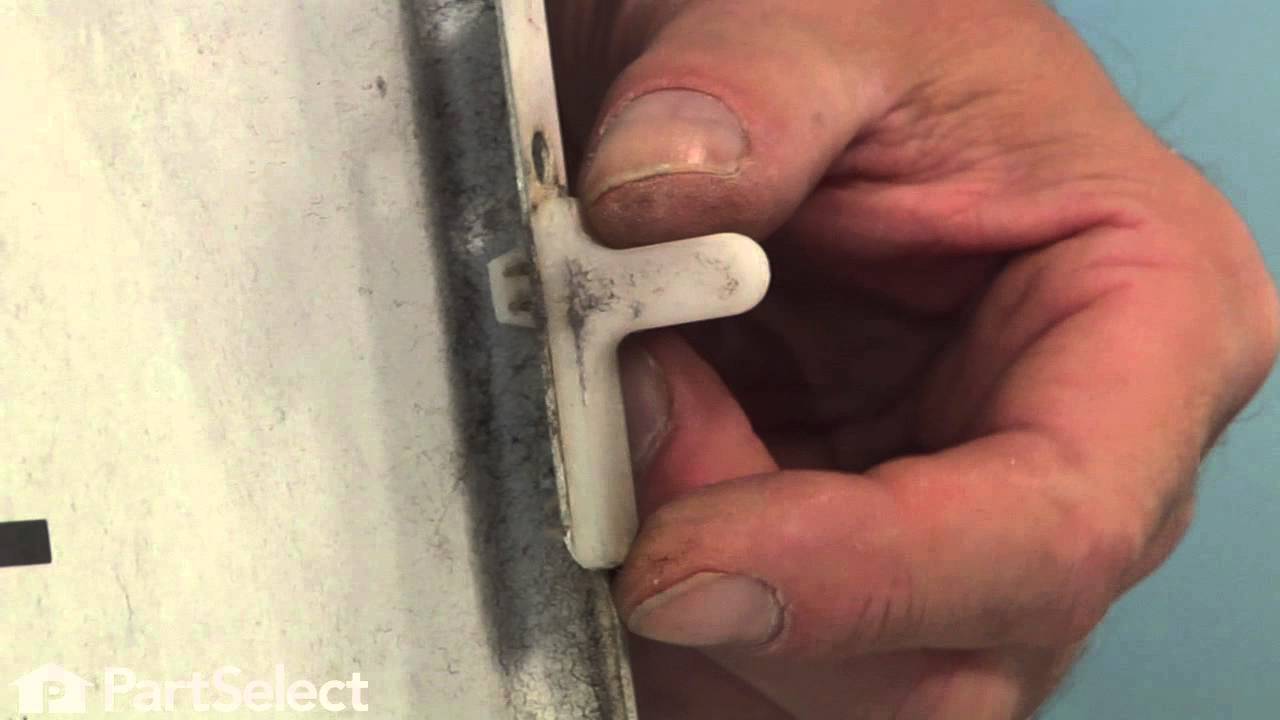
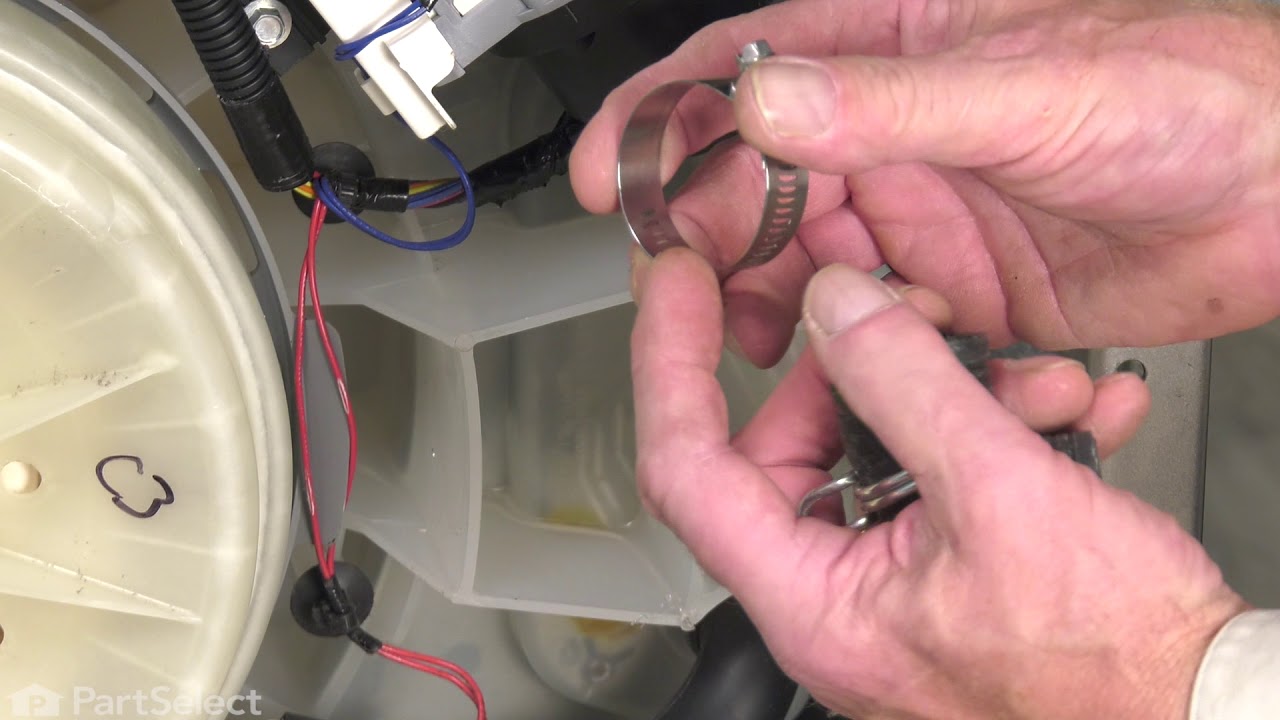
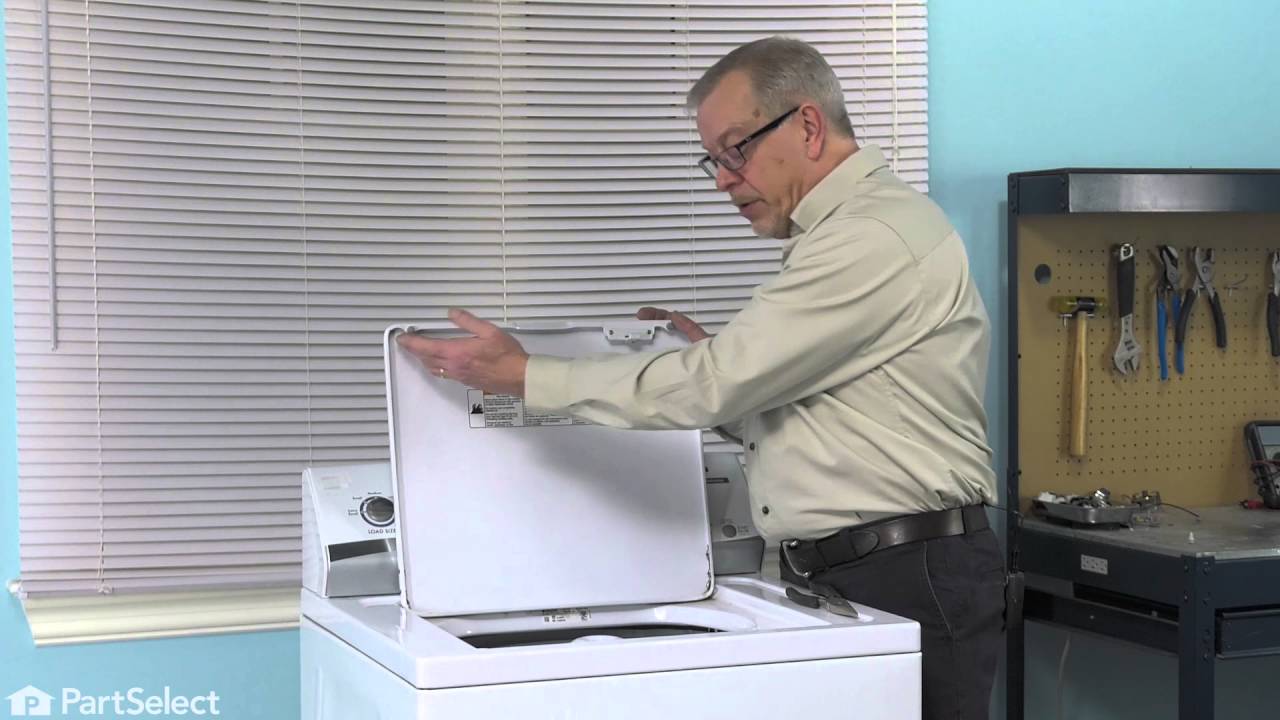
See how others fixed this model. Time, tools, difficulty, and steps that lead to victory!
View More