


 My Orders


1108318 Kenmore - Overview
Models starting with 1108318
Click on the best match to narrow your results.
- 1108318272 Kenmore Dryer
- 1108318276 Kenmore Dryer
- 11083183100 Kenmore Washer
- 11083183110 Kenmore Washer
- 11083183130 Kenmore Washer
- 11083183200 Kenmore Washer
- 11083183210 Kenmore Washer
- 11083183230 Kenmore Washer
- 11083183400 Kenmore Washer
- 11083183410 Kenmore Washer
- 11083183430 Kenmore Washer
- 11083183600 Kenmore Washer
- 11083183610 Kenmore Washer
- 11083183630 Kenmore Washer
- 11083183800 Kenmore Washer
- 11083183810 Kenmore Washer
- 11083183830 Kenmore Washer
Enter a part description. DIY Heroes keep it simple, eg. "belt" or "pump".
Search filter:
Clear Filter
Your search term must have 3 or more characters.

$36.25
In Stock
M Series New Style Coil Kit
Part #279834
This gas dryer ignition coil set comes with two ignition coils: one three-terminal boost/hold coil, and one two terminal secondary coil. Usually only one of them burns out but you should replace them as a set. Both have to be operational for the gas valve to open.

$15.56
In Stock
Agitator Bolt
Part #WP358237
This kit contains one screw with rubber gasket and threaded sealant. The screw head is 7/16".

$12.01
In Stock
Centerpost Gasket
Part #W10814296
This main outer tub seal is a critical component that prevents water from leaking at the bottom of the tub during operation. Measuring approximately 2 inches in diameter, it is constructed from durable black plastic for long-lasting performance. Proper installation requires disconnecting power, drain hose, and inlet hose, followed by remo...Read moreving the outer cabinet and the entire tub assembly. Inspect the seal for cracks or wear during maintenance to avoid leaks and ensure optimal washer performance.
Read less

$51.90
In Stock
Igniter Kit
Part #279311
This silicone carbide igniter with ceramic holder kit includes the 3" flat igniter, bracket, 4" wire leads, and the plug. It can replace both round and flat igniters. This kit is used for many gas clothes dryers.

$33.28
In Stock
Lid Switch
Part #W10820036
Keep your washer or dryer running safely with this easy-to-install lid or door switch kit. It stops the machine from working when the door is open, helping prevent spills and accidents. Compatible with many models, this small but important part fits neatly inside your appliance and comes with everything you need for installation. Just unp...Read morelug your machine, swap out the old switch, and you're good to go. It’s about 2.5 inches long and blends in with most interiors.
Read less

$29.65
In Stock
Drive Block - 2 5/16 Inch High
Part #WP389140
If your washer is noisy, shaking, or leaving clothes wet, the drive block might need replacing. This part connects the basket to the drive shaft so it can spin properly during cycles. It’s built for large-capacity washers and measures about 2-5/16 inches high. Swapping it out is straightforward with basic tools—just make sure the washer i...Read mores unplugged and water is turned off before you start. A quick fix for smooth, efficient washing again.
Read less

$11.52
In Stock
Washer Hose Clamp
Part #WP596669
This hose clamp extends from half an inch to an inch in diameter. It is made entirely of metal and is intended for use with Maytag brand washing machines.

$15.68
In Stock

$14.25
In Stock

$10.40
In Stock

$10.50
In Stock
Screw
Part #WP488729
Metallic screw that is less than an inch long. Does not include the plastic washer.

$27.55
In Stock
Common Symptoms of models starting with 1108318
How this model fails, and the parts that fix it.
Will not agitate
Fixed by
these parts
these parts


Show All
Leaking
Fixed by
these parts
these parts


Show All
Not Heating
Fixed by
these parts
these parts


Show All
Will Not Start
Fixed by
these parts
these parts


Show All
Will not drain
Fixed by
these parts
these parts

Show All
Noisy
Fixed by
these parts
these parts

Show All
Spins slowly
Fixed by
these parts
these parts

Show All
Won’t Start
Fixed by
these parts
these parts
Show All
Burning smell
Fixed by
these parts
these parts

Show All
Spinning Issues
Fixed by
these parts
these parts
Show All
No hot or cold water
Fixed by
these parts
these parts

Show All
Marks left on clothes
Fixed by
these parts
these parts
Show All
Lid or door won’t close
Fixed by
these parts
these parts

Show All
Watch our pros, then fix it yourself.
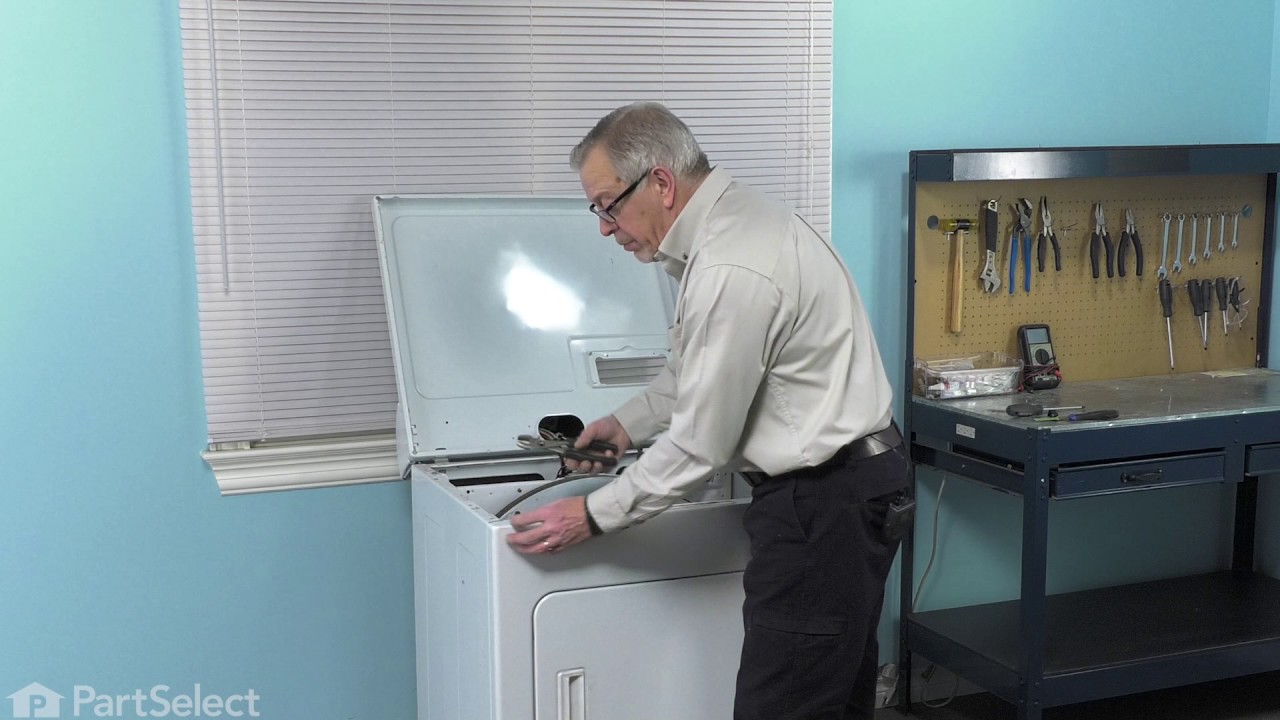
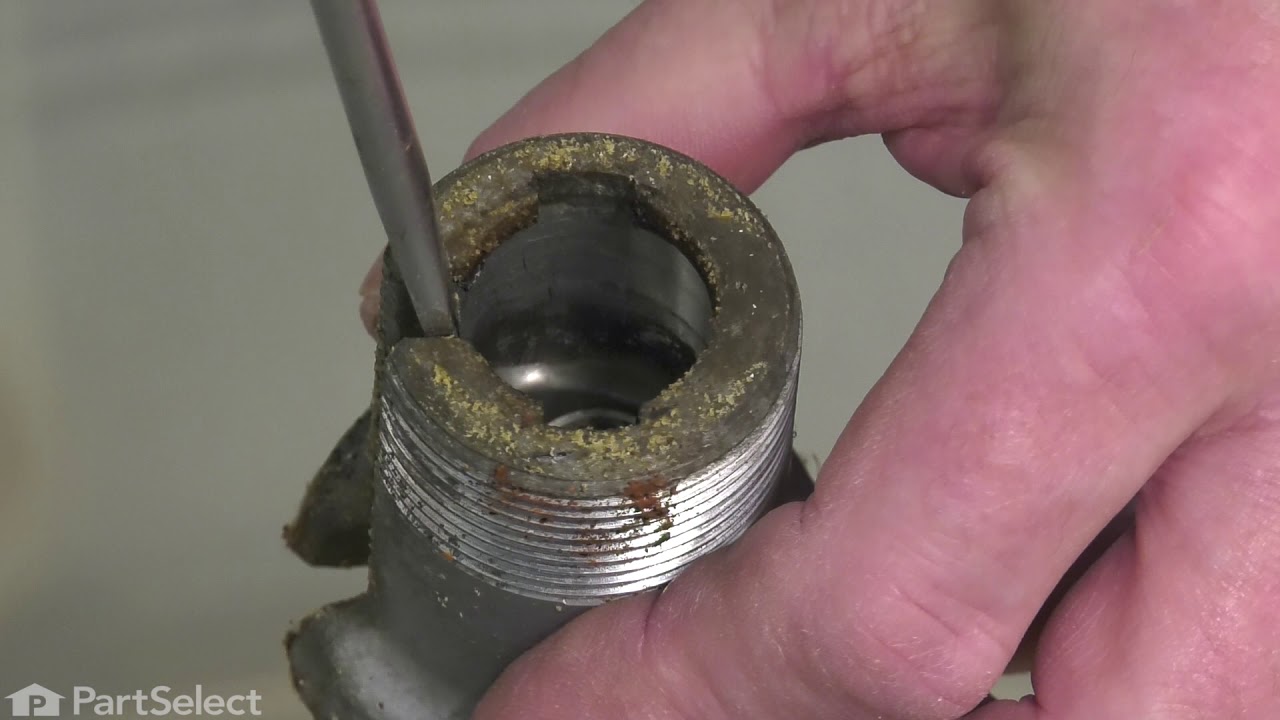
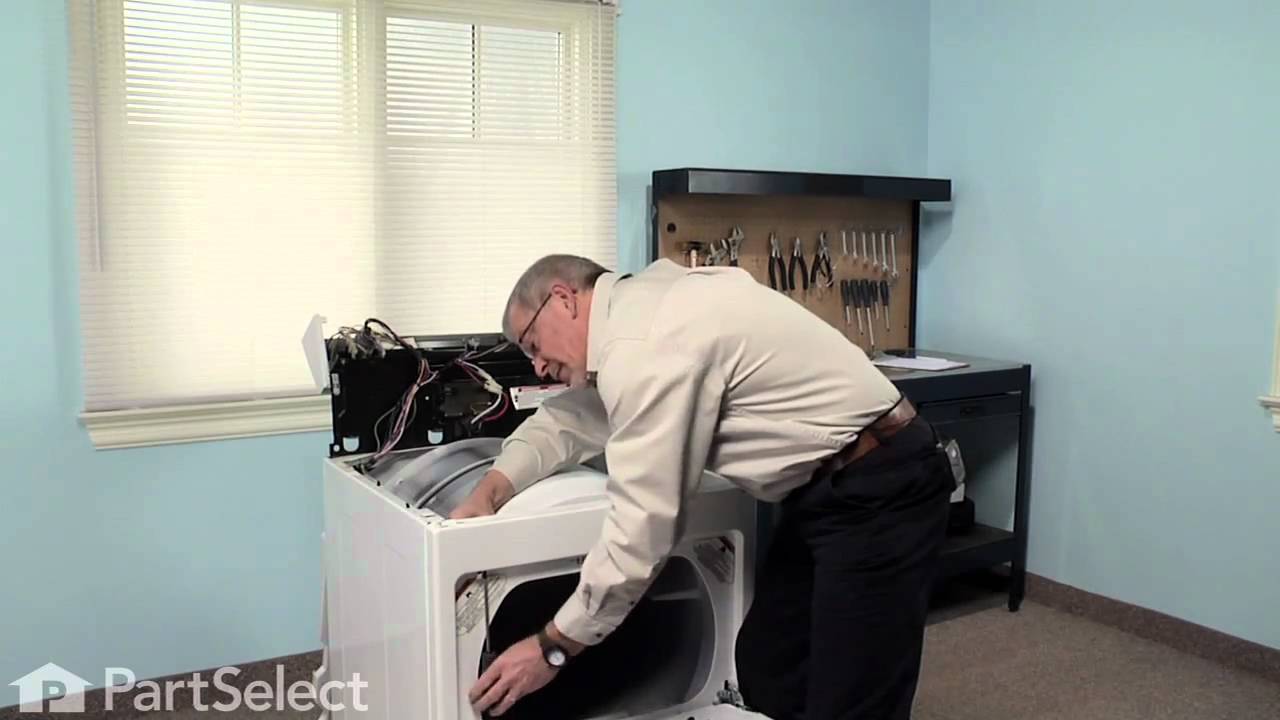
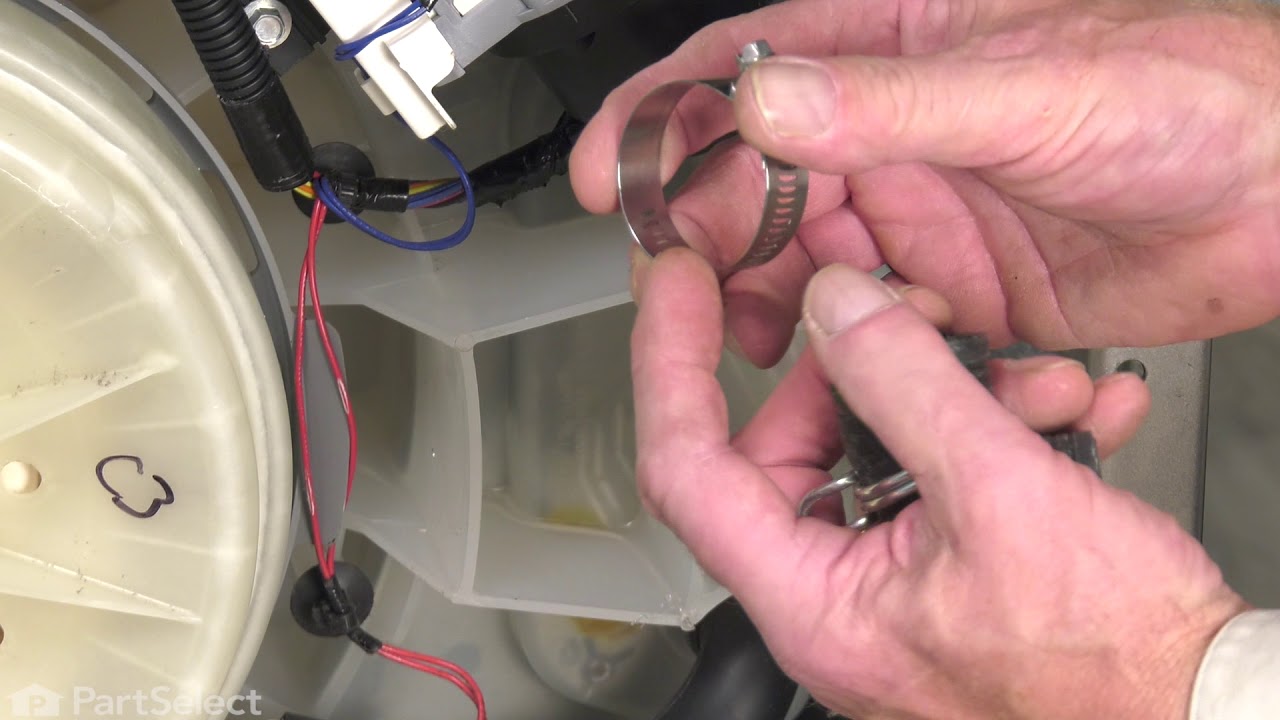
See how others fixed this model. Time, tools, difficulty, and steps that lead to victory!
View More
Search repair tips from other customers using simple keywords like "replace", "fit", "remove", "inspect". DIY doesn't mean you have to do it alone!
Search filter:
Clear Filter
Your search term must have 3 or more characters.
Dryer flame goes out after about 8-minutes from start and won’t work again until a 15-minute rest.
220 of 248 people
found this instruction helpful.
There was no problem with lint build-up within the dryer & the exhaust vent. I removed the gas cycling thermostat & thermal fuse from system & dryer still was not operating correctly. The radiant sensor & hi-limit thermostat both seemed to be operating correctly. That left either of the two coils as the culprits. I replaced both coils
... Read more
& the problem was corrected.
Read less
Other Parts Used:

Was this helpful?
Thank you for voting!
Timer wasn't working (New Timer)
168 of 214 people
found this instruction helpful.
Timer wasn't working on the regular cycle so I replace it with a new one from partselect. It still wasn't working so I ordered and replace the cycling thermostat, the thermal fuse I also cleaned the vent and dryer it still didn't work so I read the diagram for the electrical and found that a coil for the gas valve is line with timer. I or
... Read more
dered the coils for the valves, replaced both valves and tested the dryer and it work just like when I first bought the appliance.
Read less
Other Parts Used:
Was this helpful?
Thank you for voting!