


 My Orders


11080754004 Kenmore Washer Dryer Combo - Overview
Diagrams for 11080754004
See every part. Know exactly what you need.
-
Brake And Drive Tube Parts

-
Brake, Clutch, Gearcase, Motor And Pump Parts

-
Dryer Bulkhead Parts

-
Dryer Cabinet And Motor Parts

-
Dryer Front Panel And Door Parts

-
Dryer Support And Washer Parts

-
Gearcase Parts

-
Machine Base Parts

-
Miscellaneous Parts, Optional Parts

-
Product Accessory Parts

-
Tub And Basket Parts

-
Washer Cabinet Parts

-
Washer Top And Lid Parts

-
Washer/dryer Control Panel Parts

-
Water System Parts

Enter a part description. DIY Heroes keep it simple, eg. "belt" or "pump".
Search filter:
Clear Filter
Your search term must have 3 or more characters.

$6.55
In Stock
Agitator Directional Cogs
Part #80040
These agitator directional cogs are commonly referred to as dog ears. They come four to a package and are usually used with direct drive washing machines.

$27.20
In Stock
Direct Drive Motor Coupling
Part #285753A
This direct drive motor coupling (Direct Drive Washer Motor Coupling, Motor Coupling, Washer Motor Coupling, Coupling Kit) provides a cushioned connection between the transmission and the motor shaft. It attaches to the direct-drive transmission and the motor shaft. If this part is defective it will affect the agitator in your washer beca...Read moreuse of its direct connection with the motor. Your washer may not agitate, spin slowly, or not spin at all. The coupling must be replaced when there is no longer a consistent connection between the transmission and the motor shaft. The coupling can wear over time because of its location between two major parts of the dryer. It is subject to material fatigue over time from normal use, or breakage caused by frequent overloading. The part measures approximately 2 inches in diameter, and is constructed of plastic and metal. This model comes in black/white.
Read less

$10.58
In Stock
Door Catch Kit
Part #279570
This kit contains two door strikes, and three door catches to service dryer doors that have one or two catches.

$52.75
In Stock
Washer Clutch Assembly
Part #285785
A worn clutch can cause a slower spin speed which will leave your clothes wet after a cycle. This clutch assembly comes with brake cam driver, blue spring for large capacity washers and black spring for compact washers. As per factory, the blue spring (1.24") replaces the black spring (1.46").

$15.56
In Stock
Agitator Bolt
Part #WP358237
This kit contains one screw with rubber gasket and threaded sealant. The screw head is 7/16".

$15.41
In Stock
Washer Inner Cap Seal
Part #WPW10072840
Also known as an O-Ring. This black o-ring seal is three inches in diameter.

$12.01
In Stock
Centerpost Gasket
Part #W10814296
This main outer tub seal is a critical component that prevents water from leaking at the bottom of the tub during operation. Measuring approximately 2 inches in diameter, it is constructed from durable black plastic for long-lasting performance. Proper installation requires disconnecting power, drain hose, and inlet hose, followed by remo...Read moreving the outer cabinet and the entire tub assembly. Inspect the seal for cracks or wear during maintenance to avoid leaks and ensure optimal washer performance.
Read less

$17.26
In Stock

$14.95
In Stock

$546.62
In Stock

$27.15
In Stock
Agitator Cam Kit
Part #285751
This agitator cam kit contains an almost three inch white retainer and four agitator dog ears. This kit is used to move the upper agitator and it connects the base of the agitator with the agitator top (mover).

$15.28
In Stock
Common Symptoms of the 11080754004
How this model fails, and the parts that fix it.
Will not agitate
Fixed by
these parts
these parts


Show All
Door won’t close
Fixed by
these parts
these parts


Show All
Spins slowly
Fixed by
these parts
these parts

Show All
Leaking
Fixed by
these parts
these parts


Show All
Spinning Issues
Fixed by
these parts
these parts
Show All
Will not drain
Fixed by
these parts
these parts
Show All
Burning smell
Fixed by
these parts
these parts

Show All
Door Pops Open
Fixed by
these parts
these parts
Show All
Will Not Start
Fixed by
these parts
these parts

Show All
Noisy
Fixed by
these parts
these parts


Show All
Marks left on clothes
Fixed by
these parts
these parts
Show All
Does not dispense fabric softener or detergent
Fixed by
these parts
these parts
Show All
Noisy and Marks Left on Clothes
Fixed by
these parts
these parts
Show All
Lid or door won’t close
Fixed by
these parts
these parts
Show All
Shaking and Moving
Fixed by
these parts
these parts
Show All
Won’t Start
Fixed by
these parts
these parts
Show All
Draining Issues
Fixed by
these parts
these parts
Show All
Not cleaning dishes properly
Fixed by
these parts
these parts
Show All
Running With Door Open
Fixed by
these parts
these parts
Show All
Touchpad does not respond
Fixed by
these parts
these parts
Show All
Drum Not Spinning
Fixed by
these parts
these parts

Show All
Watch our pros, then fix it yourself.
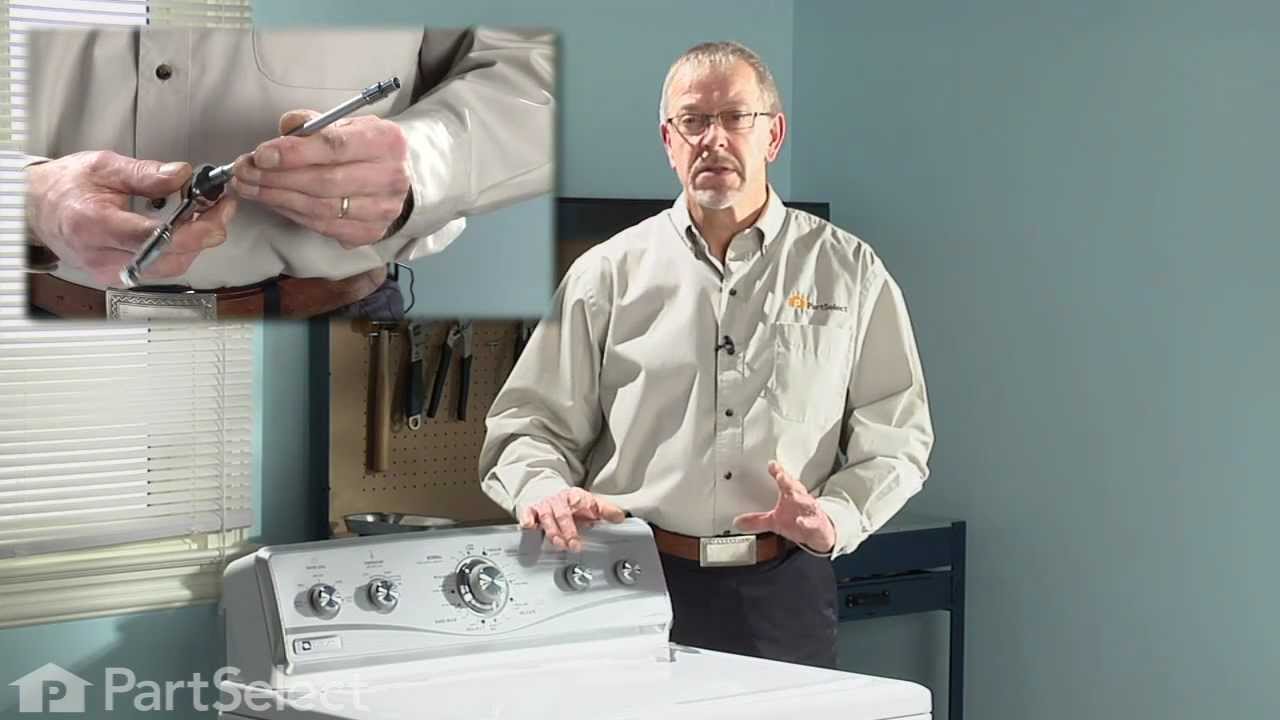
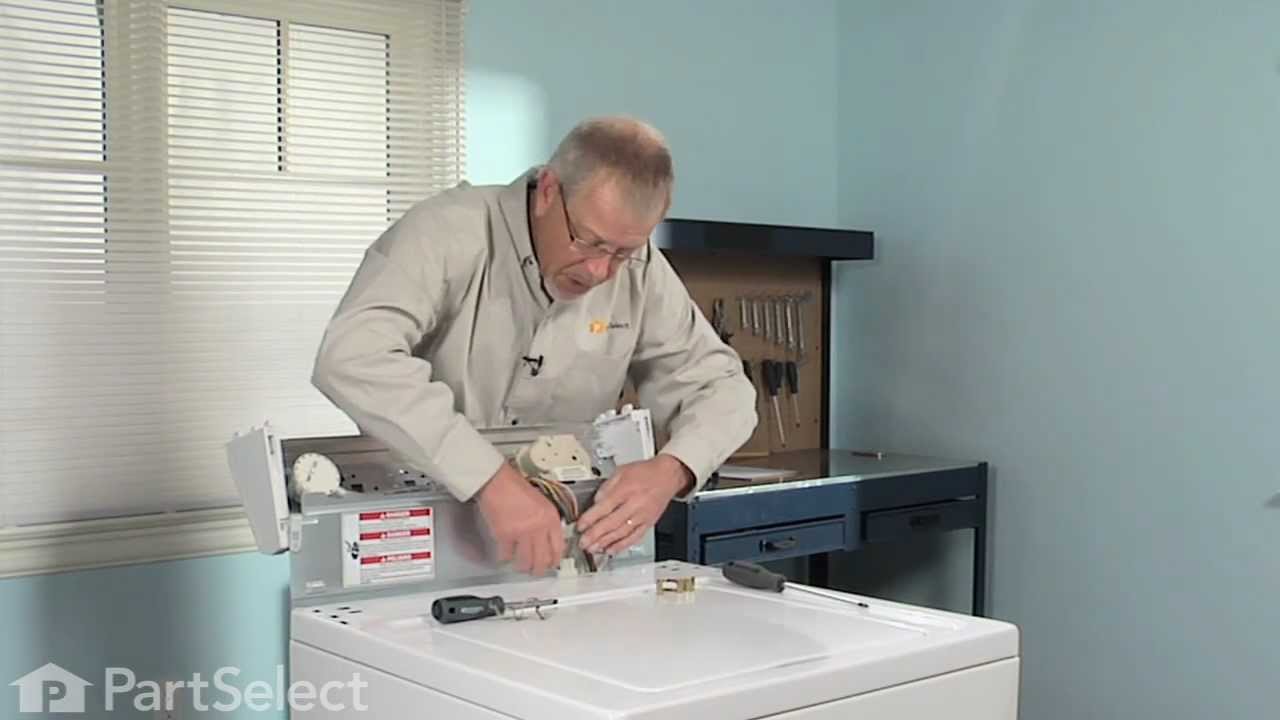
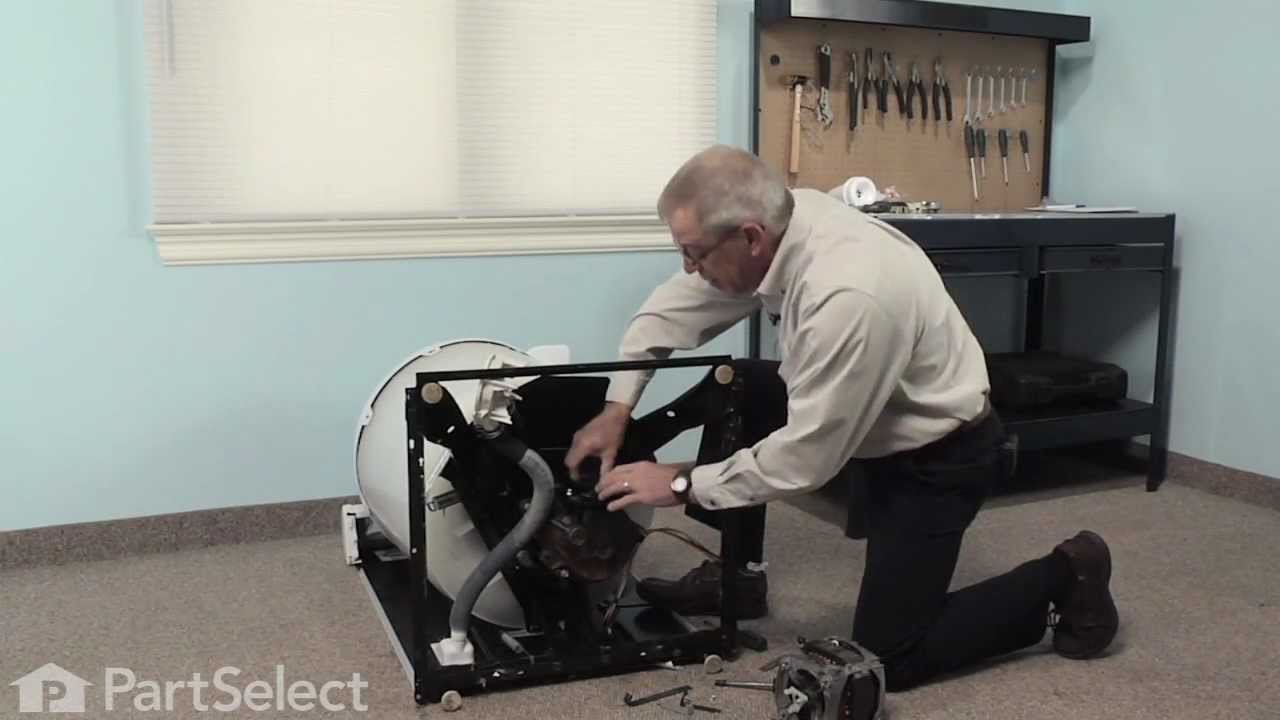
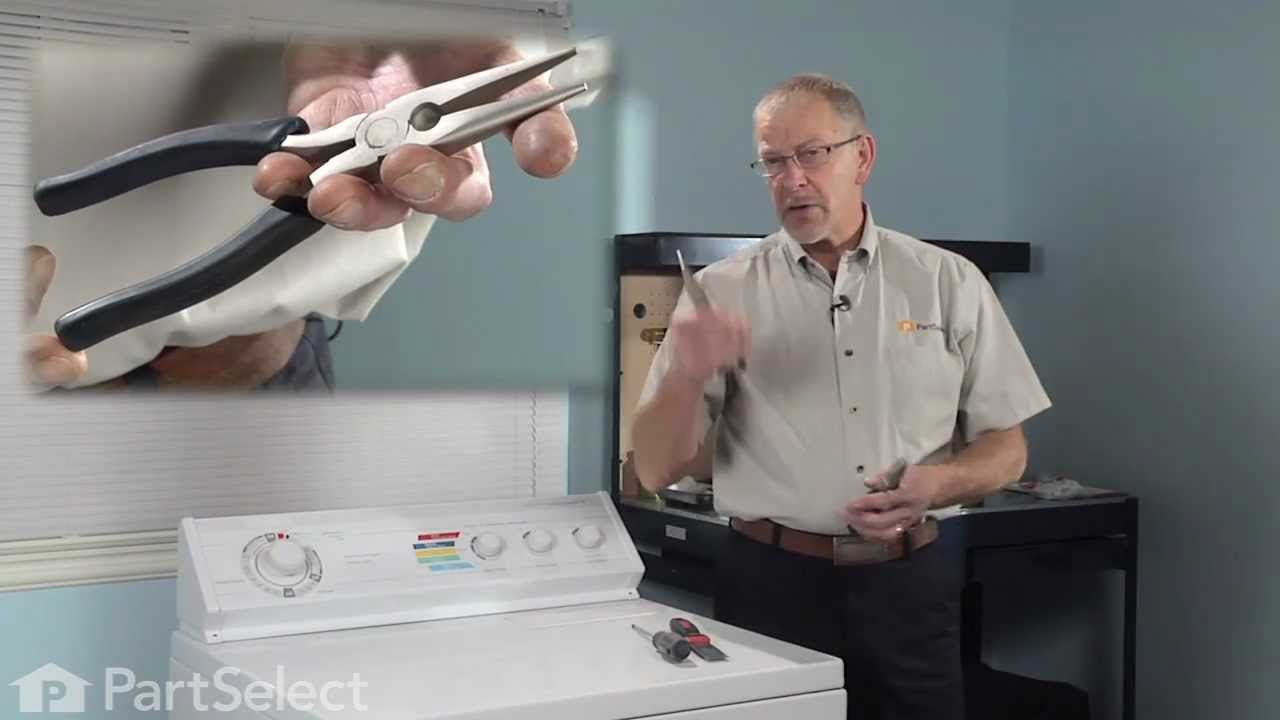
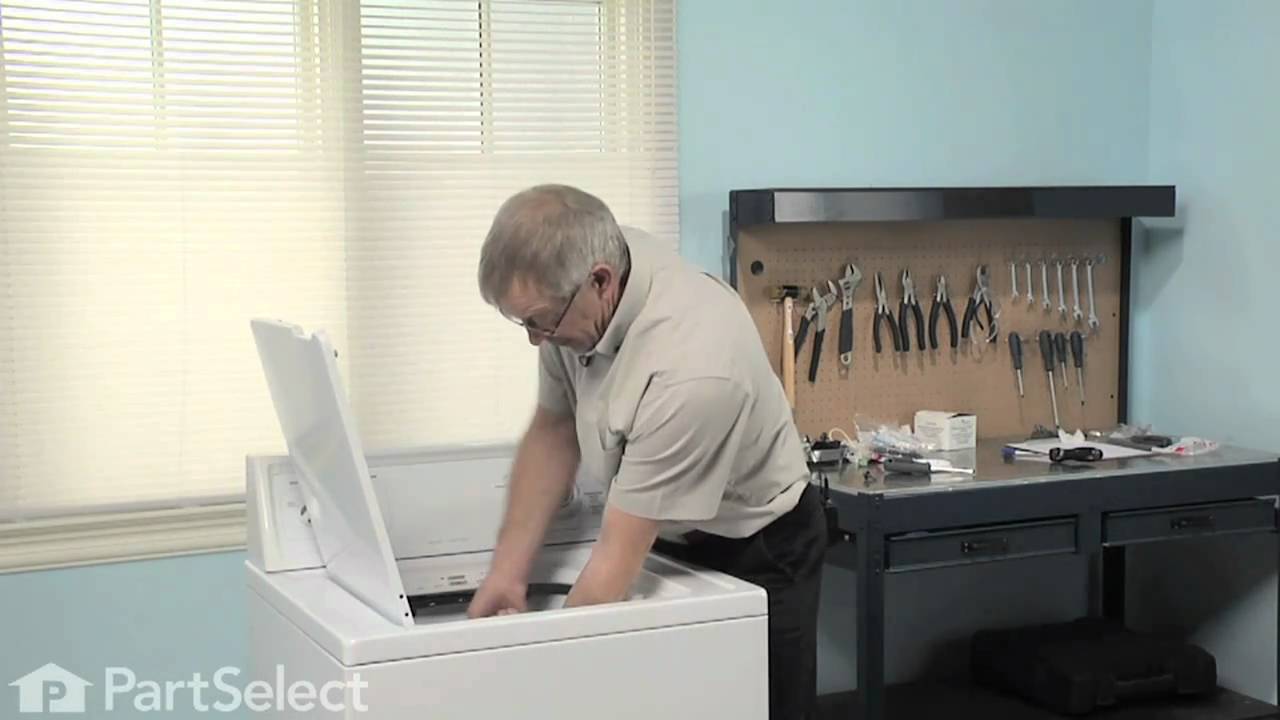
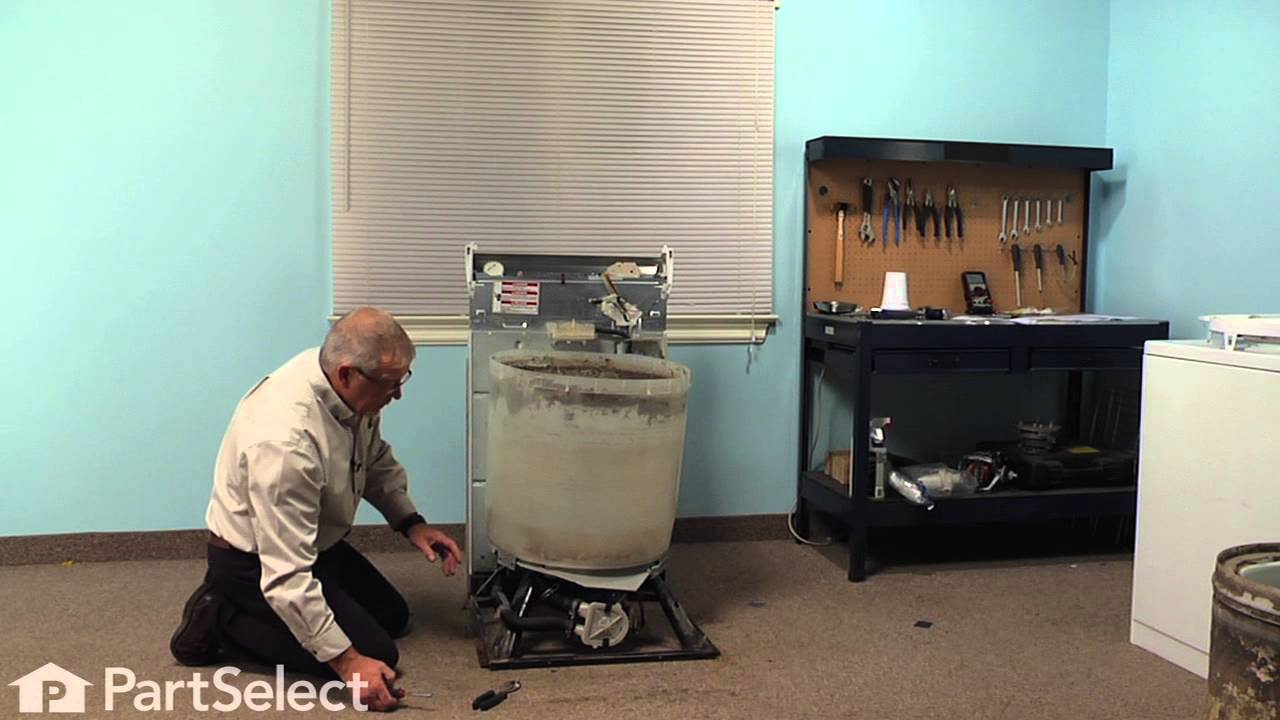
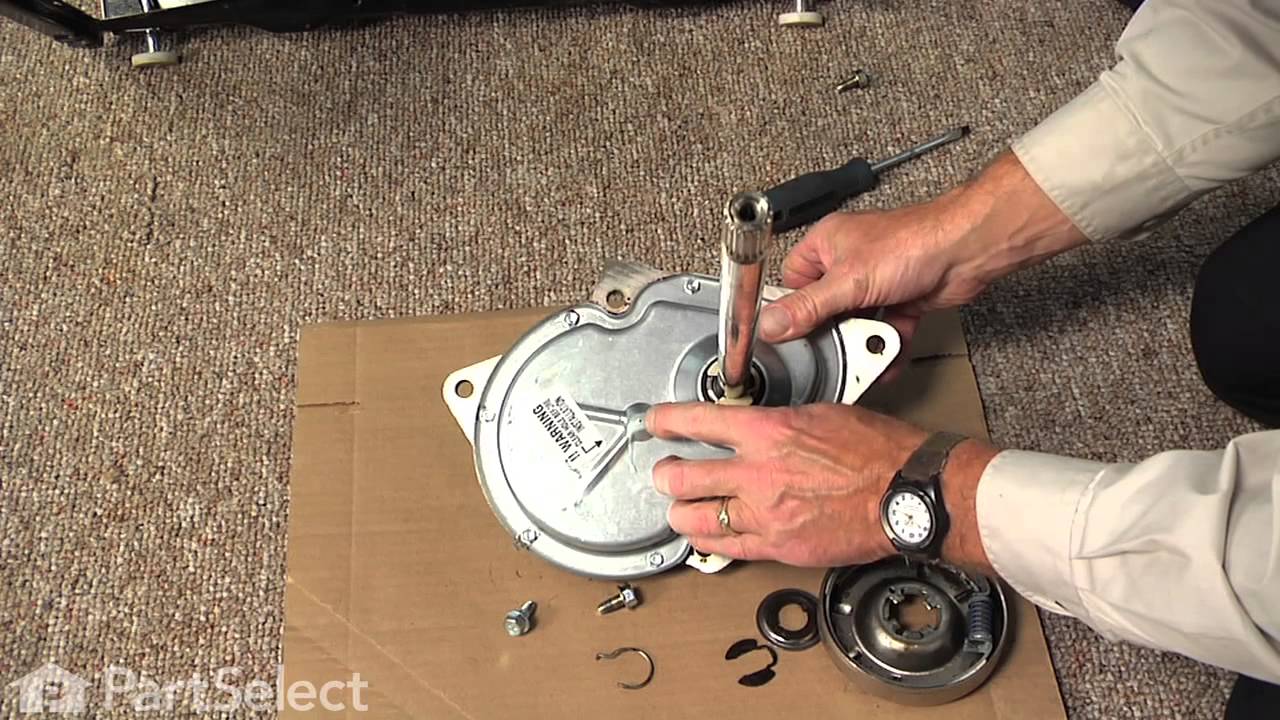
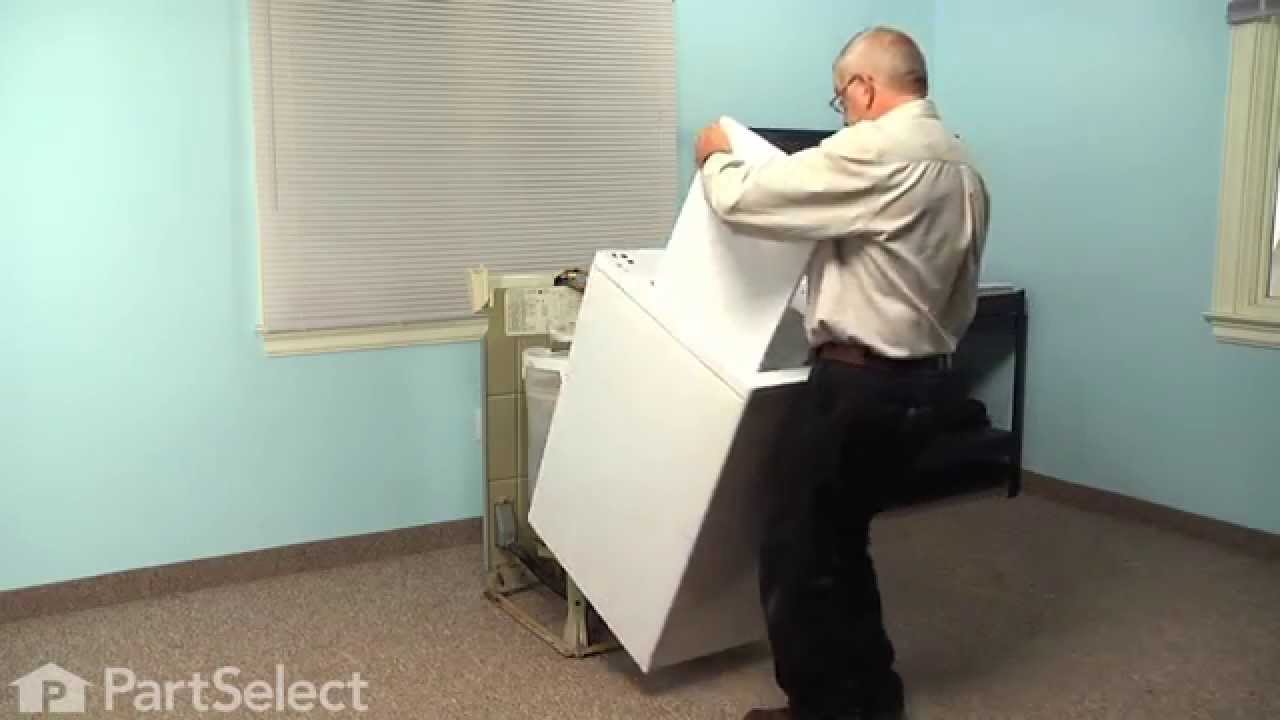
See how others fixed this model. Time, tools, difficulty, and steps that lead to victory!
View More