


 My Orders


11079132411 Kenmore Dryer - Overview
Diagrams for 11079132411
See every part. Know exactly what you need.


Enter a part description. DIY Heroes keep it simple, eg. "belt" or "pump".
Search filter:
Clear Filter
Your search term must have 3 or more characters.

$56.05
In Stock
Dryer Repair Kit
Part #4392067
This dryer repair kit consists of five commonly replaced dryer parts: one multi-rib belt (part #661570V and measures 93 1/2 inches long), four drum support rollers, one idler assembly, nine tri-rings, and one washer. This universal maintenance kit is an all-encompassing kit for fixing a noisy dryer, among other symptoms, but noisy being t...Read morehe most common. It is compatible with 27-inch wide dryers built from 1965 onwards. Be sure to disconnect the dryer or shut off the house circuit breaker for the appliance before you begin your repair. To access these parts, you will need to remove the dryer drum. For this installation you will need a 1/4-inch nut driver, a long flat-blade screwdriver, a short flat-blade screw diver, and a Phillips screwdriver.
Read less

$34.29
In Stock
Idler Pulley
Part #279640
This Idler Pulley includes the tri-ring and gasket and everything included here is manufacturer-certified. This part maintains correct tension on the drive belt in order to spin the drum properly. If damaged or broken the dryer will not dry properly, will not tumble properly, or may not even start. Installation is rated as "Medium" diffic...Read moreulty. This part is located on the dryer drum, around the tension pulley. Refer to your user manual and model number for repair instructions and to ensure this part is right for you. For this repair project, the tools needed are a Phillips screwdriver, 1/4 inch nut driver, putty knife, small flat blade screw driver, and needle nose pliers.
Read less

$28.21
In Stock
Dryer Drum Support Roller
Part #WPW10314173
This genuine OEM dryer drum support roller is designed to hold the drum in place while allowing it to rotate smoothly and quietly during operation. Built for durability and reliable performance, it helps reduce noise and ensures consistent tumbling. Ideal for replacing worn or damaged rollers, it resolves issues such as squeaking, rumblin...Read moreg, or poor drum movement, helping restore efficient and dependable dryer operation.
Read less

$45.05
In Stock
Dryer Thermostat Internal bias
Part #WP8577274
This thermostat may differ in appearance, but functions the same as the original part. This part controls the temperature of the inside of the dryer drum and prevents the dryer from overheating.

$36.25
In Stock
M Series New Style Coil Kit
Part #279834
This gas dryer ignition coil set comes with two ignition coils: one three-terminal boost/hold coil, and one two terminal secondary coil. Usually only one of them burns out but you should replace them as a set. Both have to be operational for the gas valve to open.

$10.95
In Stock

$41.14
In Stock
Idler Pulley with Bracket
Part #W10837240
This idler pulley assembly includes the pulley and bracket, ensuring proper tension on the dryer drive belt for smooth drum rotation. Compatible with several Whirlpool, KitchenAid, Maytag, Jenn-Air, Amana, Inglis, and Magic Chef dryers, this OEM part is ideal for replacing damaged components. Disconnect power before installation.

$18.70
In Stock
Roller Support Tri-Ring
Part #WPW10512946
If you notice that your dryer is noisy or will not tumble, you may need to replace the tri ring. This part is triangular, and is less than an inch in size. Tri rings can be found both on the idler pulley shaft, or on the rear drum roller shaft. In either case, you will need to remove the front panel of the dryer and the drum to access the...Read more part for repair. Once you have accessed the damaged tri ring, you will simply need to slip it off and replace it with the new one. This part is sold individually. Be sure to disconnect the power source from the dryer before you begin this repair.
Read less

No Longer Available
Touch-Up Paint - White
Part #72017
This 18 ml bottle of white appliance touch-up paint is used to cover scratches or marks on your appliance. The white touch-up paint can be used on refrigerators, microwaves, ranges, clothes dryers, and freezers. This is a genuine OEM part and includes a brush applicator. Please remember to wear gloves to protect your hands when applying this paint.

$49.45
In Stock
Dryer Radiant Flame Sensor
Part #WP338906
This part senses if the igniter is hot enough to ignite the flame for heat, allowing the gas valve to open. The sensor is three inches long and is used for many gas clothes dryers. If your dryer is not creating any heat, taking too long to dry or shuts off too soon, you may need to replace the flame sensor. This is a genuine OEM part and ...Read moreis made of both plastic and metal. Please remember to disconnect power to your dryer before starting your repair.
Read less

$51.90
In Stock
Igniter Kit
Part #279311
This silicone carbide igniter with ceramic holder kit includes the 3" flat igniter, bracket, 4" wire leads, and the plug. It can replace both round and flat igniters. This kit is used for many gas clothes dryers.

$70.35
In Stock
Blower Wheel
Part #WP697772
The blower wheel pulls air over the heat source, through the clothes drum, and past the thermostats, then pushes it out the exhaust duct. The blower wheel, which is usually plastic, may wear out over time. But if it's noisy, it may simply be clogged with lint. Clean the blower and test to see if the dryer is still noisy. If it is, you probably need to replace it.
Common Symptoms of the 11079132411
How this model fails, and the parts that fix it.
Noisy
Fixed by
these parts
these parts


Show All
Not Heating
Fixed by
these parts
these parts


Show All
Drum Not Spinning
Fixed by
these parts
these parts

Show All
Door won’t close
Fixed by
these parts
these parts


Show All
Too hot
Fixed by
these parts
these parts
Show All
Won’t Start
Fixed by
these parts
these parts

Show All
Door Pops Open
Fixed by
these parts
these parts
Show All
Marks left on clothes
Fixed by
these parts
these parts

Show All
Touchpad does not respond
Fixed by
these parts
these parts
Show All
Leaking
Fixed by
these parts
these parts

Show All
Will not agitate
Fixed by
these parts
these parts

Show All
Burning smell
Fixed by
these parts
these parts
Show All
Timer Not Working
Fixed by
these parts
these parts

Show All
Spins slowly
Fixed by
these parts
these parts
Show All
Watch our pros, then fix it yourself.
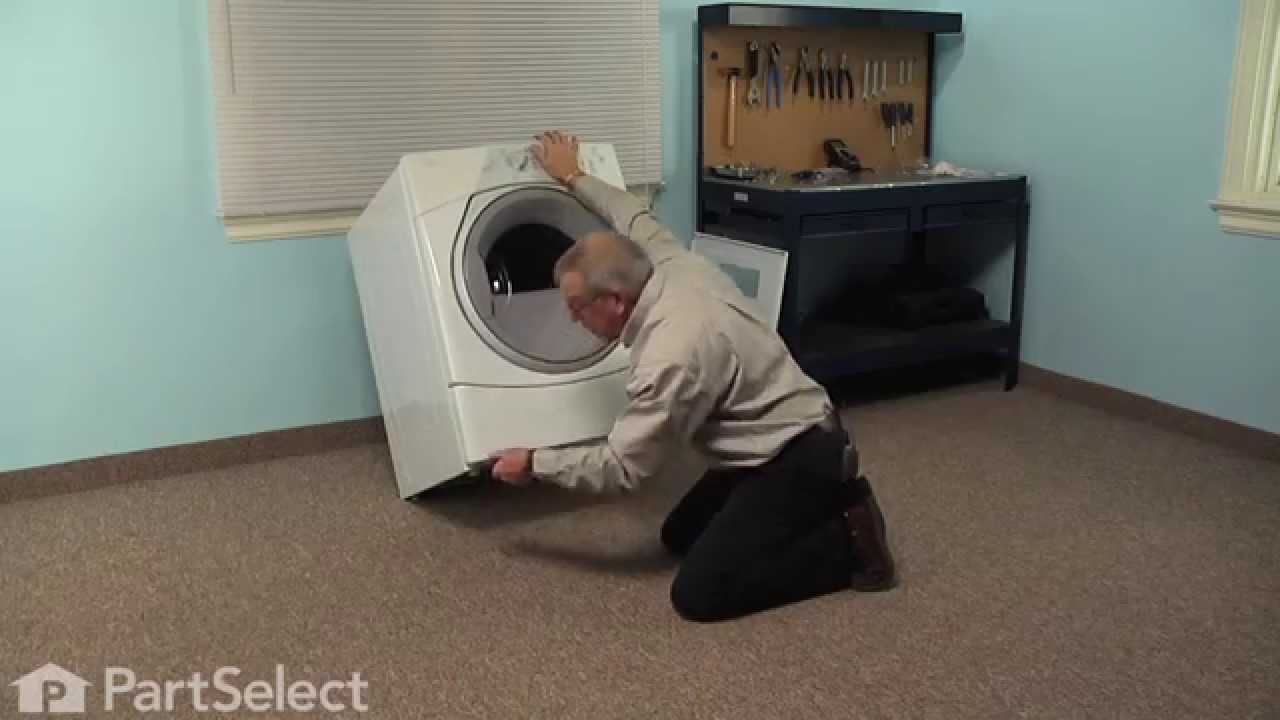
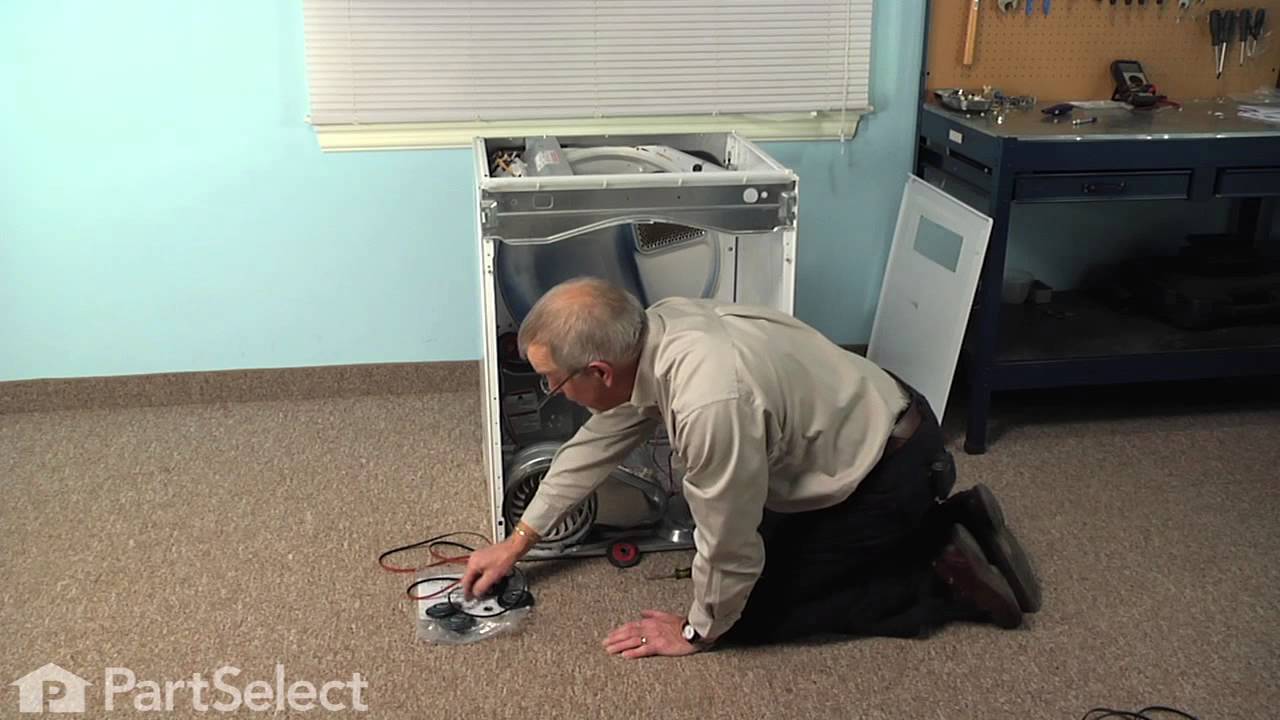
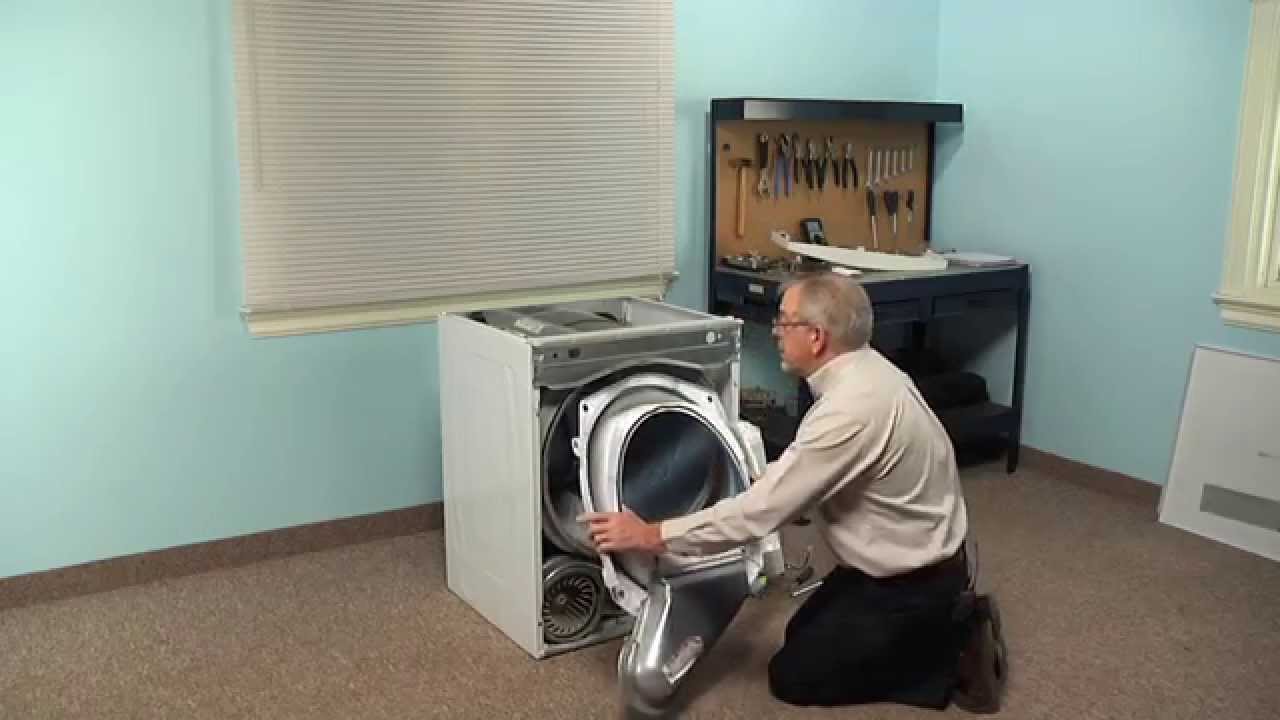
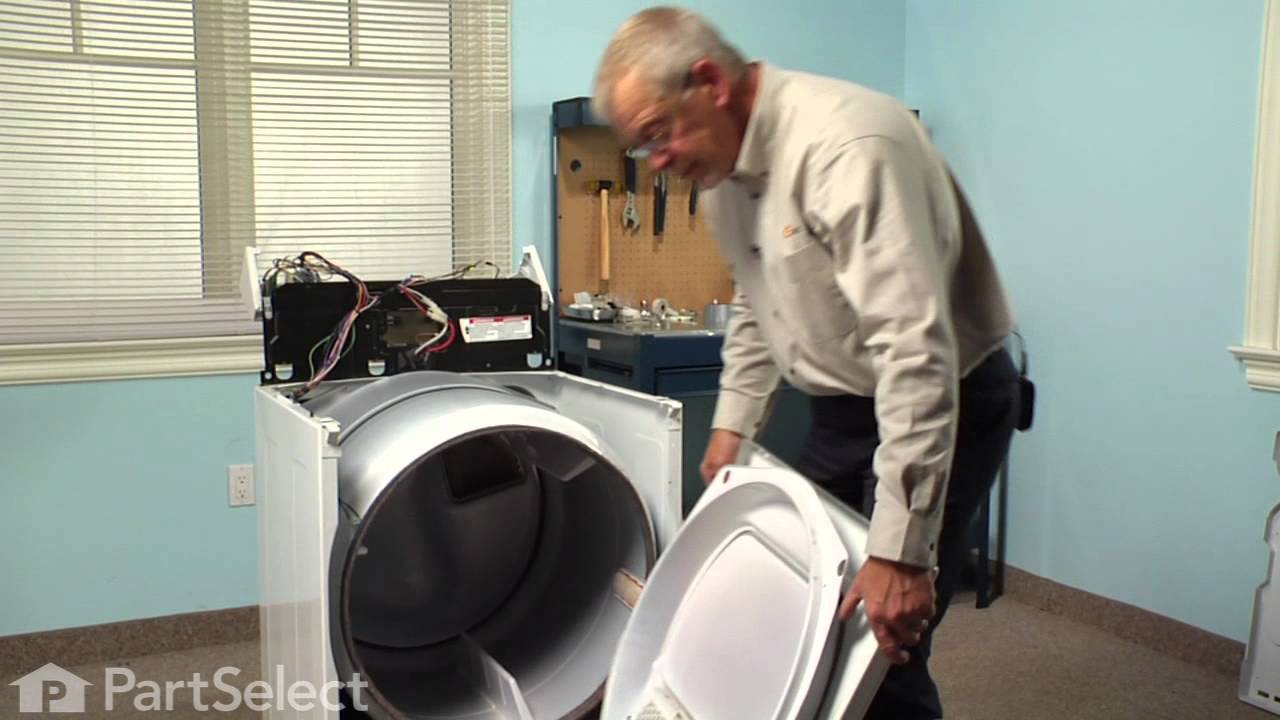
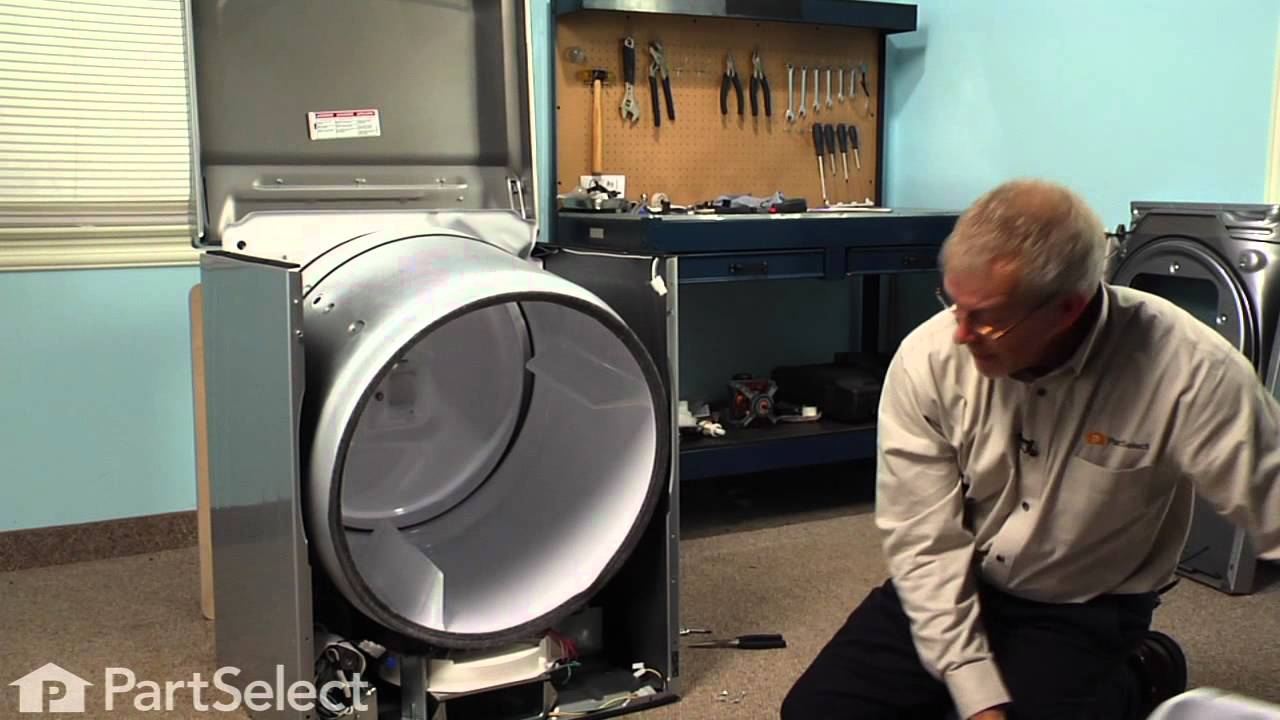
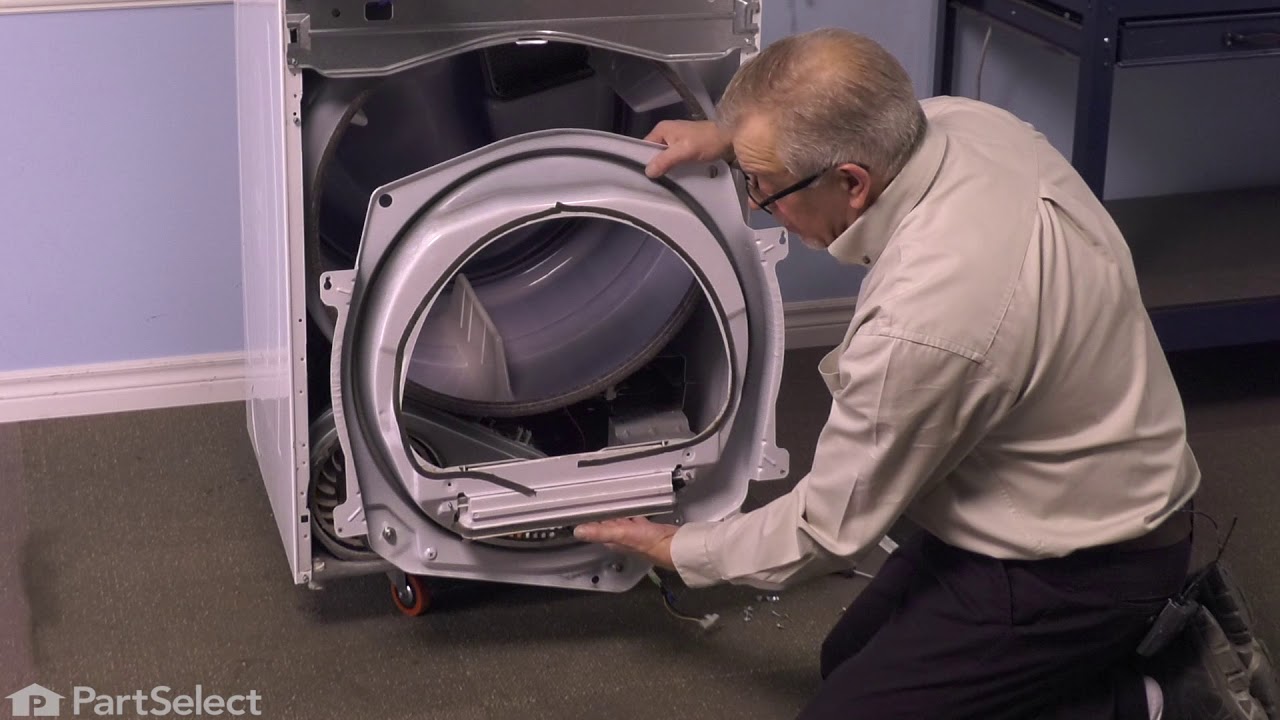
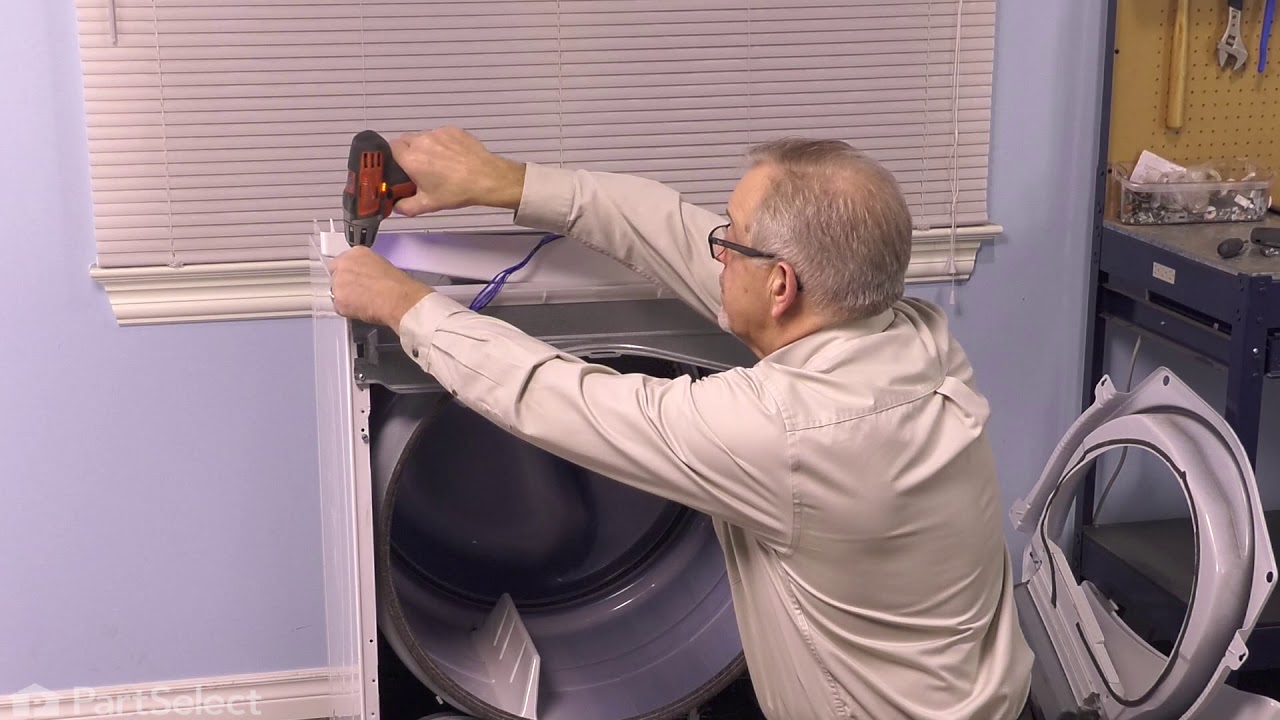
See how others fixed this model. Time, tools, difficulty, and steps that lead to victory!
View More
Search repair tips from other customers using simple keywords like "replace", "fit", "remove", "inspect". DIY doesn't mean you have to do it alone!
Search filter:
Clear Filter
Your search term must have 3 or more characters.
Dryer flame goes out after about 8-minutes from start and won’t work again until a 15-minute rest.
220 of 248 people
found this instruction helpful.
There was no problem with lint build-up within the dryer & the exhaust vent. I removed the gas cycling thermostat & thermal fuse from system & dryer still was not operating correctly. The radiant sensor & hi-limit thermostat both seemed to be operating correctly. That left either of the two coils as the culprits. I replaced both coils
... Read more
& the problem was corrected.
Read less
Other Parts Used:

Was this helpful?
Thank you for voting!
Timer wasn't working (New Timer)
168 of 214 people
found this instruction helpful.
Timer wasn't working on the regular cycle so I replace it with a new one from partselect. It still wasn't working so I ordered and replace the cycling thermostat, the thermal fuse I also cleaned the vent and dryer it still didn't work so I read the diagram for the electrical and found that a coil for the gas valve is line with timer. I or
... Read more
dered the coils for the valves, replaced both valves and tested the dryer and it work just like when I first bought the appliance.
Read less
Other Parts Used:
Was this helpful?
Thank you for voting!