


 My Orders


11077974410 Kenmore Dryer - Overview
Diagrams for 11077974410
See every part. Know exactly what you need.

Enter a part description. DIY Heroes keep it simple, eg. "belt" or "pump".
Search filter:
Clear Filter
Your search term must have 3 or more characters.

$21.14
In Stock
Multi Rib Belt - 92-1/4"
Part #341241
This dryer drum belt has four ridges, three grooves and is 1/4" wide.

$10.58
In Stock
Door Catch Kit
Part #279570
This kit contains two door strikes, and three door catches to service dryer doors that have one or two catches.

$29.23
In Stock
Rear Drum Support Roller Kit
Part #349241T
This dryer drum roller kit is designed to restore smooth and quiet operation in a wide range of dryer models. It includes two drum rollers, four tri-rings, and one to two retaining washers, providing all necessary components for a complete replacement. The rollers support the drum as it rotates, and worn or damaged rollers can cause exces...Read moresive noise, poor tumbling performance, or even leave marks on clothing. Replacing these components can resolve issues such as rumbling, squealing, or grinding sounds during operation. Compatible with many units from Whirlpool, Kenmore, Sears, and other brands, this kit offers a reliable solution for maintaining optimal dryer performance.
Read less

$10.95
In Stock

$18.70
In Stock
Roller Support Tri-Ring
Part #WPW10512946
If you notice that your dryer is noisy or will not tumble, you may need to replace the tri ring. This part is triangular, and is less than an inch in size. Tri rings can be found both on the idler pulley shaft, or on the rear drum roller shaft. In either case, you will need to remove the front panel of the dryer and the drum to access the...Read more part for repair. Once you have accessed the damaged tri ring, you will simply need to slip it off and replace it with the new one. This part is sold individually. Be sure to disconnect the power source from the dryer before you begin this repair.
Read less

$68.09
In Stock
LINT SCREEN ASSY, WOD
Part #W11778253
This manufacturer-certified dryer lint filter is used to collect lint during the dryer cycle, to prevent damage to the machine and to prevent lint from sticking to clothes. This model comes in white and is easy to install. It slides into the lint filter slot in your dryer. If there is visible damage to the screen then it's time to replace...Read more the part. Check your user manual and model number to see if this is the right part for you. Make sure you empty the lint filter after every use of the dryer and check the filter slot for an excess buildup of lint, which can shorten the life of your filter and be a fire hazard. The screen is approximately 20 inches in length, not including the handle, and around 8.5 inches wide.
Read less

$151.26
In Stock
Drive Motor with Pulley
Part #279827
If your dryer drum isn’t spinning, the motor might be the issue. This replacement motor works with many Whirlpool-brand dryers made before 1996 and comes with the pulley already attached. It powers the drum by turning the belt, helping your clothes dry properly. Just make sure to unplug the dryer before starting the repair. Once installed, your dryer should be back to working like new.

$24.19
In Stock
Dryer Idler Pulley Assembly
Part #WP691366
The idler pulley wheel provides the tension for a multi-ribbed belt and helps the belt to rotate the drum. The drum will not spin if the idler pulley fails to put the correct amount of tension on the belt. The wheel is white in color and is made of plastic. If the drum will not tumble, is noisy, or will not start, you may need to replace...Read more this part. This idler pulley is a genuine OEM part. Please remember to disconnect the power to your dryer before you start your repair.
Read less

$31.25
In Stock
Dryer Disposable Thermal Fuse
Part #WP3390719
This part attaches to the exhaust duct of your clothes dryer.

$46.90
In Stock
Dryer Blower wheel
Part #WP694089
The blower wheel is a squirrel cage type wheel whose purpose is to move the air through the room or appliance. The blower wheel spins on the motor shaft to blow air through the dryer drum and out through the exhaust.

$49.45
In Stock
Dryer Radiant Flame Sensor
Part #WP338906
This part senses if the igniter is hot enough to ignite the flame for heat, allowing the gas valve to open. The sensor is three inches long and is used for many gas clothes dryers. If your dryer is not creating any heat, taking too long to dry or shuts off too soon, you may need to replace the flame sensor. This is a genuine OEM part and ...Read moreis made of both plastic and metal. Please remember to disconnect power to your dryer before starting your repair.
Read less

$51.90
In Stock
Igniter Kit
Part #279311
This silicone carbide igniter with ceramic holder kit includes the 3" flat igniter, bracket, 4" wire leads, and the plug. It can replace both round and flat igniters. This kit is used for many gas clothes dryers.
Common Symptoms of the 11077974410
How this model fails, and the parts that fix it.
Noisy
Fixed by
these parts
these parts


Show All
Door won’t close
Fixed by
these parts
these parts


Show All
Drum Not Spinning
Fixed by
these parts
these parts

Show All
Not Heating
Fixed by
these parts
these parts


Show All
Won’t Start
Fixed by
these parts
these parts
Show All
Door Pops Open
Fixed by
these parts
these parts
Show All
Will Not Start
Fixed by
these parts
these parts

Show All
Will not drain
Fixed by
these parts
these parts
Show All
Marks left on clothes
Fixed by
these parts
these parts


Show All
Heat stays on after drum has stopped
Fixed by
these parts
these parts
Show All
Too hot
Fixed by
these parts
these parts

Show All
Will not agitate
Fixed by
these parts
these parts
Show All
Lid or door won’t close
Fixed by
these parts
these parts
Show All
Running With Door Open
Fixed by
these parts
these parts
Show All
Touchpad does not respond
Fixed by
these parts
these parts
Show All
Watch our pros, then fix it yourself.


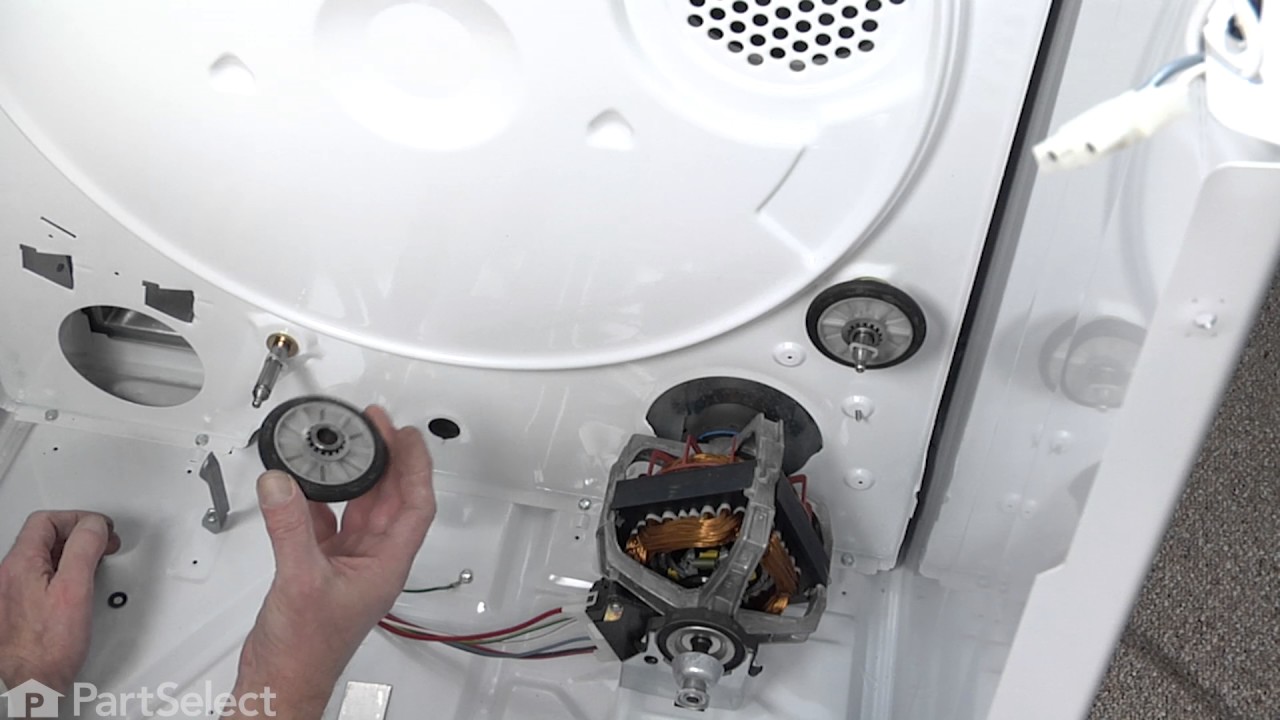
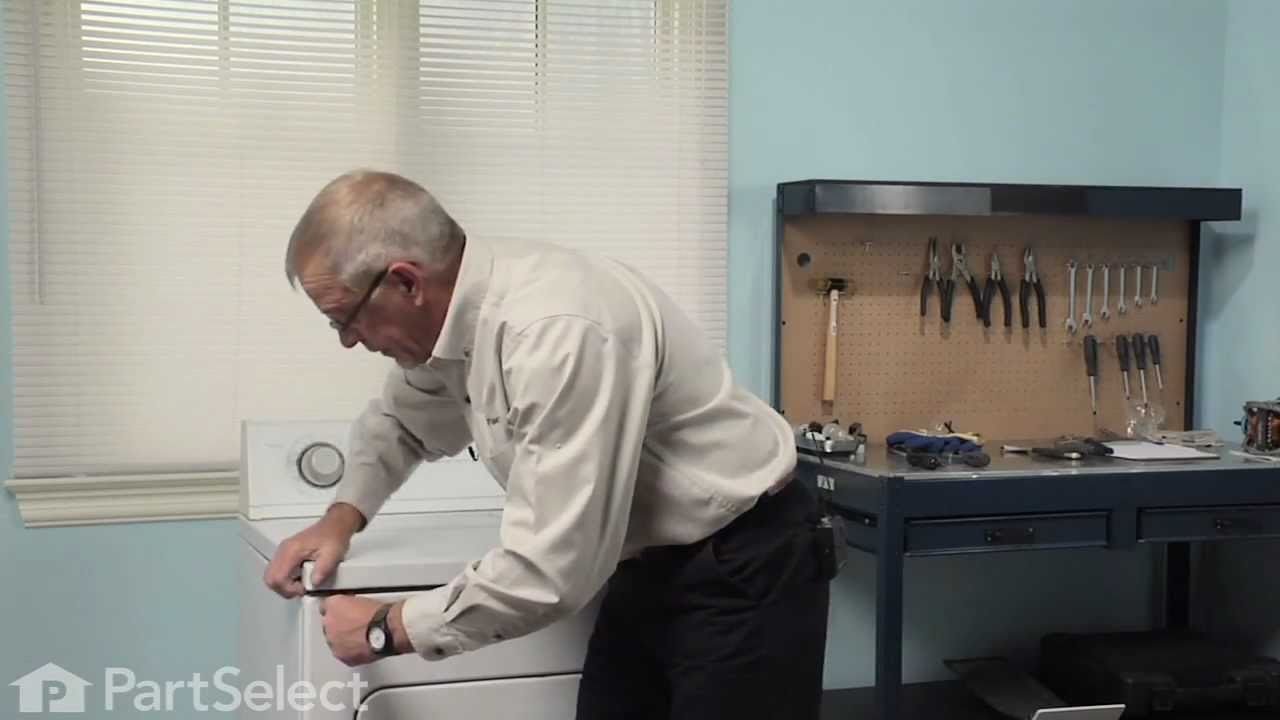
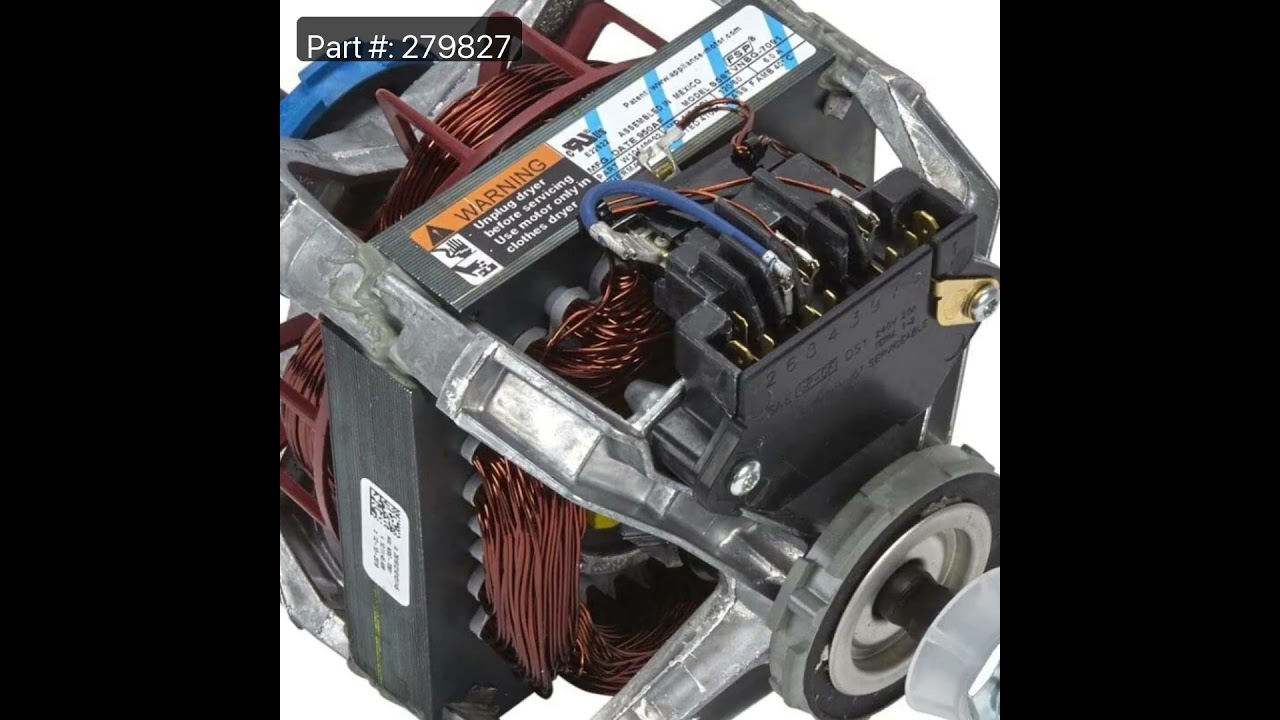
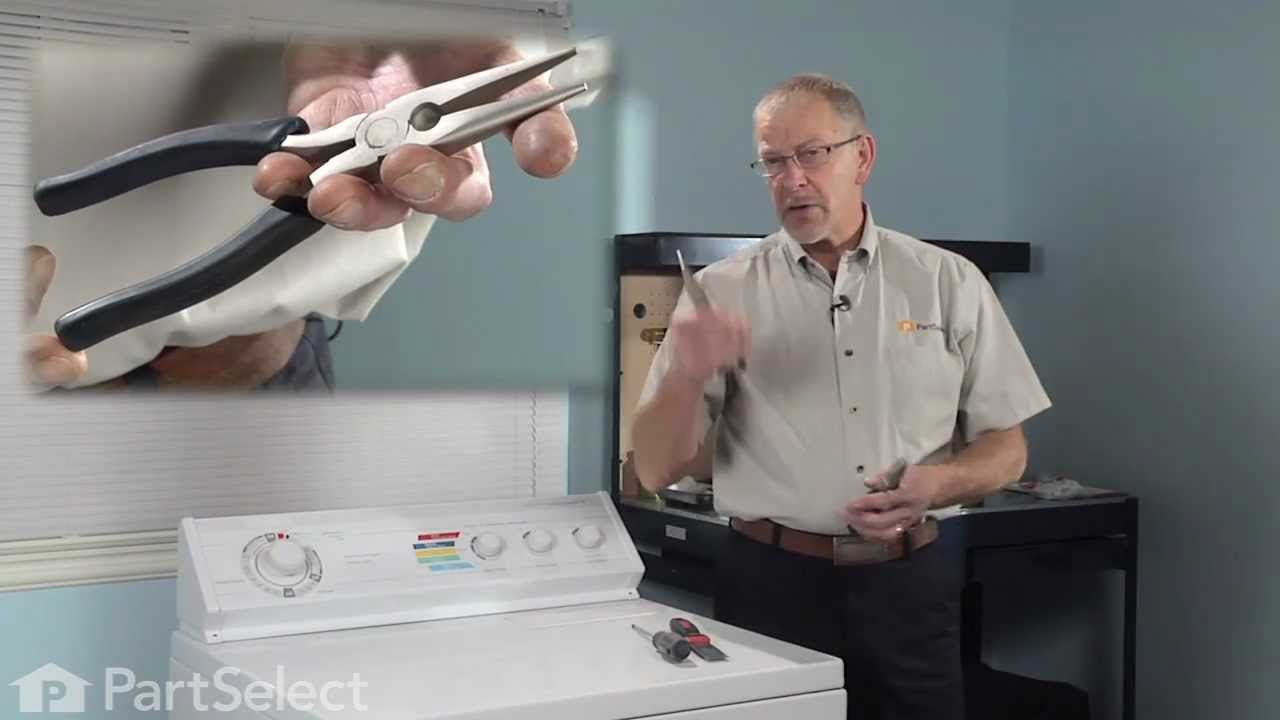
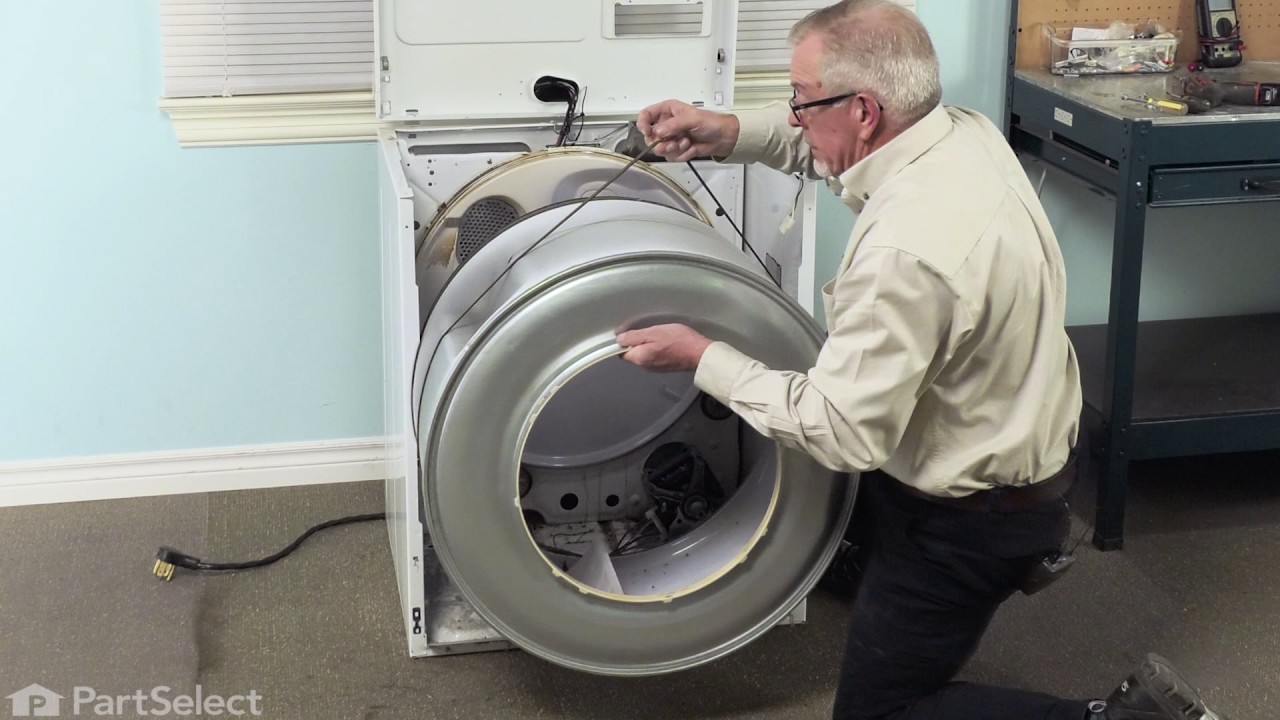
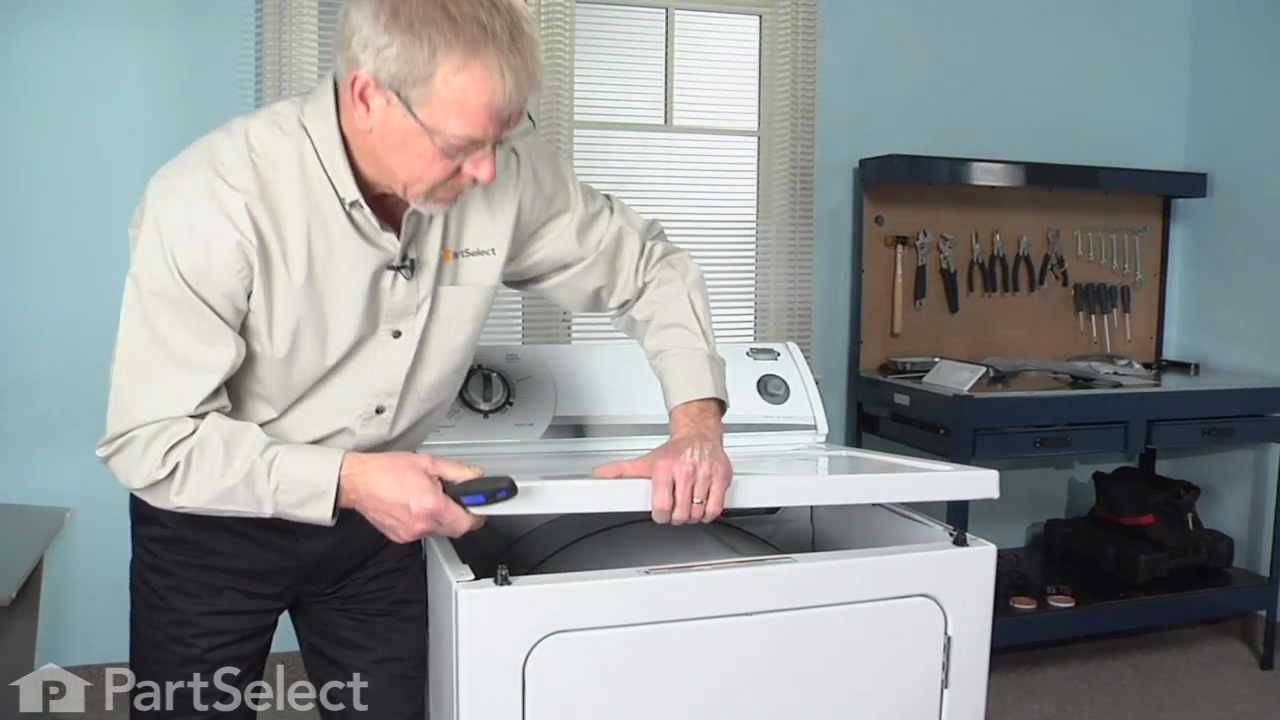
See how others fixed this model. Time, tools, difficulty, and steps that lead to victory!
View More
Search repair tips from other customers using simple keywords like "replace", "fit", "remove", "inspect". DIY doesn't mean you have to do it alone!
Search filter:
Clear Filter
Your search term must have 3 or more characters.
Dryer tub belt broke
1370 of 1493 people
found this instruction helpful.
Removed the two screws that attatch the lent channel to the top of the dryer, then lifted the top of the dryer by pushing in on the two locking tabs located at the front , left and right , corners of the dryer top with a small flat head screw driver. The top of the dryer will fold back out of the way. At this point I removed the two 1/4 i
... Read more
nch screws that are located on the inside of the dryer front left and right corners that hold the front panel/door to the two side panels. Now I was able to lift the front panel up and set it to the side. The bottom of the front panel that contains the dryer door that I just removed was held on the bottom by two clips that slide into slots on the front panel and did not require any removal to disconnect the bottom of the front panel, just pull up on the front panel. Since the tub was held in place by floating on a seal at the back of the dryer and a seal on the front panel , which I just removed the tub is now free floating except for the two alignment roller wheels at the bottom of the tub. It is easier if you lay the dryer on its back at this point with front of the tub pointing up. I pulled the tub out and cleaned the years of built up lent and removed all the pieces of the old , destroyed, belt. Note, the belt tentioner is located at the front of the motor which on the bottom right hand side. If your belt is broke like mine the tensioner may/will fall to the back of the dryer when you tilt it back, but do not worry. Once the dryer was cleaned up I put the tub back in place , still on its back and made sure the two alignment rollers were in place and rolled freely when the tub was turned by hand. Another note, my original belt tensioner did not have a rolling wheel that the belt rode on , but was a semi-circle smooth surface that the belt remained in constant friction with when the dyer was running, so I made sure the replacement tensioner I ordered with my new belt did have a rolling wheel that the belt would ride on, which I believe will reduce wear and extend the belt life. The new belt came with a diagram of the belt and tensioner routing which was helpful. Note: do not take the tensioner wheel off/apart when trying to route the belt. Follow the instructions routing diagram. The tensioner is held in palce by inserting the bottom back half into the slot in the bottom floor of the dryer making sure it is aligned with the belt pully on the shaft of the dryer motor. The dryer is still on its back side. Now, it was easier for me to route the belt around the center of the tub, following the marks from the original belt, and hold in in place in a few spots with masking tape and then route it thru the tensioner and onto the front pully of the motor. Make sure you have the grooves of the belt against the tub and the grooves are aligned with the pully on the motor. Now you can remove the masking tape that was holding the belt around the tub and spin the tub by hand watching the belt making sure it is not in a bind and is traveling around the motor pully , tensioner and tub freely. Make sure the tub is still sealed on the back side wall. As you turn the tub by hand you can adjust the belt by hand so that is following the original marks around the tub left by the orignal belt. Also double check the two alingment rollers and make sure they are spinning and on track. Now put the front panel with the door on by sliding it onto the two clips that are one the bottom at each side and put the two screws in that hold the front panel to the two side panels. Now stand the dryer back up and spin the tub by hand again making sure it has a good seal on the back side and on the front panel. Pull the top back down and put the two screws in that hold the lent channle to the top. I am not sure when the belt started failing on my dryer, but was amazed at how quiet it runs now. Guess I was use to the extra noise made by a dryer that was about to die. This was a cheap and easy repair and glad I did it myself.
Read less
Other Parts Used:


Was this helpful?
Thank you for voting!
Door catch broken; lint filter handle had come off
449 of 477 people
found this instruction helpful.
Removed some screws and partially dismantled the door so I could get the old catch out. Inserted the new catch, and put the screws back in. Saved me an $80+ service call.
On the filter, I had to use pliers to remove the old one because the handle had broken off. Did that, and inserted the new one. Done. Sears had been unable to supp ... Read more ly me with a new filter.
On the filter, I had to use pliers to remove the old one because the handle had broken off. Did that, and inserted the new one. Done. Sears had been unable to supp ... Read more ly me with a new filter.
Read less
Other Parts Used:


Was this helpful?
Thank you for voting!